Modern materials give an opportunity at construction to make the house not only comfortable and safe, but also to get rid of problems with the current roof. If previously it was difficult to isolate the roof by special technologies, now everything has changed. The manufacturer offers us a large selection of material for the roof waterproofing, so that at present it is no longer a dream to do everything with our own hands.
Roof waterproofing with your own hands
Today, one of the best waterproofing for the roof is EPDM technology. It is something like a rubber membrane that does not allow moisture to penetrate the structure. As part of the insulation film, two copolymers of ethylene and propylene. An excellent solution for flat saddle roofs. Using this technology is incredibly simple, and at the work of specialists you can save money.
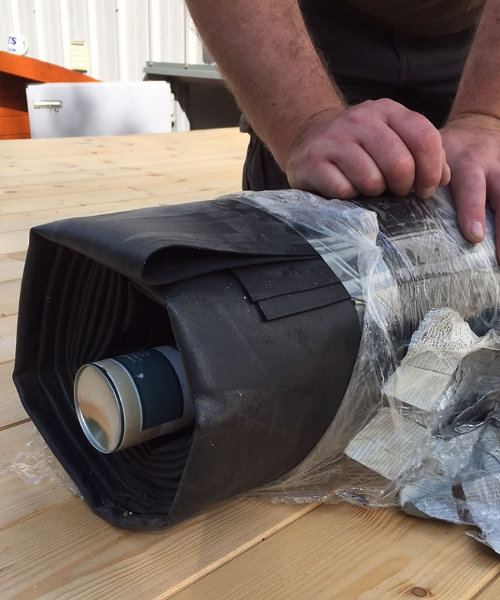
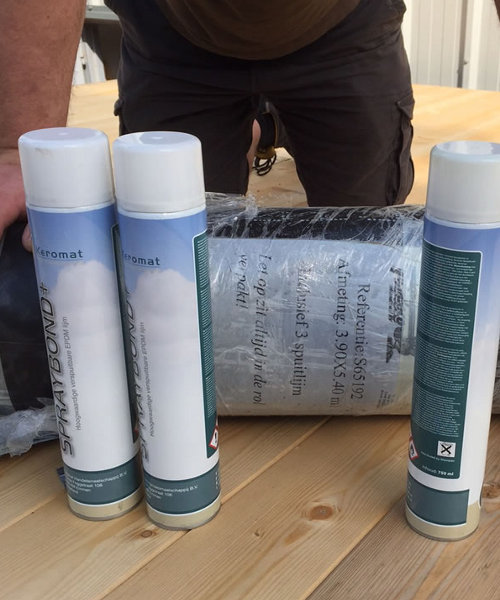
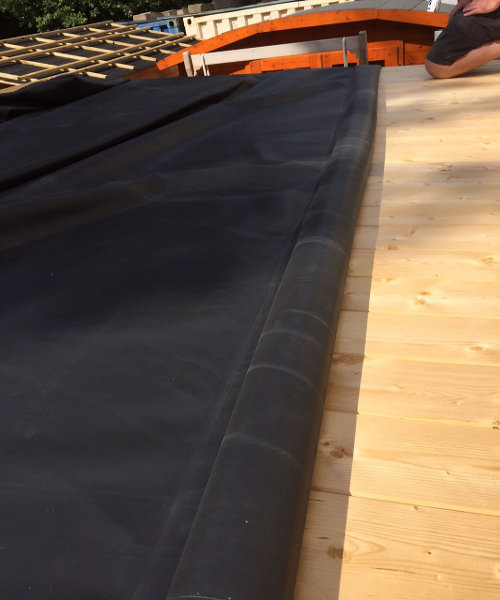
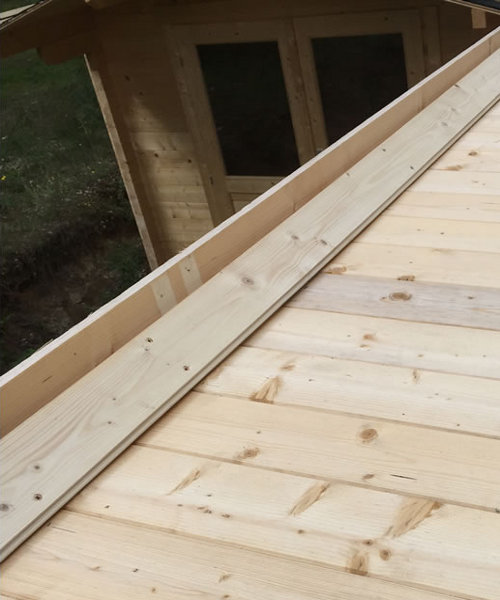
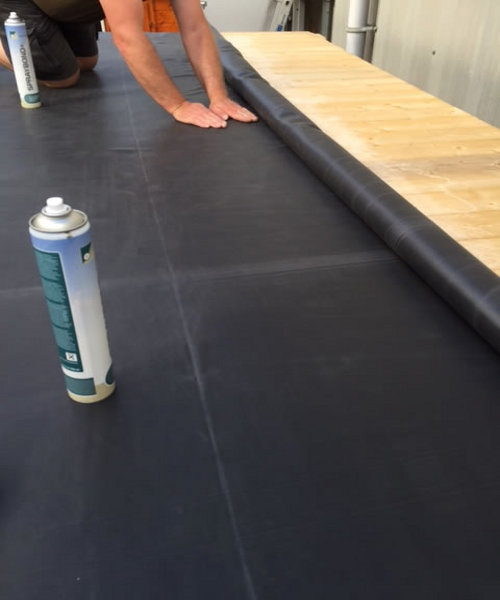
- Waterproofing of the roof of the house begins with a review. You will receive a roll with a black rubber canvas and glue balloons. The essence of the work is in several stages: you need to roll up the roll, cut off the desired part with a stock, apply glue and spread tight, then cut off the allowances.
- This material for roof waterproofing really resembles a rubber oilcloth. But it is much stronger and thicker. Inside you will find folded cylinders with glue composition.
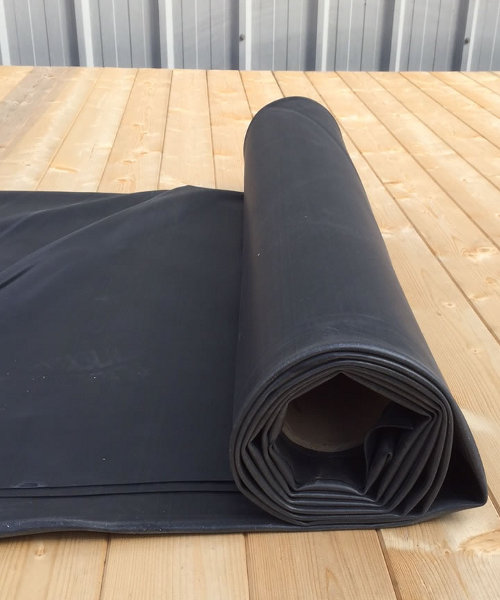
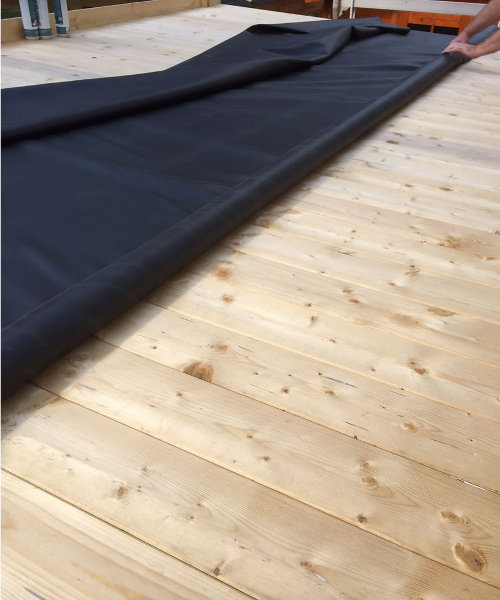
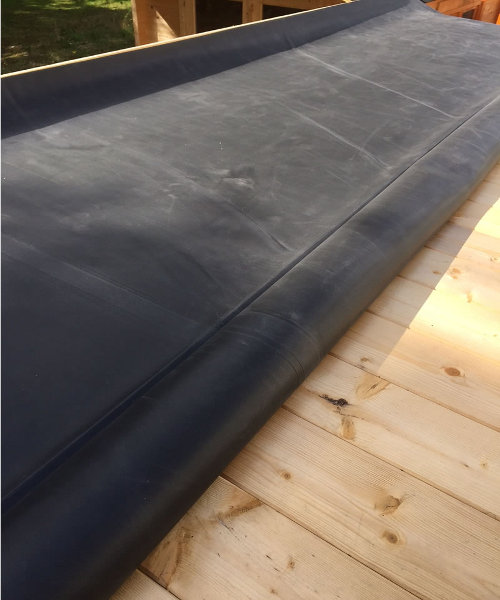
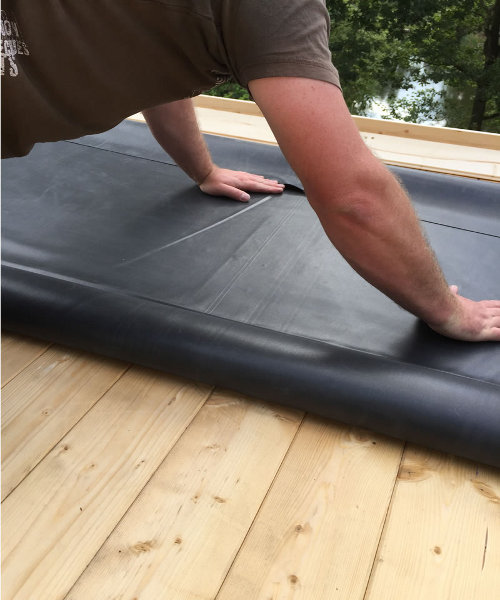
- Next, we begin to roll the roll directly on the roof. We roll it out so that we can give the material a rest and adjust a little. First we roll it out and straighten it, then roll it again, but now along the long side. In the future this will simplify the work.
- Before beginning the waterproofing of the roof of the house, it is important to let the linen align to avoid air ingress and complication of fixation.
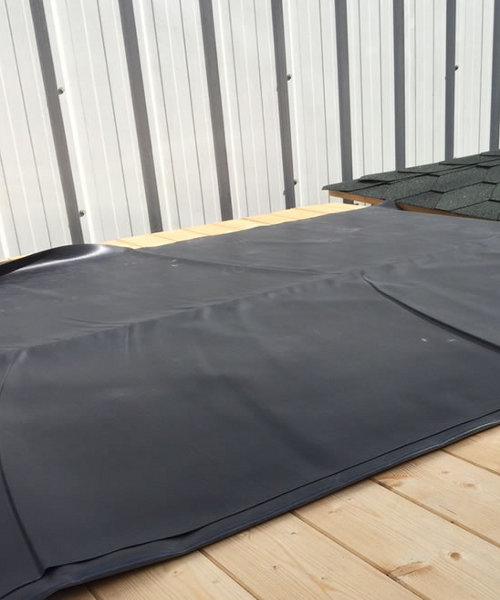
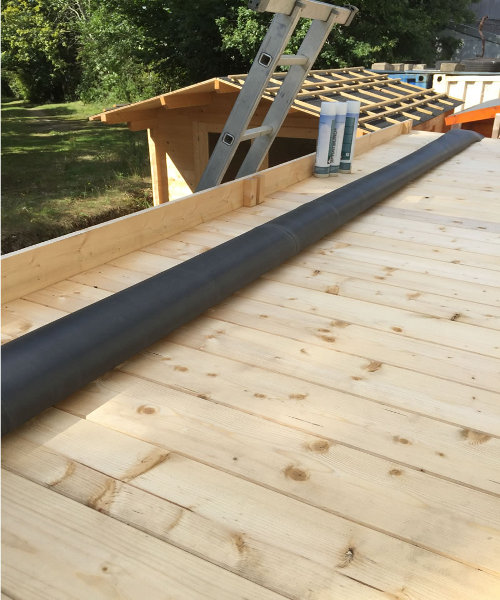
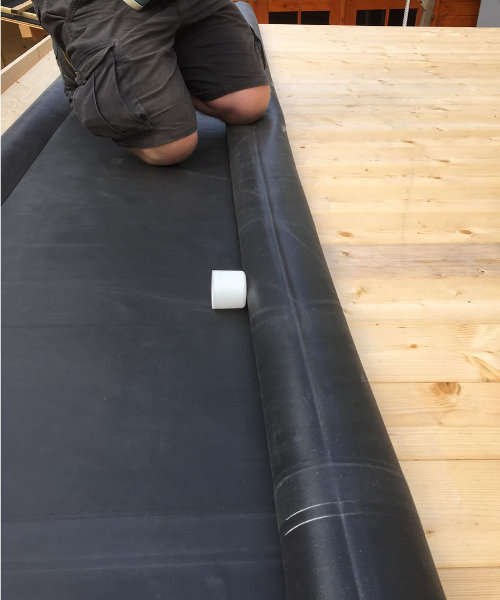
- Then start rolling and gluing. In the place of joining the wall and the roof, it is advisable to lay a small nest. This will simplify the attachment of the canvas along the edge, and will also allow the collection and removal of water without its accumulation.
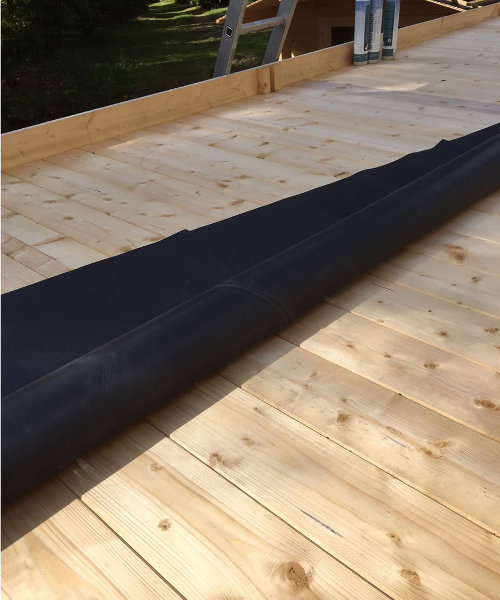
- Now you can roll out the canvas and try it on the first patch.
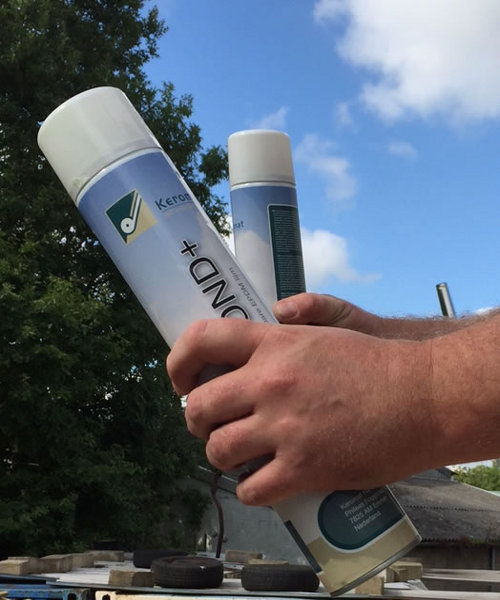
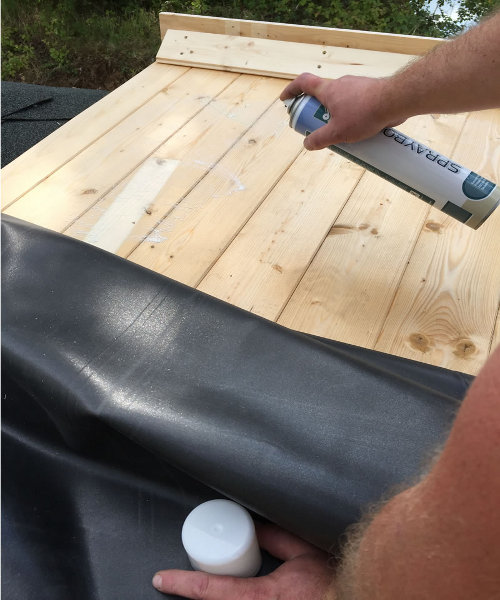
- Separately touch the issue of working with glue. Waterproofing the roof is not the case when the rule "more, it means, better". If you apply too much glue, you will literally struggle with the adhesive composition. Before use, the cylinders are shaken well for about a couple of minutes.
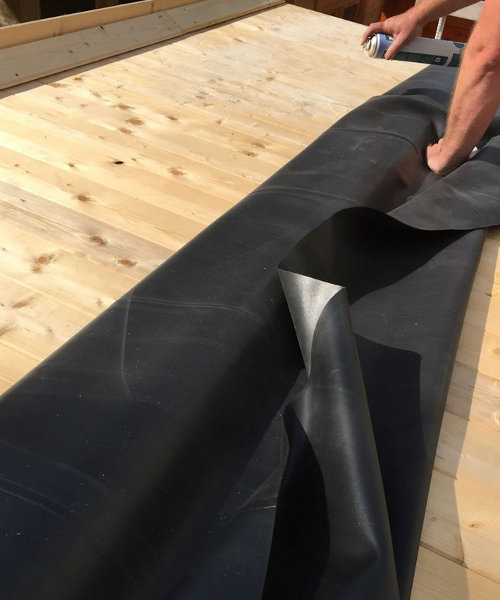
- Further we begin work: we stack a roll with a cloth so that it could be rolled out on the glued places, as a carpet. Do not rush the edges around the edges with glue. It is better to take a little bit of stock, and after its removal, glue along the edge once more.
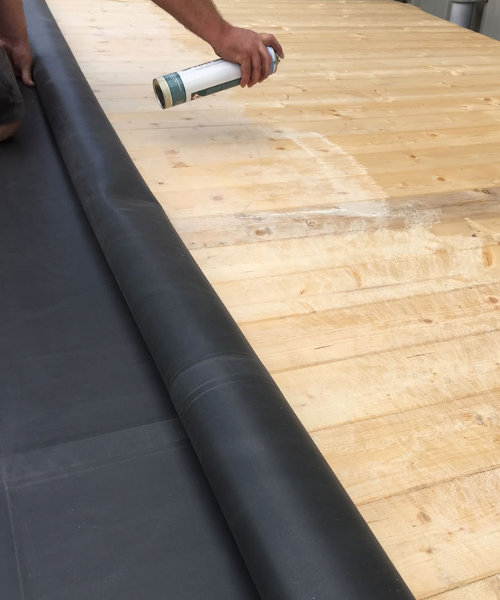
- Apply glue can be about fifty centimeters wide. Next, we begin to work on the canvas, as if we glue the wallpaper. Our goal is to remove all air and maximize surface leveling. Next, we apply a second layer of glue to the next section and begin rolling the roll, while expelling the air bubbles with your hands.
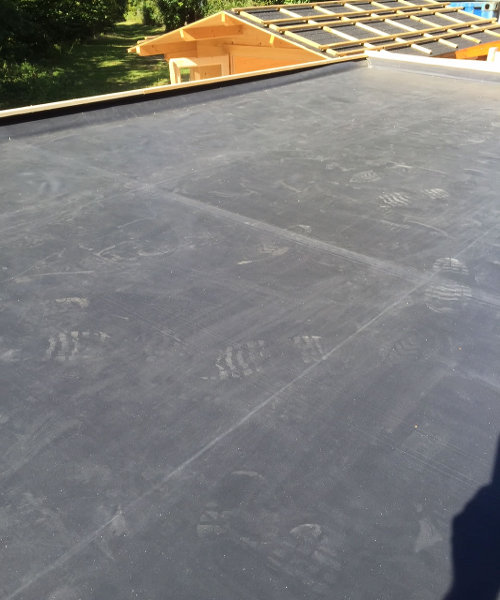
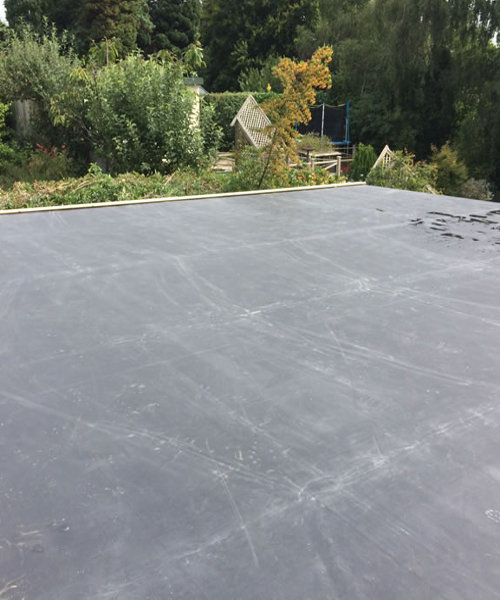
- When the canvas is glued on all edges, it can be additionally fixed with boards along the perimeter. This will not allow water to enter the butt joints. In addition, the work will get a complete view, and a strong wind will not damage the edge of the canvas.
- Waterproofing the roof with the EPDM canvas is good in that it occurs in the shortest possible time, it is quite realistic to do it on your own. In the future, such a coating will not be afraid of any strong temperature changes (in severe frosts the material will not lose its flexibility, and after heating it will not start to creep), no hail, no sunlight. Equally well suited for this method of insulation for a residential house, and for household buildings or extensions with visors .
| | |
| | | |
| | |
| | |
| | |
| | |
| | | |