Any work with gypsum cardboard begins with the construction of the frame and its further plating. Because many are quite successfully coping with the manufacture of furniture, transfers or other structures on their own. The design options for shelves of plasterboard are many and almost all of them are very similar to small niches in the wall: it is convenient to have a highlight or take advantage of contrasting finish. Below are two variants of such shelves for small items and for technique.
How to make a drywall shelves for little things?
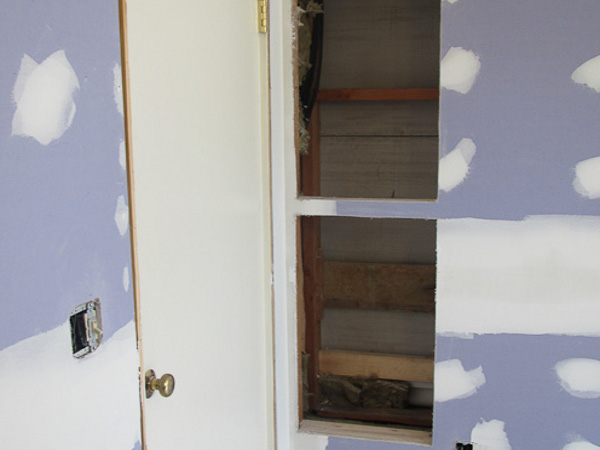
First, consider the option, which is very similar to the construction of a niche in the wall.
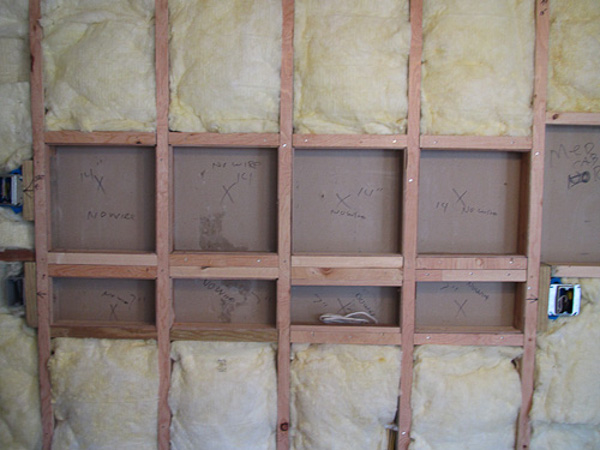
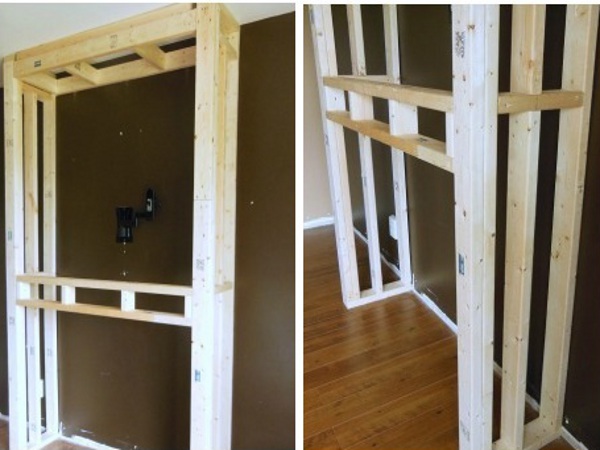
- The first stage of the construction is the frame. In this version it will be a wooden structure. In it we will later mount finished wooden shelves, such as boxes. Intervals, where there will not be shelves, fill with minvat or any other insulator.
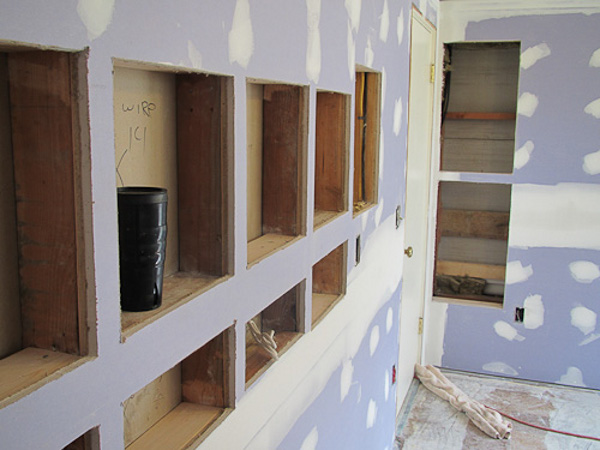
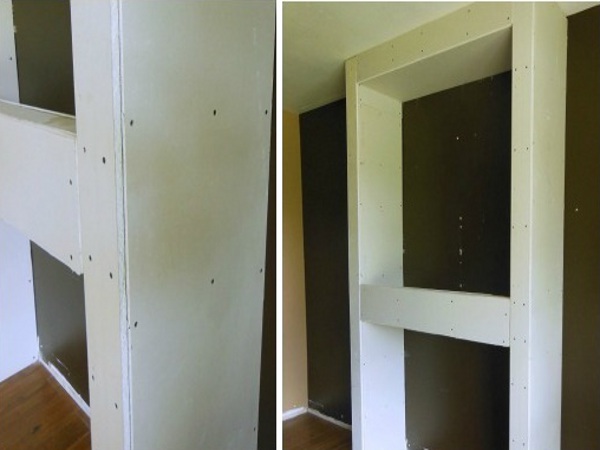
- A ready frame for the shelves of plasterboard on the wall you need to sew. We arrange the shelves directly on the sheet of drywall and after the installation of the whole plate did the cutouts in place. This approach makes it possible to avoid a large amount of fastening, and consequently less finishing in the future.
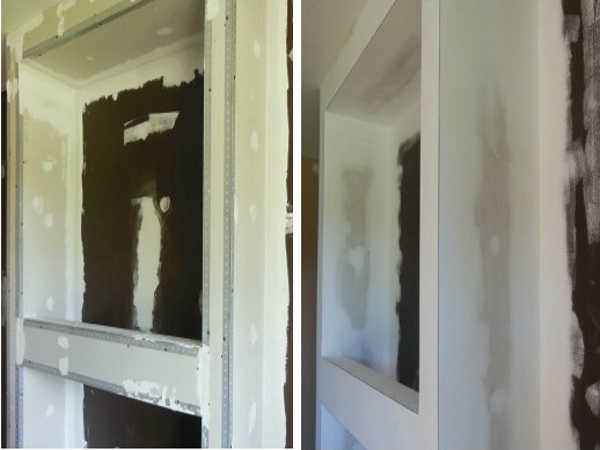
- After installing the drywall sheets, all the places with fasteners should be treated with plaster and level the surface.
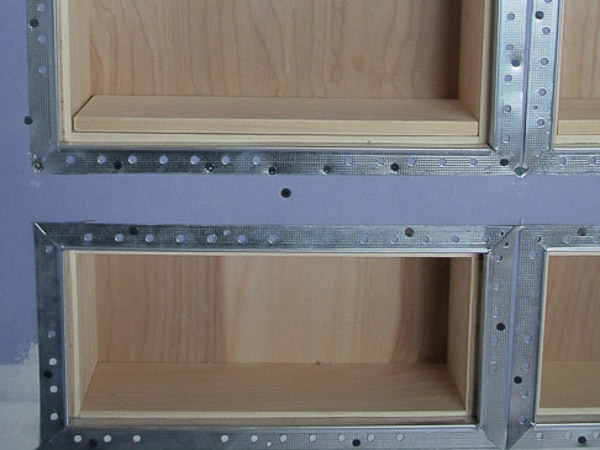
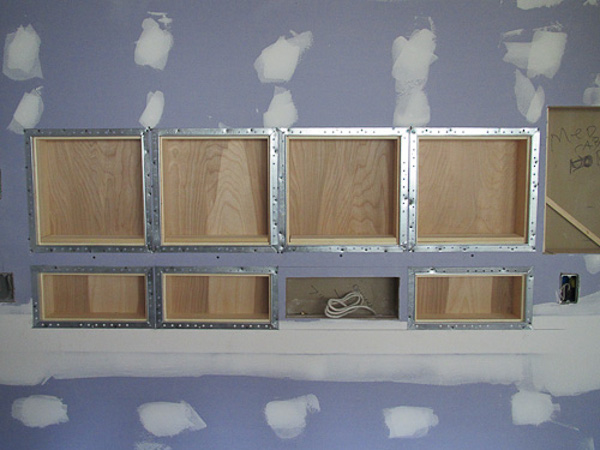
- On the perimeter of the cutouts we fix in such metal corners, used in the work to decorate the corners of the walls.
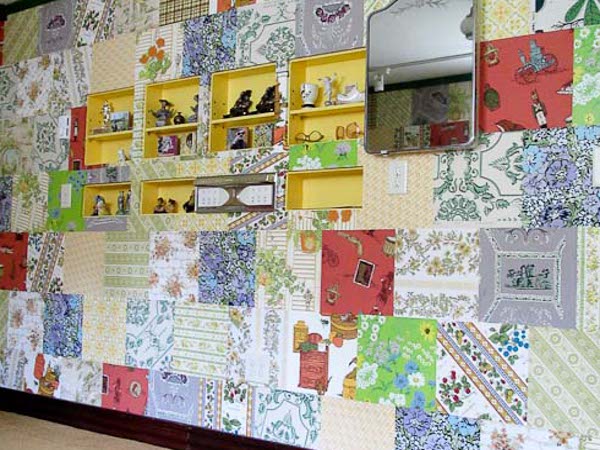
- Inside have already inserted ready-made wooden shelves each in its cell.
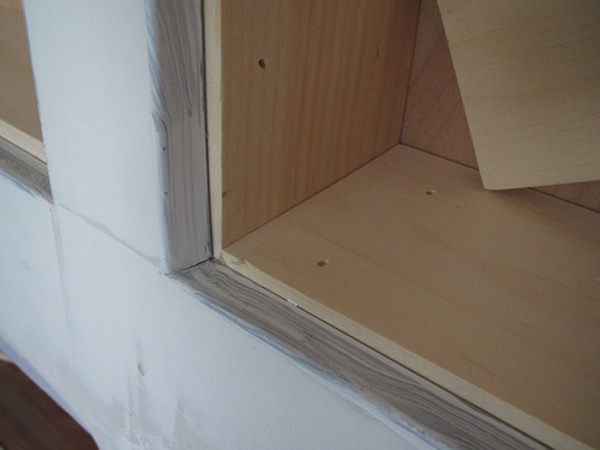
- The next stage of manufacturing of plasterboard shelves with our own hands is finishing work. Metal corners can be made with putty and then apply a coat of primer.
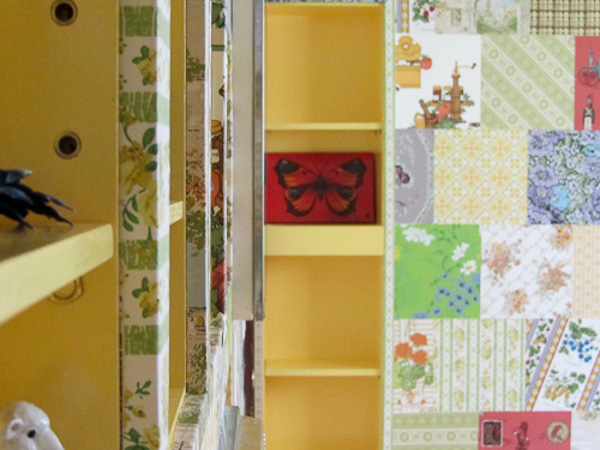
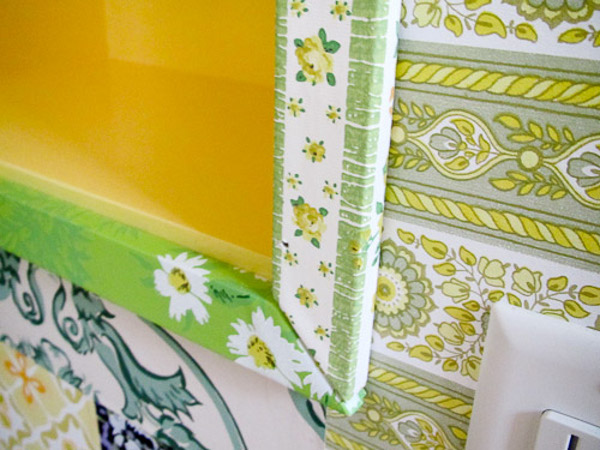
- And here's another way to draw a niche under the shelf - a wooden frame or a baguette, covered with colored wallpaper.
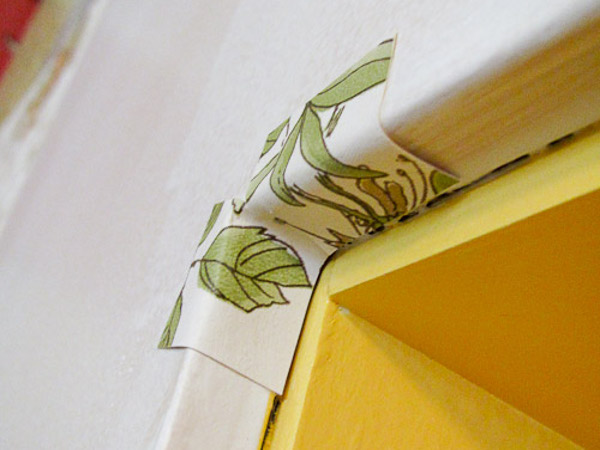
- A little trick: before gluing a sheet, in corners it is necessary to paste here such piece that then the joint turned out accurate.
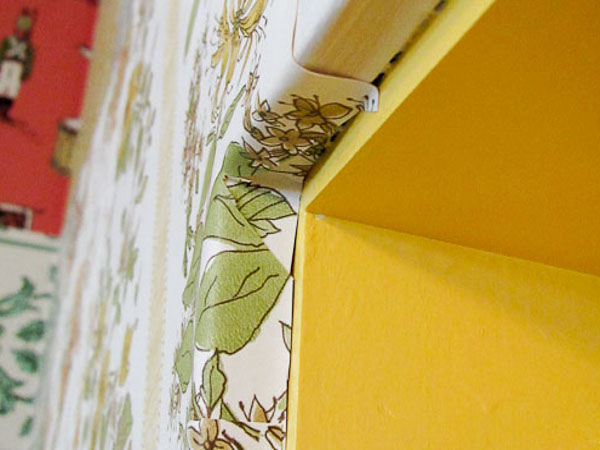
- Then directly on it we glue a cut of wallpaper.
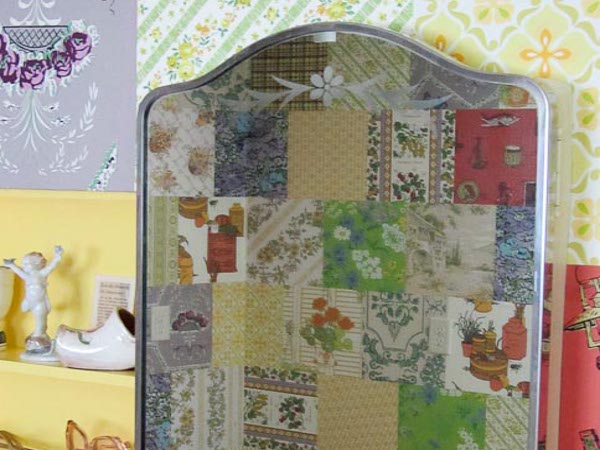
- Another interesting vintage design of shelves - instead of the usual rectangular niche use antique lockers from the bathroom or such a first-aid kit.
How to make a plasterboard shelf for a technique?
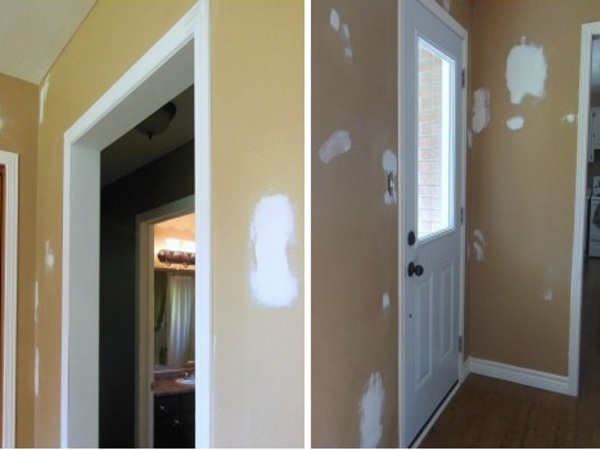
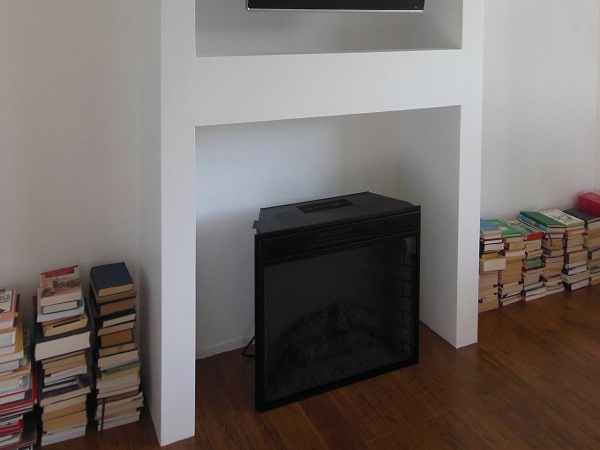
- The principle of work does not differ at all. From wooden boards we construct here such skeleton. In our case there will be two parts: one under the TV, the other using an electric fireplace.
- The shelves of plasterboard can be sewn on the wall.
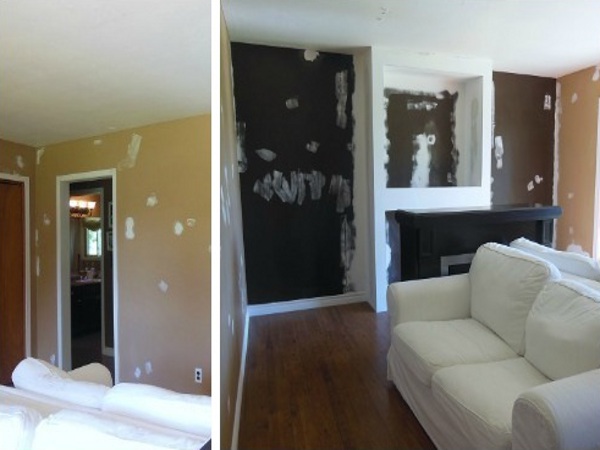
- This time the room will completely change its appearance for this building, so we are working on all the walls and the gypsum board structure ourselves. The surface should be as flat as possible, as in the future it will be covered with a layer of interior paint, and it sometimes gives out all the errors in the finish.
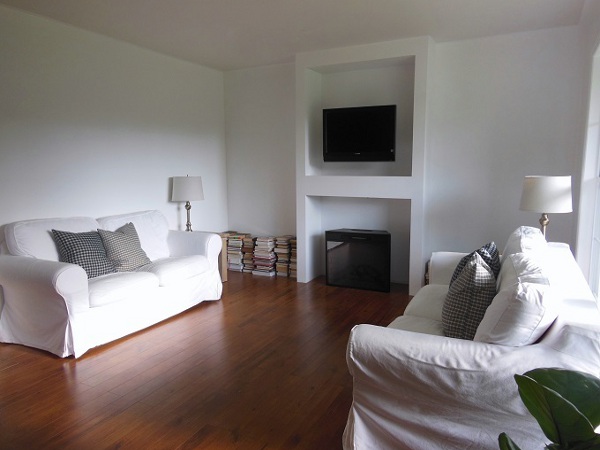
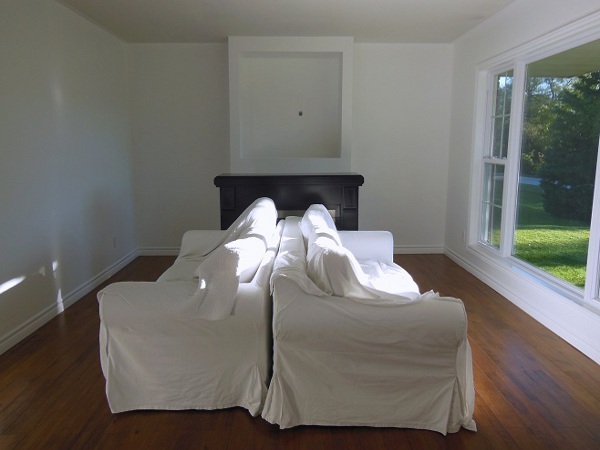
- The production of shelves from plasterboard on the finish line and now the entire room, including our shelves, paint. Built-in shelves and furniture in principle a good solution, if you want to get a functional and at the same time spacious design.
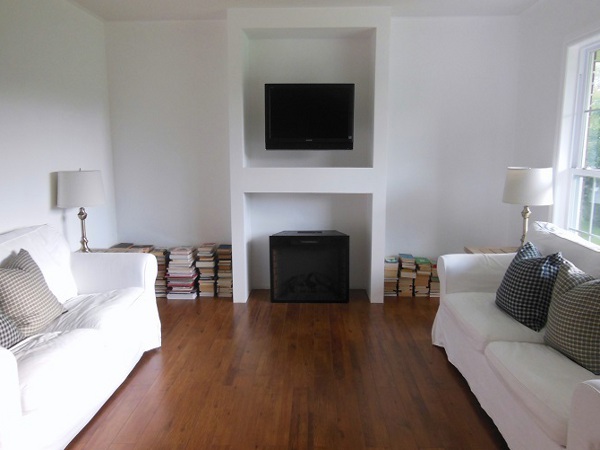
- And here is the result of work on the shelves of plasterboard with their own hands. On the top you will be able to arrange a lot of frames or small souvenir figurines, and below is an excellent space for a fireplace or falshkim. In the wireframe, all the wires are hidden, so a very spacious and airy design is obtained.
Almost all possible variants of plasterboard shelves consist in the construction of the frame and its further covering. As a rule, the construction is sewed with sheets of gypsum board and covered with any type of finish you like, from paint to artificial stone, the contrasting arrangement with wallpaper looks great.