Before we get down to work, let's see how this doll differs from the usual one? The difference between them is huge. Waldorf doll is made of natural materials. Its proportions repeat the proportions of the human body. The head is stuffed more densely than the body. So a person's head is much harder than anything else. In store dolls this is not observed. Our doll does not express emotion on the face. This allows the child to dream up and invent her facial expressions. For very young children, the facial features of the dolls are not indicated at all (as in the butterfly dolls), but for the older children, only eyes and mouth are outlined.
The Waldorf doll was invented by the teachers especially for the competent upbringing of children. It was created based on rag dolls. It is made by hand. And today we together with you will make Waldorf doll with our own hands. We offer you a master class on sewing Waldorf dolls.
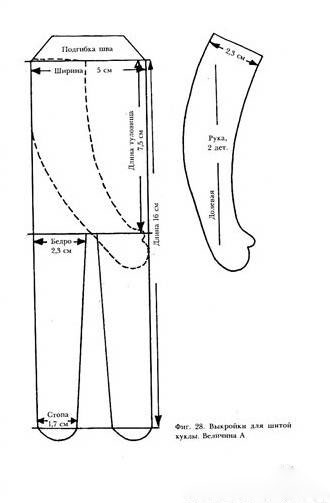
- Before sewing a Waldorf doll, we must make a pattern. Its dimensions are shown in the drawing.
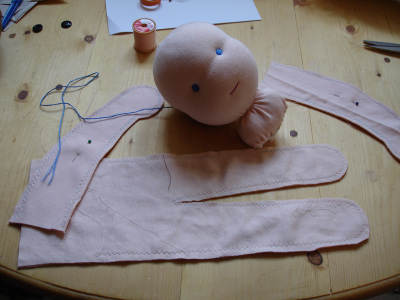
- Place the patterns on the fabric as shown in the picture.
- In order for the head to be sufficiently tight, it is necessary to make a correct packing. Take a suitable globule of unnecessary yarn and wrap it with several layers of sintepon, wool or batting. Pay attention to the fact that the ends of the strips of material that you are wrapping around the tangle should gather in a place where there will be a neck. Put the gasket in the toe and tighten the ends.
- You should get a ball like this.
- Then the head needs to be shaped. With the help of a string of mulina in several additions, design the shape.
- Refine your facial features by threading the ball, as shown in the picture. This will give our ball an anatomical shape.
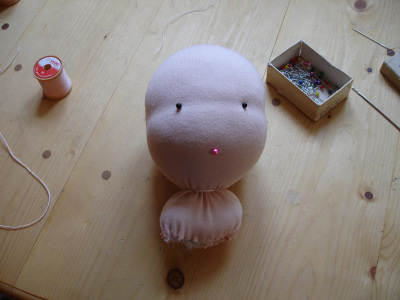
- We pass to the tightness of the head with bodily jersey. We fold the flap in half, and sew the occipital suture. We put the shell on the head and, carefully spreading the fabric, sew on the back of the neck and on the neck.
- We pass to the face. The nose is not always done, but if you want, you can attach a small ball of wool to the workpiece. Mark the location of the mouth and eyes with pins. Eyes embroider at the level of the eye thread. To the facial expression of our pupa was cute place your eyes and mouth in the vertices of an equilateral triangle. Embroider a mouth, for this purpose it will be enough to execute a pair of stitches.
- In order to embroider eyes, insert the needle away from the face and pull the thread into the place of the first eye. Embroider it with threads of mulina. Do not forget to count the stitches, because the second eye must be exactly the same as the first. For beauty, you can brown your cheeks using a wax pencil. Unfortunately, this makeup is short-lived, as well as any other. But who prevents you to repeat the procedure after a while.
- We got to the body. The proportions of the Waldorf doll are the same as those of the human body. In this case it is a child, therefore the body from neck to foot should be three times larger than the head.
- We pass to the stuffing of the calf.
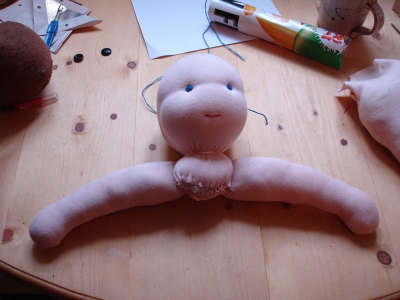
- It's time to fasten your hands.
- Attach the sewn arms to the neck, as shown in the picture.
- That's what we should get.
- We connect the head and body together.
- Double thread sew the body to the neck.
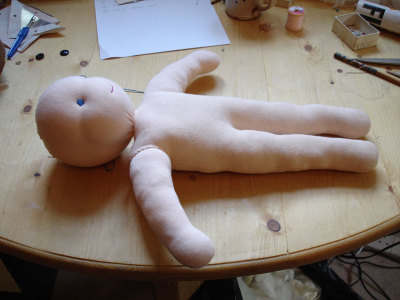
- As a result, we should get here such a doll.
- For realism, we will work out the small details. To our doll could sit, you need to flush your legs from the groin slightly obliquely up. Sew your feet, and palms, as shown in the picture.
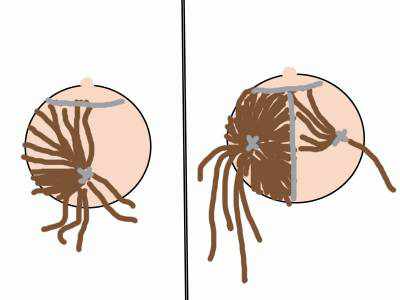
- Our next step is the Waldorf doll's hair. For convenience in work, designate yourself with a simple pencil hair growth line. She will not be seen in the finished hairstyle, but in the work she will help you a lot. Decide on the hairdo, since if the doll has one tail, then the hair center will be one. And if you are going to braid her two braids, then the center will be two. An example you can look at the picture. Fix the thread in the center, leaving the tail along the length of the hair. Now, do a small stitch on the hairline, and go back to the center again. Now let's leave a loop (then cut it) along the length of the hair, and again on the growth line. And so on until the whole head is covered with a layer of thread. Note that the thread in the center should be fastened, otherwise the hair will not hold. After all this, you can attach extra hair. Walk once more along the edge, achieve the right density of hair.
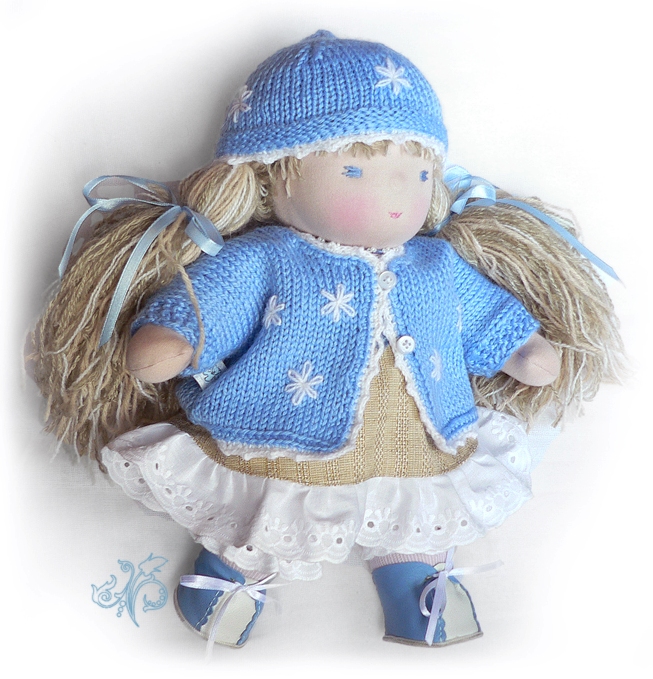
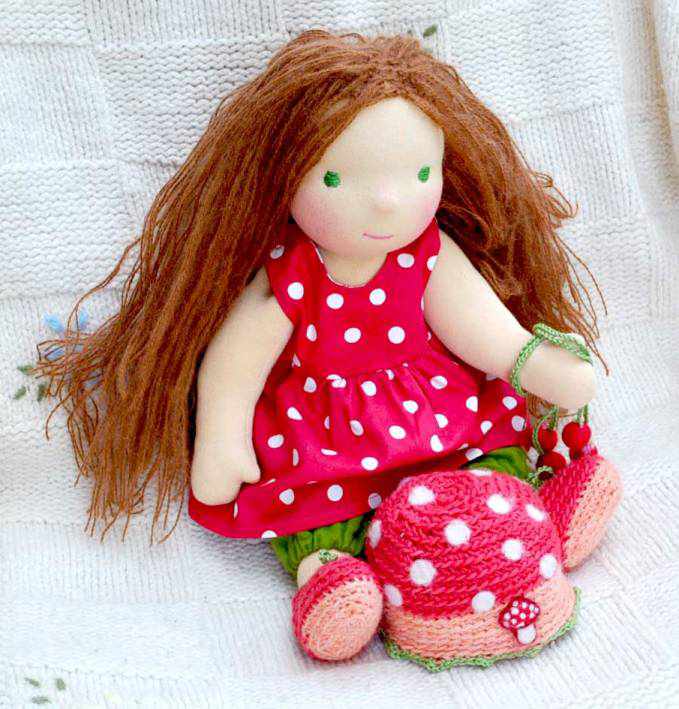
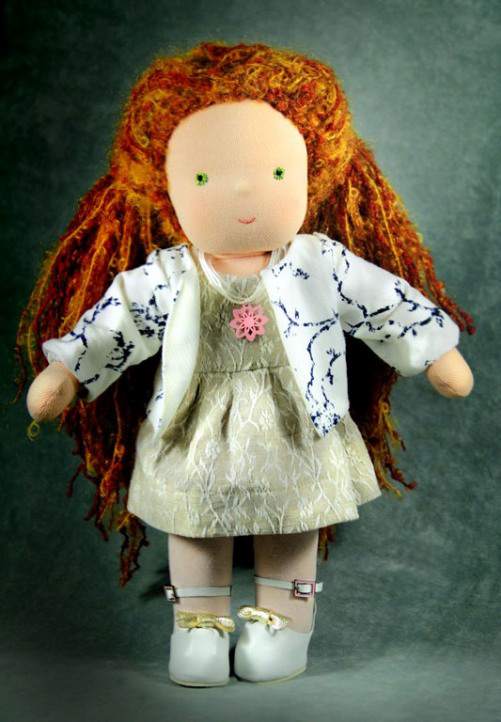
- You can think up clothes for your Waldorf pupa yourself. It can be a national costume, and just a pretty dress.
| | | |