Repair in our time takes a lot of effort and money, so that at least somehow make it cheaper, you can try to work as hard as possible yourself. Girdling the ceiling with plasterboard by one's own hands is a troublesome business, but not so complicated, and can help save a substantial amount of money. Therefore, you should study the work plan in detail and do everything step by step, according to the instructions. Believe me, the result will pleasantly surprise you.
Suspended ceiling from gypsum cardboard with own hands: a master class
- The first stage of the work is the preparation of the premises. To do this, you need to do everything necessary to ensure that the walls and ceiling are suitable for repair work. If there are cracks somewhere, you need to cover them with cement mortar.
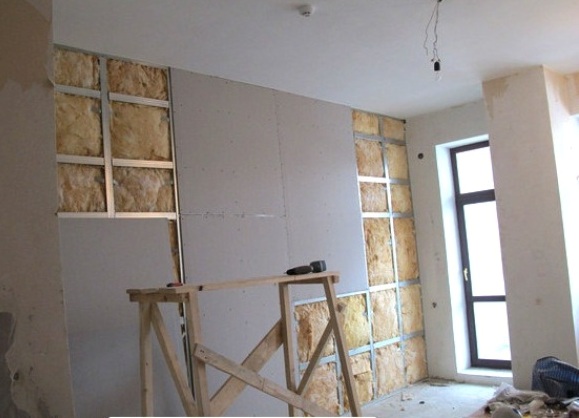
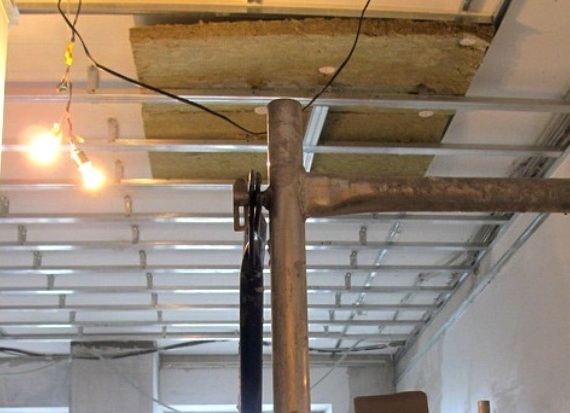
- The second, one of the most important stages of installation of a ceiling from gypsum cardboard by own hands, - manufacturing of a skeleton, its assembly. For this it is necessary to select all the guides correctly. It is necessary that the following materials and tools are at hand: the ceiling profile; direct suspensions; guide profile; cross-shaped brackets; galvanized self-tapping screws; dowels; tape made of foam polyethylene.
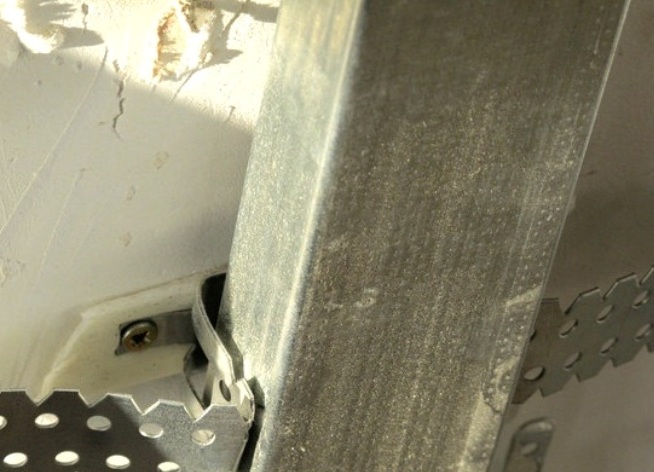
- Further, the ceiling profiles should be inserted in the already installed profiles. For this, dowels and suspensions are used in the work. Everything must be done accurately and qualitatively, in advance thinking over the actions. It is worthwhile to calculate in advance what the distance between profiles should be. Experts argue that for a good suspended ceiling, it is necessary that a separate sheet of drywall has a fixation in at least three points.
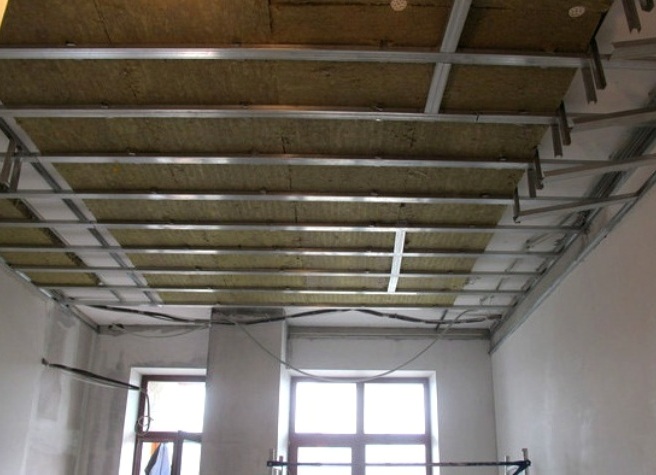
- The next stage of finishing the ceiling with plasterboard with their own hands is its warming. To do this, we take sheets of mineral wool and special fixings-fungi. Mineral cotton wool and insulates the room, and insulates it inside. This is how the ceiling will look after the successful completion of this stage of work.
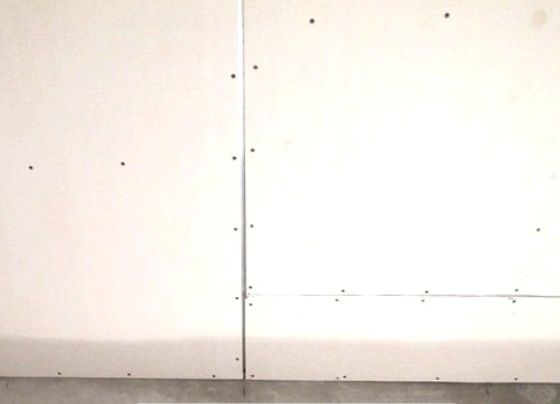
- Let's move on to the next stage - sewing the ceiling with sheets of plasterboard. Here you need to remember one trick - between the sheets should be a distance of 5-7 mm, so that in the future, with a drop in temperatures, drywall is not swollen.
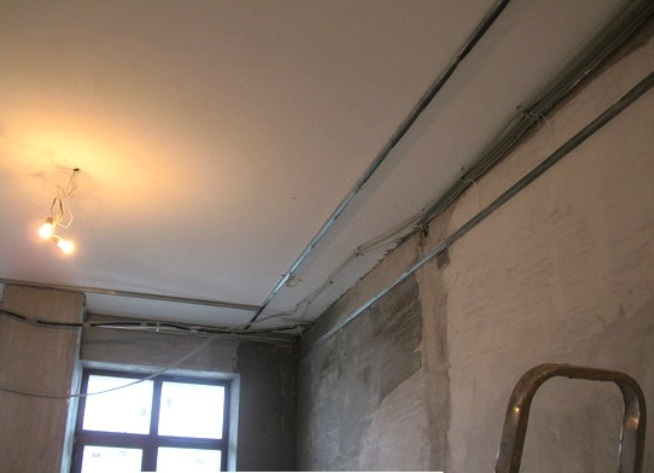
First you need to attach the guide profile. It is from what height it is attached, and the height of the future ceiling will depend.
To prevent rust from appearing on the ceiling, it is necessary to fasten the sheets with galvanized self-tapping screws. This is how the work on sewing the ceiling with plasterboard goes.
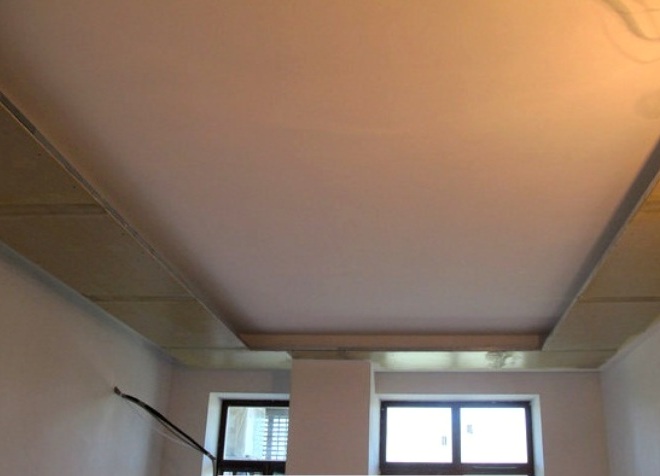
That's all, this concludes the work. It turns out a beautiful and absolutely flat ceiling, which can be painted, whitewashed or wallpapered - it all depends on your desire and capabilities.
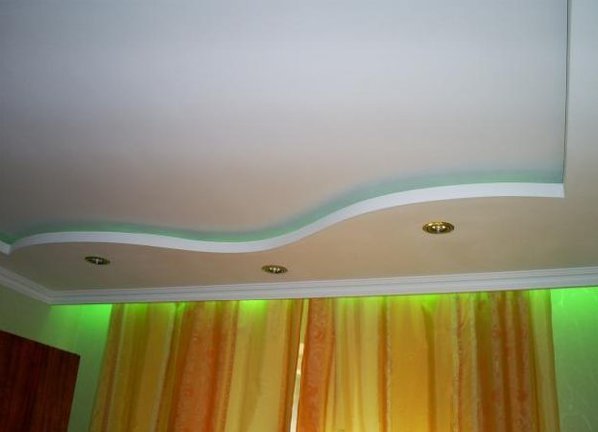
You can also make a two-level ceiling from plasterboard with your own hands. To do this, you need to make measurements and calculations, determining which form will be the decorative, the lower level, and at what distance it will be from the top. Next, make changes in the frame and trim the ceiling, taking into account all the nuances. Such ceilings are now very popular, they can be beautifully beaten with the help of competent lighting.
A smooth, beautiful ceiling is a very important detail of the interior. So it's worth trying to make it look perfect. But, contrary to popular belief, it does not need to spend a lot of money or time. All you need to do is follow the instructions clearly and know what you want to get in the end. And your room will appear in a new light, thanks to a beautiful, modern ceiling.