The original chandelier with your own hands at home can be made from improvised items. Cork, shells, beads, lace, paper, thread - everything can become a decor for a lampshade. For the manufacture of basic elements are usually needed - a frame, a decor and a cartridge with a light bulb.
Chandelier - master class
Chandelier of thread
Consider the manufacture of a stylish chandelier of thread.
For work you will need:
- balloon;
- thread;
- PVA glue;
- brush for glue;
- vessel for glue;
- scissors;
- a cartridge with a cord;
- a gun and hot glue;
- coffee beans ;
- light.
Let's get to work.
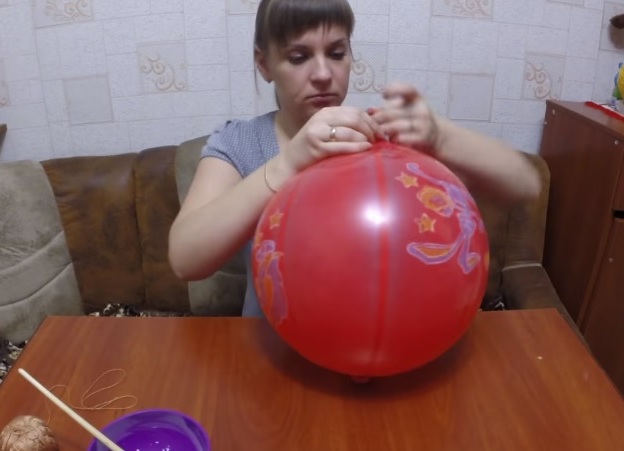
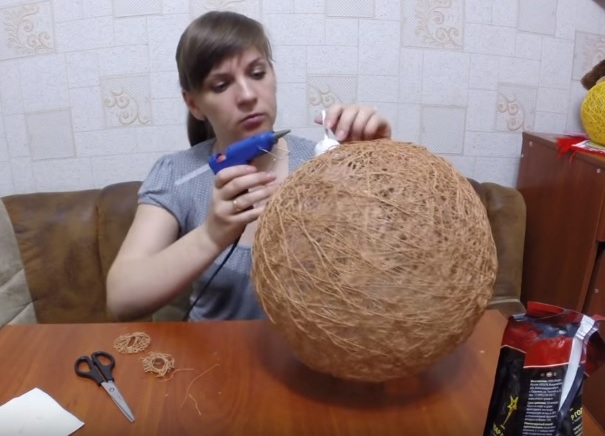
- The balloon is inflated, the end is wrapped.
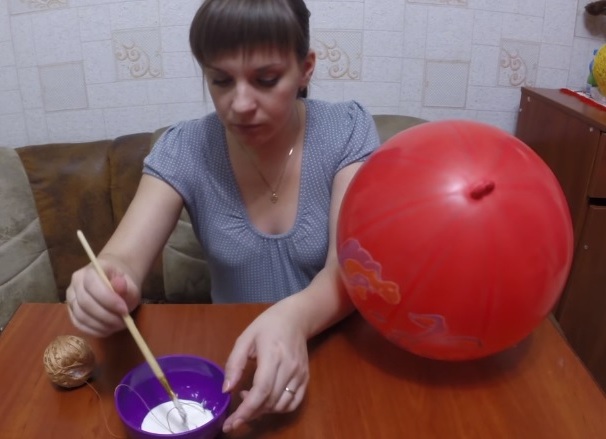
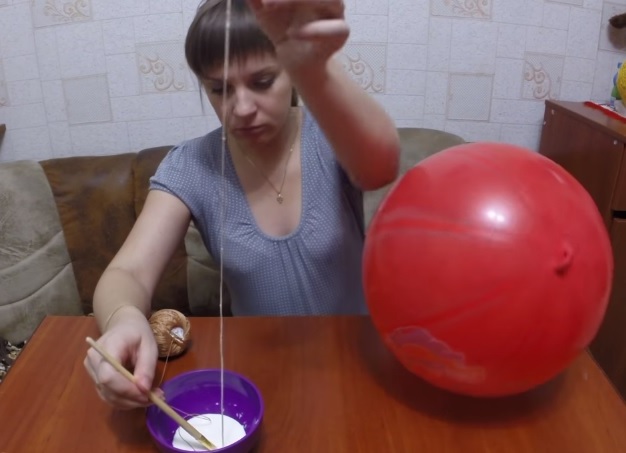
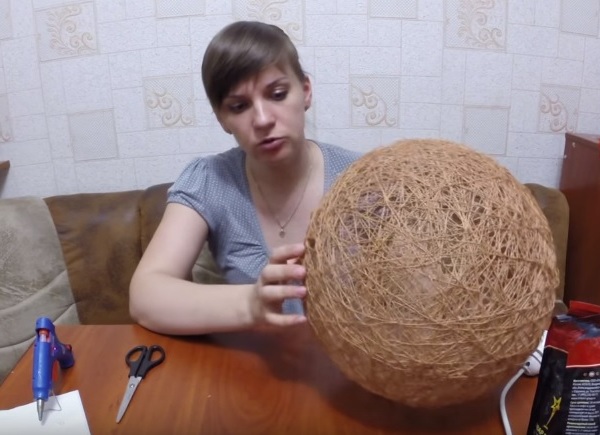
- Threads need to take the color that the chandelier should look like. The thread is dipped in the PVA glue with a brush and is wound on the ball in random order. The product should be left to dry for about a day.
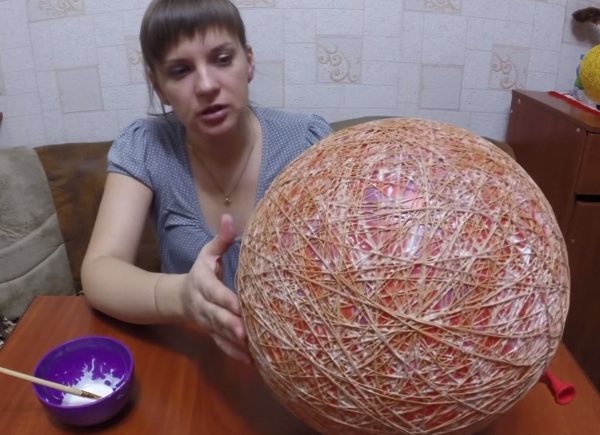
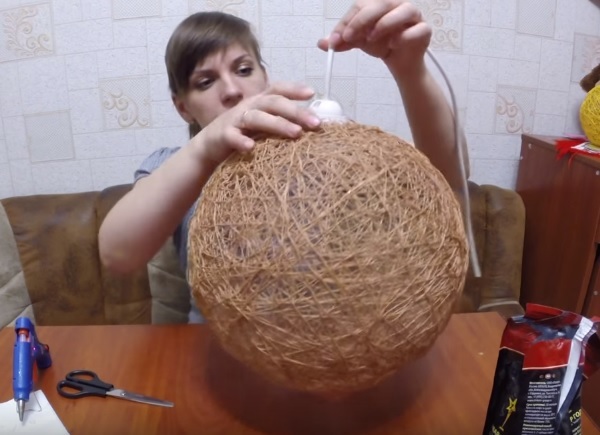
- After the glue dries, the ball can be blown off and cleaned. Remains the ball from the thread, which took its shape.
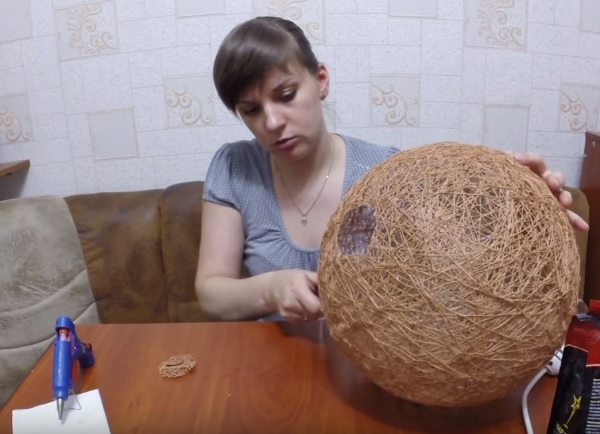
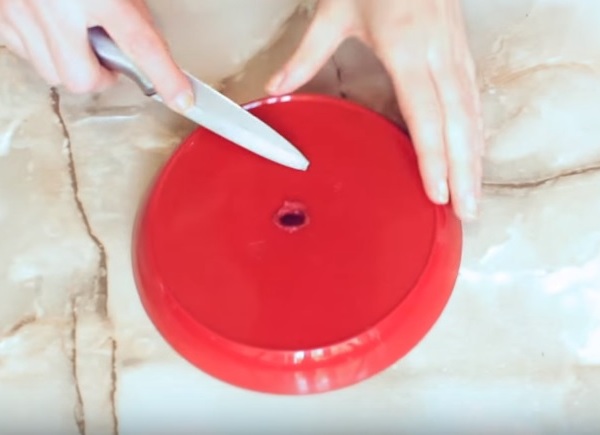
- A hole is cut from below with a pair of scissors, through which a light bulb will be inserted.
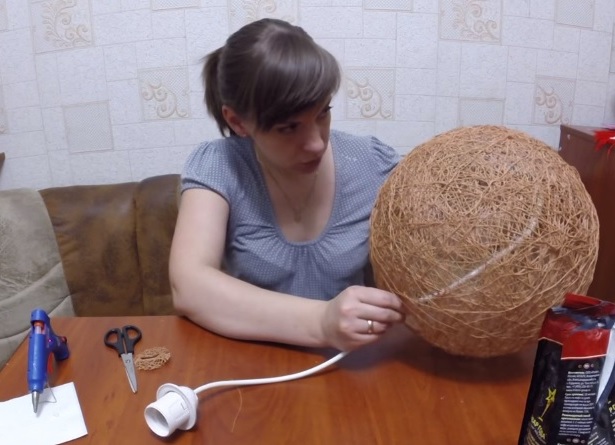
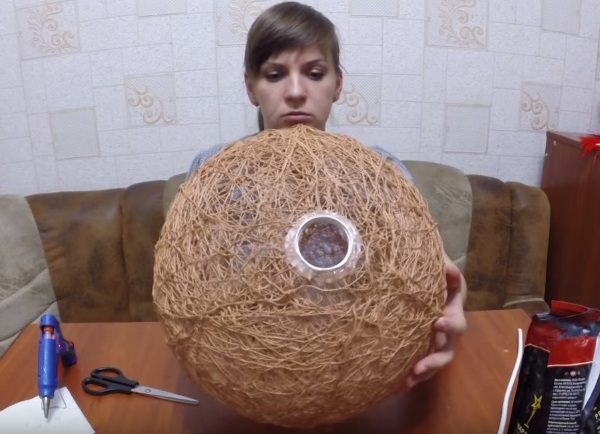
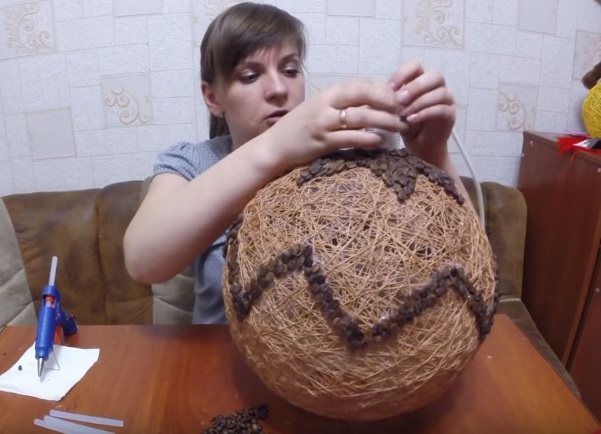
- A cartridge with a cord is inserted inside the product and a round hole is cut from the back side under it. The hole should be of such diameter that the cartridge looks out a little from the chandelier, and the structure itself will hang on it.
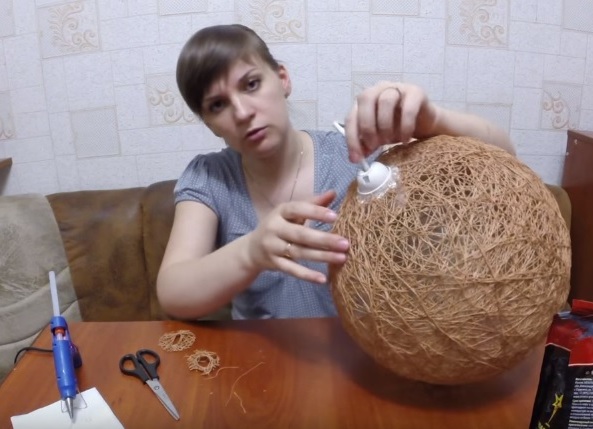
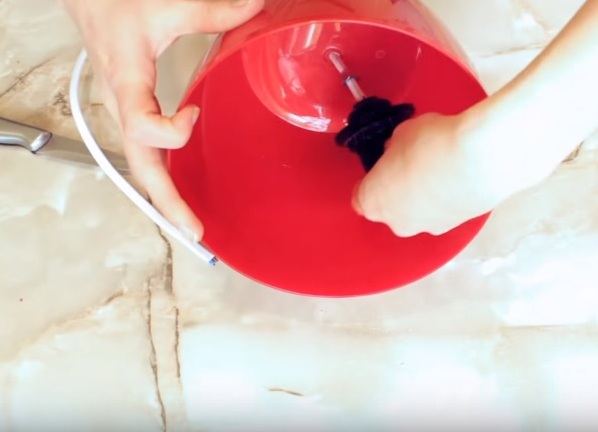
- The cartridge is glued to the chandelier with hot glue to keep it well.
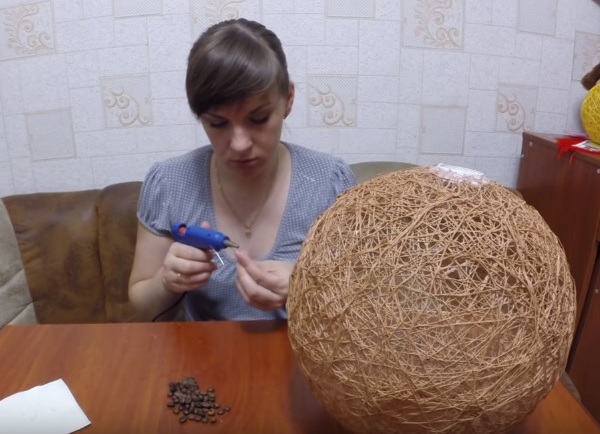
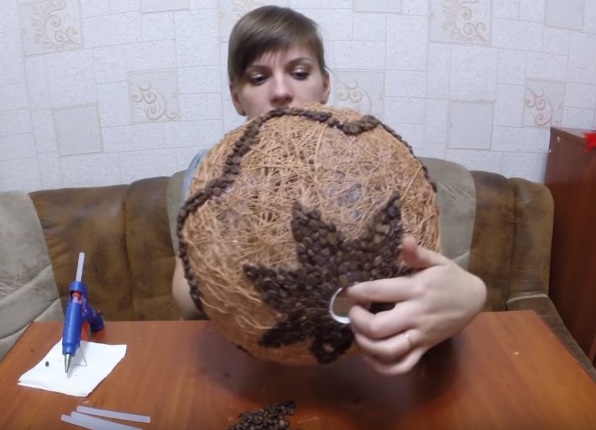
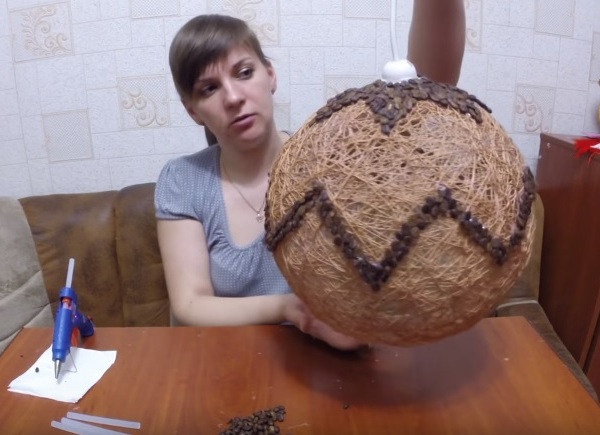
- The bowl is decorated with coffee beans. They are glued to hot glue.
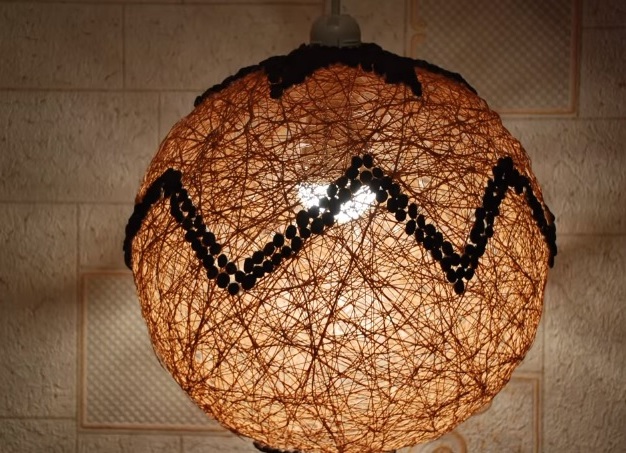
- Then the cartridge is screwed in.
- The chandelier is ready.
| | | |
| | |
| | |
| | | |
| | |
| | |
Chandelier from plastic spoons
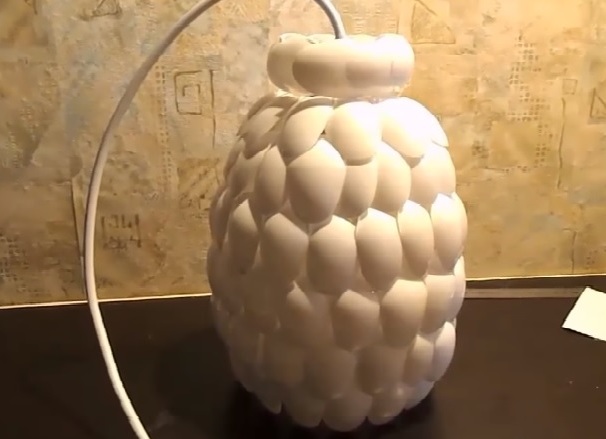
The second interesting option is a chandelier made of plastic spoons.
It will be necessary for manufacturing;
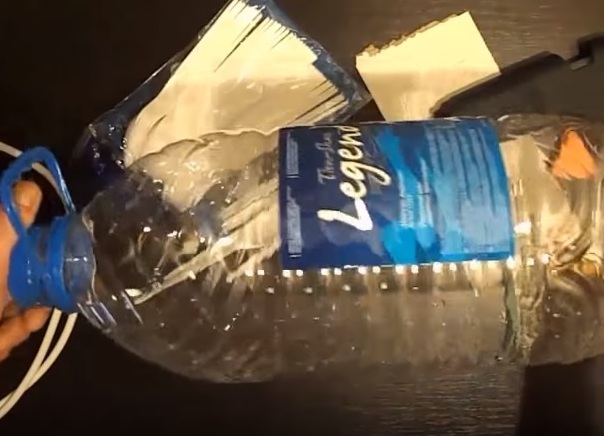
- five-liter plastic bottle;
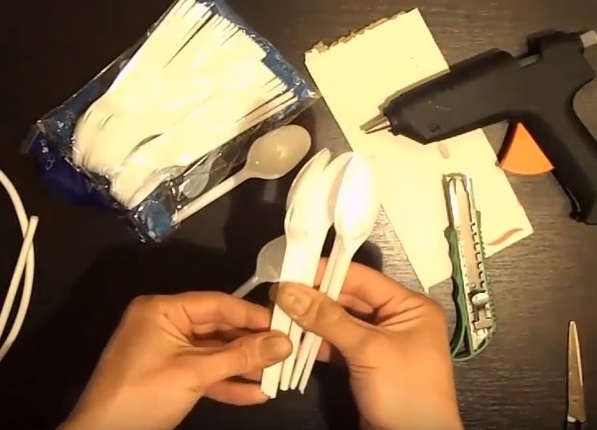
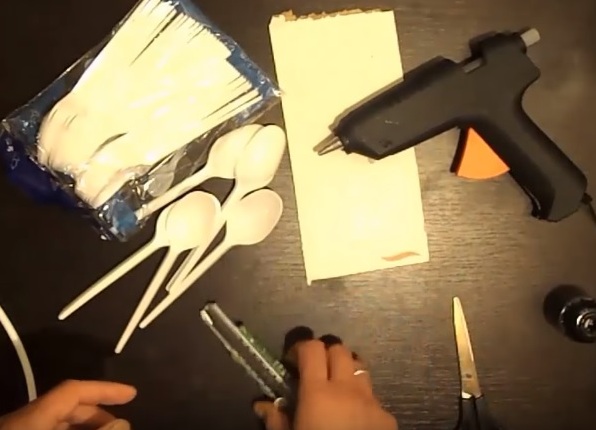
- disposable spoons;
- the lamp is economical;
- cartridge;
- scissors;
- stationery knife;
- glue gun.
Master Class:
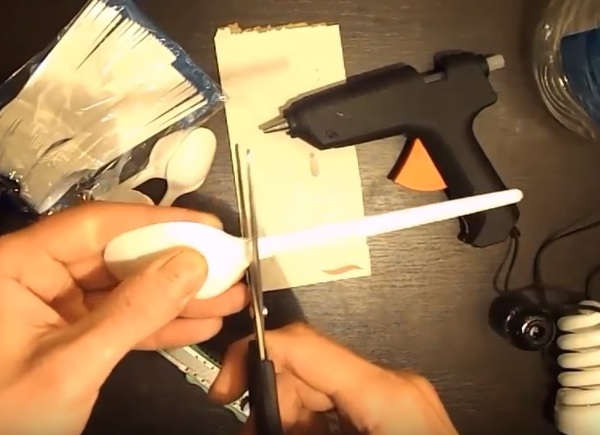
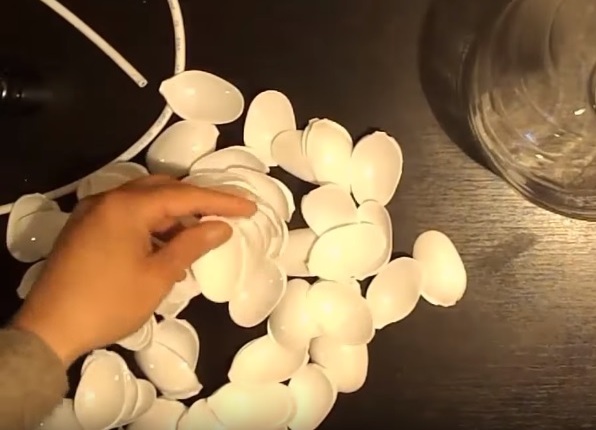
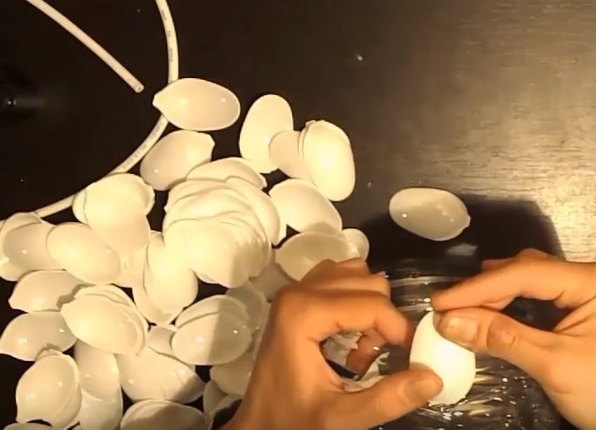
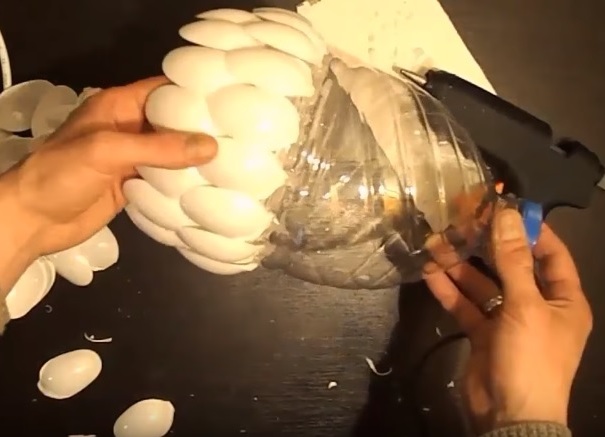
- Spoons are cut. The bottom of the bottle is cut off - it will be used as a chandelier frame.
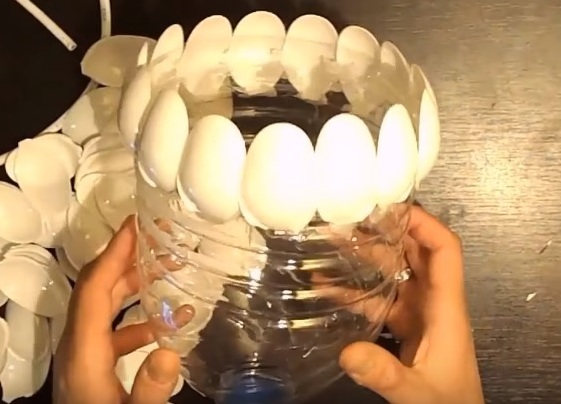
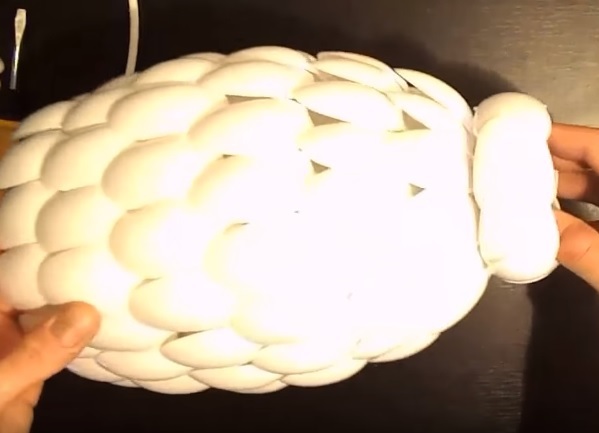
- Spoons are glued using an adhesive gun. First, the bottom row is glued. It is important to establish their first row smoothly. The spoon is fixed to a drop of glue at its base and pressed. Lay the spoons you need a little overlap.
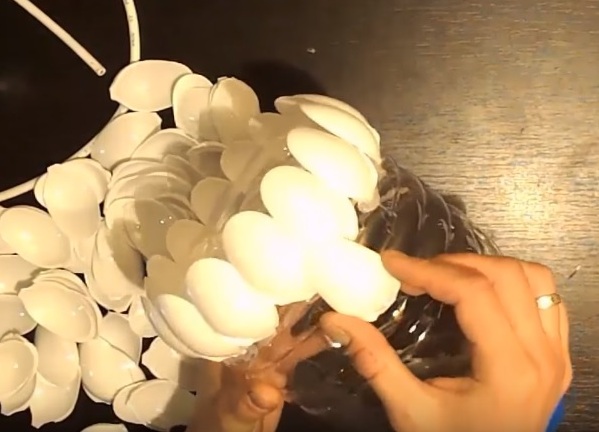
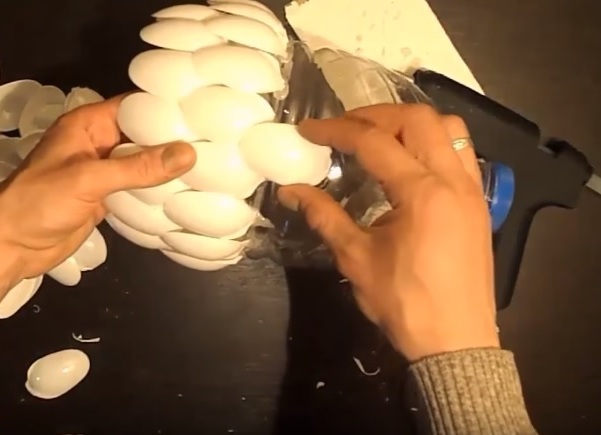
- The second row is glued lapped first with a staggered shift.
- Similarly, the next rows are glued to the very neck of the bottle.
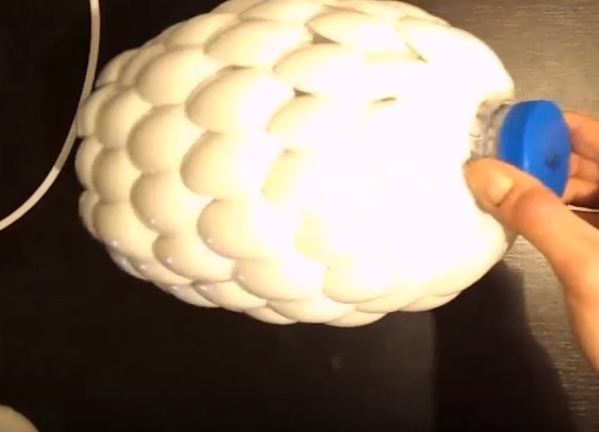
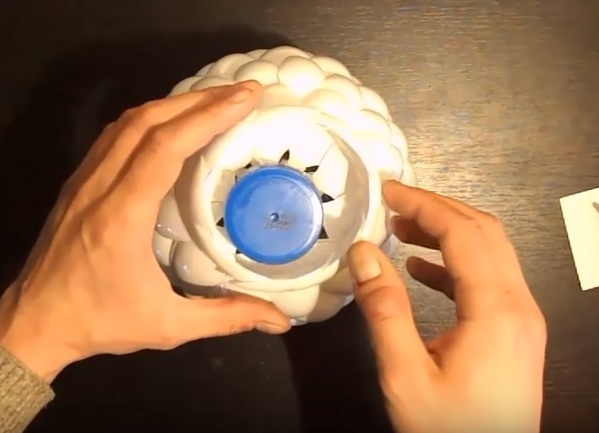
- A ring is made from several spoons. It must be fixed on the neck of the bottle to close it.
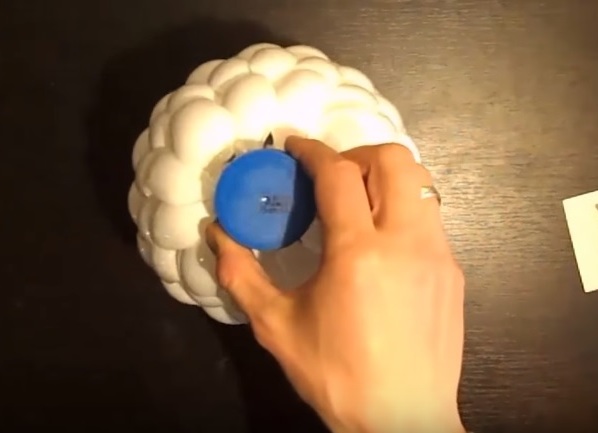
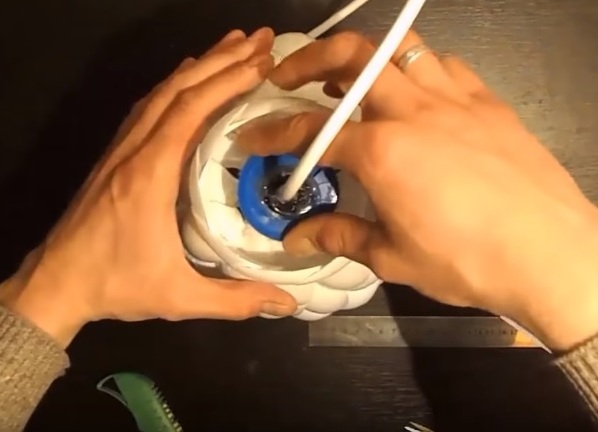
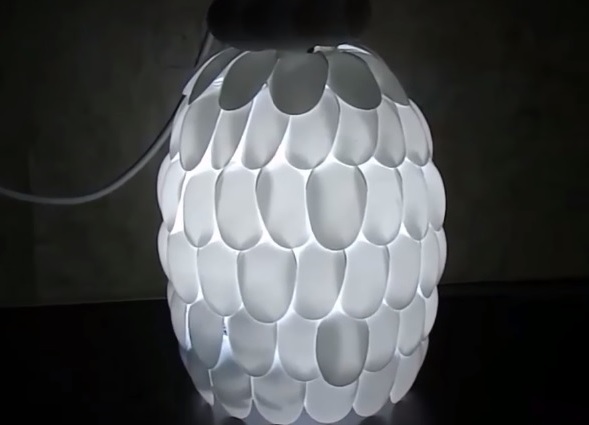
- The cartridge is inserted into the bottle cap. To do this, it must first cut out the hole, stretch the cord through it. The cartridge is additionally fixed to the glue.
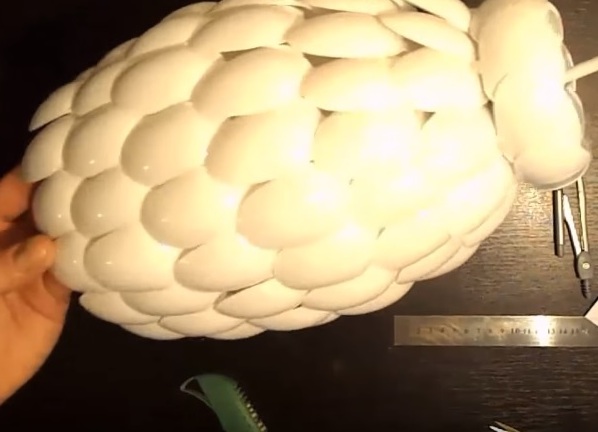
- The homemade chandelier is ready. It is important to screw in it a light bulb that is not heated so as not to melt the plastic. It can be suspended or used as a night light.
| | |
| | |
| | |
| | | |
| | |
| | |
| | |
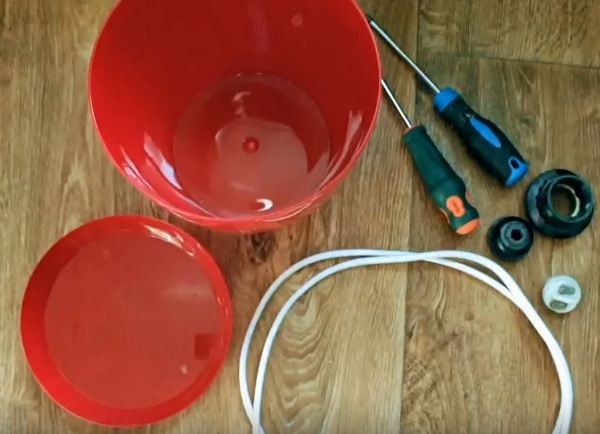
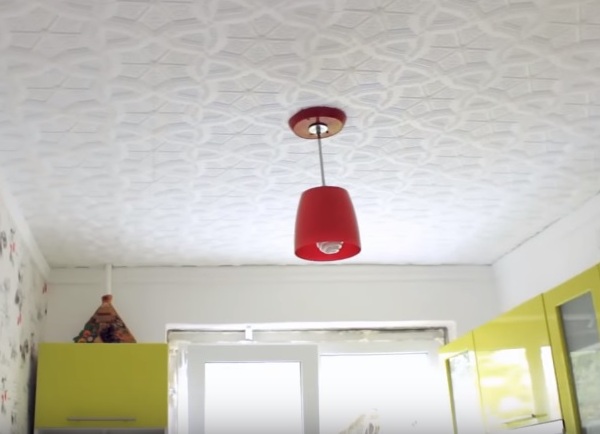
Chandelier from a pot
No less original chandelier can be made from a conventional flower pot.
To do this, you will need:
Let's get started!
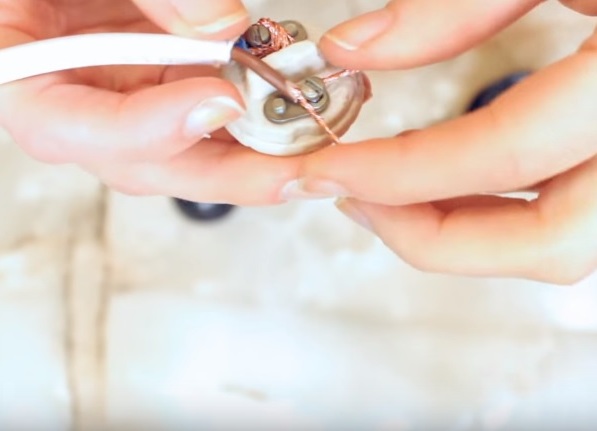
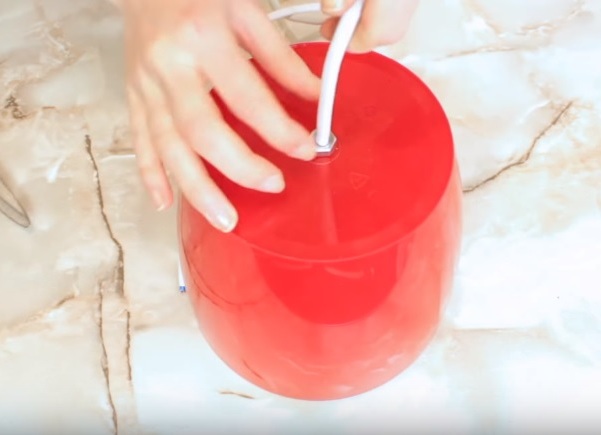
- The wire is stripped and attached to the cartridge.
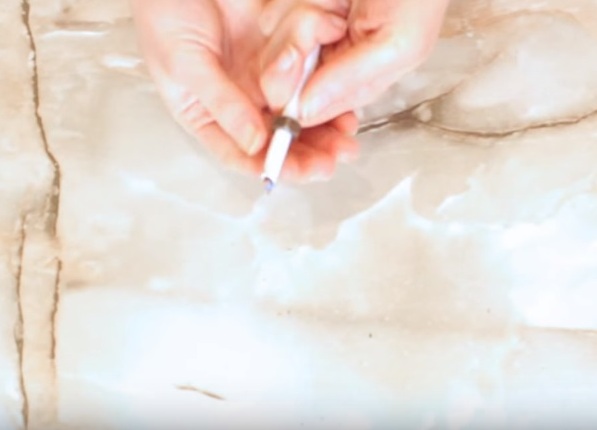
- A hole in the pot and stand is made with a hot screwdriver.
- A washer is put on the free end of the wire.
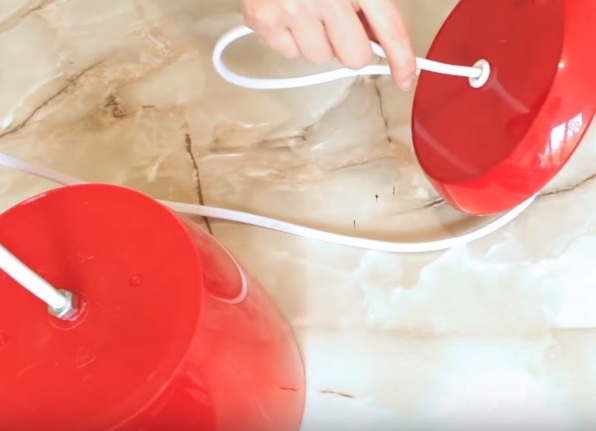
- The wire from the cartridges is inserted into the pot in such a way that one washer remains inside.
- Second, the nut locks the cord from the outside.
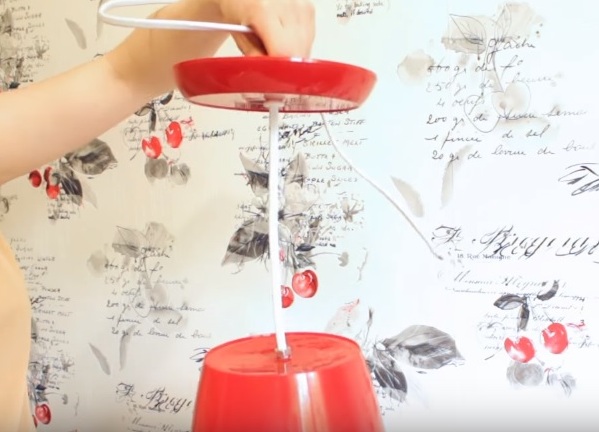
- The wire is passed into the stand. It will be fixed to the ceiling. At this stage, you can adjust the height of the lampshade.
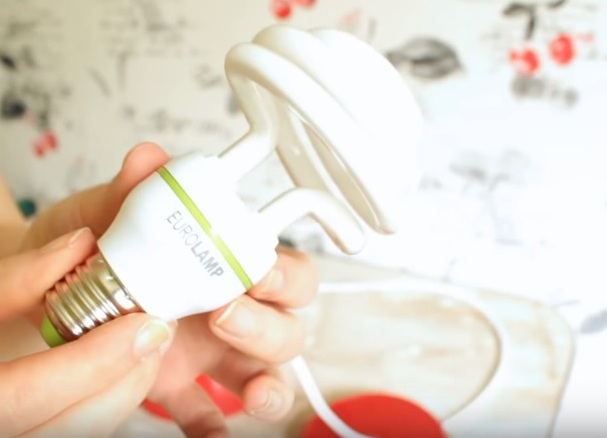
- A light bulb is better to take an energy saving one so that it does not get warm.
- Now you can hang the chandelier.
| | |
| | |
| | |
Such original ideas will help to create a chandelier with their own hands easily and quickly. It will refresh the interior, decorate it and cost quite inexpensively.