An envelope is one of the important items of the newborn given. It is needed when discharging, as well as in a walk in the fresh air in the cold season. This attribute is not necessary to buy: it is quite possible to sew an envelope for a newborn itself. And, unlike bought, this thing will be done with love and trembling.
How to sew an envelope for a newborn on the statement?
Extract - a special celebration, so the envelope for the baby should be fine. We offer a gentle envelope, which after discharge can be used for a daily walk in a stroller in autumn or spring, lace restraints.
So, you need:
- atlas;
- fleece;
- natural fabric on the lining (coarse calico, poplin, cambric);
- lace;
- tape.
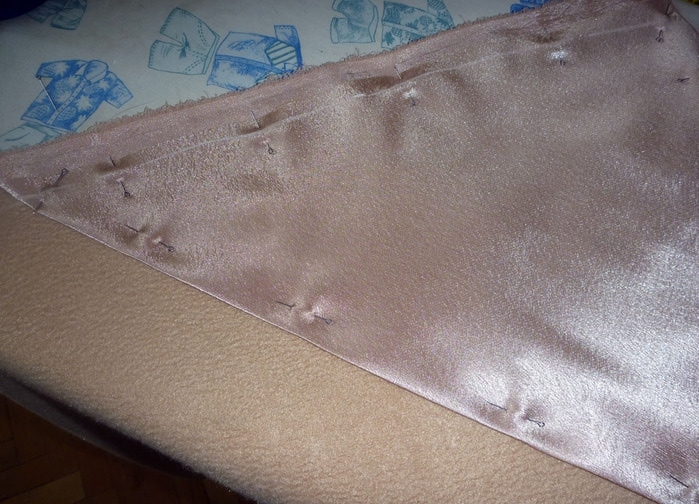
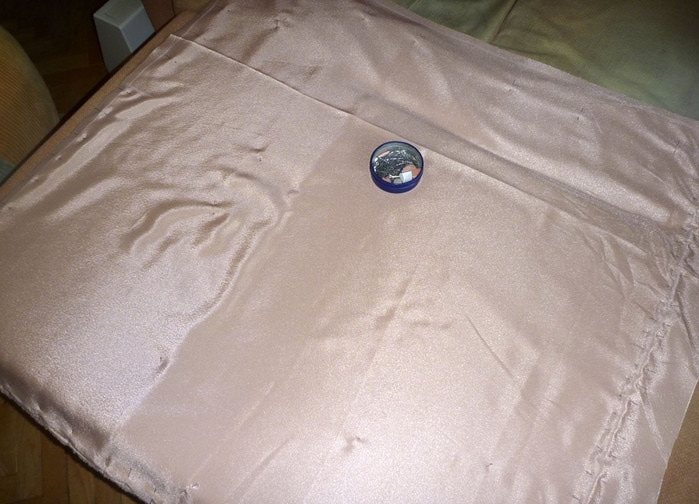
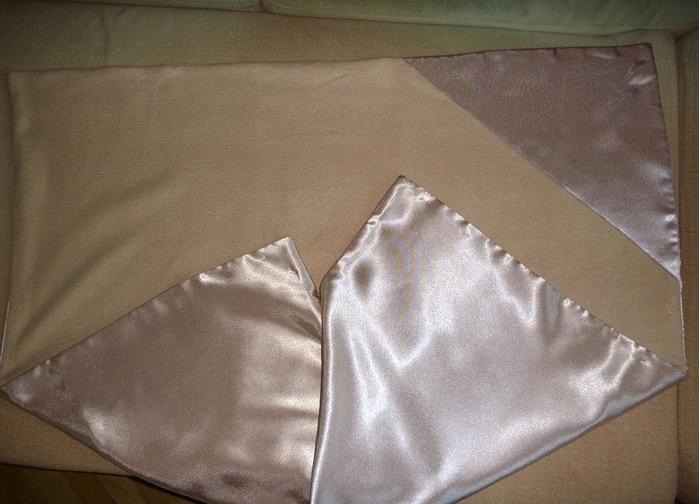
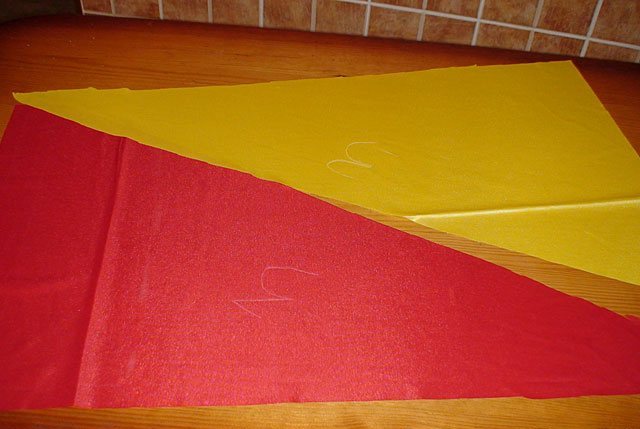
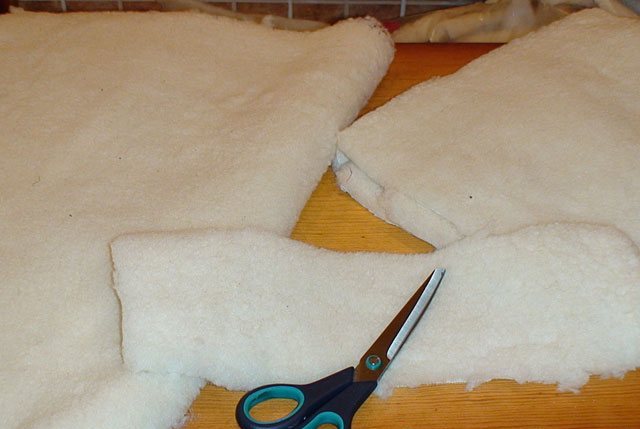
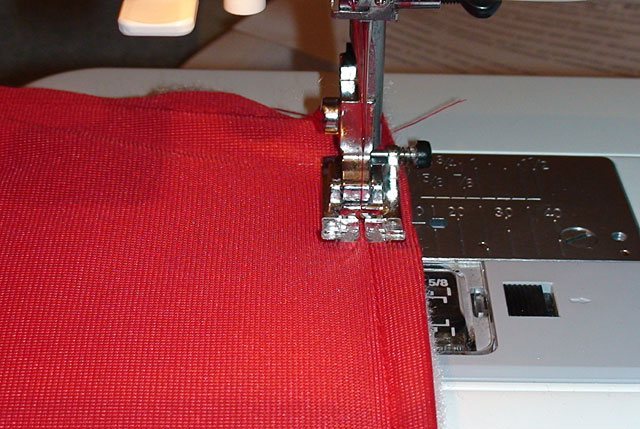
- For this envelope for a newborn pattern is quite simple - the product is sewn in a square shape. From the satin fabric, cut out two squares: 1x1 m and 40x40 cm. Also cut out a square of fleece with a size of 1x1 m.
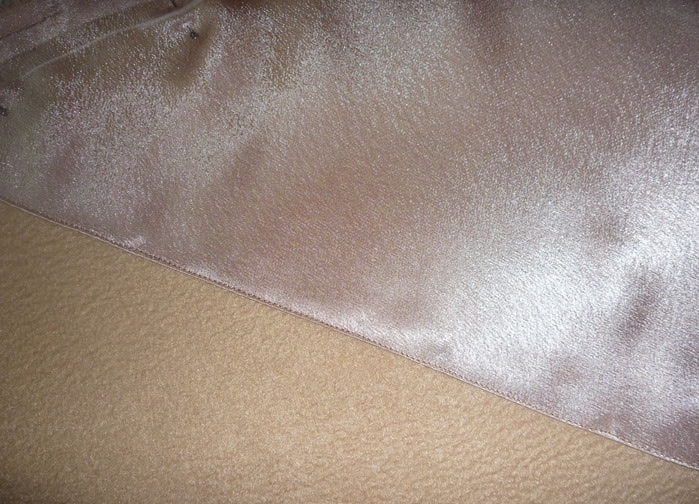
- The smaller square from the satin fold on the diagonal, that would be a triangle and iron the element. Attach this detail at a right angle to any corner of the square of fleece, stitch the bottom of the triangle and sweep its sides to the fleece.
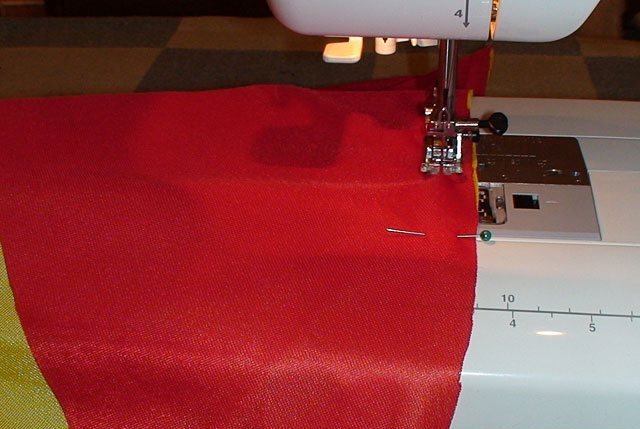
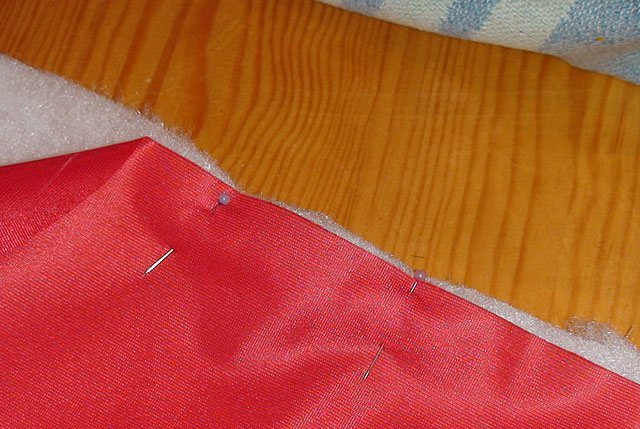
- Align the squares from the satin and fleece and sweep, and then connect them to the sewing machine, leaving a small area for turning.
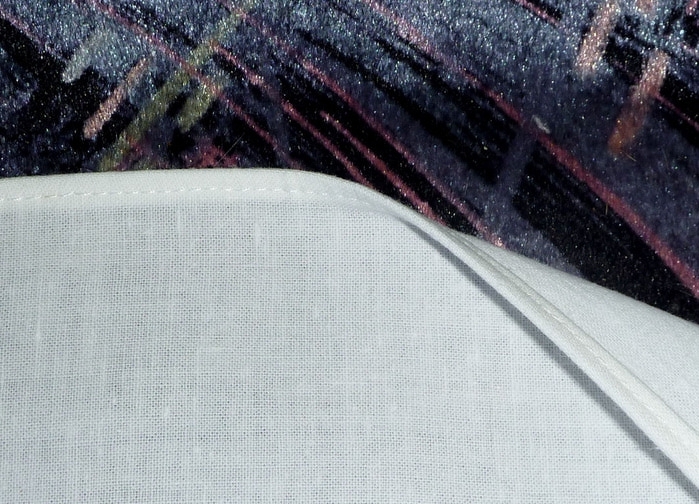
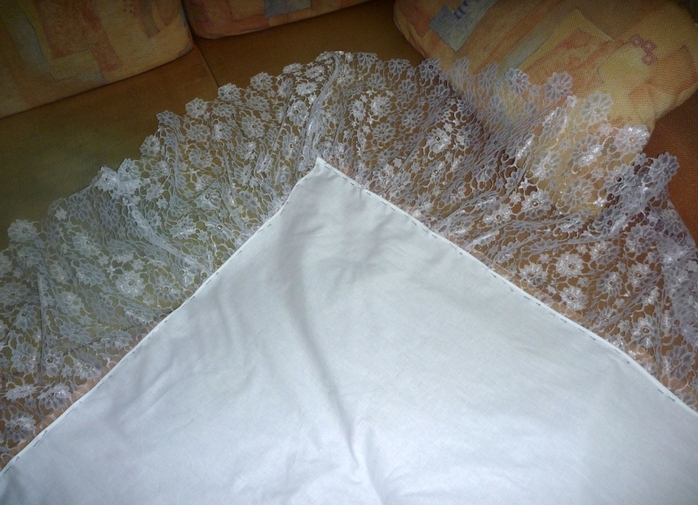
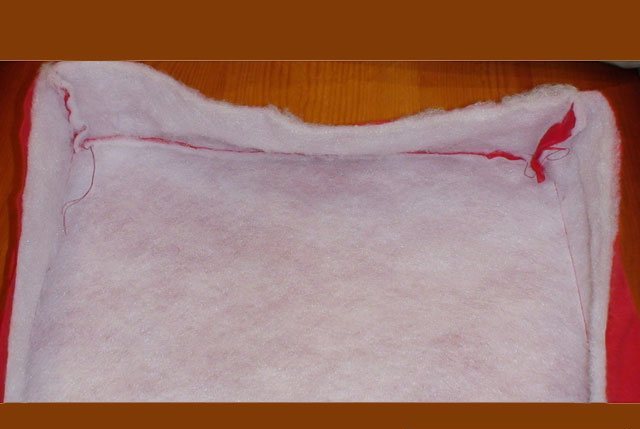
- Now let's make a lace sheet. Fabric from natural material must be washed and ironed. Then open the square 1x1 m, taking into account the seams. Handle the edges of the fabric by bending them.
- Select the lace you attach with a zigzag seam in the form of assemblies on the 2 sides of the sheet, which form an angle.
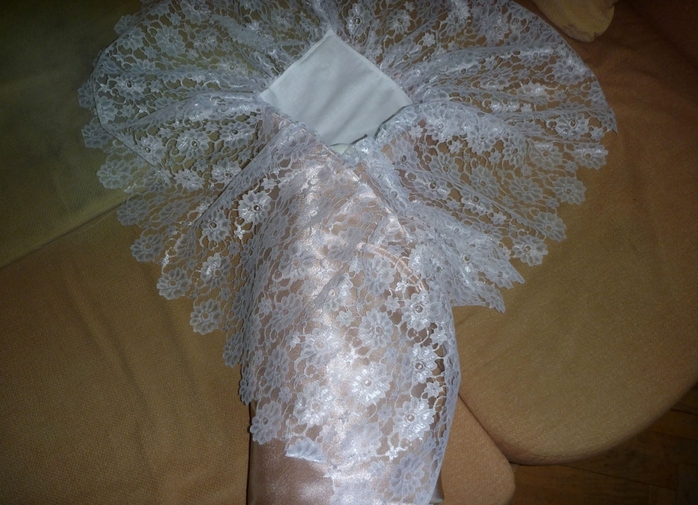
- Done! At use the lacy sheet is superimposed on the warmed envelope.
| | |
| | |
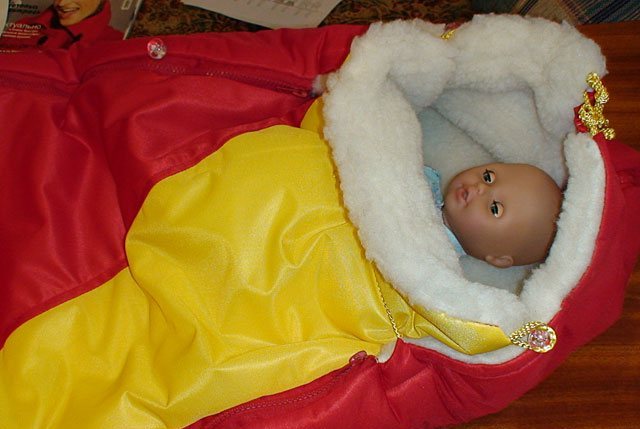
How to sew a winter overall for a newborn?
In order that the baby does not freeze in the winter cold, make your own hands a winter overall. It is not only warm, but also so cozy! The size of the envelope for the newborn will be 111x45 cm. It will be necessary:
- cloth for the upper layer of overalls (nylon, plashevka);
- material for insulation of the product, for example, sintepon;
- fur for the inside;
- 2 zippers with a length of 32 cm;
- decorative cord 1.3 m;
- buttons 2 pcs .;
- thread.
Manufacturing of overalls:
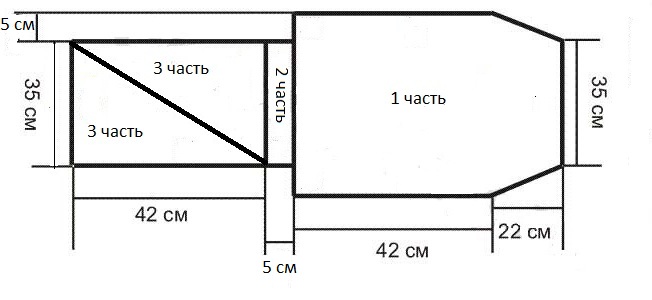
- We perform a pattern of a winter envelope for a newborn, using the above diagram.
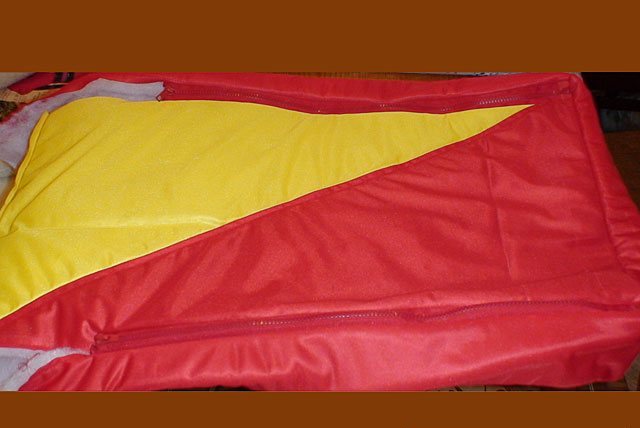
We measure all the details on the fabric for the upper layer, not forgetting the allowances for seams, according to the scheme. Part 3 for decoration purposes can consist of two triangles of different colors. Exactly the same details are measured and cut out from the insulation and fur. - By attaching both halves of the part 3, join them, and then perform a decorative stitch at the place of their joint.
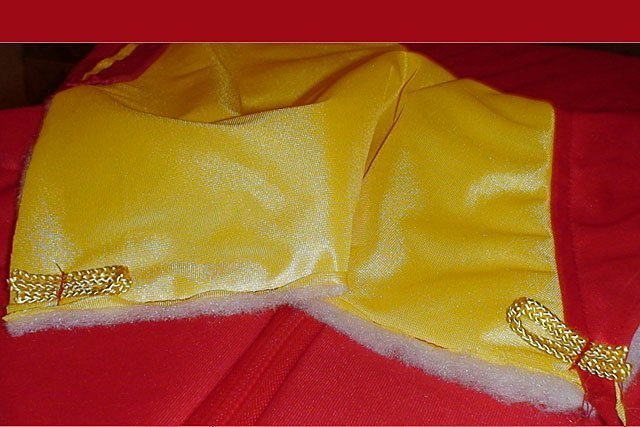
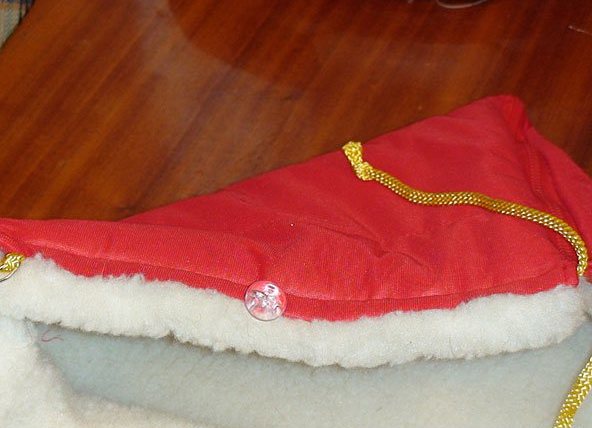
- Applying the wrong side of the part to the heater, the product must be trimmed around the perimeter. It also comes with details 1, 2.
- Measuring from each long edge of the part 1 5 cm, we perform two parallel machine stitches.
- To the bottom edge of the part 1 we attach the part 2 in the middle, and we sew them together. It is also necessary to join the sides of part 2 with both free edges of the bottom of the part 1. We get the bottom of the envelope.
- Staple part 3 with detail 1.
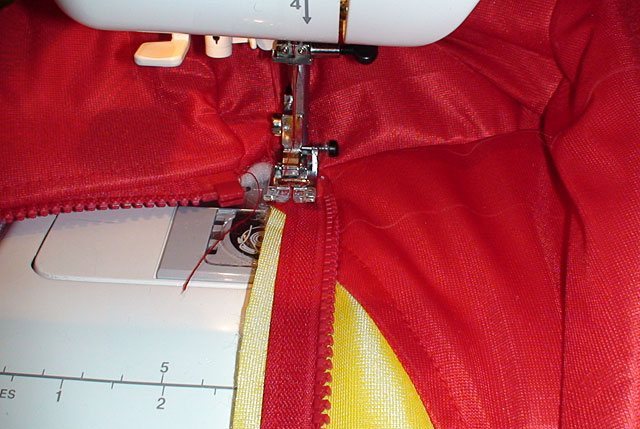
- To the bottom edges of part 1 and 3 we sew parts of the zipper from both sides. In the upper edge of the workpiece 1 in the middle we sew a zipper. If you connect it, you get a hood.
- From the cord cut off 2 pieces in length of 10 cm, add them to the eyelets and sew to the upper corners of the part 3. In parallel, they need to sew on the buttons 10 cm below.
- Fur must be cut and sewn in the same way as the details of the main fabric and insulation.
- Attaching fur to the main parts of the product, we sew details. In this case, on the part 1, where the zipper is sewn, do not sew 2 cm from its edge. This will be a hole for the cord. On the fur should be left not stitched 10 cm, in order to unscrew the product after the connection of all parts. This hole is then gently sewn.
- At the edge of the hood, we make a kulisk and insert a cord cut into it, cut in half. Done!
| | |
| | |
| | |
| | |
We wish you pleasant achievements in needlework!