In this article, we will consider how to make a flying saucer (UFO) with your own hands. Such an article is guaranteed to please your baby, because all children like to play space travelers. In addition, crafts of UFOs will be an excellent occasion not only to play with the baby, but also tell him more about the structure of cosmic galaxies, planets and stars, space travel and other fascinating things. The advantages of such crafts are that a flying saucer can be made from a throwing material - that there is, everything will fit. After all, only you and your child are inventing the shape, color and texture of the alien spaceship.
UFOs with their own hands: odd job number 1
To create such a ship it will be necessary to prepare the necessary materials, but such an article looks just fine, besides it can be done without difficulty. Children over 3 years old can quite cope, the parents will only have to perform the work associated with gluing.
To create such a spaceship, you will need:
- unnecessary CD or DVD-ROM;
- two hemispheres of foam (if you have a ball of foam, you can cut it in half);
- decorative carnations;
- self-adhesive color paper;
- several flat plastic stars;
- toothpicks (3 pcs) or bamboo rods-skewers (2 pcs);
- 3 large beads;
- sequins;
- acrylic paint;
- chenille (fuzzy) wire for crafts (best of all, golden or silver);
- glue.
Progress
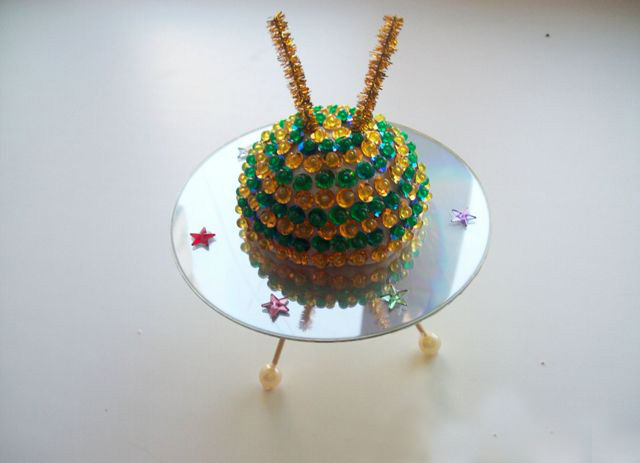
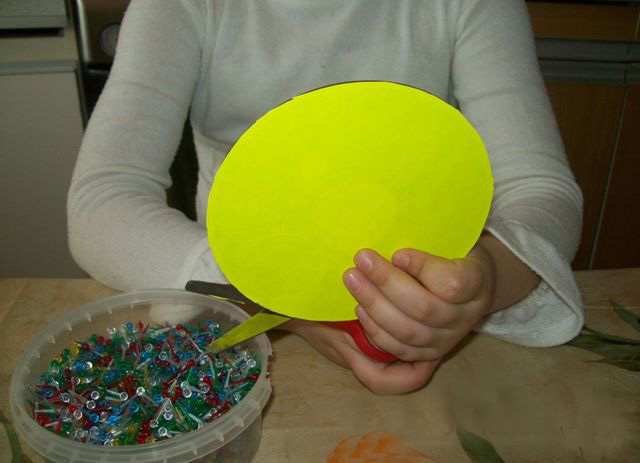
- On the sheet of self-adhesive paper of the selected color, circle the disc. Cut the circle along the formed contour and glue it to the upper (not shiny) side of the disk.
- One polushplustovuyu hemisphere is painted with acrylic paints (let the baby choose the color himself - this develops fantasy and independence) and leave to dry.
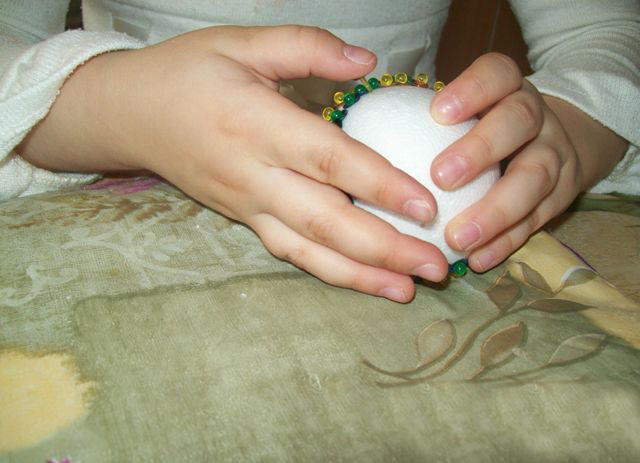
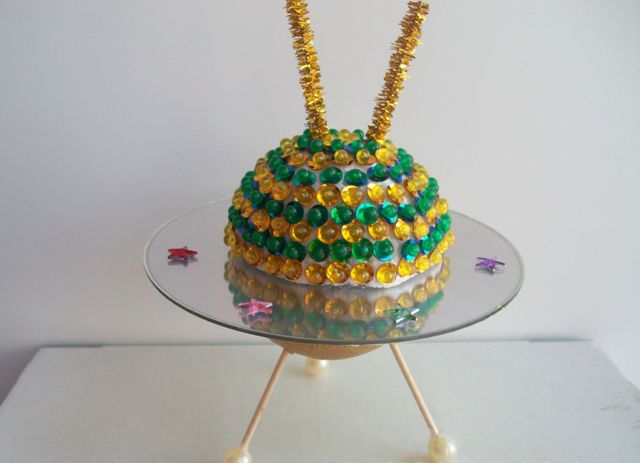
- The second hemisphere is decorated with the help of sequins and decorative carnations. To do this, the sequin is stringed on a carnation and stuck into the hemisphere. You can start both from the center and from the edges, but it's better from the edge (bottom) - it's easier to make straight parallel rows. If you have several kinds of colored sequins, you can make a pattern of them (strips, circles, waves).
- After the upper part is decorated, we make an antenna - we put two pieces of fluffy wire on top of the foam.
- We collect the body of a UFO - we glue the hemispheres from the two sides of the disk (hemisphere with paillettes to the shining side, and the painted part to the side that we pasted with paper).
- We make the "feet" of a UFO. On the blunt edge of toothpicks (or bamboo skewers split in half) we string beads so that the edge of the toothpick is inside it, and not sticking out from the opposite side. If the hole in the bead is too wide and it slides freely over the toothpick, you can compact the hole with clay, a piece of chewing gum or glue.
- We put the ready legs in the bottom (painted) part of the ship so that they are at the same distance from each other and the craftsman stood exactly on the surface.
- On the shiny side of the disc, glue the plastic sprockets. You can also cut out of self-adhesive paper alien figurines or other ornaments.
UFO with your own hands is ready!
| | |
| | |
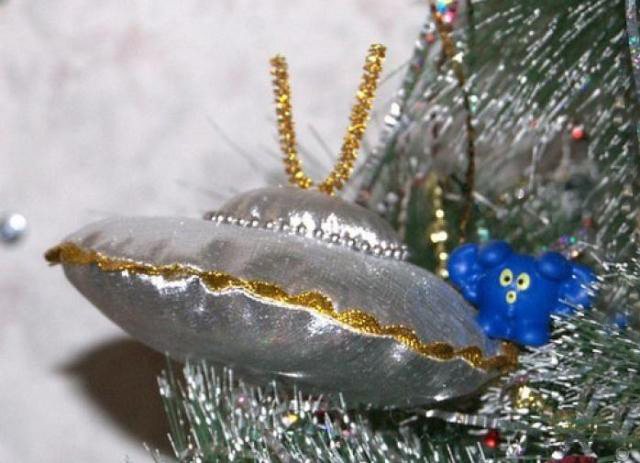
Flying Saucer: Handy No. 2
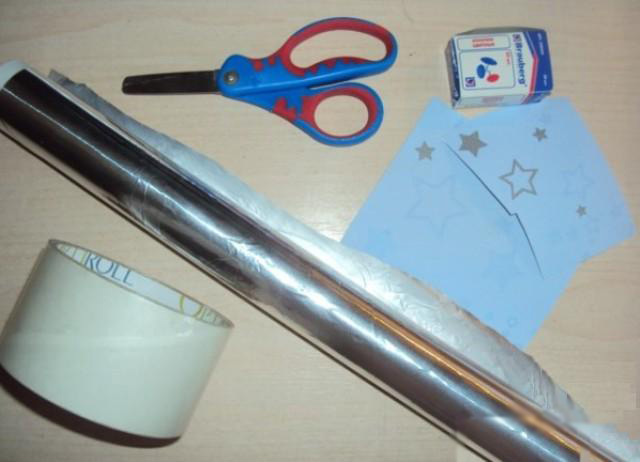
For fans of creating crafts based on natural materials (cones, branches, vegetables), our second version of the craft - the materials for creating such an alien ship will surely be found in any kitchen.
You will need:
- squash. This vegetable itself has a "cosmic" form, so we do not even have to cut it;
- stationery buttons (better color);
- plastic bottle (small);
- foil;
- colored cardboard (or paper);
- scissors;
- Scotch tape (transparent).
Progress
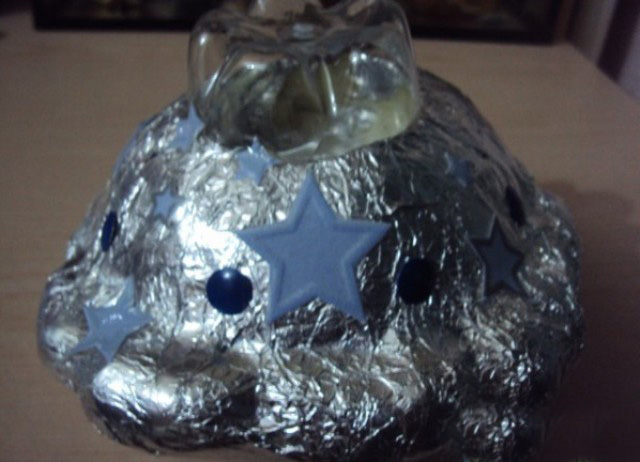
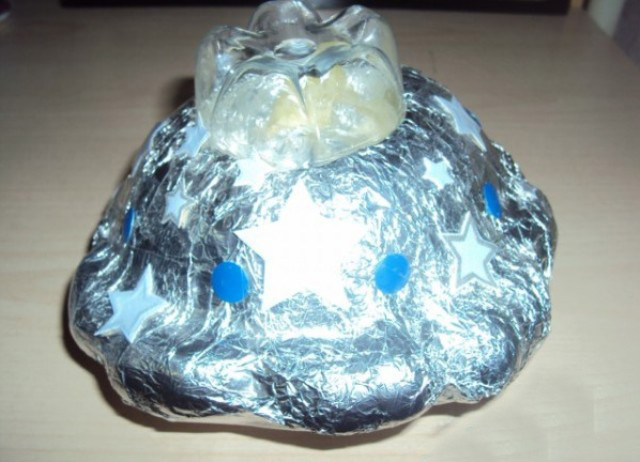
- Gently wrap the patisson with foil so that there is no free, "empty" place. The edges of the foil are fixed with transparent tape.
- On the sides of the patissoni in the circle we make portholes - we attach clerical buttons.
- Cut off from the small bottle bottom (on it we leave a little lateral walls of the bottle) - this will be the cutting of the spacecraft. To attach the bottle to the top of the patisson. The bottle can be inserted into the flesh of the vegetable, or you can simply paste it with scotch.
- From color paper we cut decor - asterisks, stripes, or any other elements - and glue them on the walls of a UFO.
- Of color cardboard can also cut and the space travelers themselves.
| | |
| | |
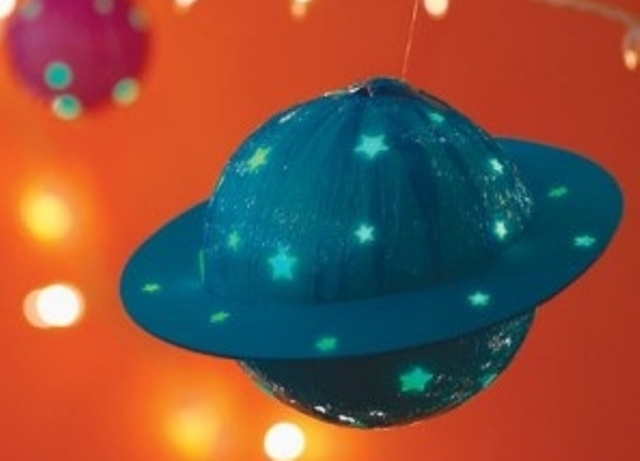
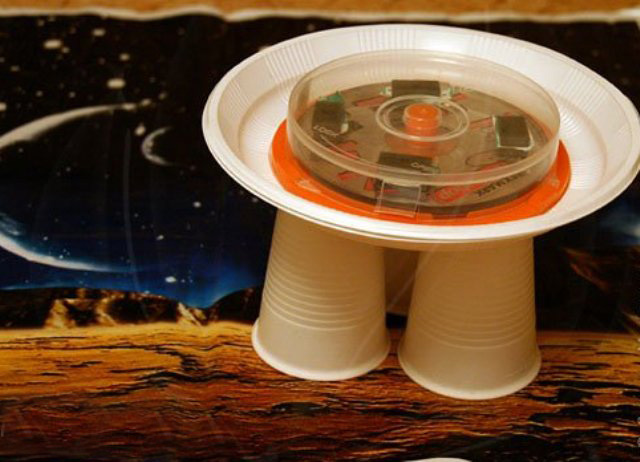
In the gallery you can get acquainted with other variants of flying saucers: from paper, cloth, and even plastic utensils.
| | |
| | |