Vinyl wallpaper is strong and durable, because they are chosen as a wall and ceiling cover quite often. But not everyone knows how to properly glue vinyl wallpaper on a non-woven base so that they have served as long as possible without excesses. We will try to help you in this matter.
How to glue heavy vinyl wallpaper?
First of all, you need to make all the necessary preparations: remove defects, remove irregularities and color changes on the walls and ceiling. It is best to treat the surface with a thin layer of white putty and then primer.
To work with wallpaper you will need such tools and materials:
- rubber spatula;
- bucket;
- roller, wide brush;
- plumb bob;
- pencil;
- scissors;
- sharp construction knife;
- meter;
- smooth working surface;
- adhesive for vinyl wallpaper.
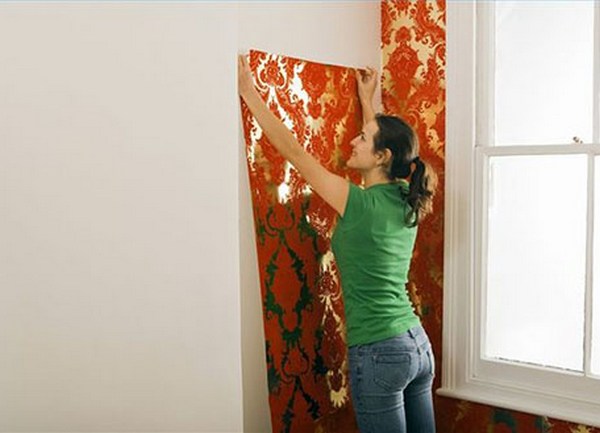
If you can not wait to learn how to glue vinyl wallpaper on the wall, first you need to use a plumb line to mark the place of the first strip of wallpaper. If the corners of the room are even, you can start to glue them.
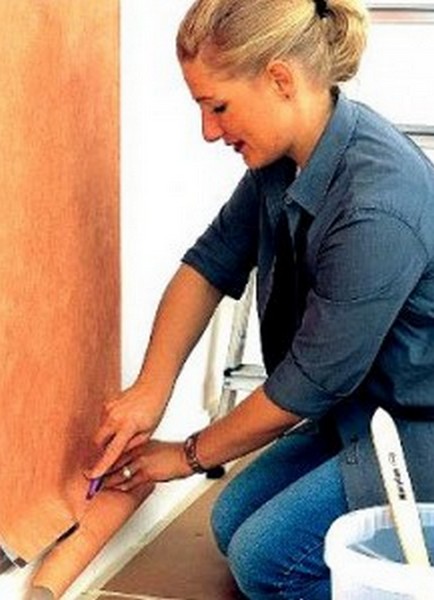
After marking, you need to cut the strips of wallpaper of the desired length, adding to the margin of about 5 cm If the wallpaper has a picture, watch for its docking on adjacent strips. The larger the pattern step, the greater the tolerance. In order not to get confused in the cut strips, number them in pencil on the reverse side.
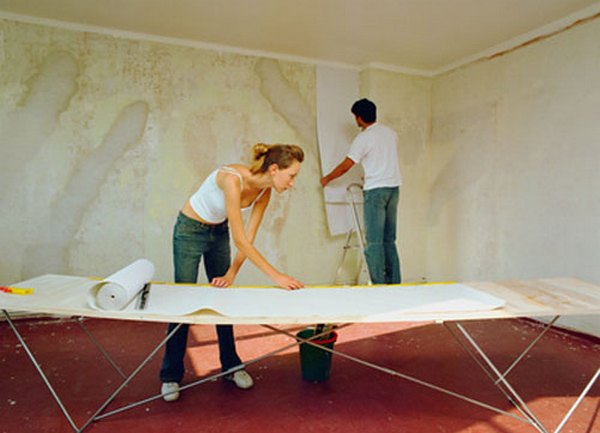
The process of working with non-woven wallpaper is different from paper . This mainly applies to the application of glue. If, in the case of paper wallpaper, the glue is applied to the strips, when glued with vinyl wallpaper on a non-woven base, the adhesive is applied to the wall with a brush or roller.
Do not apply glue directly to the entire surface of the walls, limit the area intended for gluing the next strip. The glue layer should not be thick.
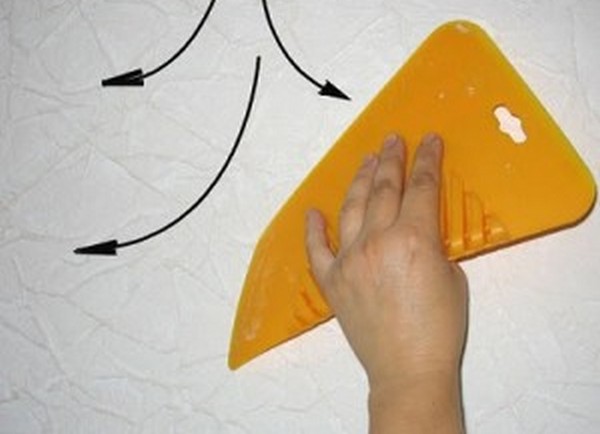
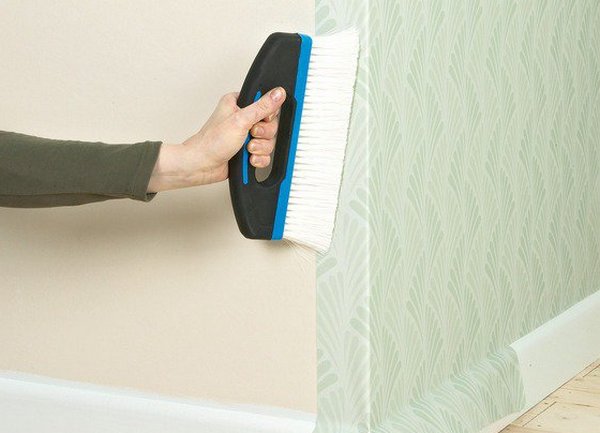
After gluing the first strip along the intended line, you need to smooth it with a rubber spatula in the direction from the center to the edges.
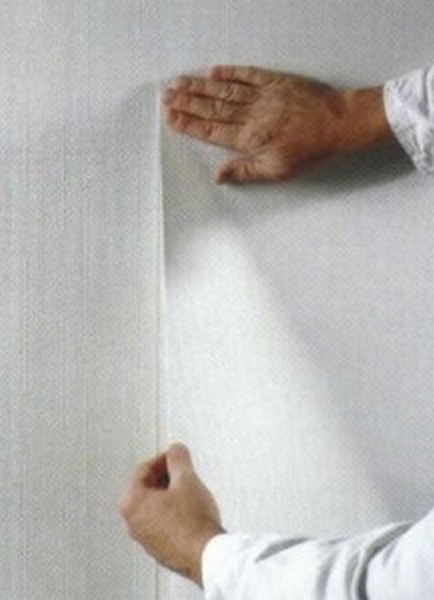
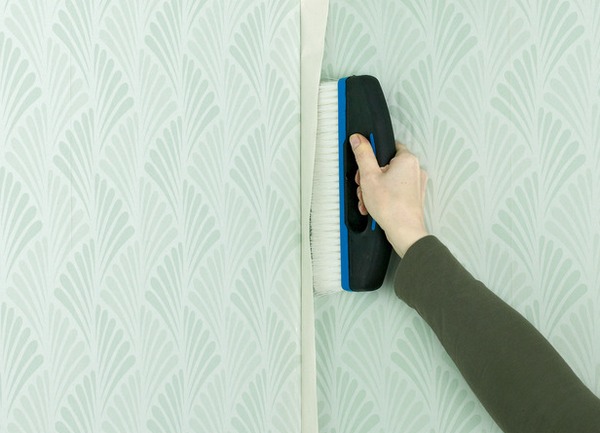
Continue to stick the strip, remembering that vinyl wallpaper is always glued to butt.
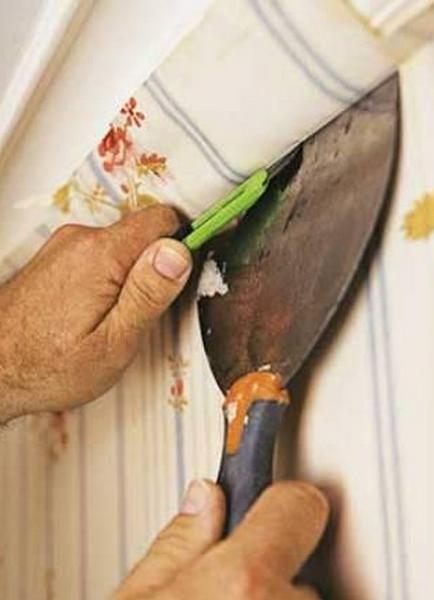
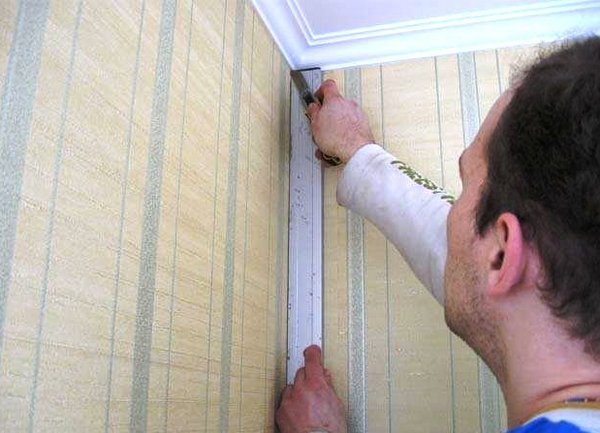
When the wallpaper is dry, trim the excess from the bottom and top.
| | |
How to glue vinyl wallpaper on the ceiling?
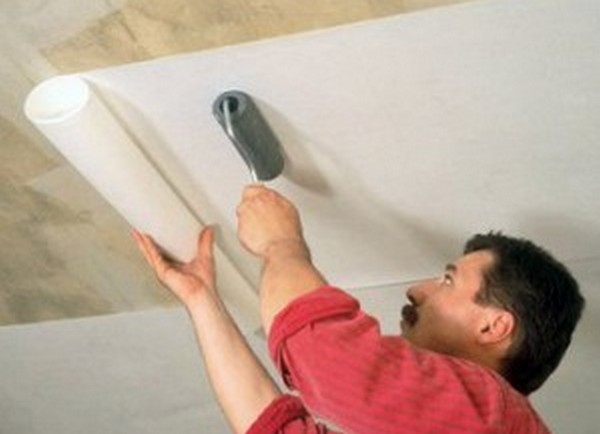
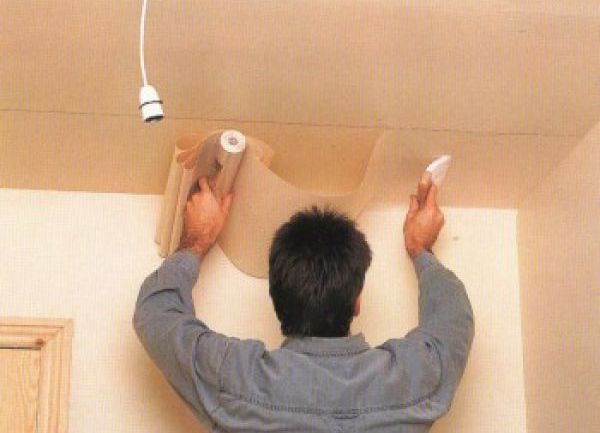
First you need to map out the first page of wallpaper. Simply draw a line parallel to the wall, glue it with glue and, applying the edge of the roll to the ceiling, gradually uncoil it and smooth it with a platen. Take care that the edge of the wallpaper does not go beyond the drawn strip.
| | |
After reaching the second wall, just cut the roll and continue to work on the same principle, until you cover the entire ceiling.
How to properly glue vinyl wallpaper in the corners?
Not everyone knows how to glue such complex places as corners with vinyl wallpaper. You could hear the recommendations by all means start to glue the vinyl wallpaper from the corner so that it does not appear in the middle of the strip. This is only relevant in rooms with perfectly smooth geometry of the corners.
In most cases, this is not the case, so it's best to even outline the even position of the first band in the corner area and glue the first strip in accordance with the outline. Leave the reserve for the unevenness of the corner. The next strip of glue a little overlap, so that the corner was completely covered with wallpaper. If the layer seems too thick, you can cut the excess with a sharp knife.
| | | |
Other problematic locations
When you reach the window opening, place the wallpaper so that the strip with a margin cover its niche, and after that make cuts in the window sill and the upper side of the window. Remove unnecessary wallpaper. Do the same on the other side of the window.
The doorway does not need to be glued on both sides, as you will not be able to find the exact combination of the picture above the door.
Curbs, niches , socle friezes are pasted with vinyl wallpaper to the back.
Sockets and switches are first dismantled, a strip of wallpaper is pasted in the usual way, and then in these places cuts are made criss-cross and the corners curl inward.