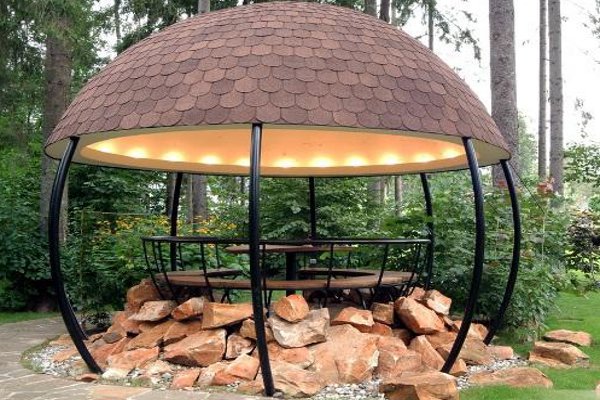
A cozy gazebo on a countryside site usually becomes a favorite gathering place for the whole family. Manufacture of such gazebos of metal or wood , and the frame is covered with a variety of materials from traditional lining to polycarbonate or textiles. Below we will consider how to make a gazebo out of metal with your own hands.
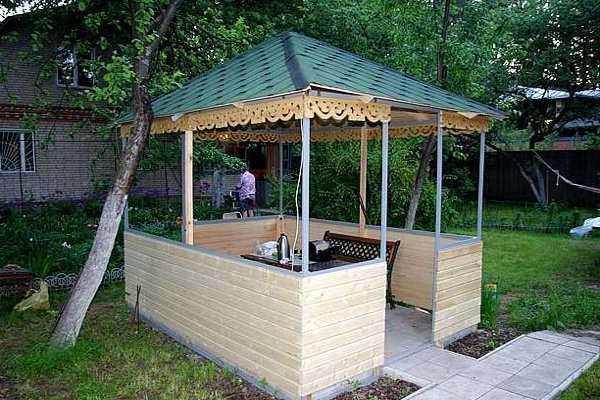
Gazebo with your own hands made of metal: a simple option
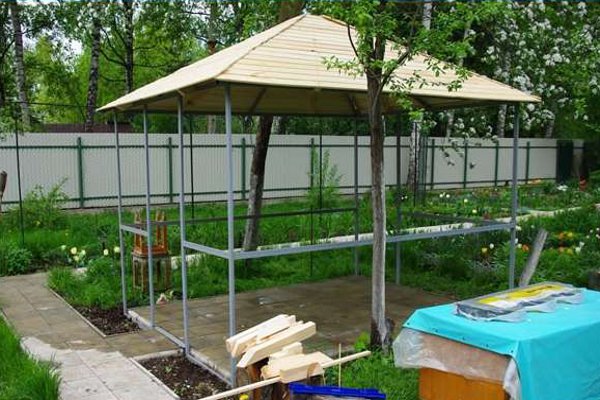
The first we will consider a master class for those who are just starting to work with the profile and while acquainted with welding. As such, there will not be any drawings for a gazebo made of metal: poles from the profile are installed along the perimeter of the platform, then they are interconnected by cross-beams.
- Preliminary on the prepared site we lay the paving slab.
- Next, install a frame for the gazebo. To do this, take a square profile of 20x40 mm. The dimensions of the finished structure are 330x260 cm, and the height of the ridge is 240 cm.
- As for the roof, it is easiest to make a gable for this type of garden gazebos. In the future, it is covered with soft tiles and reinforced with a wooden beam.
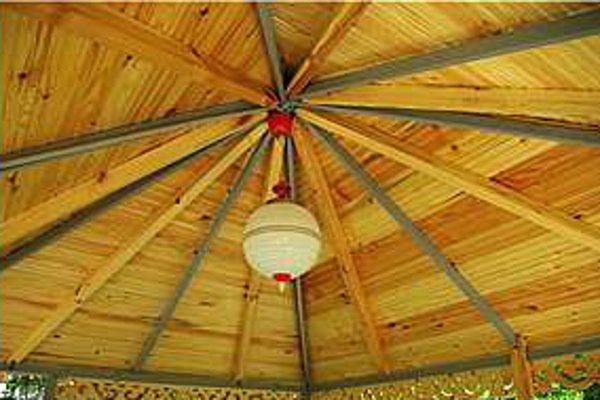
- It is the roof that is the most difficult moment in construction. For strengthening we use a beam of 40x60 mm. Under the flexible shingles we put the crate.
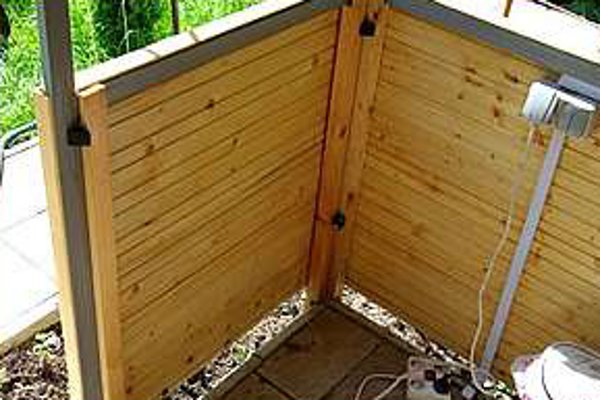
- The height of the sidewall is 80 cm. Its finish is quite simple. As a covering it is possible to use a wooden lining, sheets from a polycarbonate or simply sheets of a professional flooring.
- After finishing, we lay and isolate the wiring under the lamp and the work is completed.
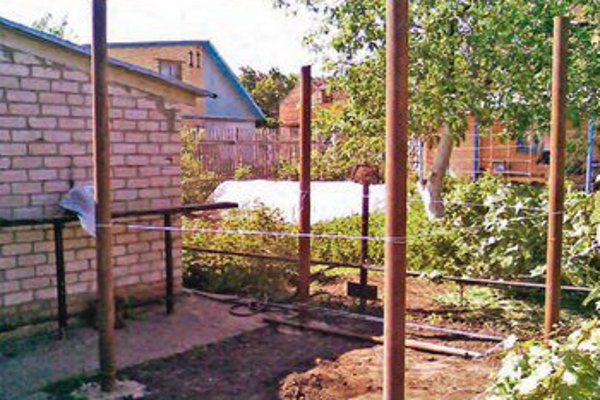
Gazebo with your own hands made of metal: option with polycarbonate
- In this version, on the perimeter of the base for the garden arbor made of metal, we install metal bearing poles. To install a pre-drill hole and cover the bottom with a mixture of sand and gravel. Then we set up the poles and fill up the voids with this mixture.
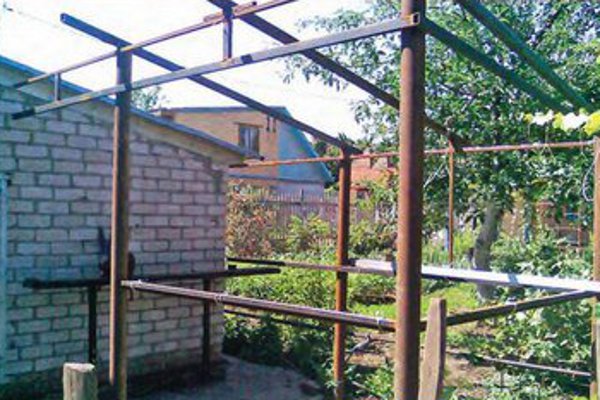
- Since this version of the gazebo made of metal the author did without preliminary drawings, the cuts of a square profile of different length with a section of 20x40 mm and 50x50 mm were quite suitable for materials. The profile of the larger section went for the log, and the smaller was used to ensure the rigidity of the entire structure.
- The foundation is poured with concrete. To do this, we take about 15-20 cm of land and put the formwork. Next, we put a standard mixture of sand and gravel, as well as reinforcement. Fill the base with a mixture that consists of a piece of cement, three pieces of sand and four rubble. Once the whole mixture has filled the base, we pour dry cement from above and smooth it.
- While the base is frozen, you can start painting the frame. It is desirable to use a primer with corrosion protection, and on top of it to apply the finish coat.
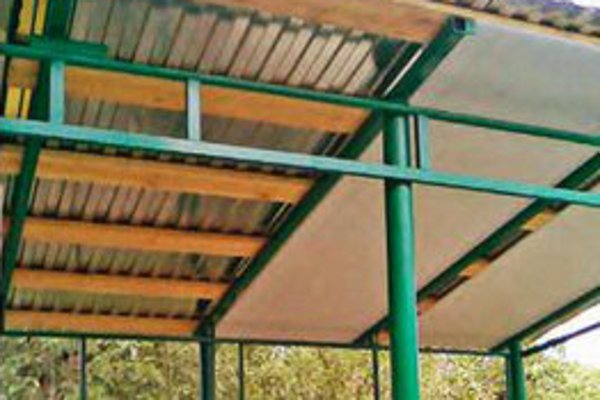
- For the battens we use boards with a thickness of about 30 mm and a profile. The boards are fastened with self-tapping screws for metal, we put the corrugated board on top.
- For the beauty of the ceiling we cover with plastic panels.
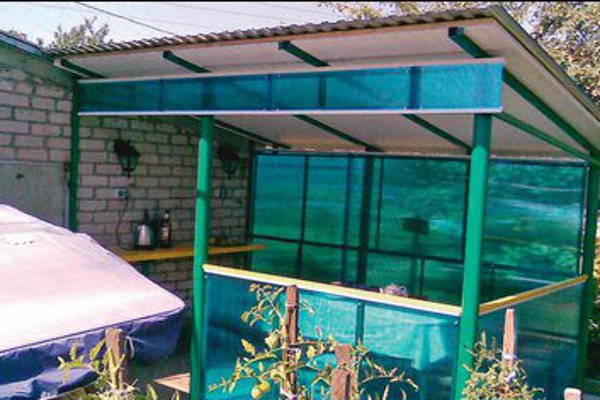
- Close the gazebo on the sides and thereby protect yourself from wind and rain using different materials. The simplest and most affordable option is polycarbonate sheets. For such purposes, a sheet of 8 mm thick fit perfectly. The dimensions of the sheets are standard, for one pergola there is a sheet with dimensions of 2.1 x 6 m.
- For polycarbonate plating, we use self-tapping screws for metal with so-called rubberized washers. We do not forget that the material will begin to expand when heated. That is why it is necessary to make holes for self-tapping screws approximately twice as large as the largest diameter of the latter.
- As a result, a rather cozy gazebo will turn out for a little money, as the cost of the profile, in fact, will not be much different from the cost of scrap, and polycarbonate is currently one of the most affordable materials in the price plan.