Keep the heat in the house can be due to the insulation of the ceiling .
How can I warm the ceiling?
It is difficult to answer the question, the better to insulate the ceiling. It all depends on the type of room, whether you want to improve noise insulation , installation will be on the side of the living room or attic.
Choose good materials so that condensation does not form later. Pay attention to environmental friendliness, fire resistance and thermal characteristics.
If the insulation is external, often using expanded clay with a ruberoid sewing. Available for foam and foam foam. Polymer materials are placed on a concrete or wooden base. Perhaps, the leader in this race is the Minvat. It keeps heat well, less flammable than polymeric agents.
How to insulate the ceiling from the inside: detailed instructions
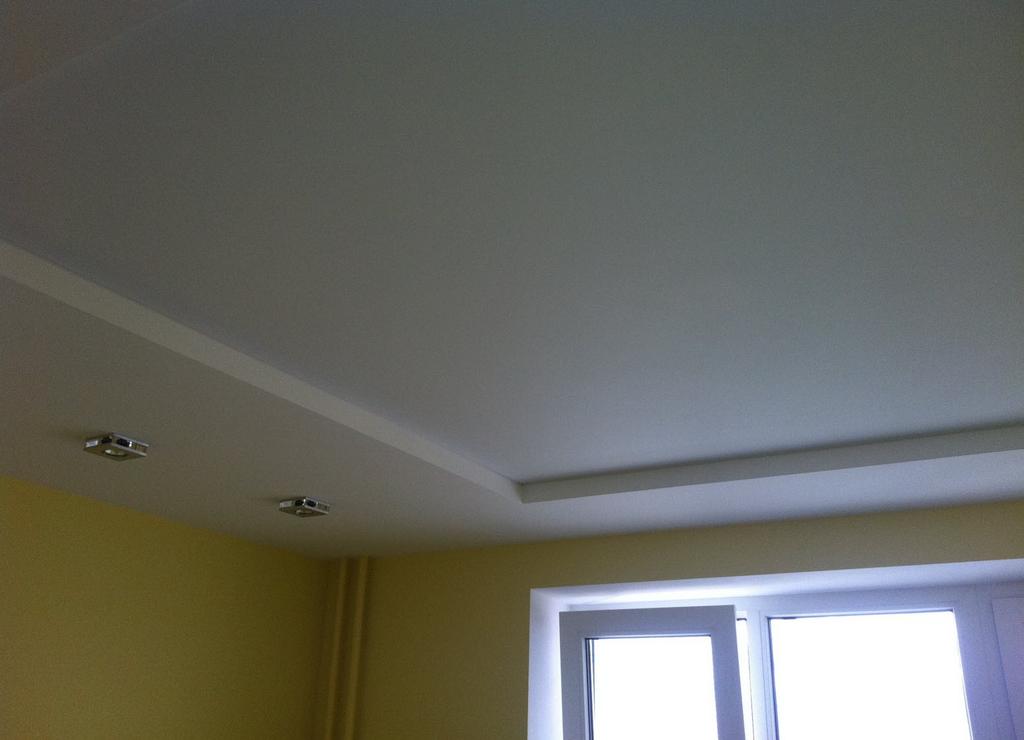
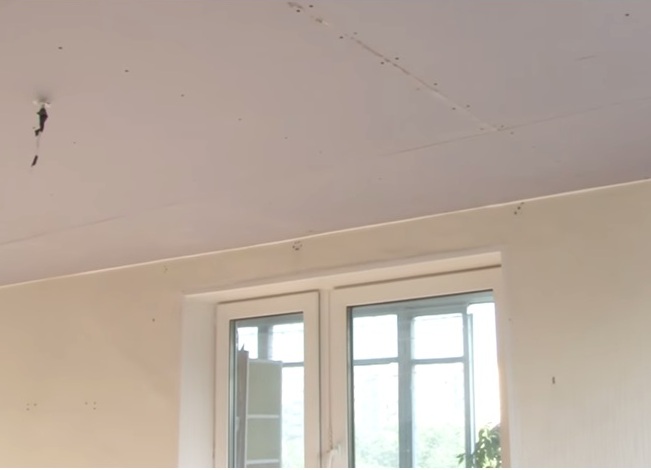
Suspended ceilings are used in all types of premises. In addition to aesthetics, it is very convenient and simple to mount a heat-insulating or noise-insulating layer with the help of a suspended structure. To insulate the ceiling you will need:
- Clear the premises, remove all "electrocommunications".
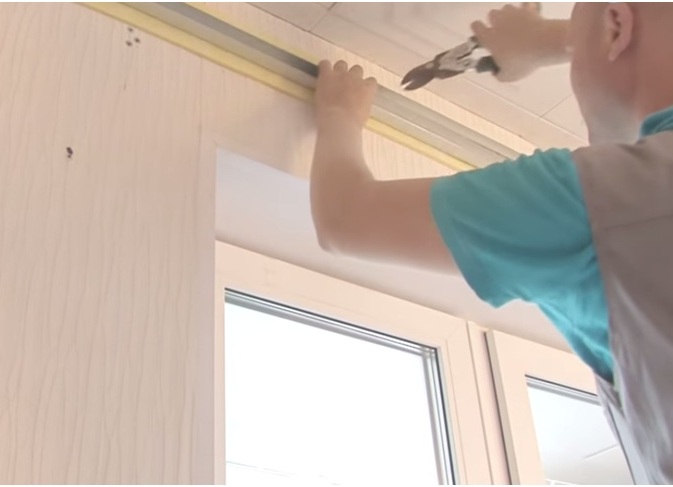
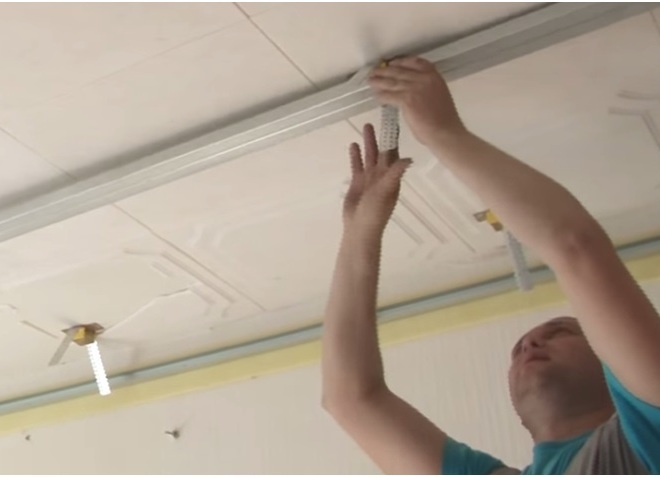
- We begin to install the guide profiles. To the vertical surfaces bordering with the ceiling, 2 layers of the gasket are fastened, for example, Vibrostek M.
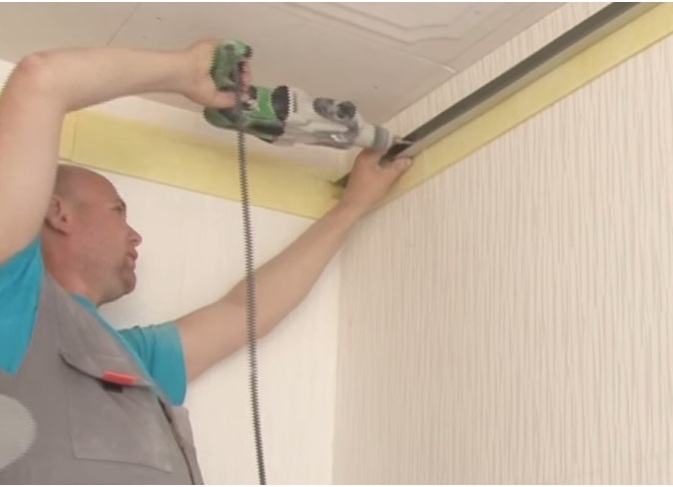
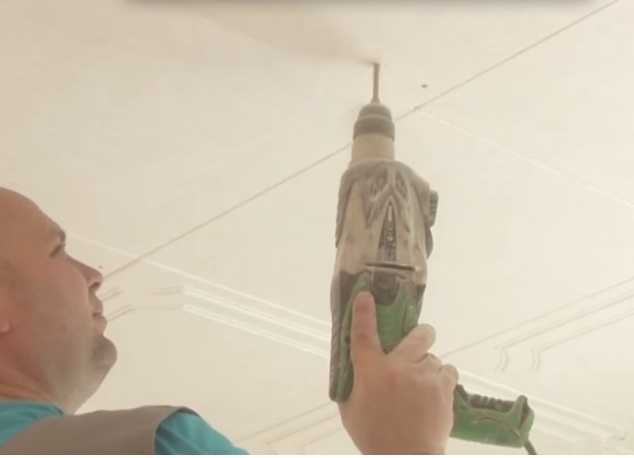
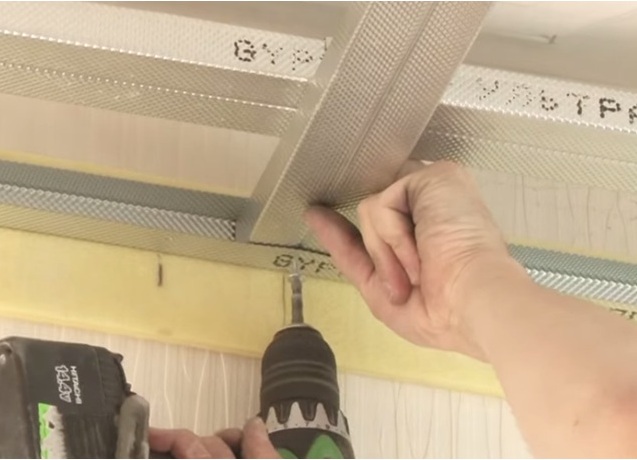
- Mount the guide profile. Temporarily "sit" it on the dowel-nails with a step of 1500 mm.
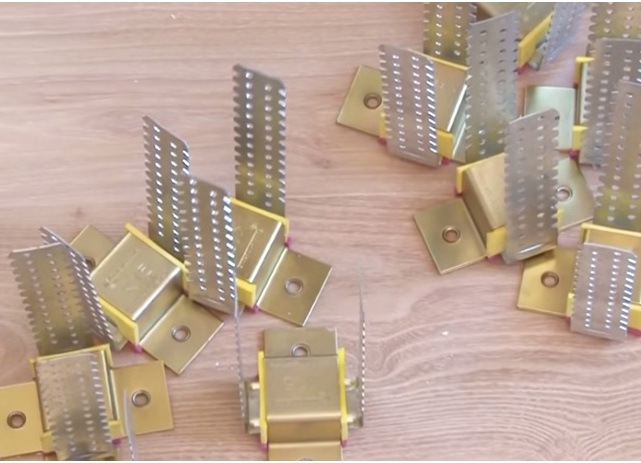
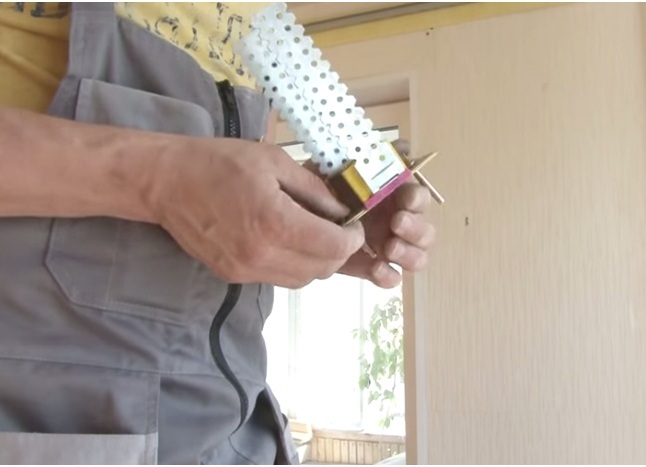
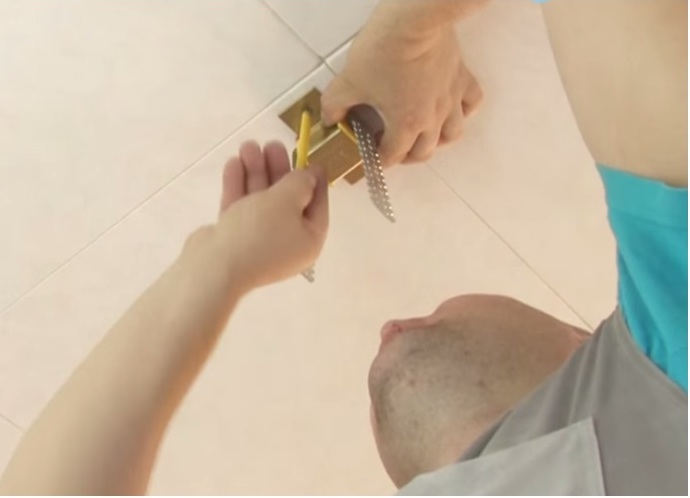
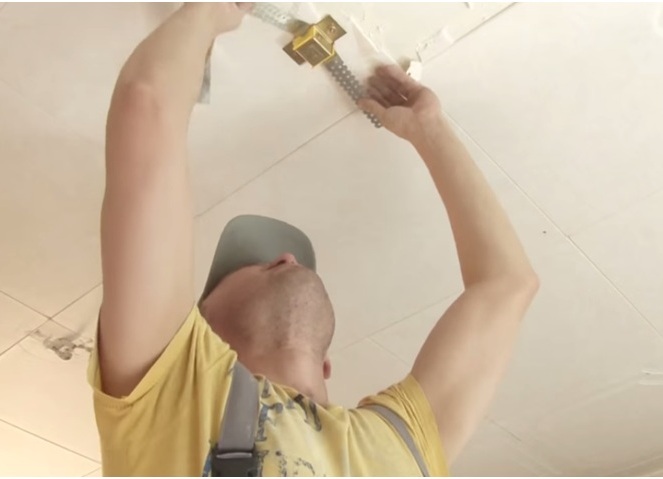
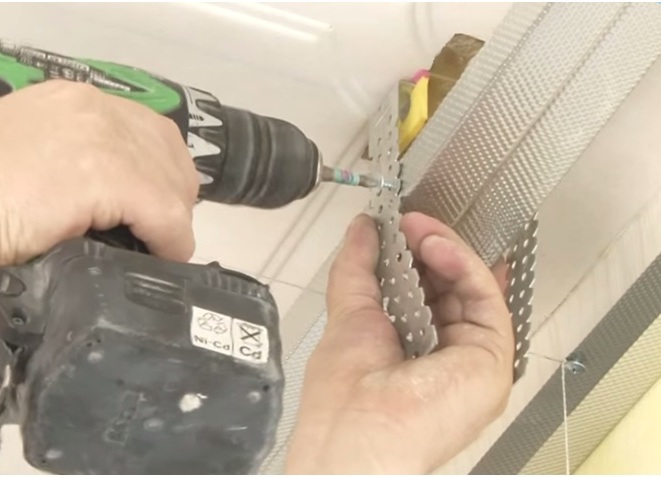
- The next step is the installation of vibration isolating suspensions.
- Fasteners are made by anchor wedges, step 800-900 mm. The distance from the wall to the first row of hangers can not be more than 150 mm.
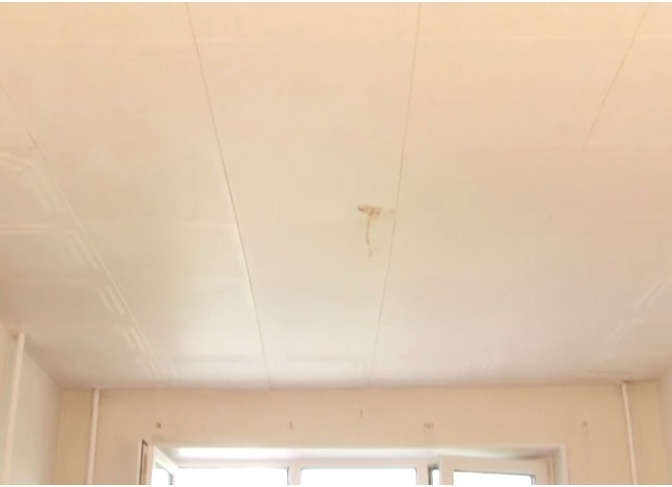
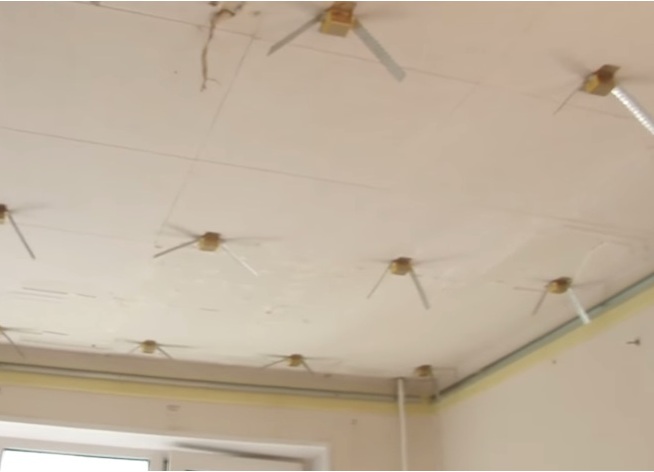
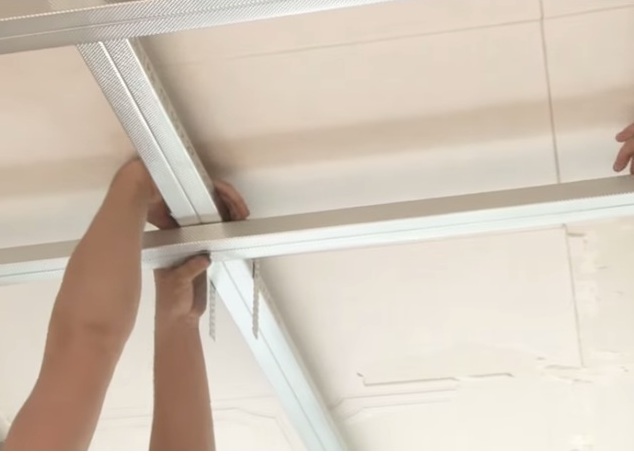
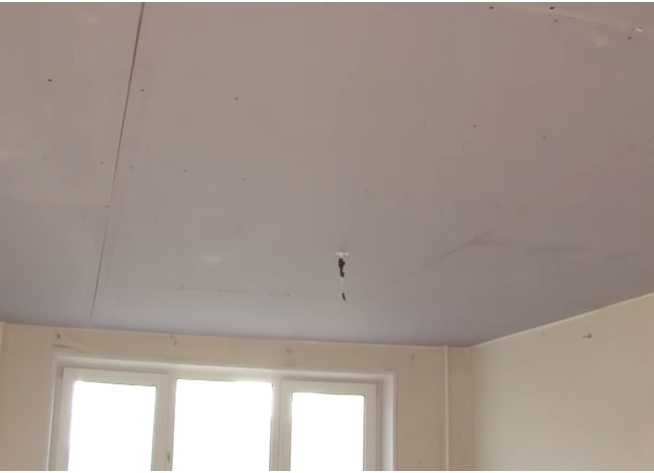
Now the ceiling looks like this:
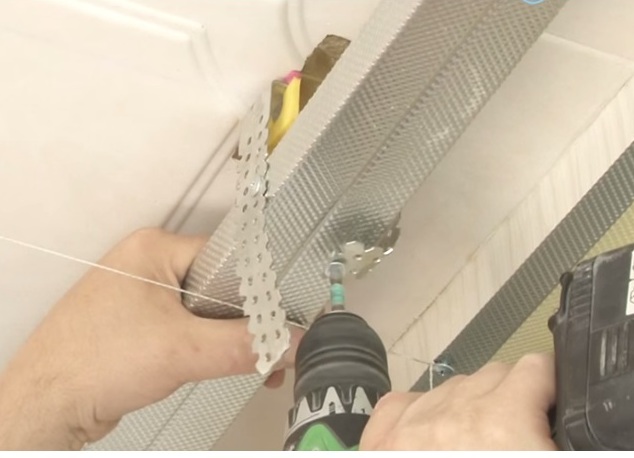
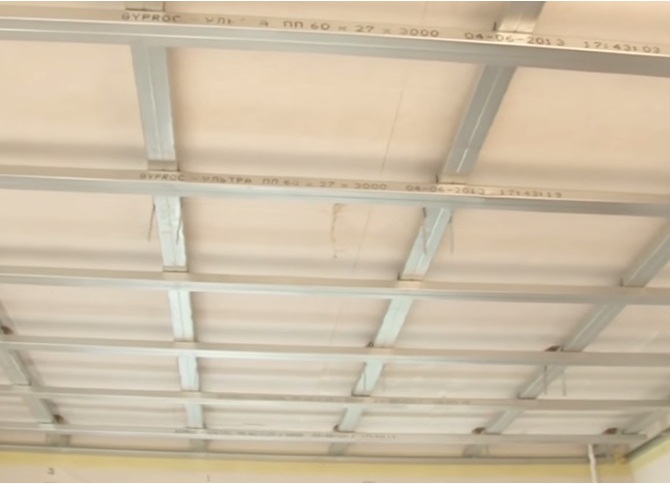
- Next is the installation of a two-level frame. The main profiles come in increments of 600 mm for special screws.
- A number of secondary profiles goes with a pitch of 400-500 mm, fixed using two-level connectors.
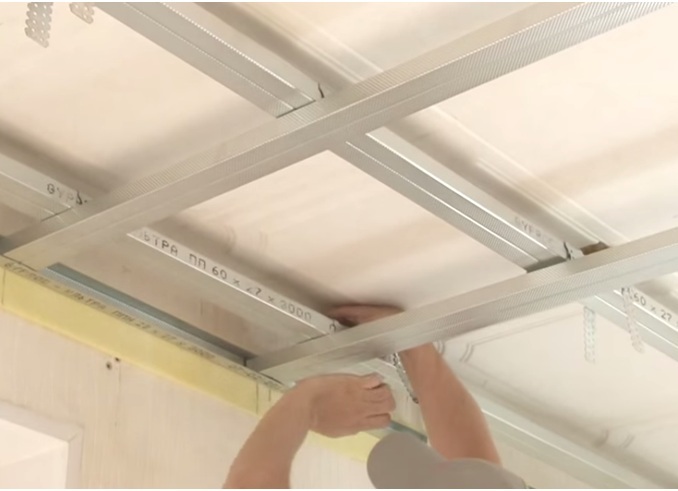
- To avoid the appearance of acoustic bridges, remove the dowel-nails from the guide profile.
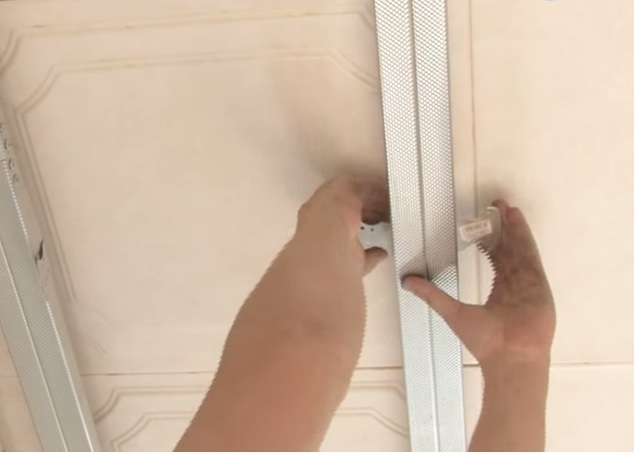
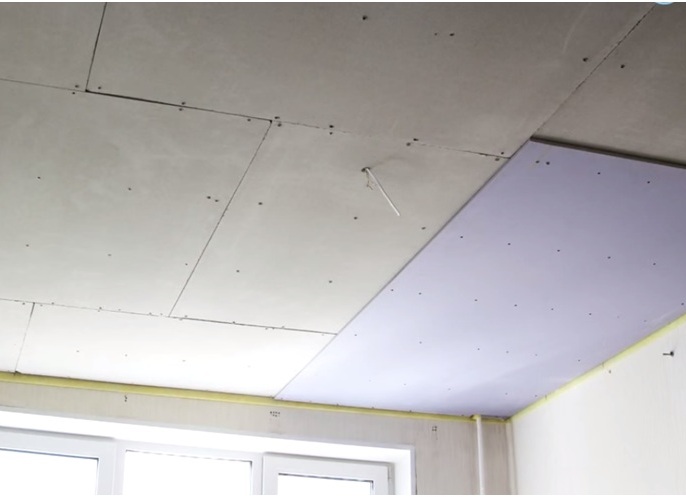
The frame of the suspended ceiling is ready.
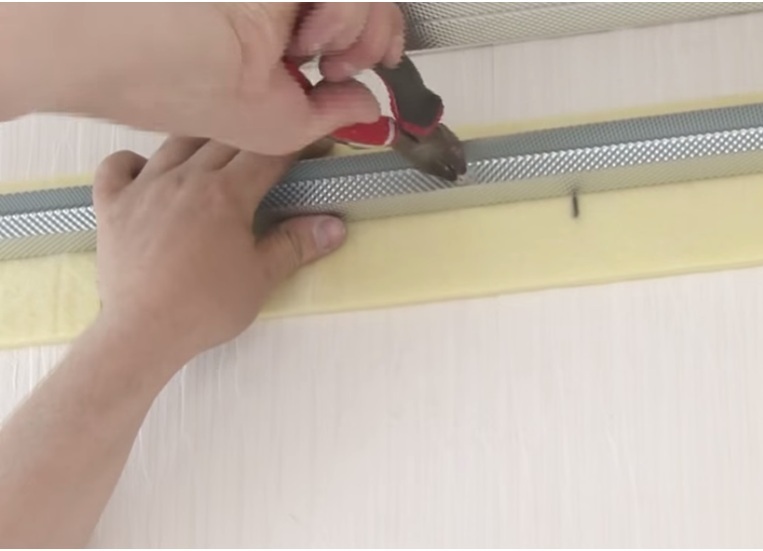
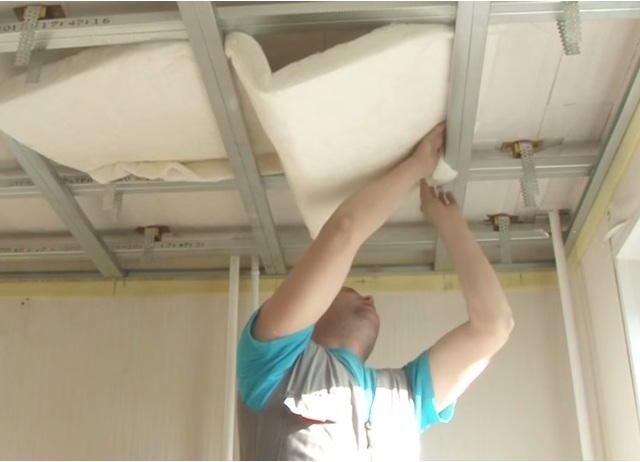
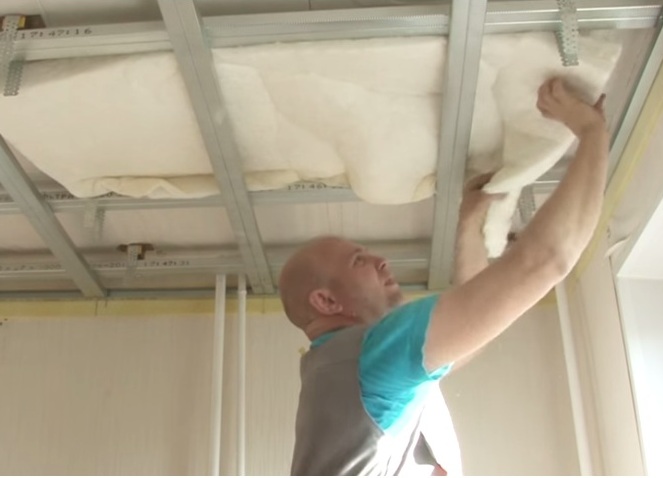
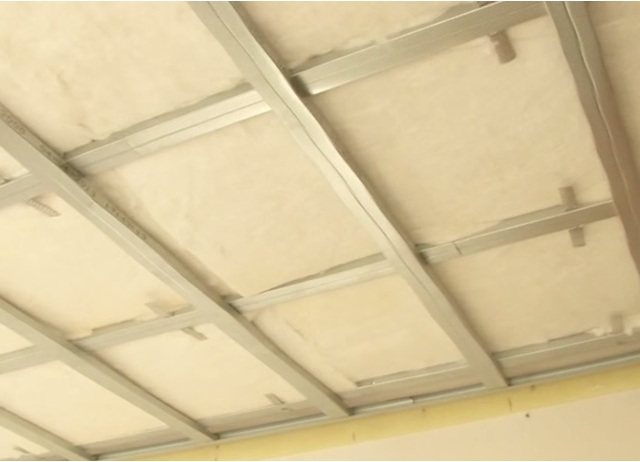
- Now the inner space of the frame must be filled with a heater. This is done very simply.
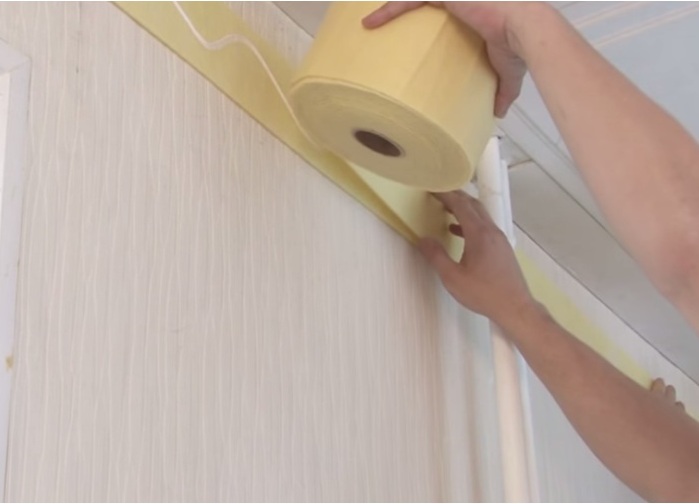
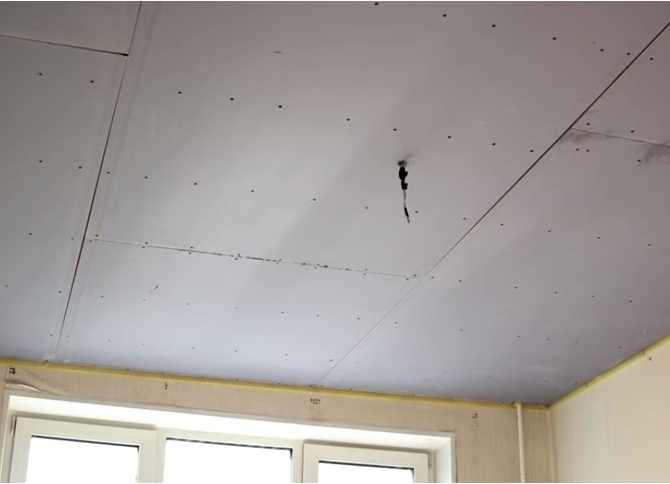
- We proceed to sewing the ceiling with gypsum-fiber boards of 10 mm.
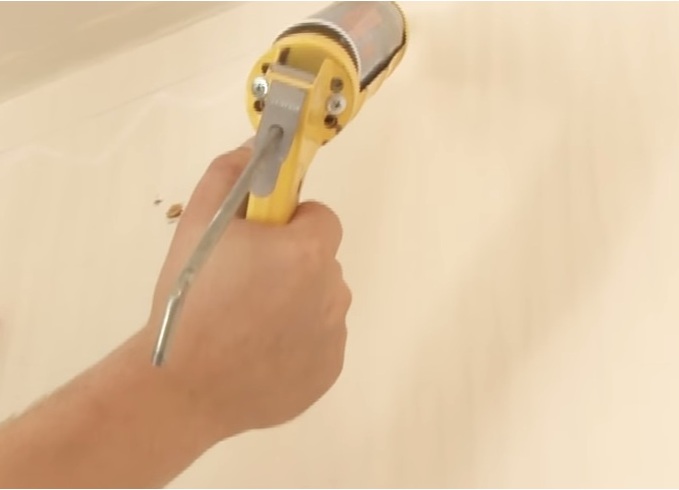
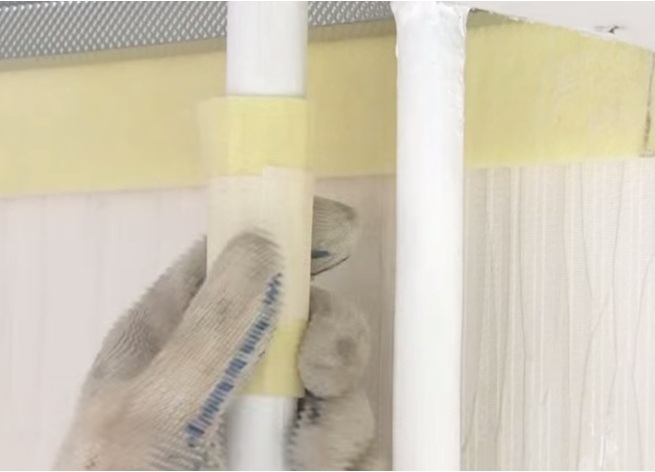
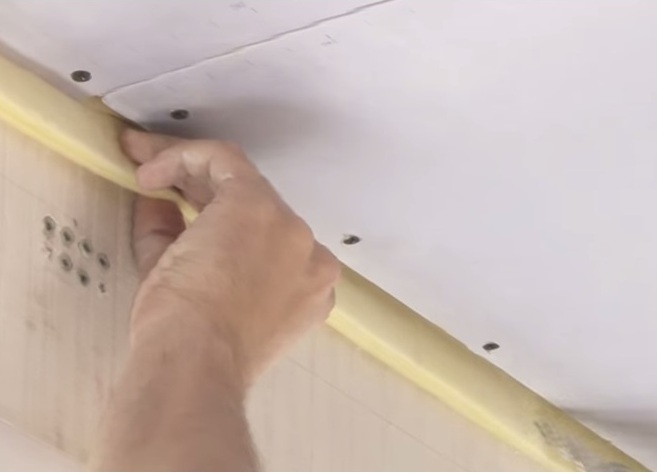
Adjacent communications are eliminated by an elastic gasket, for example, Vibrostec M. The joints of gypsum board are sewn with vibroacoustic sealant.
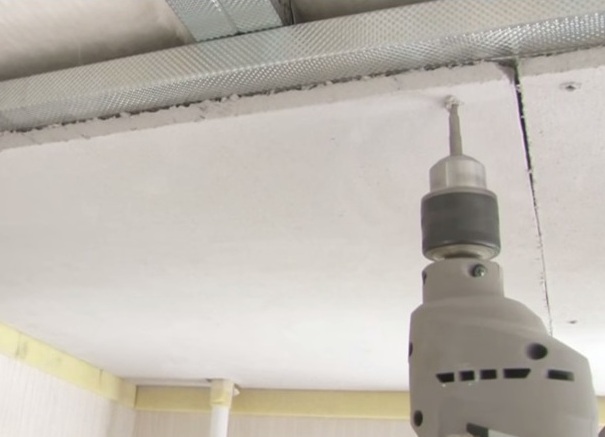
- We proceed to sewing the ceiling with the final layer of plasterboard (12.5 mm). Do not forget about the scrapping of joints.
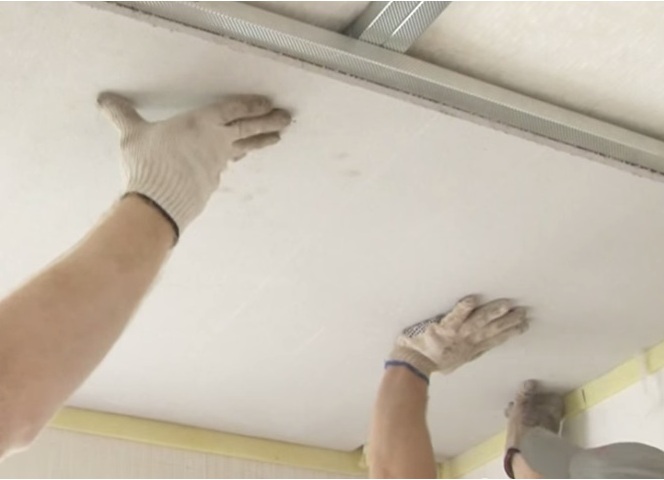
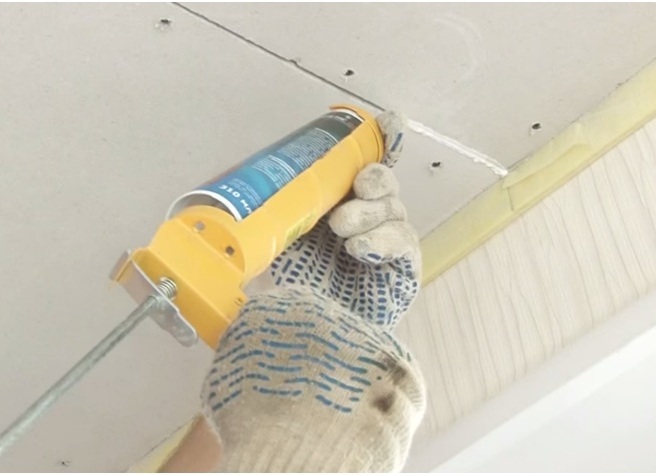
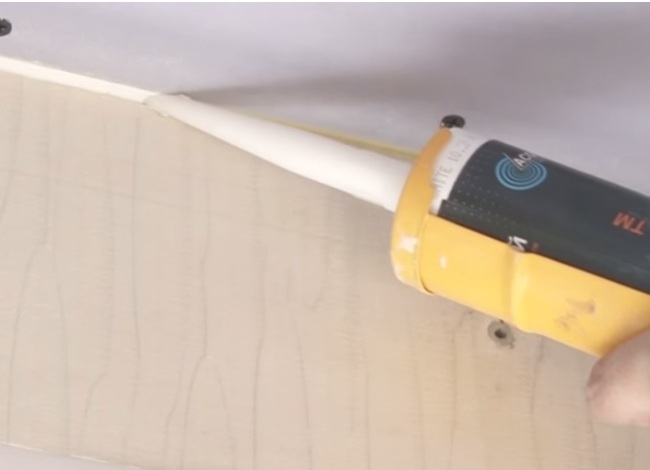
- You only need to trim the excess tape along the perimeter of the ceiling and seal the seams with a sealant.
The new insulated ceiling is ready. The final finish of the ceiling surface is yours.
Warming the ceiling with your own hands is very simple, as you can see.