Playing with children is fun and useful. They help parents and children to become closer to each other, contribute to harmonious development, and besides, they are an excellent prophylaxis of a number of diseases - from scoliosis to obesity . An excellent option for activity in the open air can be the launching of a kite. To launch a kite on the first flight is incredibly interesting and exciting not only for kids, but also for adults. And if the snake itself is made with his own hands, then this double pleasure. The design of this aircraft may require the presence of certain knowledge in aerodynamics and design. Therefore, to create a serious and durable model, you will have to work hard at mastering new skills. And in this master class we present to your attention two incredibly simple ways to make a kite yourself.
Kite from paper
Necessary materials
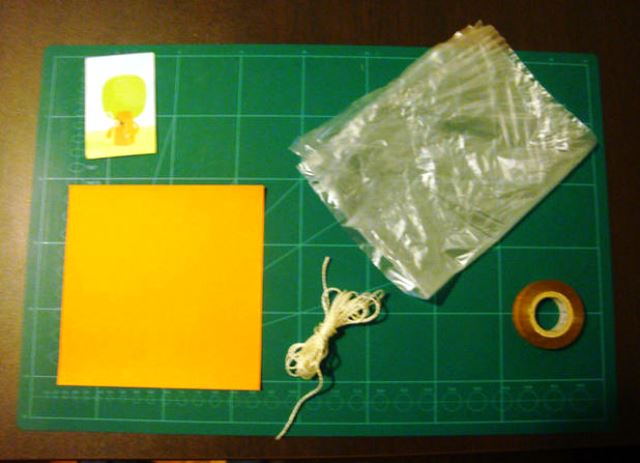
The special charm of this option is that you will easily find all the necessary materials at home without any problems, and you will not have to buy anything extra. In order to create this simple but effective model of a kite you will need:
- sheet of paper or newspaper page;
- plastic bag;
- adhesive tape;
- long rope;
- a small piece of cardboard.
Instructions
Now let's look at the details of how to make a kite from the materials listed above:
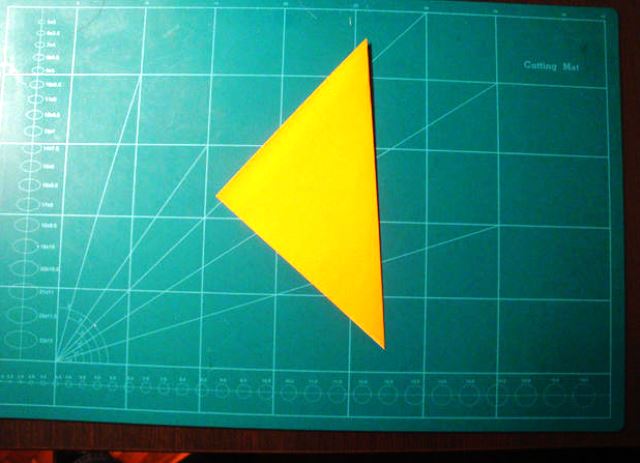
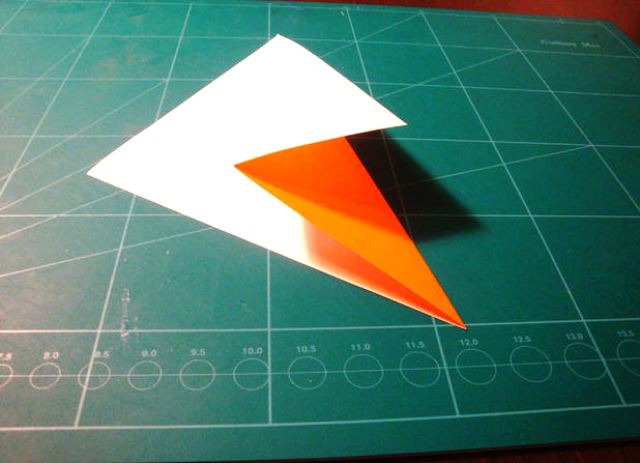
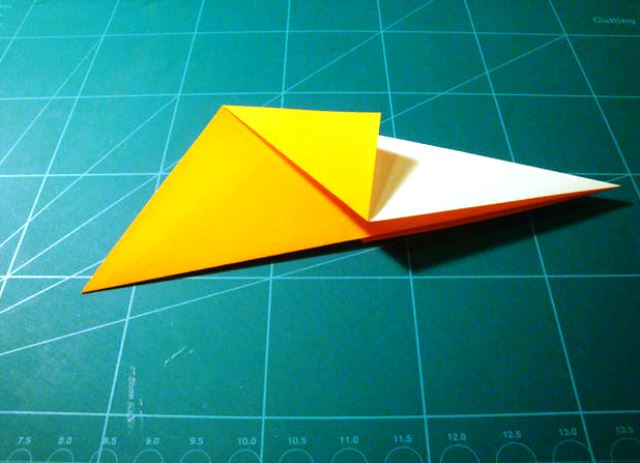
- Cut out a square from the paper and fold it diagonally.
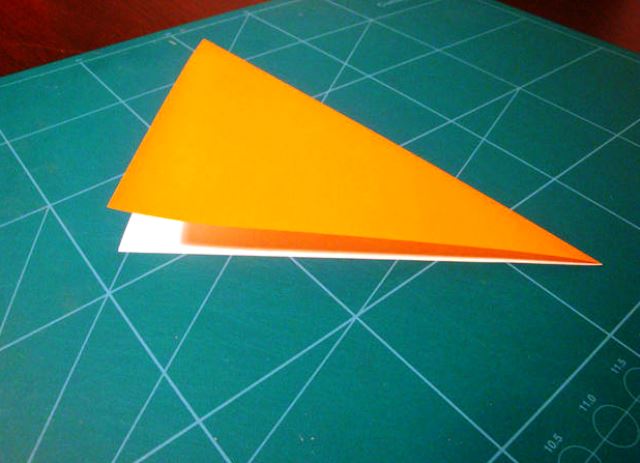
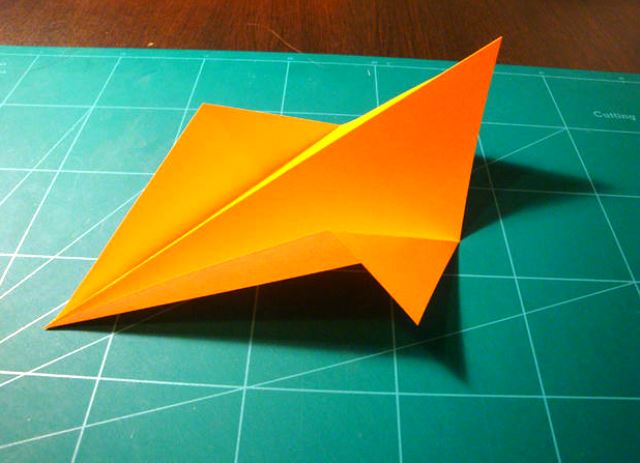
- Unbend one of the edges and fold the side of the square with its diagonal.
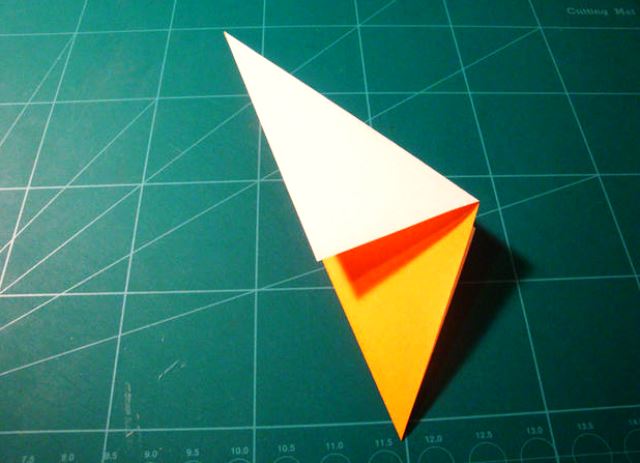
- Repeat the same with the second side of the square.
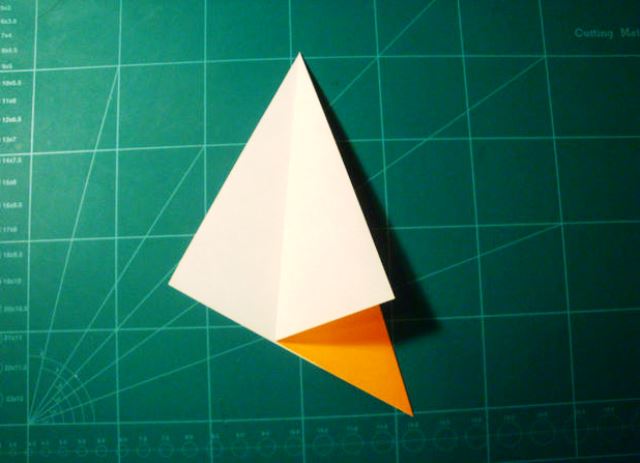
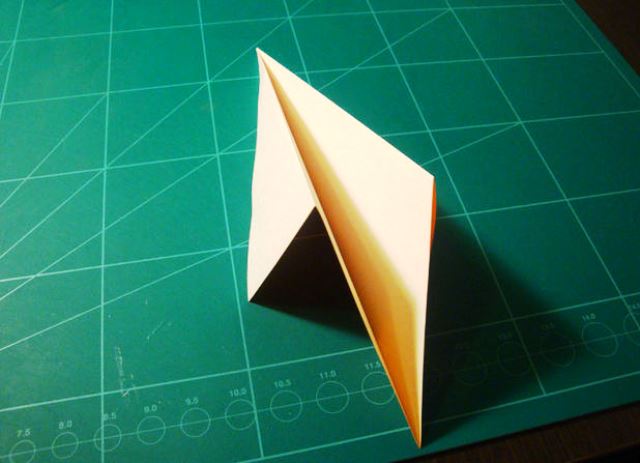
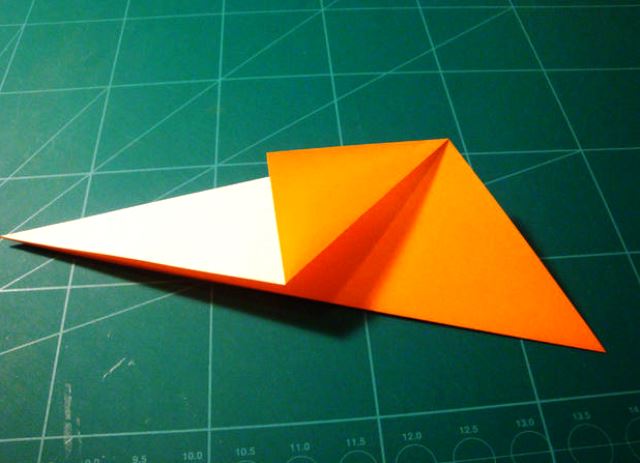
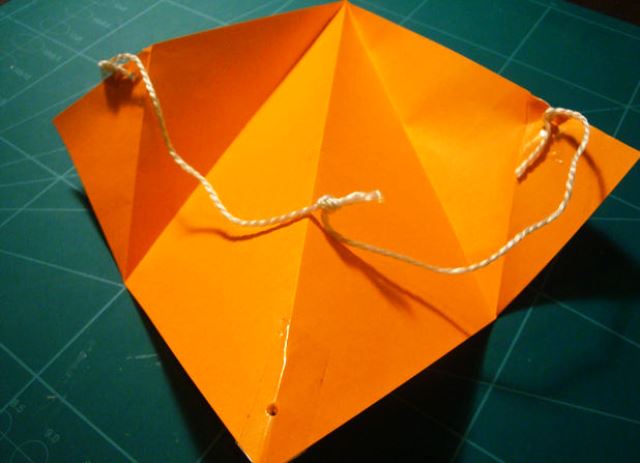
- Now bend the corners of the resulting figure from both sides.
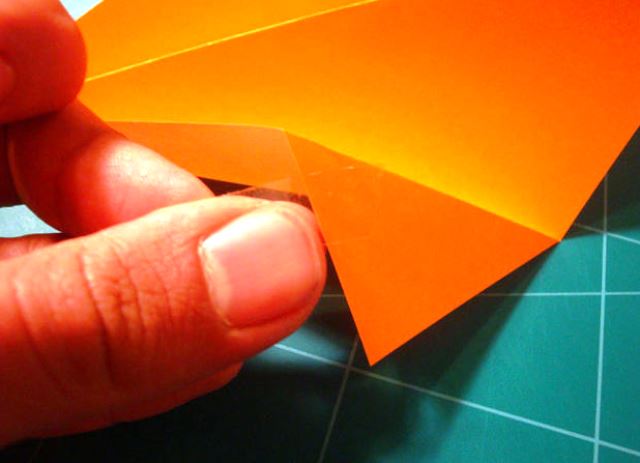
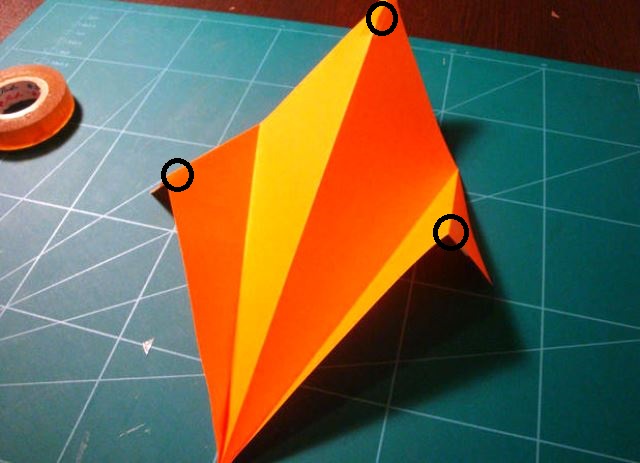
- In small photos, glue the areas indicated in the photos with small strips of adhesive tape. It is necessary that the paper does not break afterwards.
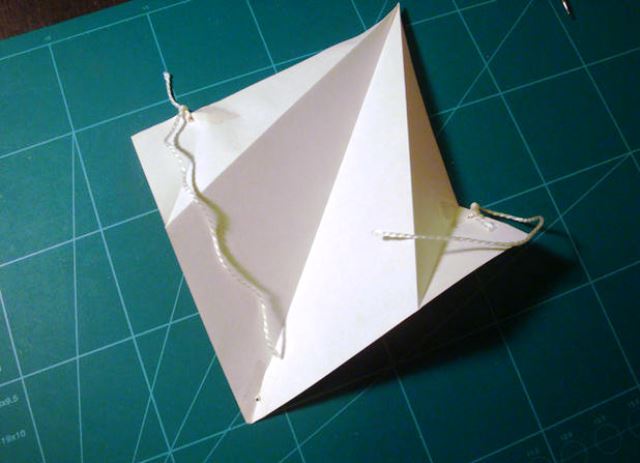
- Using a thick needle or an awl, make holes in the tape-reinforced areas.
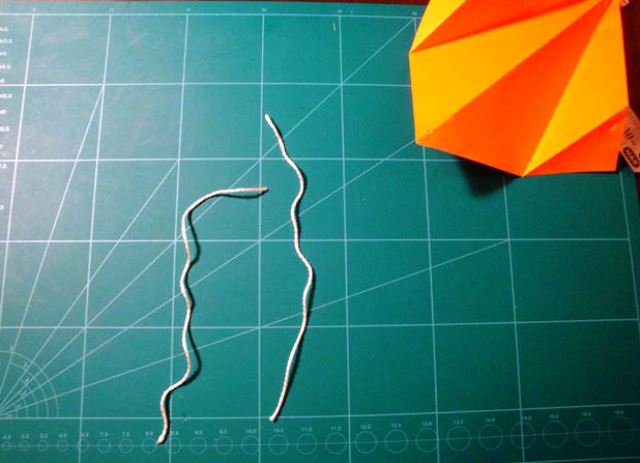
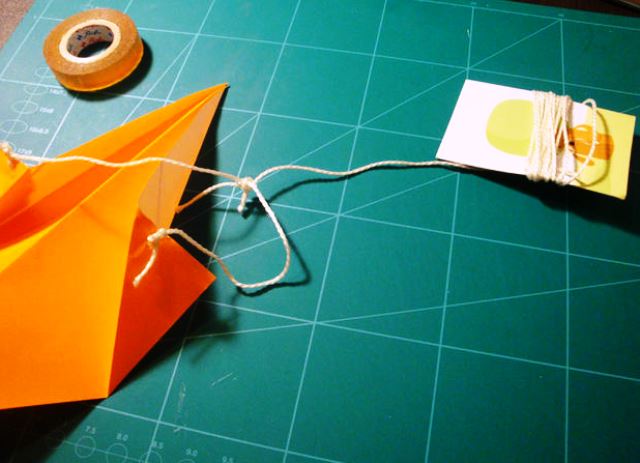
- Cut two pieces of rope about 20 cm in length, fasten them in the side holes and firmly tie them together.
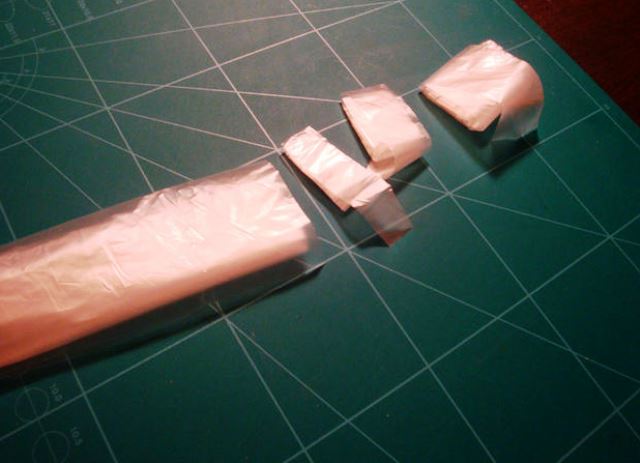
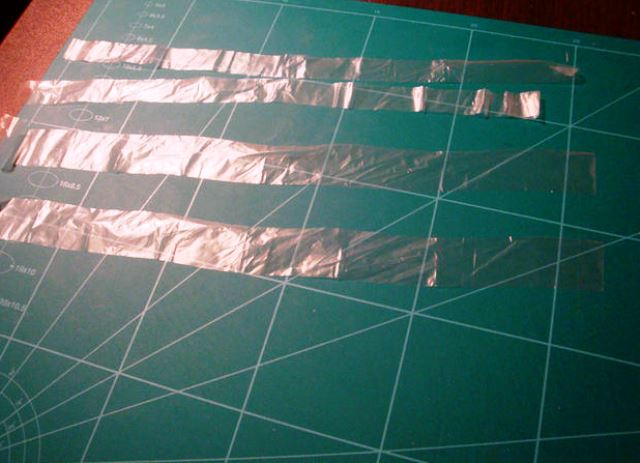
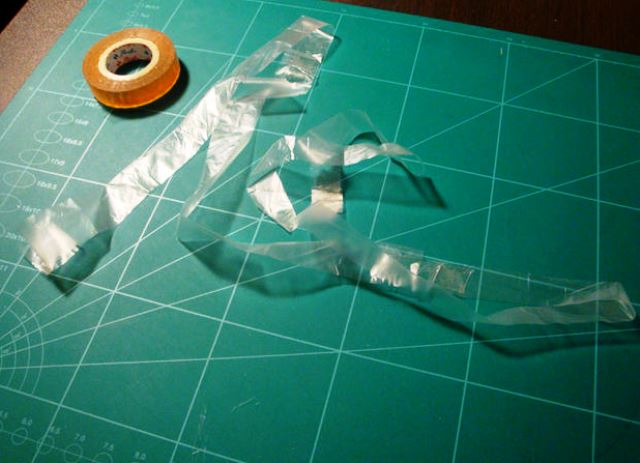
- To make a tail for a snake, which will help him to keep balance in the air, you can use a conventional plastic bag. Twist it and cut off small strips.
- Then glue them together with adhesive tape to get a long polyethylene tape.
- Attach the tail to the bottom hole in the paper blank.
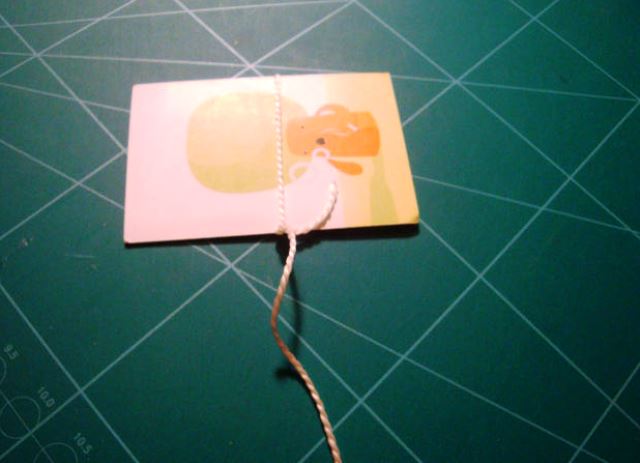
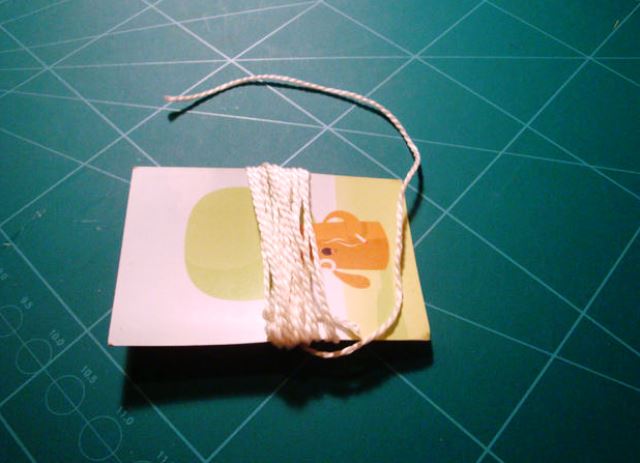
- The last step in how to correctly make a kite is to create a coil. To do this, any piece of dense cardboard, on which you need to wind the rope.
- The free end of the rope tightly tied to an already prepared knot at the base of the kite.
- Now your paper kite is ready for your first flight!
Kites from a polyethylene package
Necessary materials
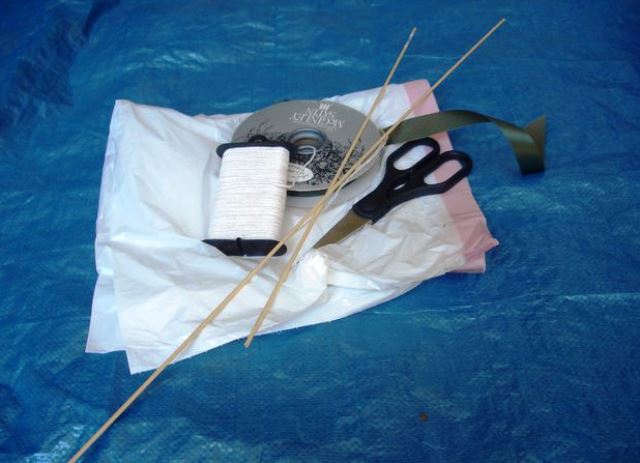
Here is another option, how to make a simple model of a snake from improvised materials. To do this you will need:
- a dense plastic bag of large size;
- long rope;
- two wooden sticks;
- tape;
- scissors.
Instructions
Now we will give you a step-by-step instruction describing how to make a kite from the package:
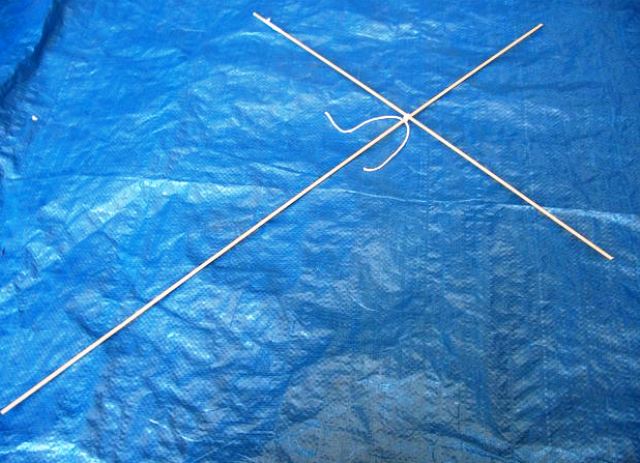
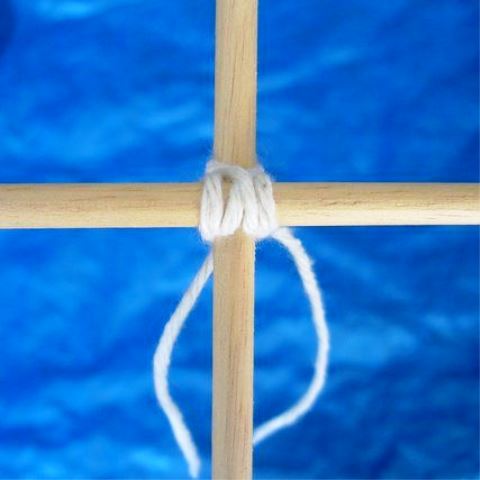
- To create a frame, fold the wooden sticks in the shape of a cross. The size of a short stick should be about two-thirds the length.
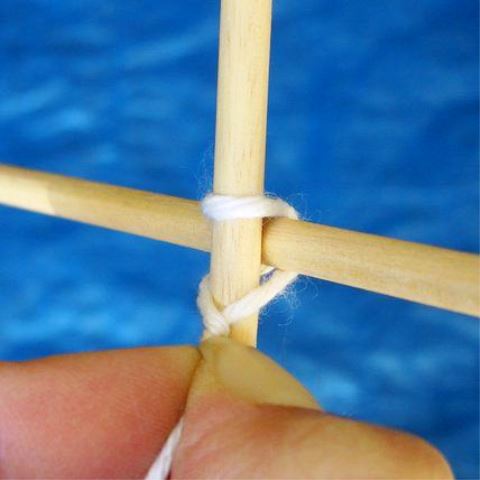
- Tie them together with a rope, tie, as shown in the photos.
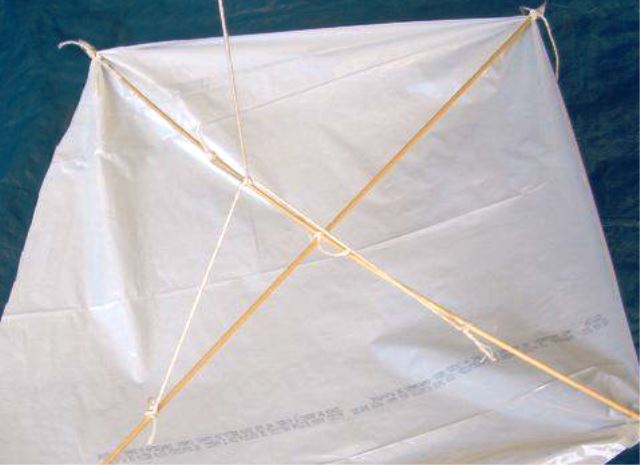
- Cut out the sail of the kite. Focus on the prepared frame, so as not to make a mistake with the size.
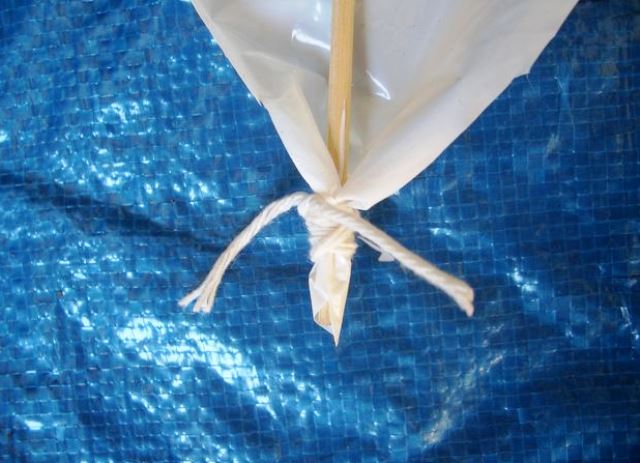
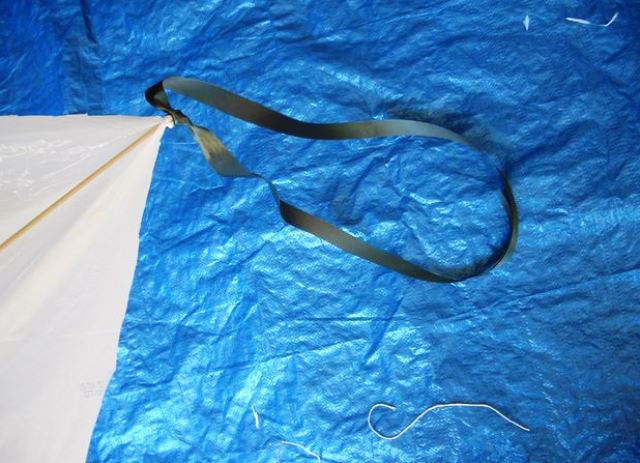
- Rope firmly tie the corners of the sail to the ends of the sticks. If desired, you can use adhesive tape or glue for greater strength.
- Cut a piece of rope on each middle of two pieces of a smaller wooden stick.
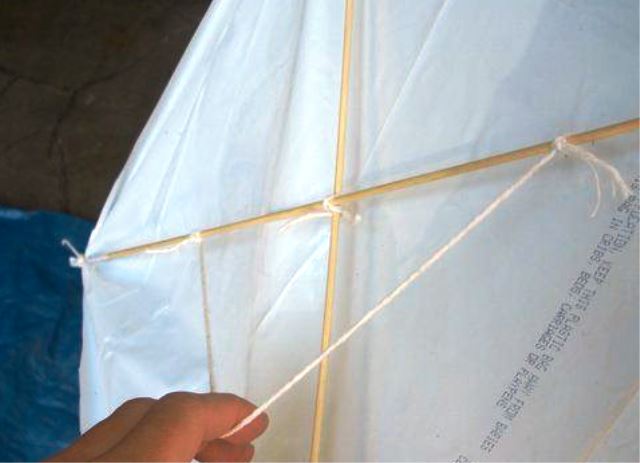
- Now for the greater part of the long stick, tie another piece of rope and connect it to the middle of the segment on the crossbeam. In the end, it should turn out some kind of pyramid. The top of this pyramid, in turn, is tied to a rope wound on a spool.
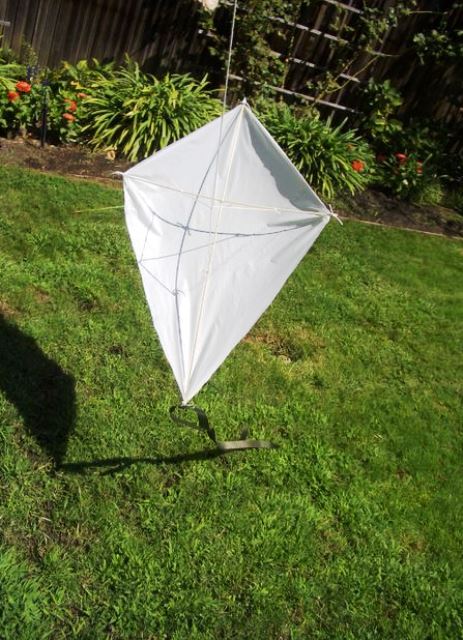
- At the bottom, secure the ribbon, which will act as a tail, helping the snake to balance in the air.
- Now you know how to make a kite yourself from a plastic bag, it remains only to test it in action.