During the renovation or re-planning of the apartment, the owners often wonder how to make an arch with their own hands in the doorway. After all, this is such an elegant and practical solution that you can not imagine.
But before you figure out how to make an arch in the house, you need to understand what style prevails in your room and in accordance with this choose the style of the arch.
There are several types of interior arches:
- classic;
- Art Nouveau;
- romance;
- ellipse;
- trapezium;
- portal.
Below is how these types look. From the pictures you can already roughly understand how to make an interior arch.
But do not rush, not figuring out all the subtleties of how to make the arch yourself.
The arch can be made in the wall or in the doorway . To make a doorway in the form of an arch is subject to almost everyone, we will describe it in detail later.
But in the wall, the arch itself should not be done. The reason is simple: if you do not have the appropriate education or the skills of correct chiselling of walls and understanding how to make an arch in the wall, you will spend unnecessary time and money. Since to then properly remake the arch will have to hire specialists.
Perhaps you will have a desire to make an arch in the bearing wall. This can be done, but remember that any openings in the bearing walls must be performed by certified workers who have SRO admission.
And so, all the main points are taken into account. Next, consider how to properly make an arch.
Master-class on the production of arches from plasterboard
Since the most commonly used material for the manufacture of arched structures is gypsum board, the master class will be devoted to the question of how to make a gypsum cardboard arch. Stages:
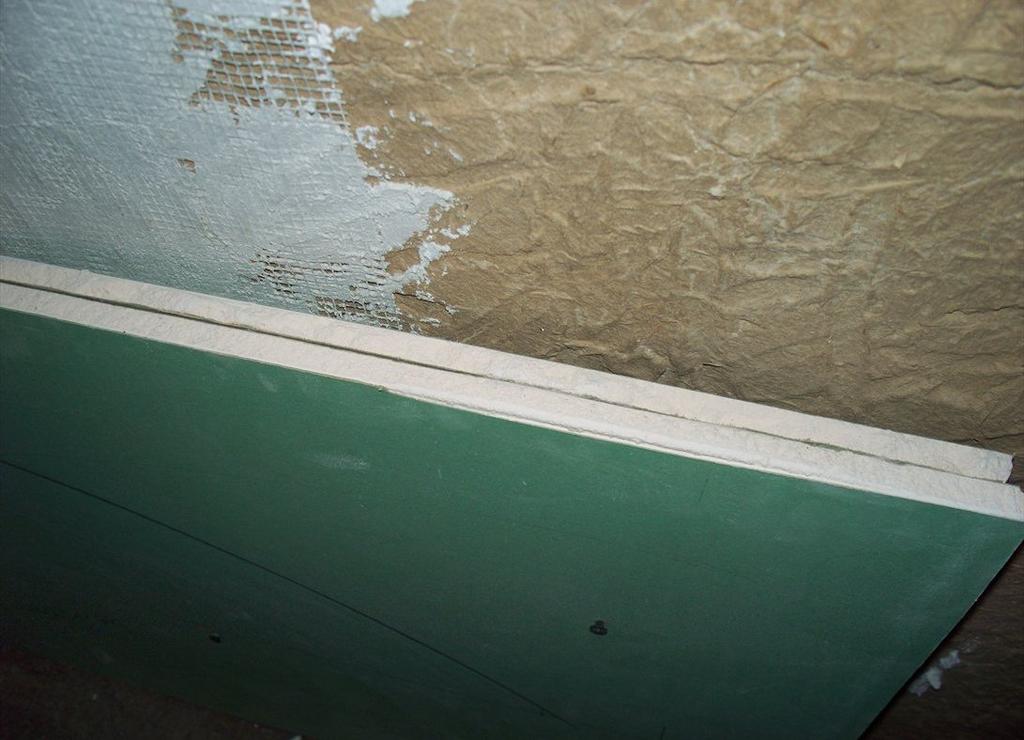
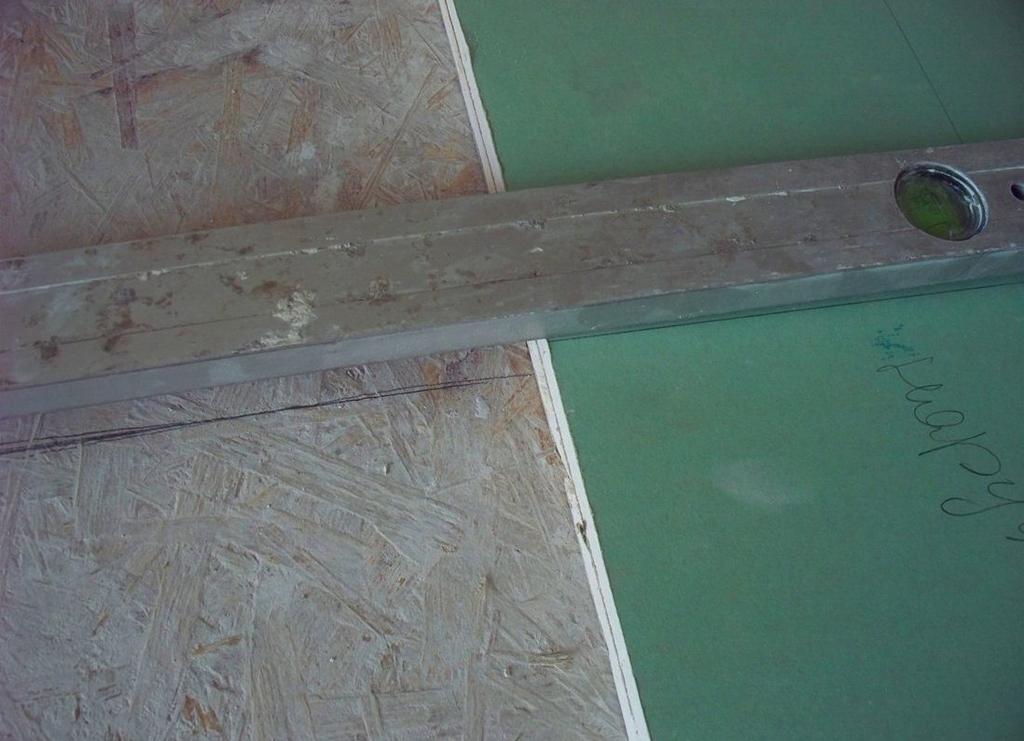
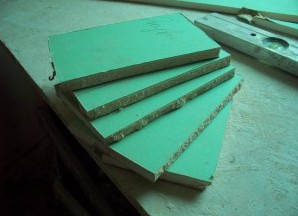
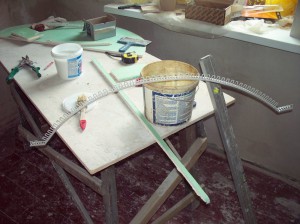
- Take the drywall and cut two identical rectangles according to the size of the opening. Gently pull them together with self-tapping screws.
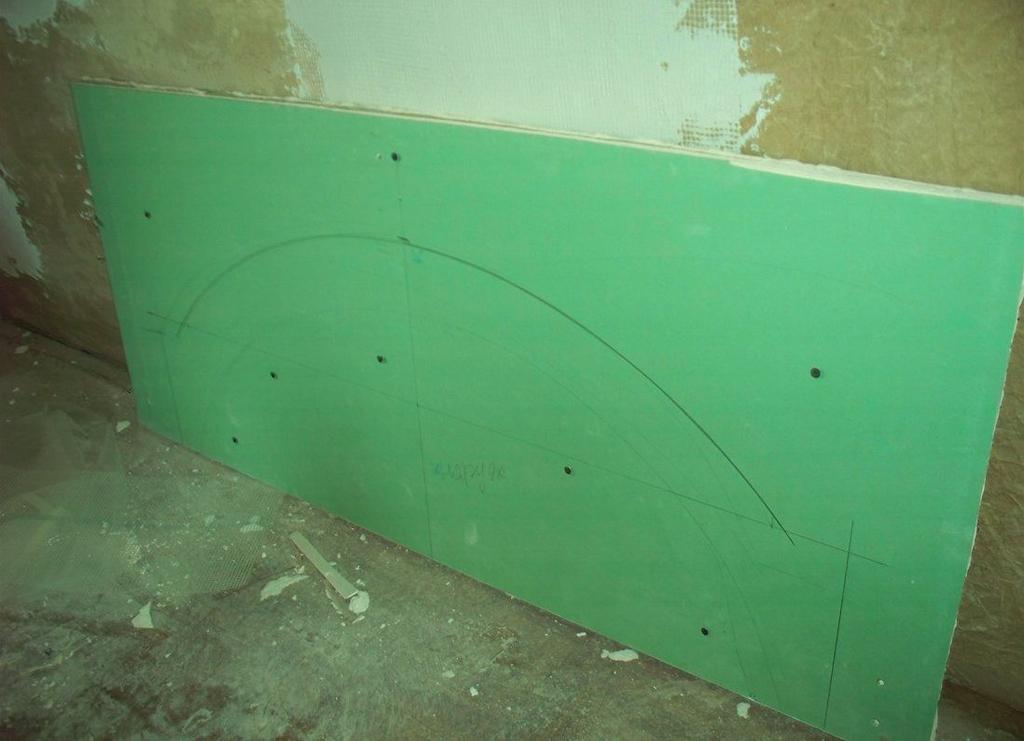
- Put these sheets on a flat surface to find the middle and draw a line.
- Measure from the edges of the "compass" 8-10 cm and between the marks to draw a semicircle.
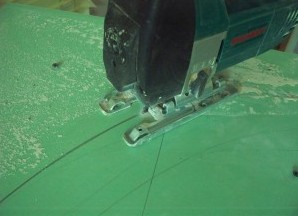
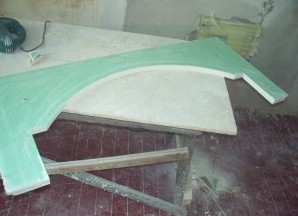
- Cut the workpiece with an electric jigsaw.
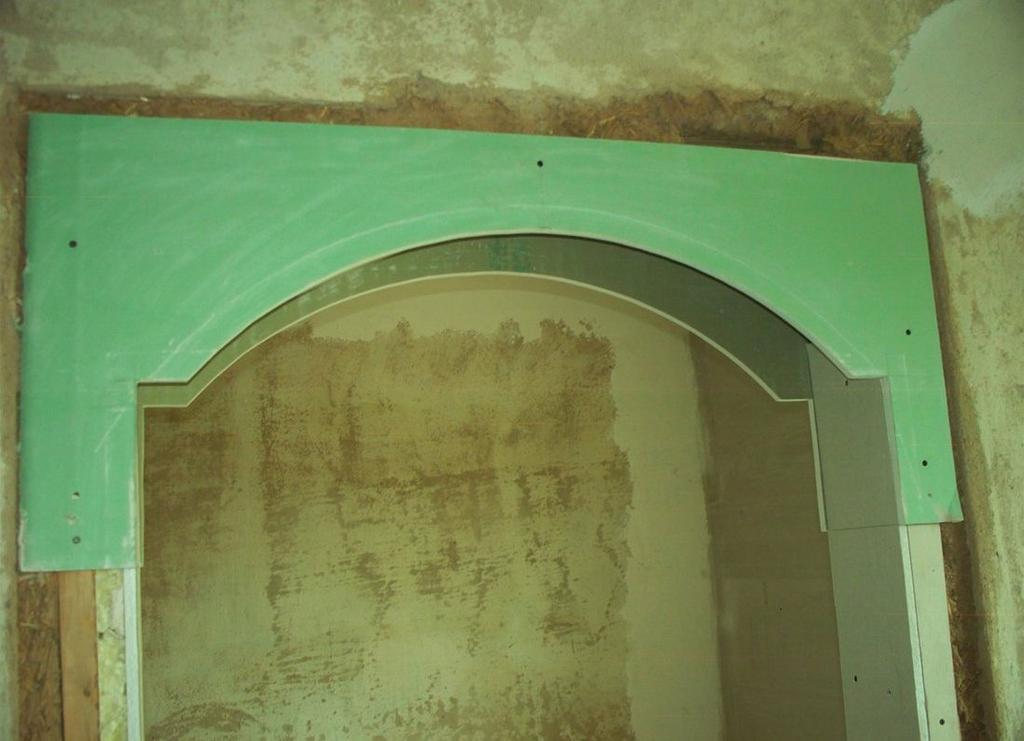
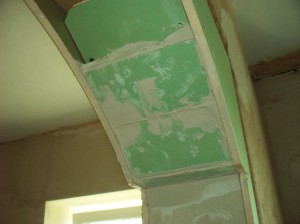
- The resulting sides of the arch are fixed in the opening.
- Inside the acre, attach the UD profile and pieces of plasterboard. Should be emphasis.
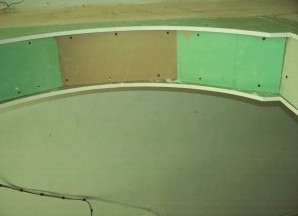
- Cut the pieces of gypsum board along the inside width. The width should be 10 cm.
- Dilute the adhesive for gypsum board and glue the pieces of drywall inside the arch so they do not protrude beyond.
- On the vertical sides of the arch glue the aluminum corners and from above - arched. So we see how to make a frame for the arch.
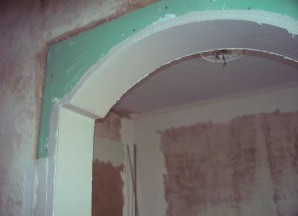
- Fill the corners with a special putty for gypsum board joints.
- Finish putty putty arch. Grind and the arch is ready. Then you can decorate it with decorative panels and build in the backlight.
Now you know how to make the most simple arch in the opening.
After the arch dries well, it can be zadekorirovat. There are dozens of options. It's great when the arch performs a useful function. It can be backlighting or small niches on the sides of the arch.
The question of how to make a backlit arch is separate. This point needs to be thought in advance. The arch inside should be left a little hollow, and not completely pawned with pieces of plasterboard. In this cavity you need to put the wiring. In the places of installation of lamps, cut out the holes of the desired shape and size, depending on which lamps will be installed there. Holes must be cut after the final finishing of the arch. Otherwise, they will not exactly correspond to the plane, and there may be a problem with the puttying of the arch.