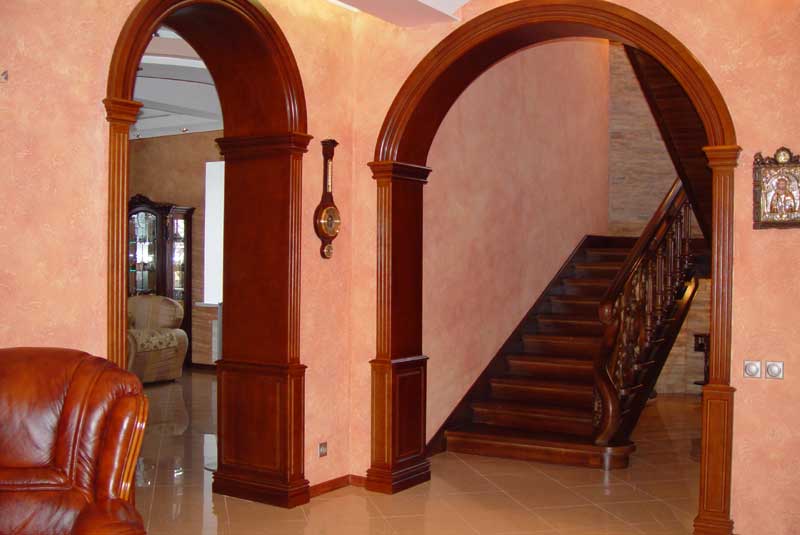
To diversify the interior of your apartment, to make it elegant and original, there are many design techniques, one of which are interior arches. Today, the owners of apartments and houses are increasingly abandoning the doors that separate the room and using open doorways or arches. With this technique, you can visually increase the space or zoning the room. Arches come in a variety of sizes and shapes. And for all its seeming complexity, such an interior arch can be made by hand from plywood or brick. The interior arch, made by own hands, happens to be wooden. Well, we'll try to build it from plasterboard. Let's find out how.
Making arches with your own hands
The process of making arches of plasterboard with their own hands is quite a simple matter. After all, working with this material may not even be a very experienced owner. This material, with careful handling, can take a wide variety of forms.
For work we will need such tools and materials:
- sheets of plasterboard with a thickness of 12 mm;
- sheet of arched plasterboard 6.5 mm;
- rack-mount profile - 1 pc;
- reinforced arch corners - 2 pcs;
- guide profiles - 4 pcs;
- roulette;
- perforator or drill;
- a jigsaw;
- a hammer;
- screwdriver;
- dowels and screws;
- scissors for metal;
- mesh-serpyanka.
Let's get to work:
- First you need to buy drywall. Today, in building stores, its choice is very large. Then you need to measure the width of the doorway and the height of the arch arc.
- From the metal profile we make the frame of the door arch. Bend the metal tape in accordance with the required dimensions and attach it with dowels to the wall. The same frame is attached to the other side of the doorway.
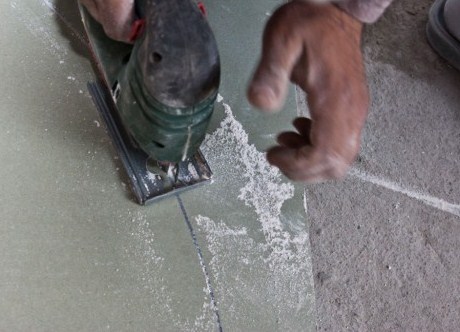
- On the drywall sheet, draw a pencil contour arch arch and cut it with a jigsaw with a special cloth. Do this very carefully, so as not to break the drywall. The cut out part is applied to the second drywall sheet and we cut out another similar part.
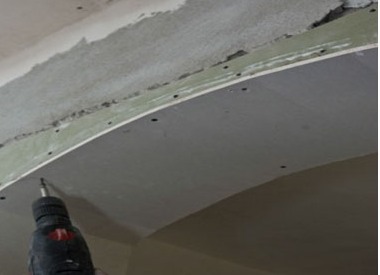
- Both finished parts are attached to the frame using self-tapping screws. At the same time, make sure that the heads of the screws do not protrude above the plane of the sheet, but are slightly recessed into it.
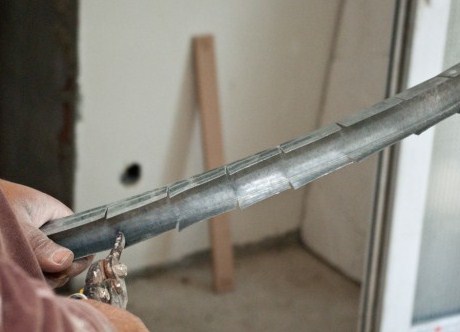
- We measure the length of the surface of the vault with a tape measure and cut off the profile strip along this dimension. Scissors for metal do notches on the profile in about 3-5 cm.
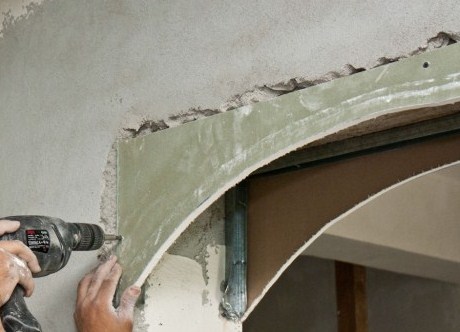
- We bend the profile and screw it with screws to the two edges of the plasterboard.
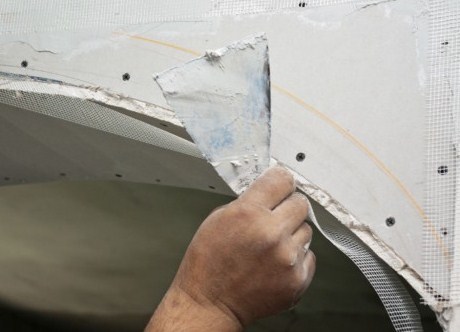
- We measure the width and length of the opening along the radius and cut out a strip of arched gypsum board from these dimensions. If the radius of your arch is large, then the resulting strip can be bent in a dry way, and if this radius is small, it is better to use the wet method of flexing the drywall. To do this, the gypsum board must first be rolled with a special needle roller, and then slightly moistened on one side and gently bent so that it takes the necessary curvature. We fix the curved strip with screws to the arch.
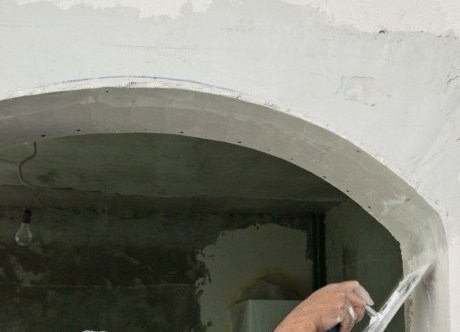
- Now we have to finish the interior of the arch with our own hands. To begin with, we need to prime our arch and apply a layer of starting putty on it, having previously pasted all the joints and corners with a plaster grid-serpyanka. It is necessary to ensure that the surface on which you applied the putty was smooth and did not protrude above the general level of the arch and wall. After completely drying, the treated surface should be carefully sanded using sandpaper.
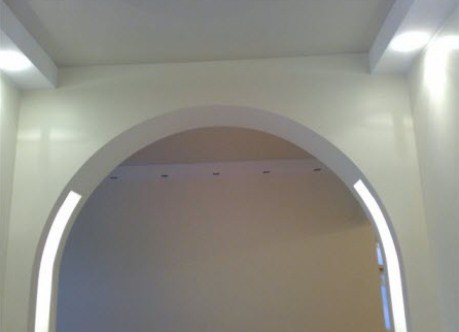
- So our interior arch is ready, which will make the room more cozy, unusual and memorable.
- Fig. 10.