Many do not understand why spend your time and energy to make a kitchen set, chair or armchair with your own hands. It is much easier to go to the furniture salon and choose the product there to your liking. To begin with, you will save a lot of money. Products created by you personally will cost two times, three or even ten times cheaper than standard factory cabinets or nightstands. In addition, the master himself sees from what material he makes his furniture. The market has a lot of handicrafts made from various waste and poor-quality raw materials, and here we will be absolutely sure that the products will turn out sound and durable.
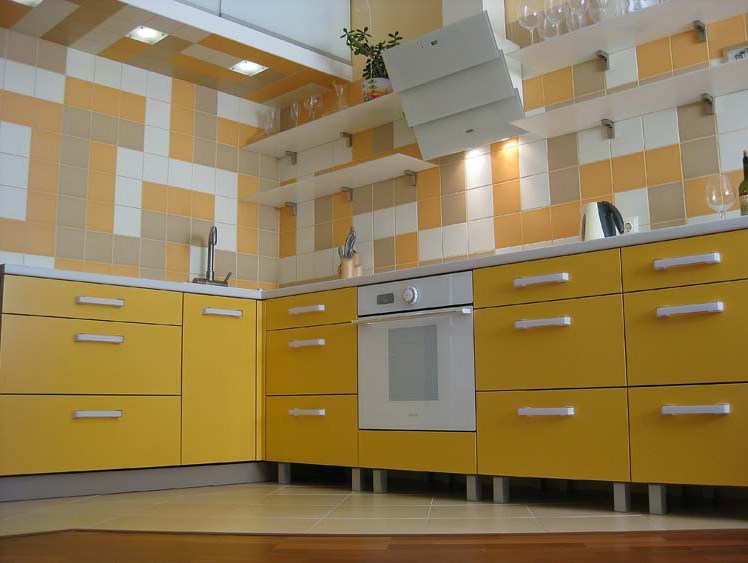
How to make a kitchen set?
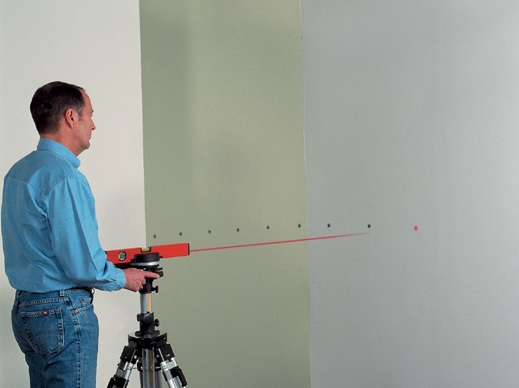
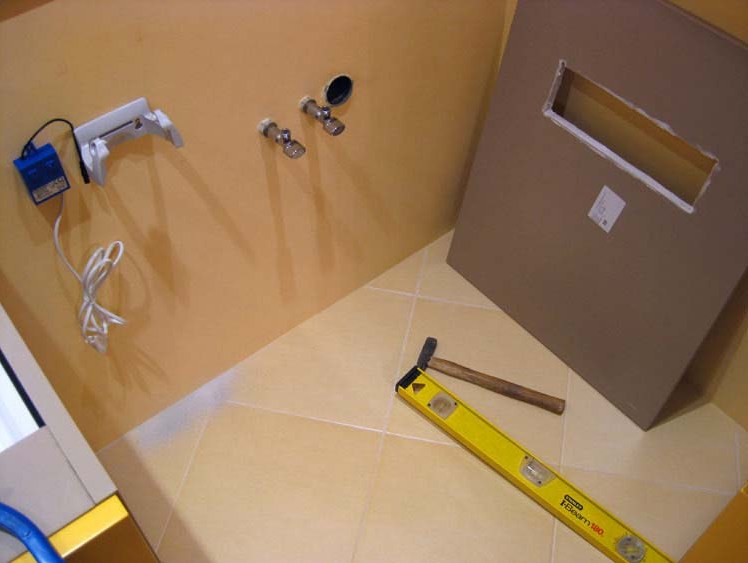
- Measurements. Best of all, when you use it, not only a simple tape measure, but also more advanced instruments such as a laser range finder. The walls are not perfect. An error in the angle of one degree can lead to serious shortcomings, which at best leads to modifications at the stage of assembly.
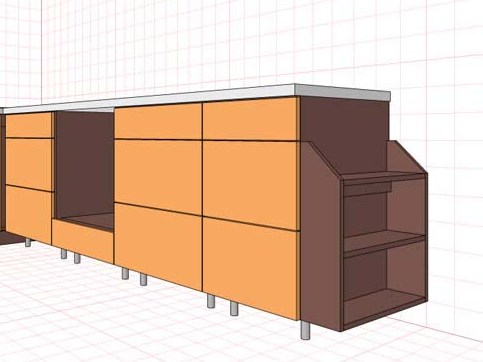
- Projecting. A kitchen set created by one's own hands usually has a modular design and the drawings are better designed so that the width of the individual pedestals is a multiple of 5 cm. You can draw using a computer using a good and easy-to-use program, and some in the old fashion draw everything on paper.
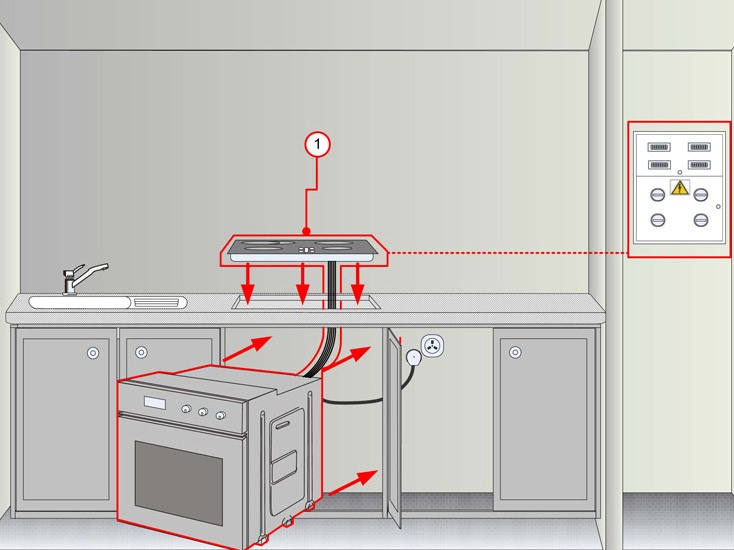
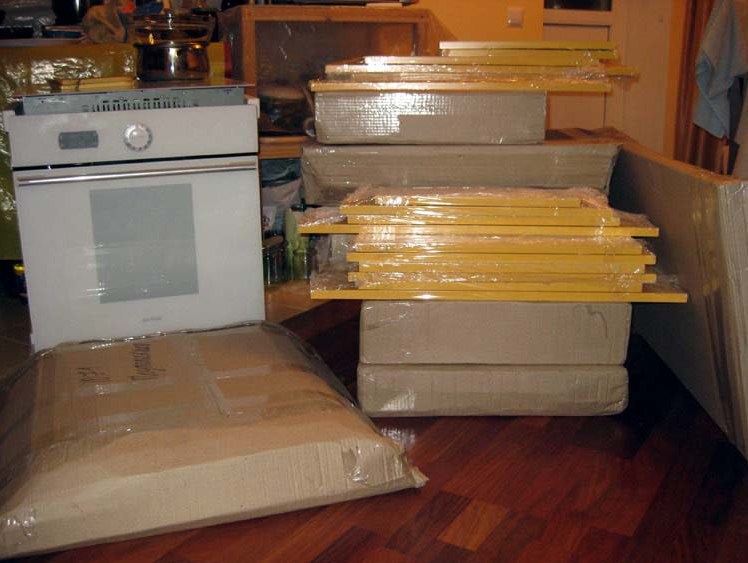
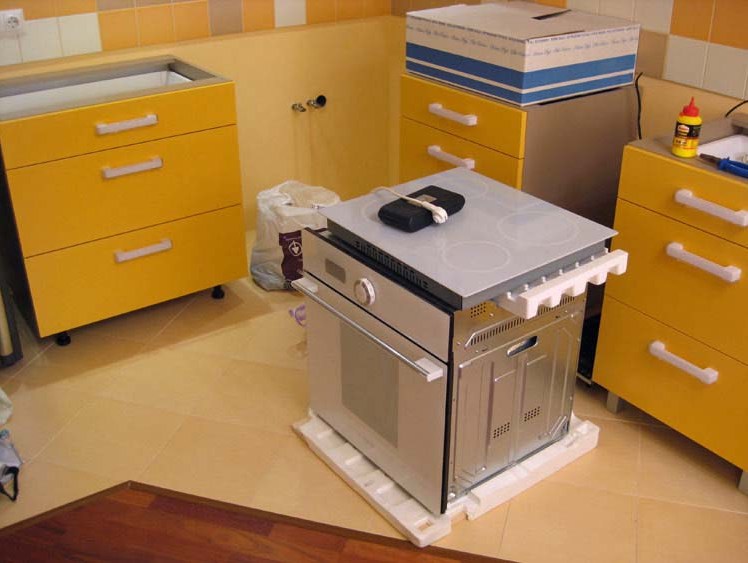
- Plate, sink, oven and other built-in appliances buy ahead of time, you need to know their sizes, how this technique will be mounted, where the wires and other communications will go. It is very unpleasant when the hob does not fit the finished cabinet or the hood can not fit in the finished doorway.
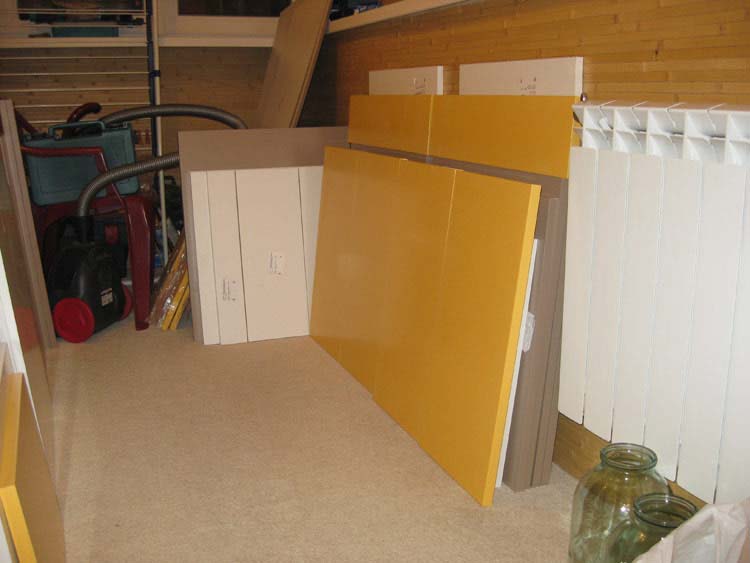
- Not every person can afford to make furniture from a natural board. This requires production areas, several woodworking machines. In an apartment it is not so convenient to paint a kitchen set collected by own hands. It is easier to assemble sets of MDF, chipboard and fiberboard. The production of facades , cutting and banding is now engaged in many companies. They in the presence of competent drawing will bring, will open and will give ready-to-work material. You will only have to bring it into the house and start assembling. For cases suitable chipboard thickness of 18 mm, for boxes - chipboard 16 mm. The rear walls are made of fiberboard, and the dyed MDF will go to the facades.
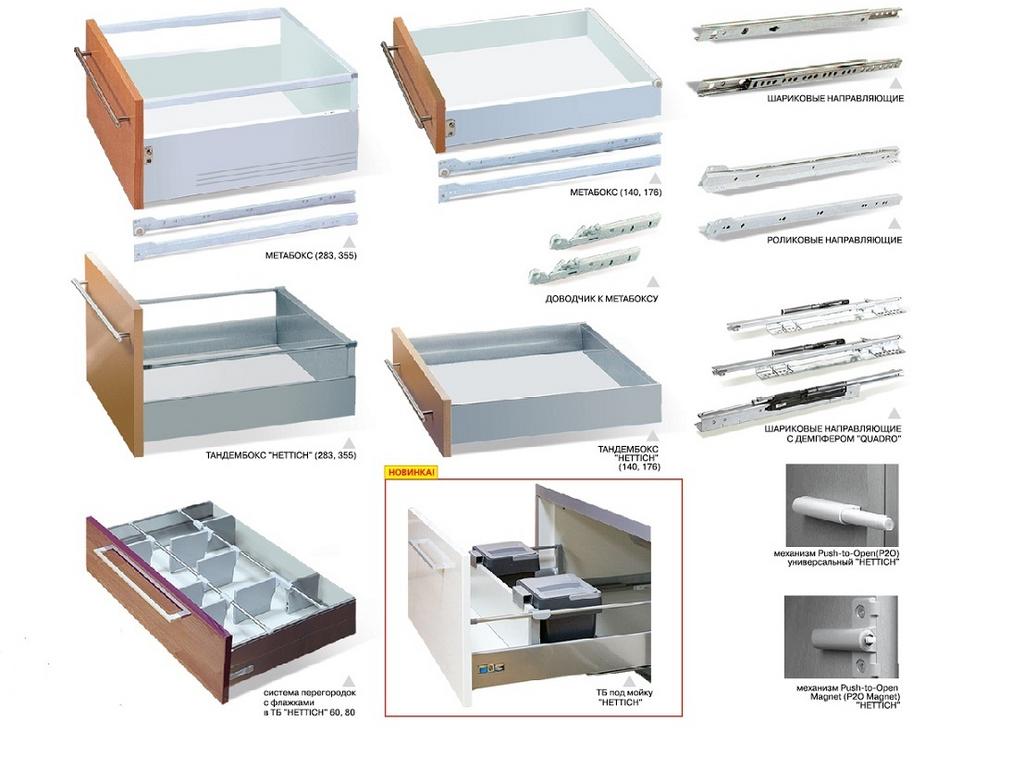
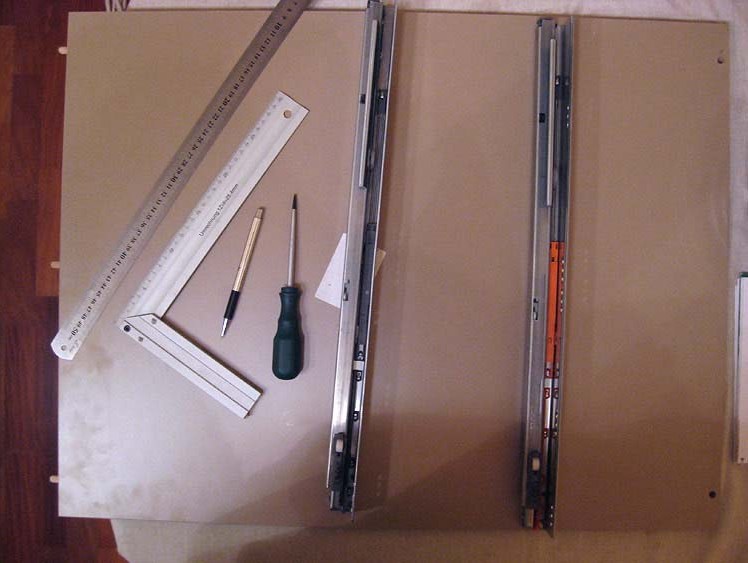
- Fittings. You will need special sets for boxes, so that they are fully extended, hinges on the doors, rolling mesh under the oven, legs, handles and other small things. These things are easy to find in hypermarkets, but it is better to contact suppliers who specialize in such products. They have a wider choice, and things can be better.
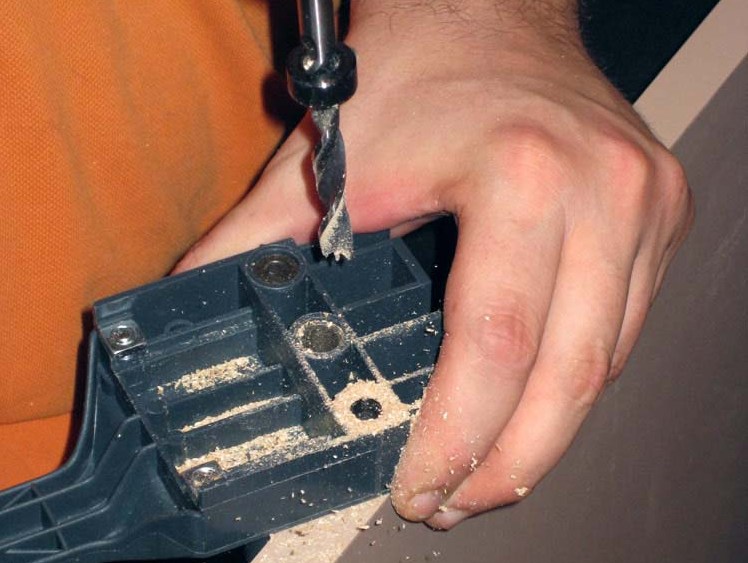
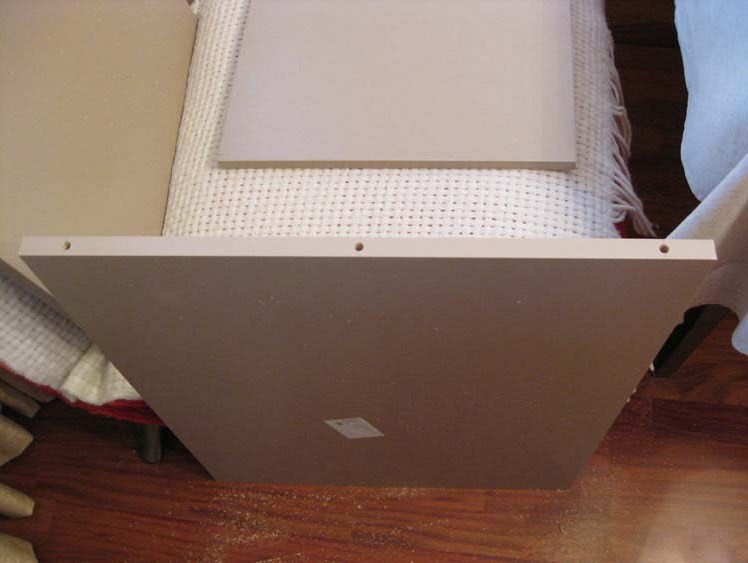
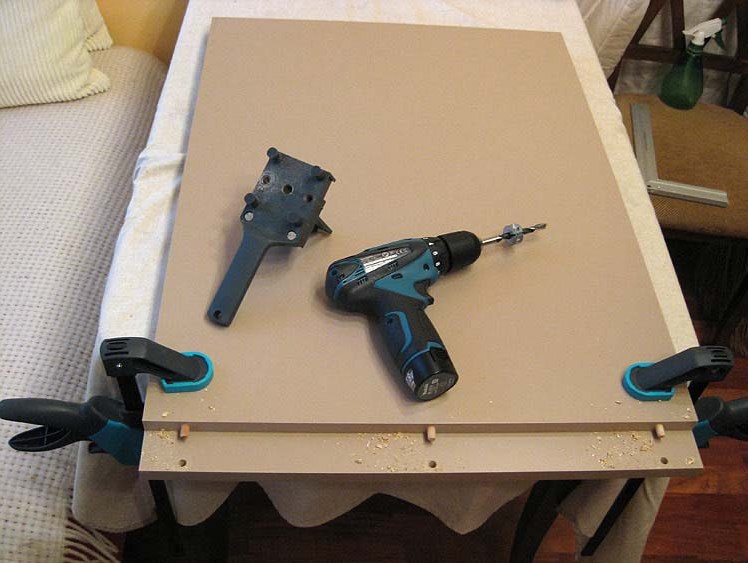
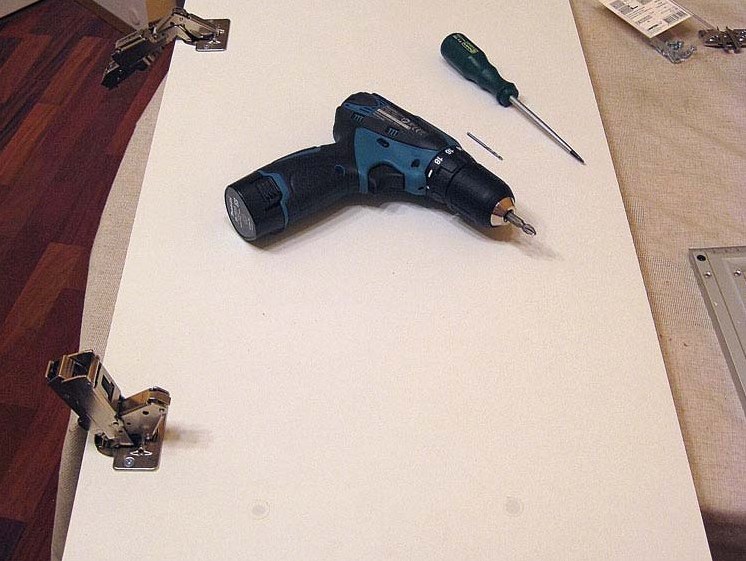
- Assembly begins with drilling holes for dowels. To make everything exactly fit, use the depth gauge on the drill bit and the jig.
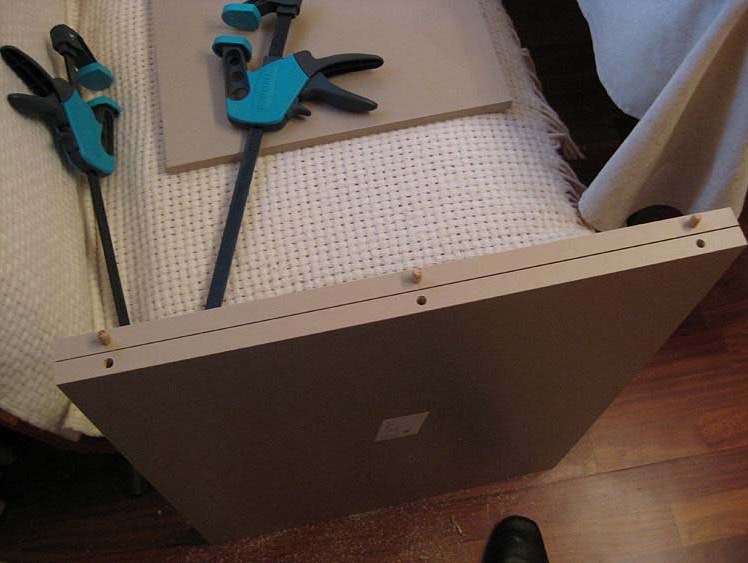
- With this tool, it is easy to copy the holes to the second sidewall.
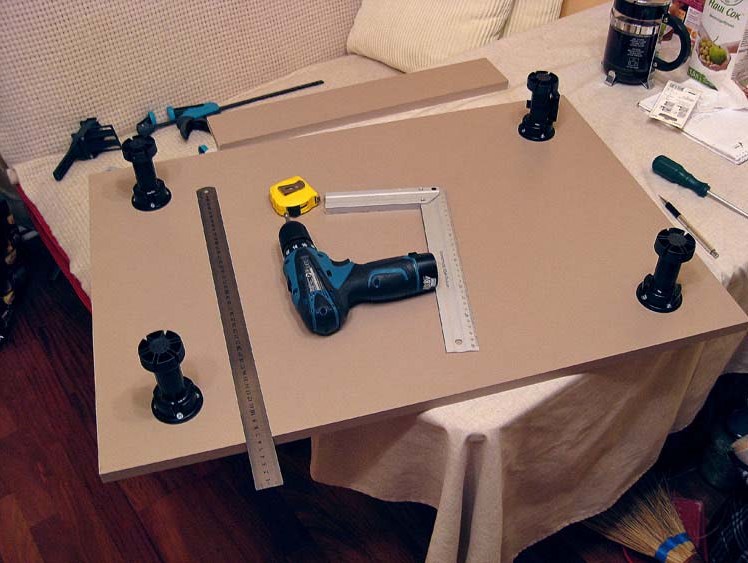
- Sidewalls, the bottom and top are ready, we collect the first curb.
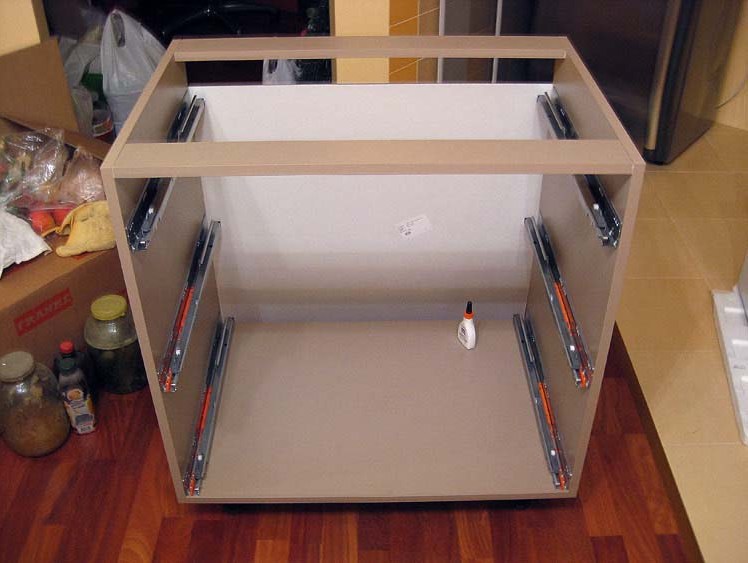
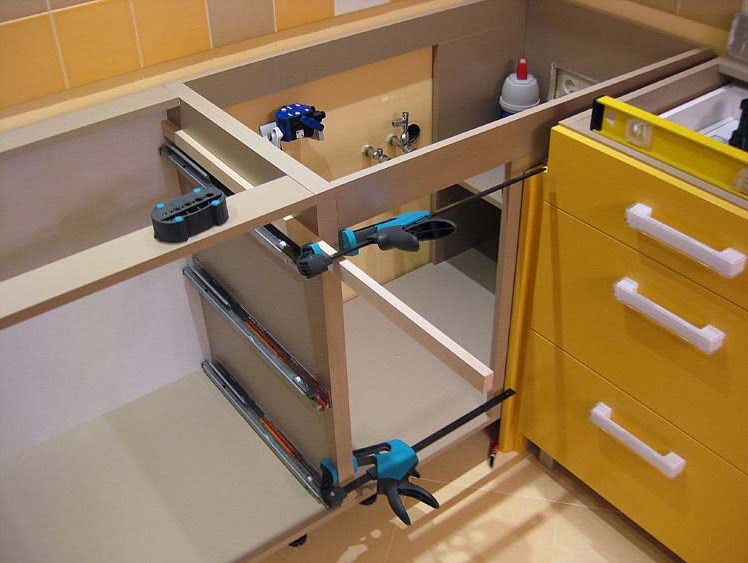
- Install the guides for the boxes.
- Mount the feet.
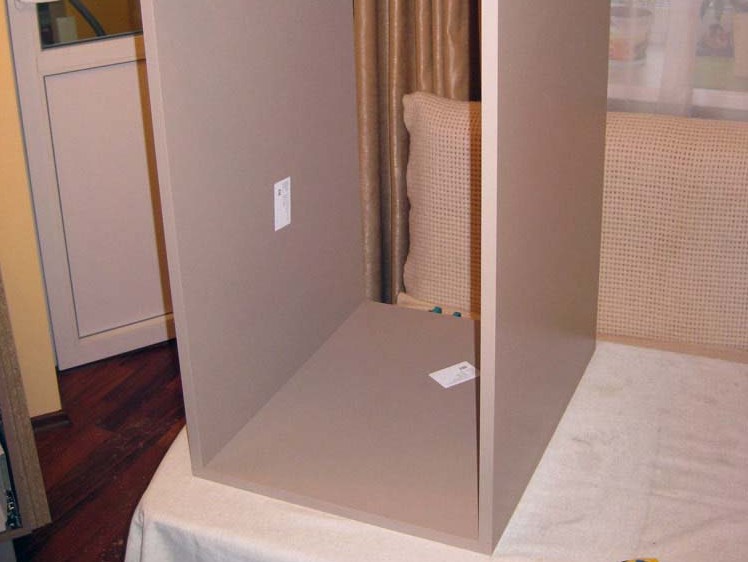
- Shaky to the look of the curbstone will become more durable, when it will be installed on the rear wall.
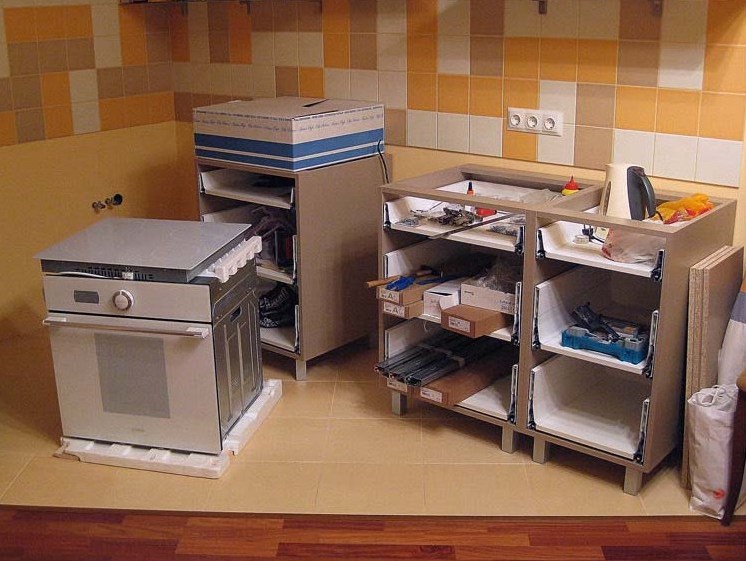
- Similarly, we collect the remaining parts of our furniture kit.
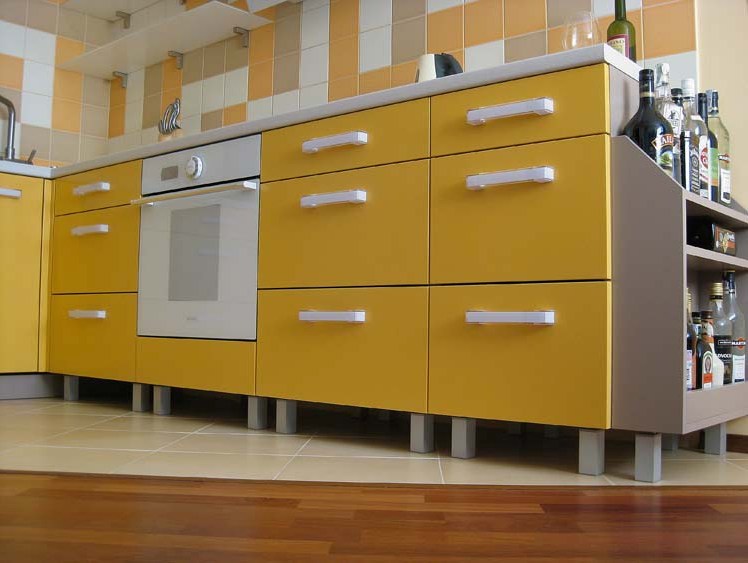
- After the assembly of the boxes, our kitchen set, assembled by our own hands, gradually acquires a completely presentable look.
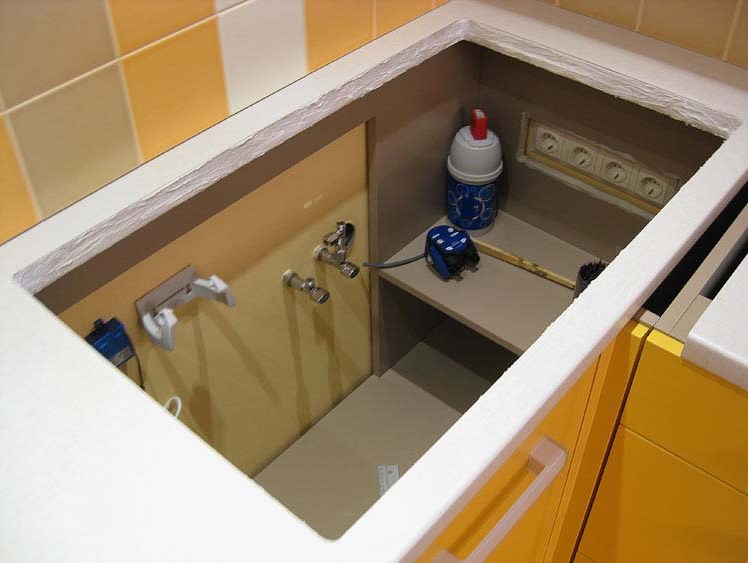
- In the right places jig saws make holes for sockets and piping.
- We put the thumbs up so that the top of them is in the same plane.
- Install the hinges on the doors.
- In a massive countertop under the sink, the cutout under the sink is desirable to be tightened after installation, so that the DSP does not deteriorate from moisture.
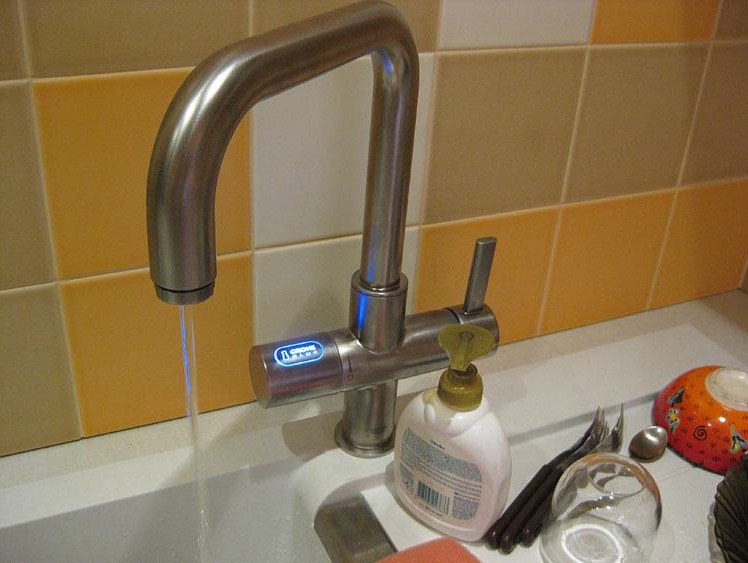
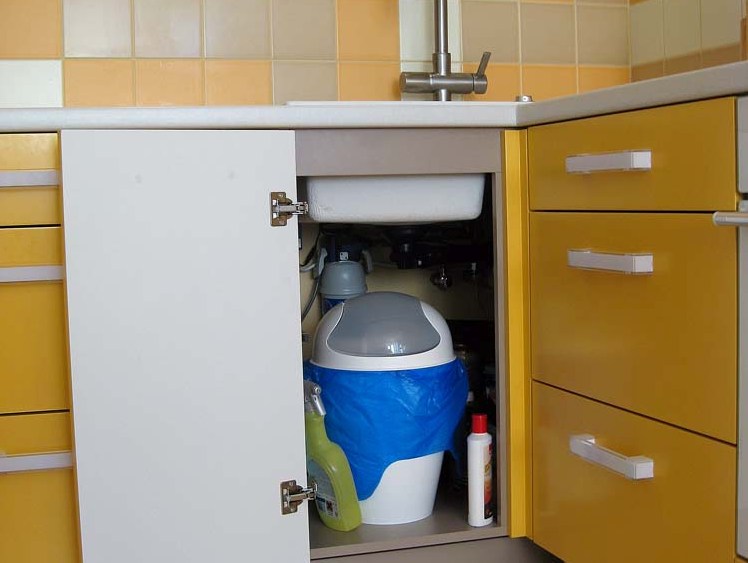
- We connect plumbing.
- Work is over, you can admire your work.
The saved money plays an important role. But in our business, the most important thing is that by making a kitchen set with our own hands, the owner will be able to realize all his intimate ideas, designing it so that the furniture fits perfectly into the interior of the apartment.