A passport is a document that almost everyone has, and it's nice to put this important document on a cover created by yourself. In this article, we will get acquainted with how one can make a cover for a passport (or a passport cover) from a tissue with their own hands.
Passport cover: master class
It will take:
- beautiful fabric for the cover and not a dense fabric inward;
- sintepon;
- cardboard medium density (up to 1 mm);
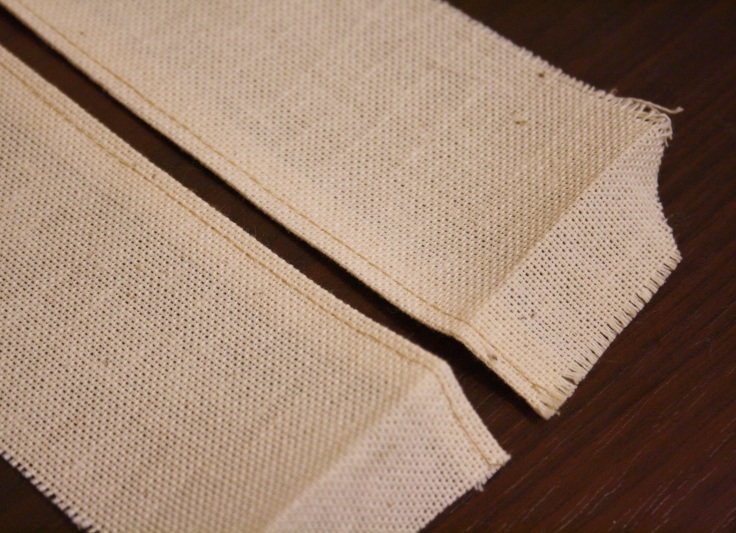
- a cyber tape with a length of 27 cm;
- Universal adhesive UHU Twist & Glue;
- wide double-sided adhesive tape;
- cotton lace, waxed cord, crystal;
- sewing machine, thread, pins, scissors.
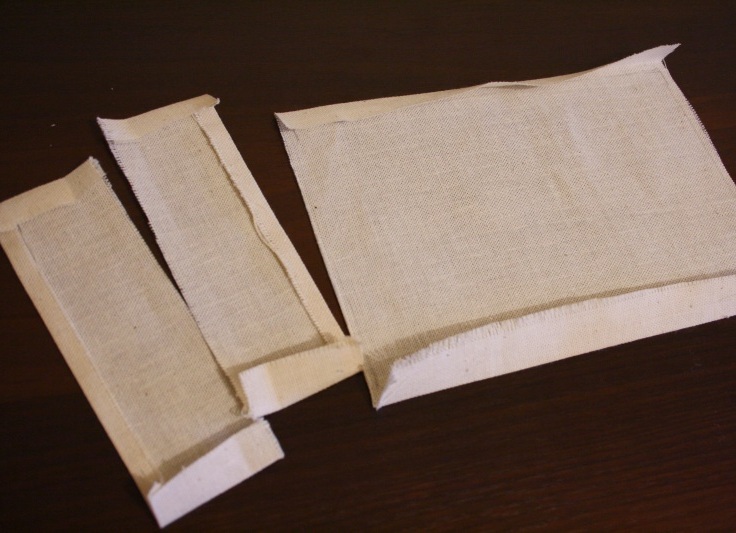
- For the outer part of the cover, we cut out a rectangle with a size of 24x18 cm, and for the inner part - three: one - 19.5x17.5 cm and two - 7x18 cm.
- Carefully iron out the cut out details.
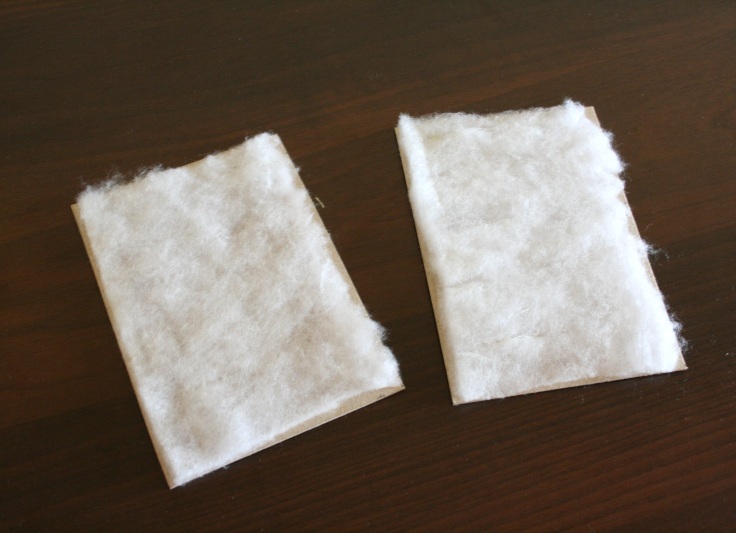
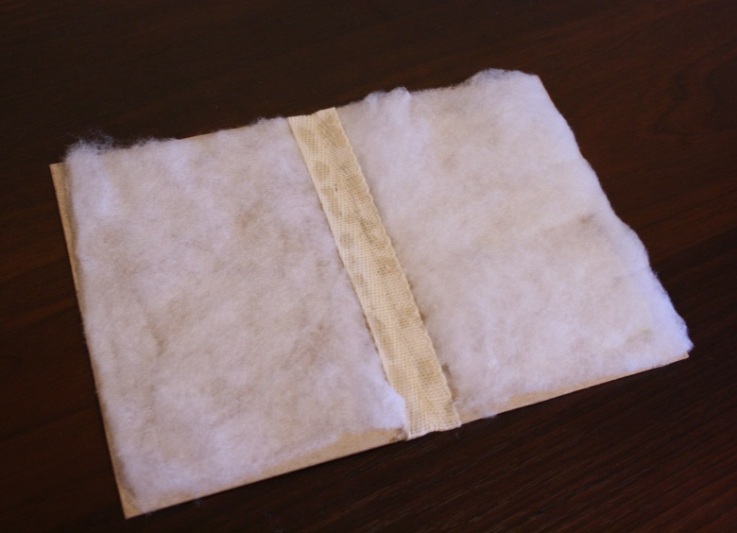
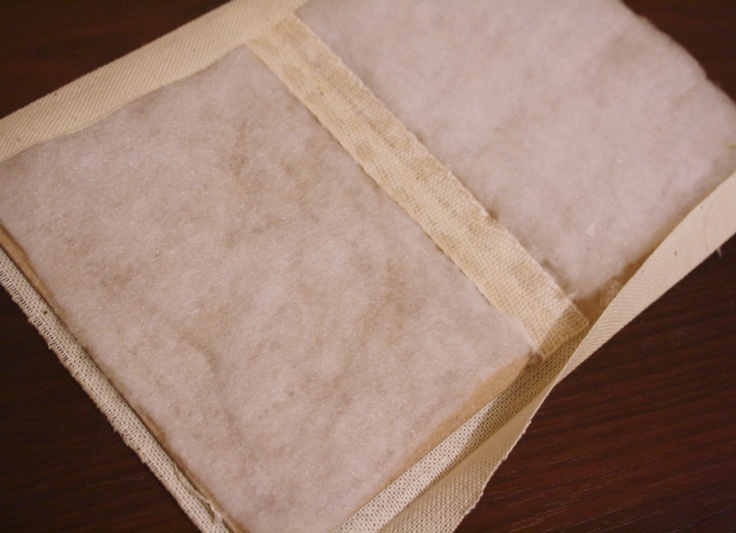
- From the synthepone we cut out two rectangles with sides of 9.5 cm and 13 cm.
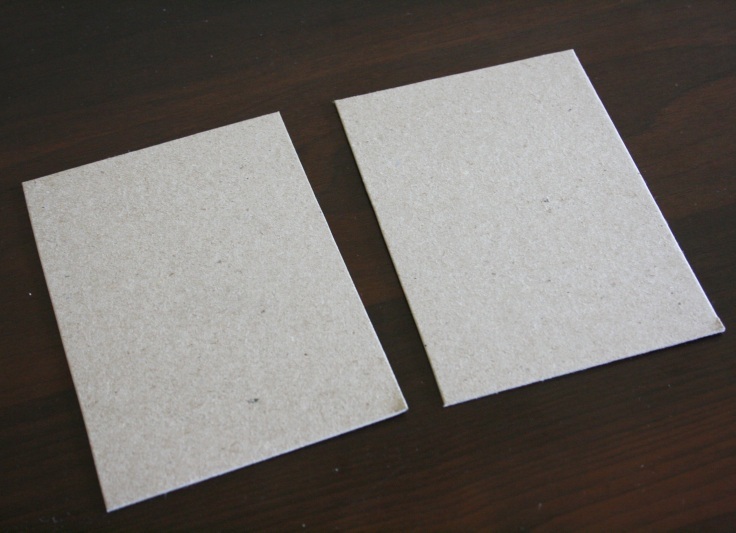
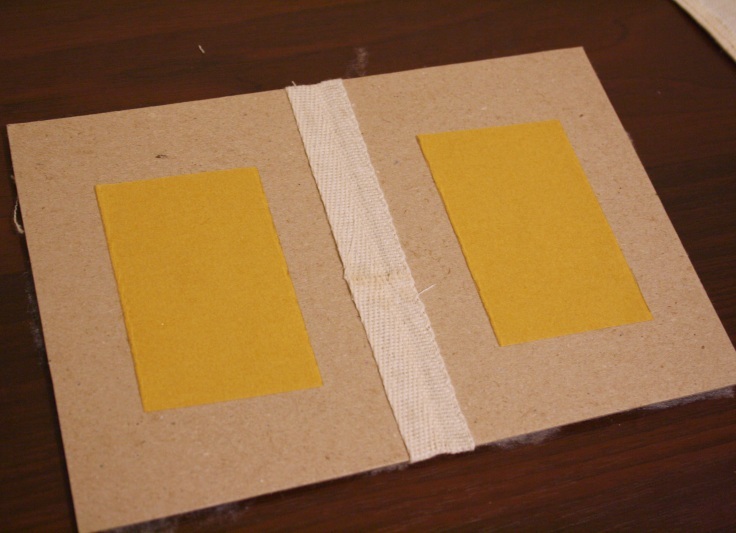
- From the cardboard we cut out two of the same rectangles, as well as from the synthepon (9.5x13 cm).
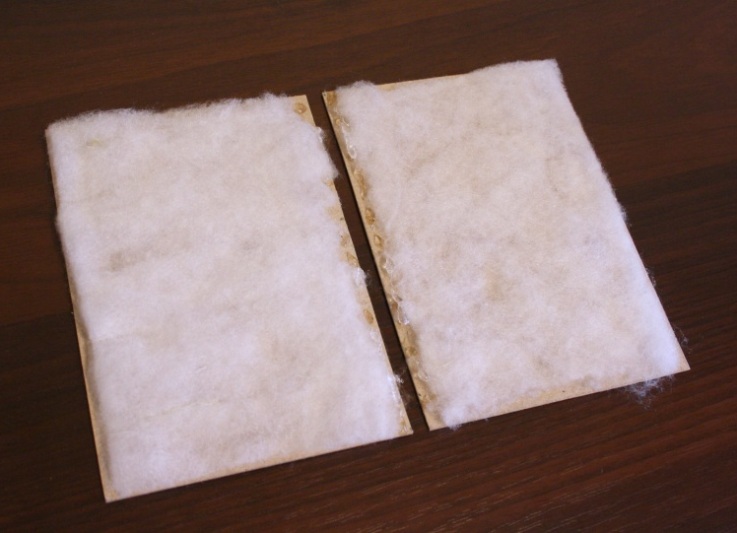
- We paste the sintepon on the cardboard, let it dry well.
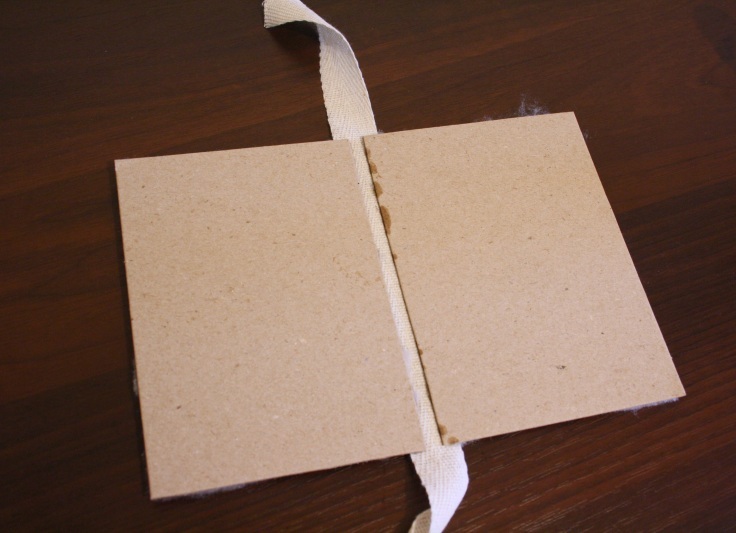
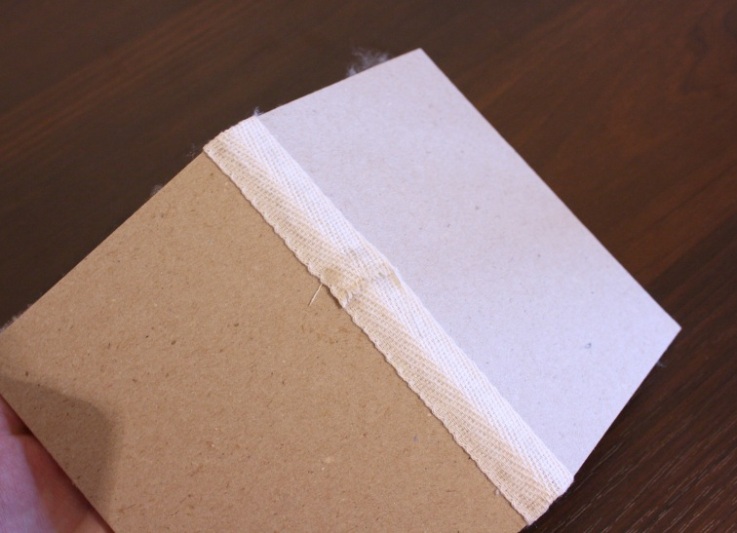
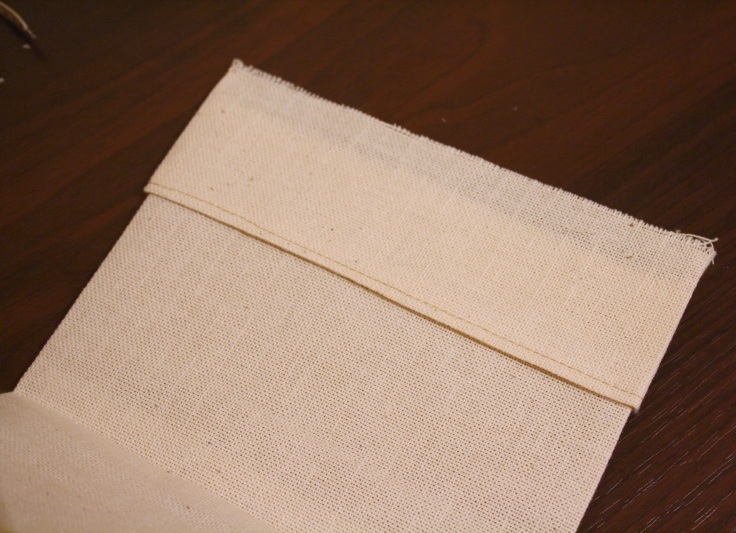
- Using a keeper tape, glue the cartons together on one side, and when the glue dries, turn the workpiece over, and glue the remaining ends of the tape from the other side. The back cover is ready.
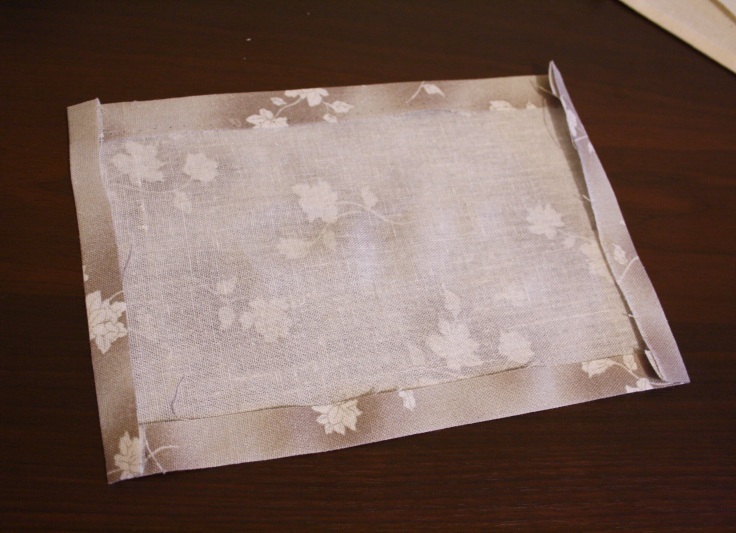
- The fabric for the outer side is pressed 2 cm from each edge so that the billet is 20 × 14 cm.
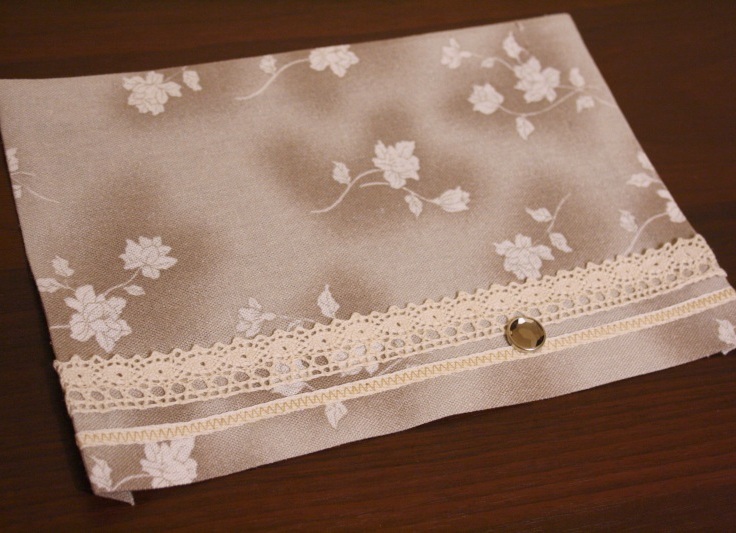
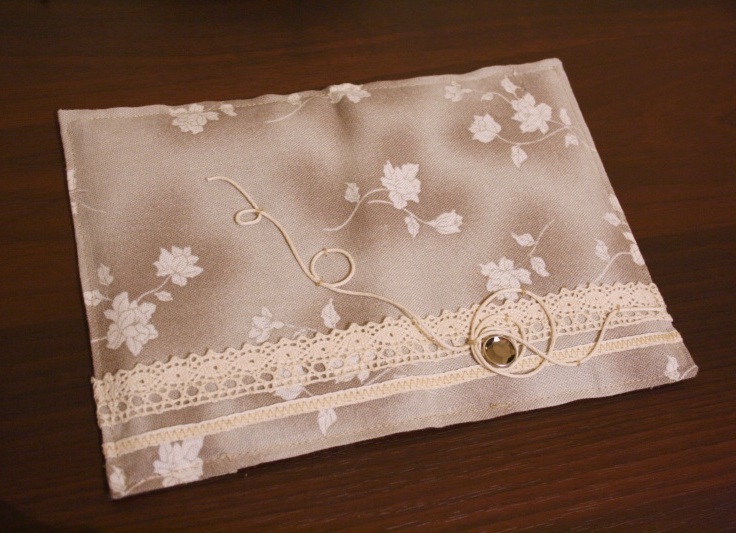
- We decorate the outer side of the cover.
- The large part for the inner side is chamfered along the edges of the long sides by 2 cm to make the size 19.5 x 13.5 cm, and small ones - 0.5 cm from one edge along the long sides and 2.2 cm on the short sides to get the size 6,5х13,5 cm.
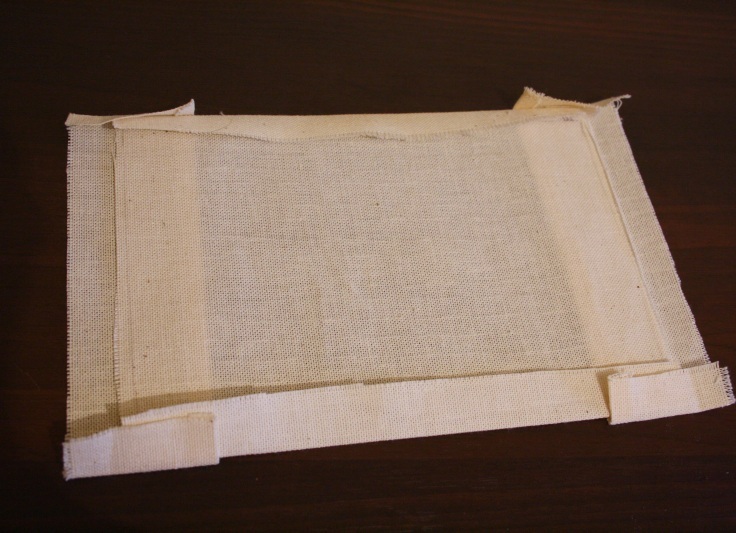
- We put small internal parts to the big one so that they lie overlapping, do not deform a large detail and slightly protruded beyond its edges.
- We apply all the internal details of the cover to the detail of the outside. The outer side part should protrude by 1.5-2 mm along the entire perimeter, if the protrusions are larger or they are not there at all, then it is necessary to iron out the internal parts.
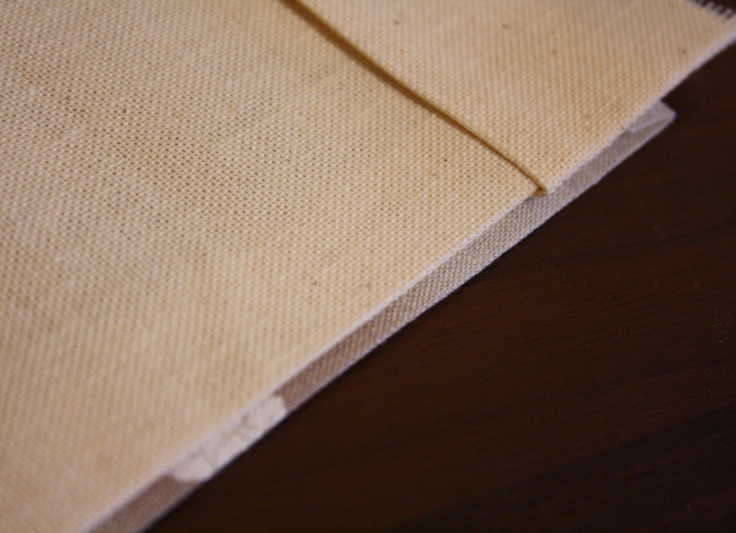
- We take small internal details, we spend the smoothed long edges, and corners cut off under 45 degrees that did not stir.
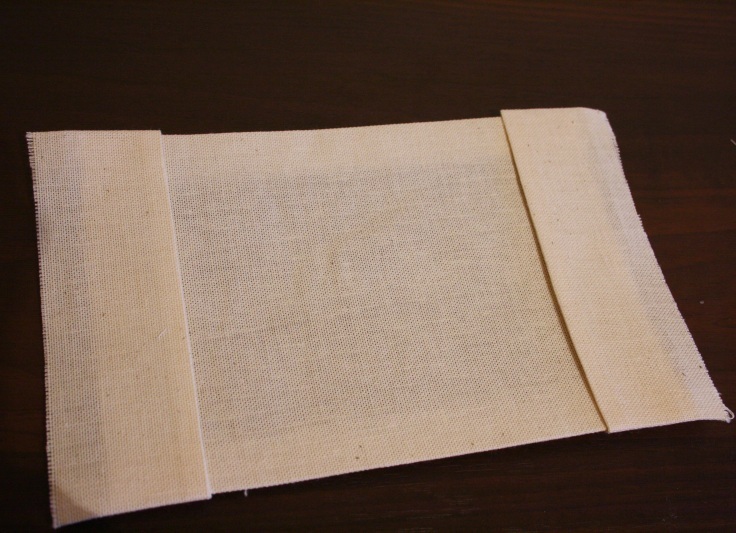
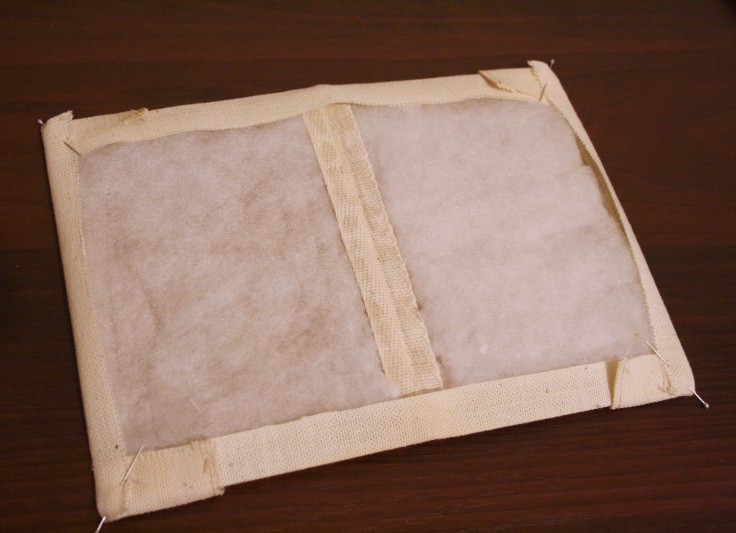
- We glue to the center of the side of the cardboard blank without sintepon strips of double-sided scotch, and then on top - the inner large piece of fabric. It is important that on both sides from the cardboard to the fold of the fabric there remains the same gap.
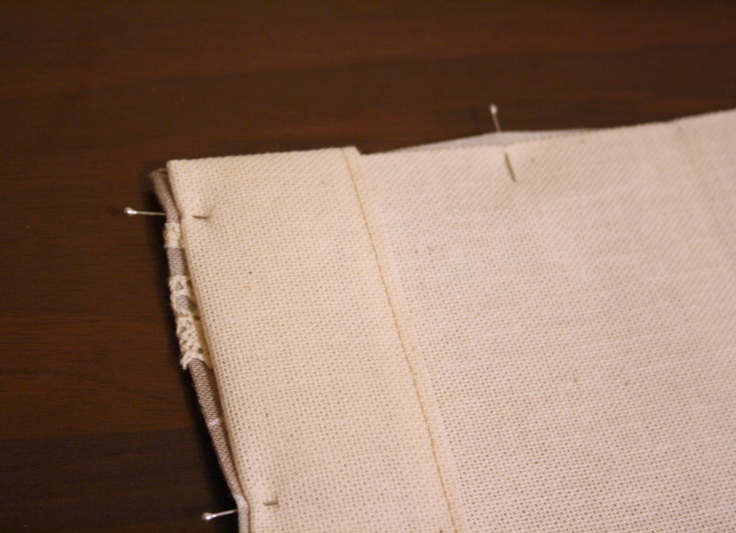
- We put small inner blanks, turn the edges and fasten the structure with pins.
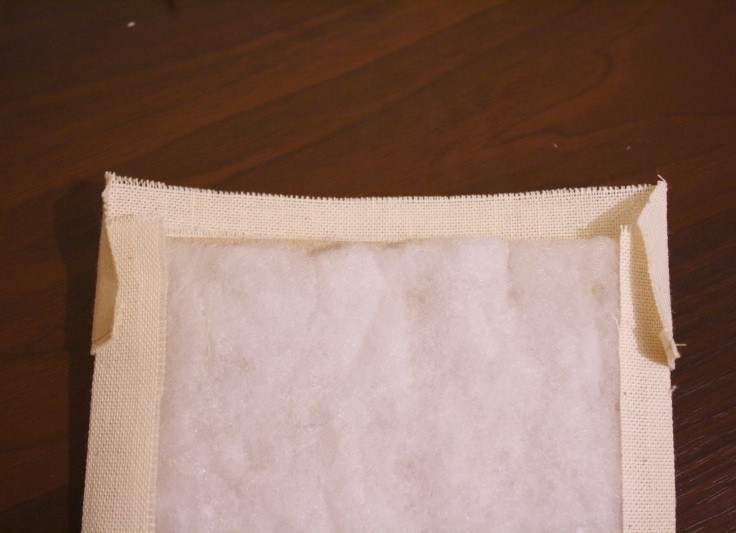
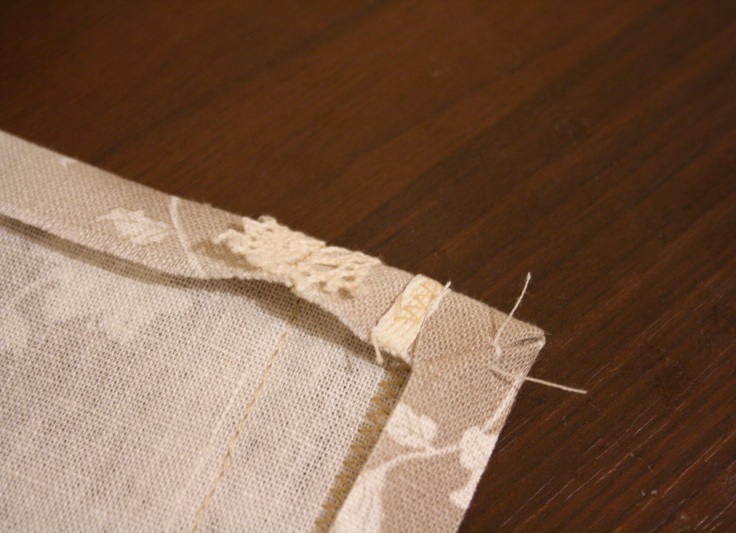
- The corners of the fabric for the outer side of the cover are pruned at 45 degrees, folded and fixed with a few stitches.
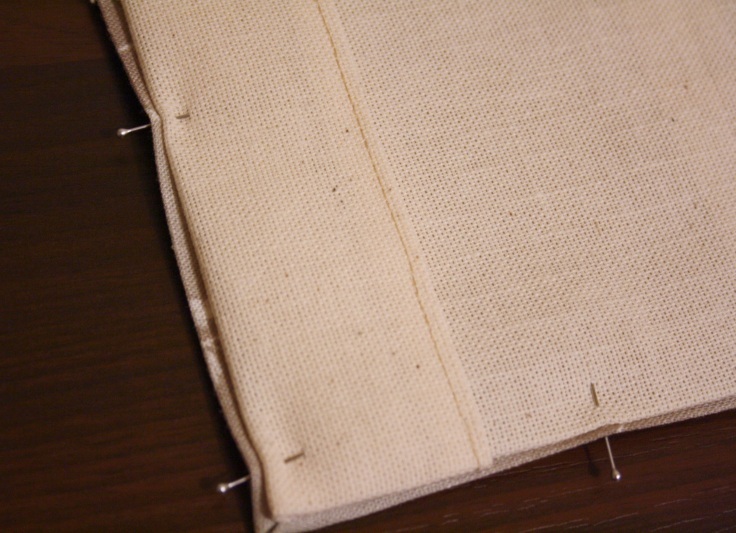
- Gently pin the outer part of the cover with the inner (you can sweep it). We do everything carefully, always checking that when folding the inner fabric is not bristled.
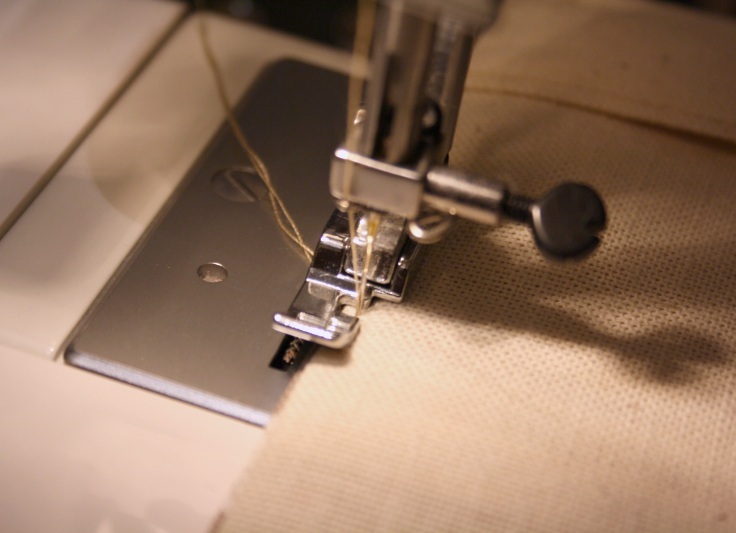
- From the inside of the cover, we spread through the perimeter, stepping back from the edges of 1 mm.
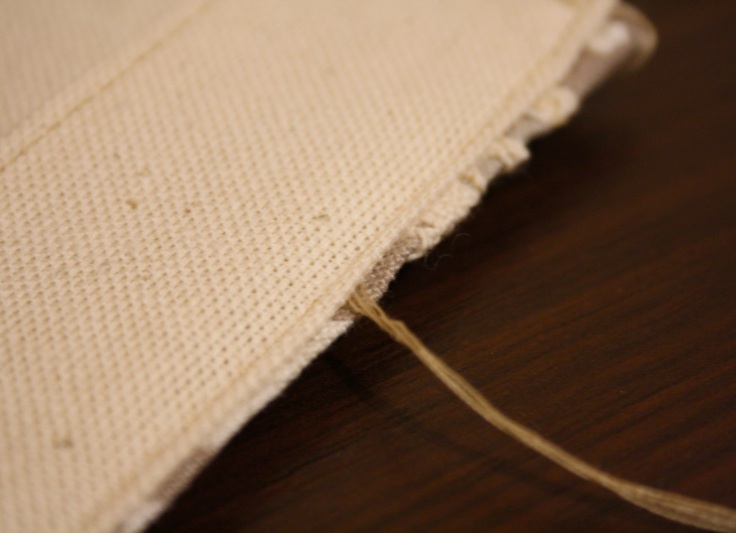
- We stretch all the threads in the seam between the tissues, we tie the knots and hide them under the cloth.
- To decorate the cover, sew a waxed cord.
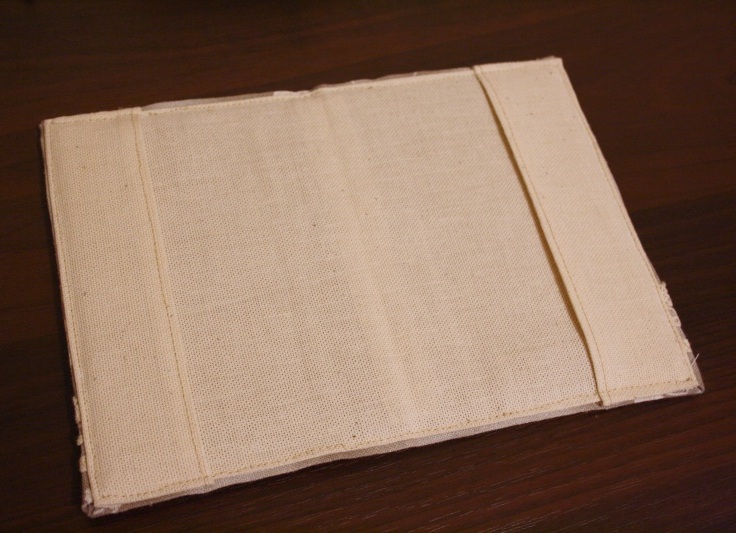
- Our passport holder, made with our own hands is ready!
Any person will be pleased to receive a cover for a handmade passport as a gift.
A beautiful cover for the passport can be done in another way, using the technique of decoupage .