An interesting idea is to create an original shade for the chandelier with their own hands, making it, as it turns out, easily from improvised means. The most popular materials for this are paper and textiles, they are easily amenable to transformation and without any problems take any form. Beautiful lamps are obtained from threads, yarn, lace. From improvised means for making lampshades, we can also use materials for weaving, plastic bottles or dishes, paper cups, lids, tin cans, even globes. Consider one of the many options.
Lampshade from foil
Following the step-by-step instructions from the master class, you can easily make a lampshade for your chandelier with your own hands. To make it, you do not need to use a metal frame, as for many models. The lampshade is designed for the hanging model of the chandelier, as its details will hang down from the bottom of the chandelier.
For work you will need:
- foil on an adhesive basis;
- thick paper, can be cardboard;
- faceted glass;
- glass;
- a pen;
- disks;
- double sided tape;
- transparent narrow adhesive tape;
- scissors;
- a plafond;
- wire.
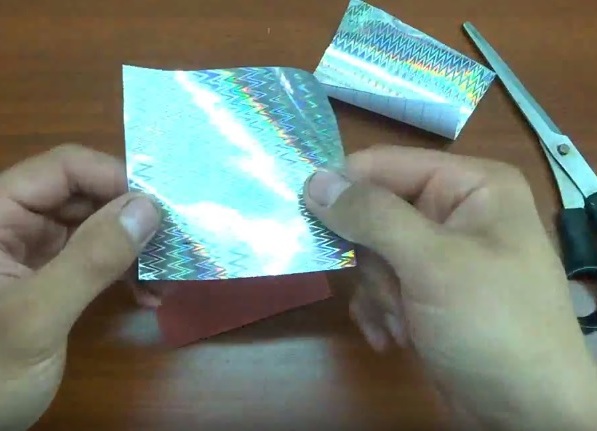
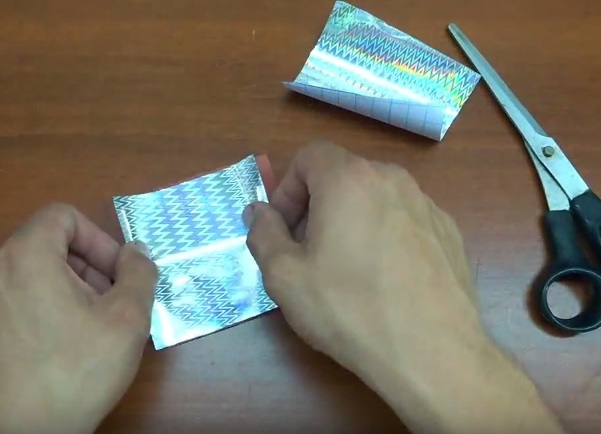
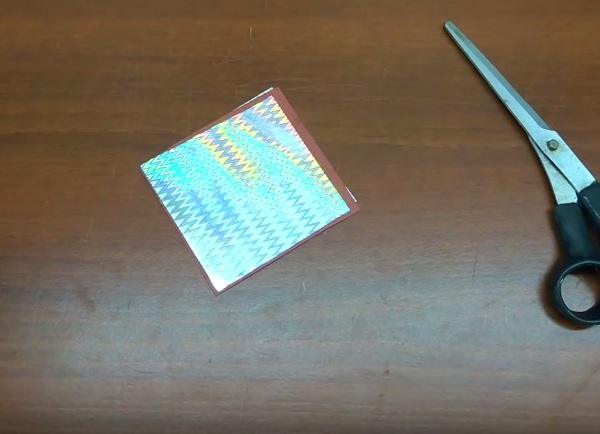
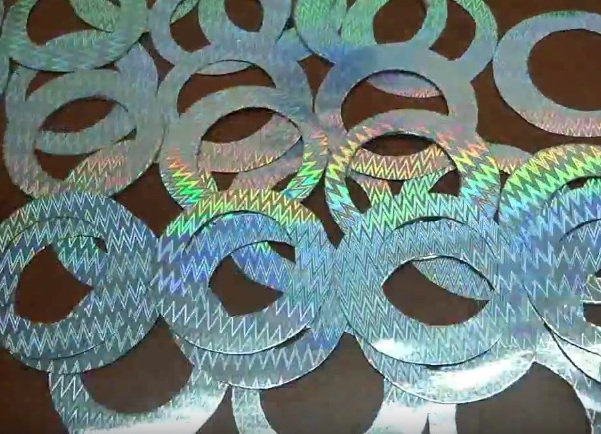
- Squares are cut from thick paper, on both sides a foil is glued on.
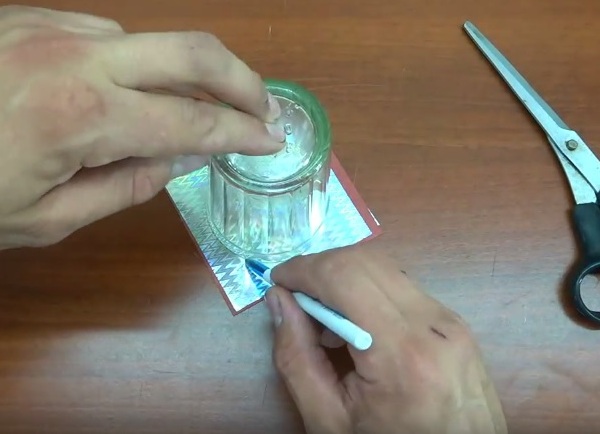
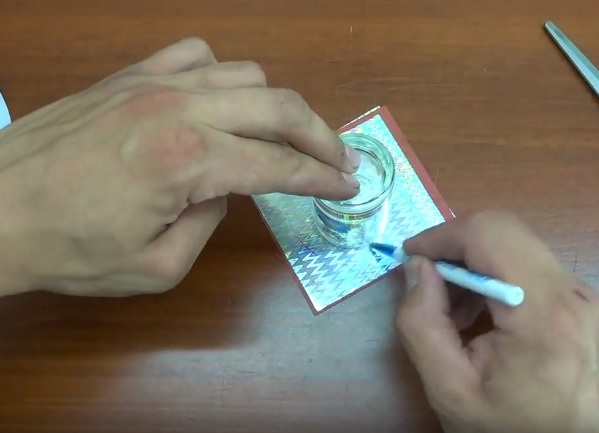
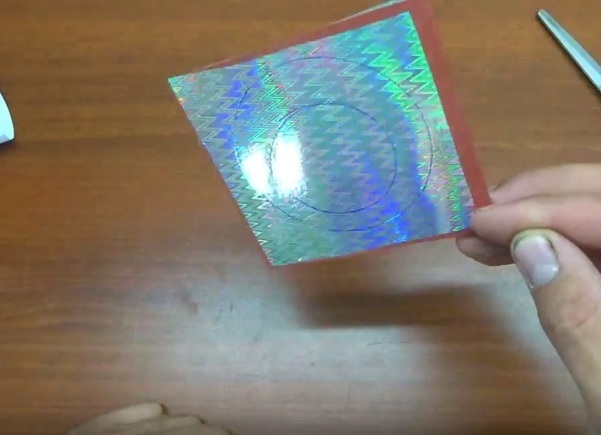
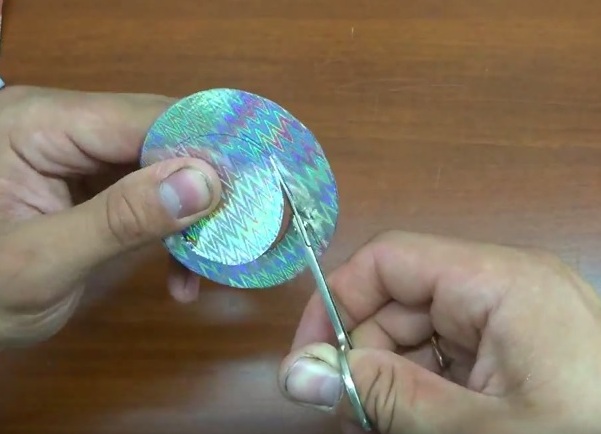
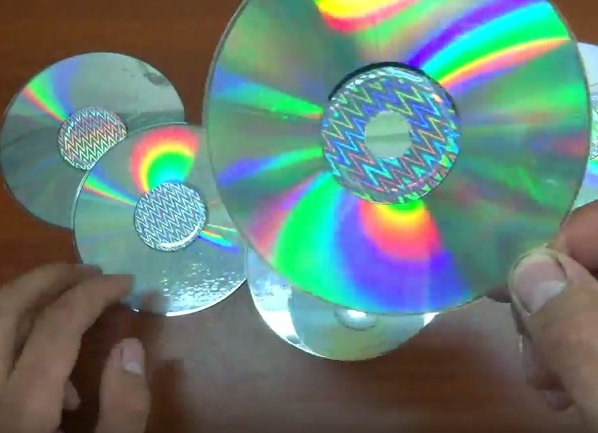
- With the help of a faceted glass and a glass on the square, circles are placed, one large, the other of small diameter.
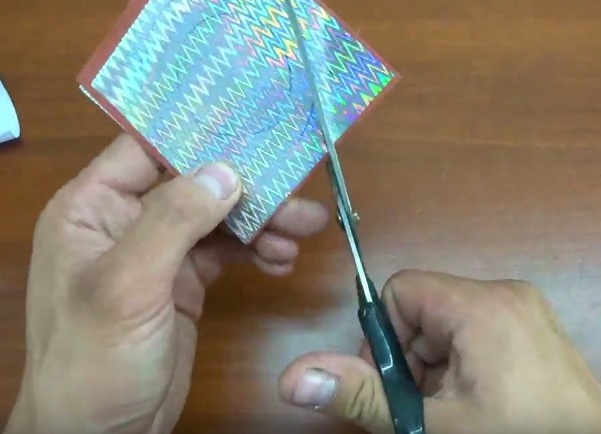
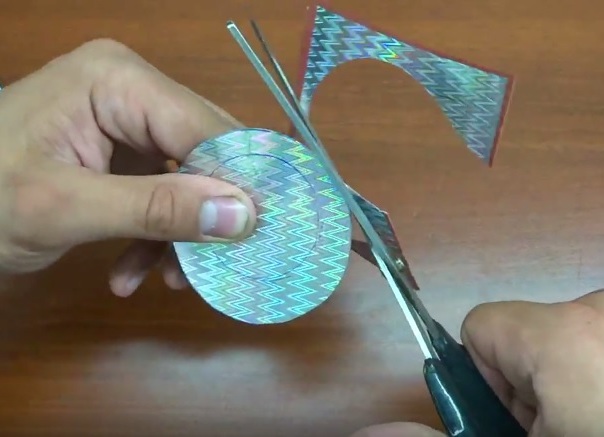
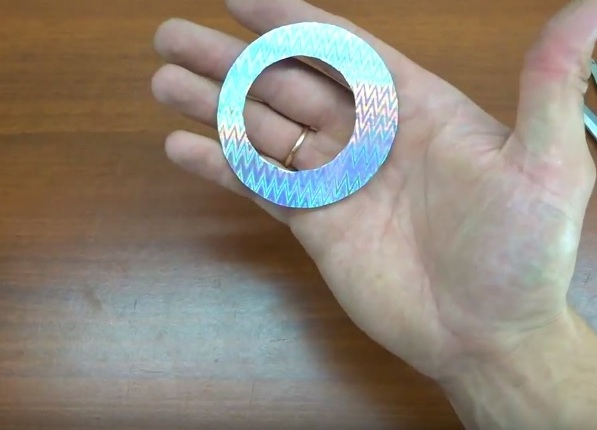
- Scissors are cut out according to the outlined contour. As a result, shiny rings are obtained. They need to cut a few dozen for the shade.
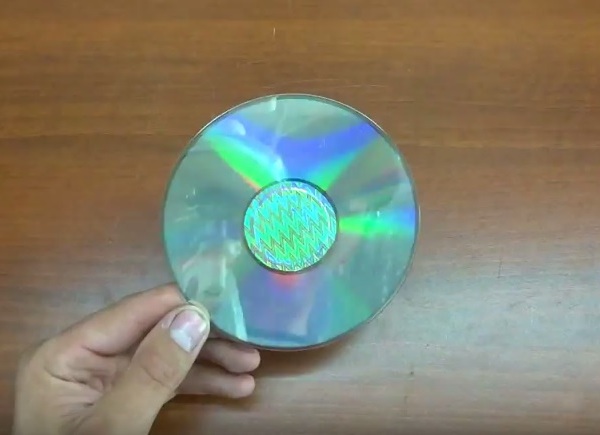
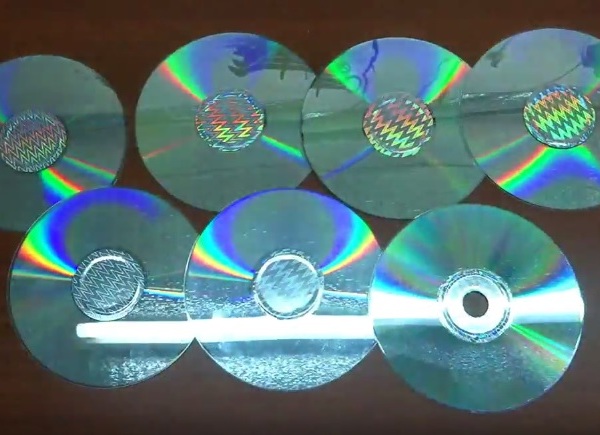
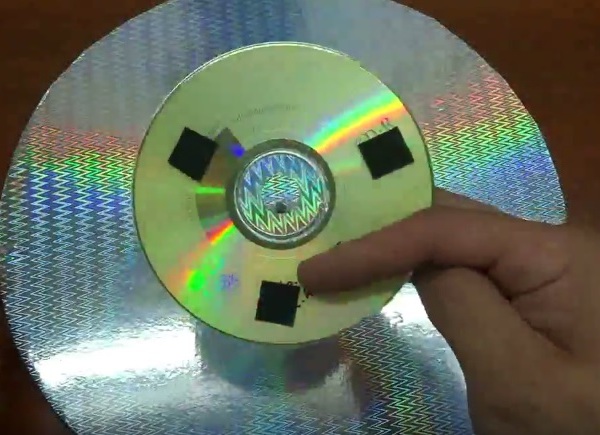
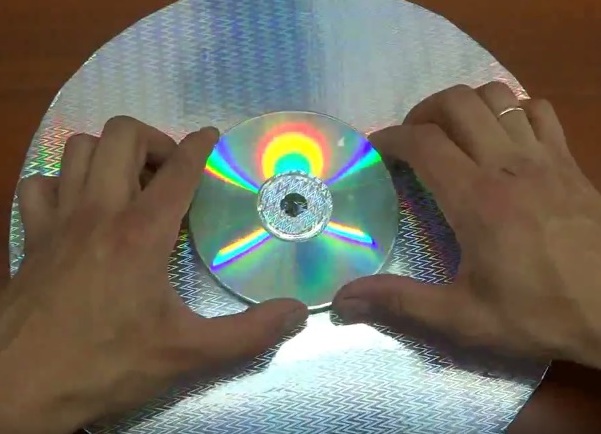
- The circles that are left of the rings are used for gluing onto computer disks to hide their transparent central part. In the center of one disc a hole is cut out, it will be used to pull the wire and fix the plafond. Discs in the amount of seven pieces are used to decorate the base of the chandelier.
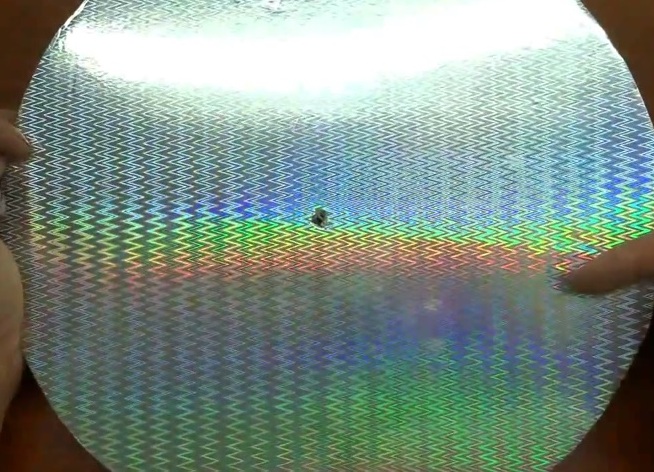
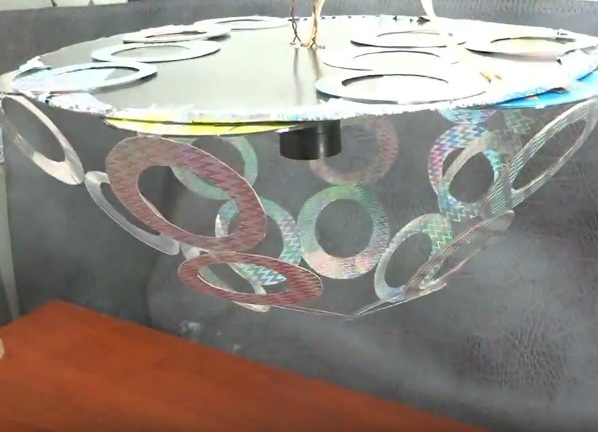
- The base of the chandelier is made of round cardboard, pasted with foil. A hole is made in the center for the cord.
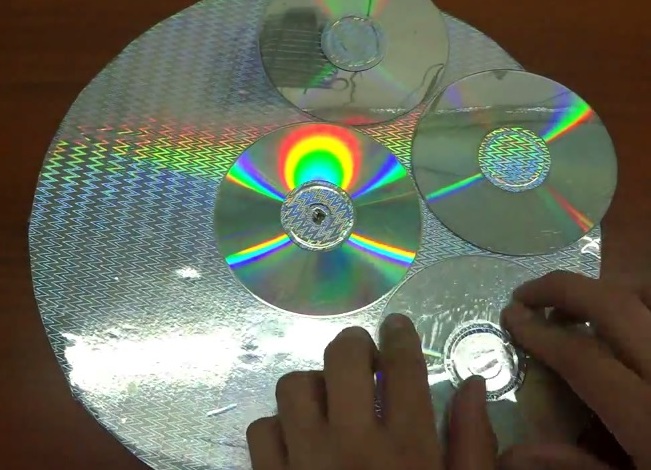
- The discs are glued to the circle with a two-sided scotch with a shiny side outward.
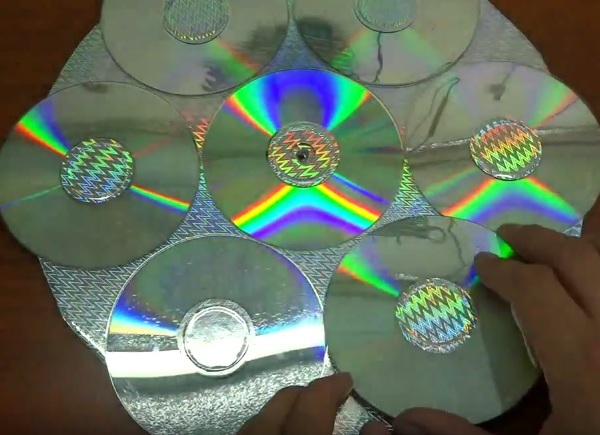
- The disk with the hole is fixed in the center of the circle.
- The remaining six discs are glued along the circle of the chandelier base.
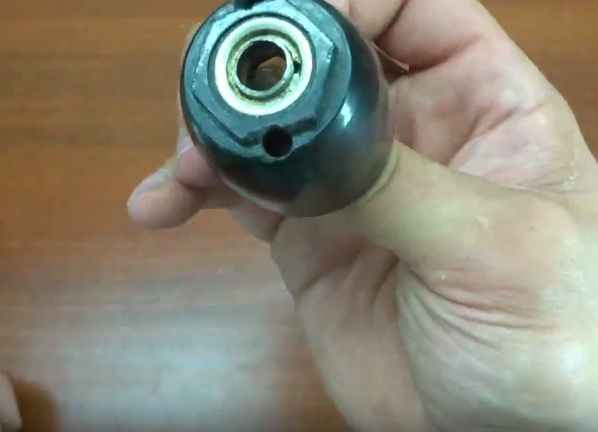
- Further in the disassembled cartridge and on the center of the chandelier two additional holes are preliminary made. Two pieces of wire are drawn through them.
- The wire with a plafond is fixed to the round base and is twisted on the back side of the product. A wire is made from the wire, for which you can later hang the chandelier to the ceiling. Then a ceramic liner is inserted into the shell of the cartridge case, to which the wires are screwed, they are led out through the hole to the rear part of the chandelier.
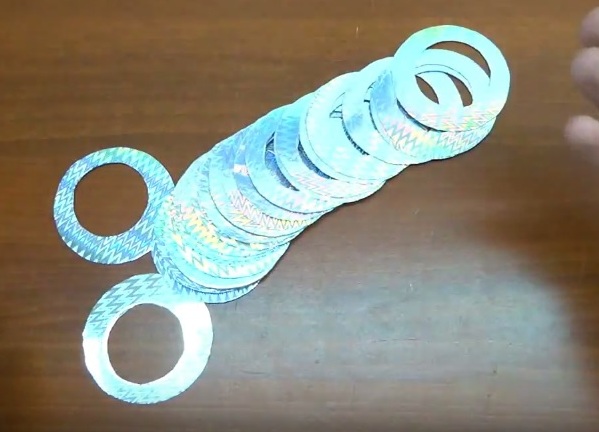
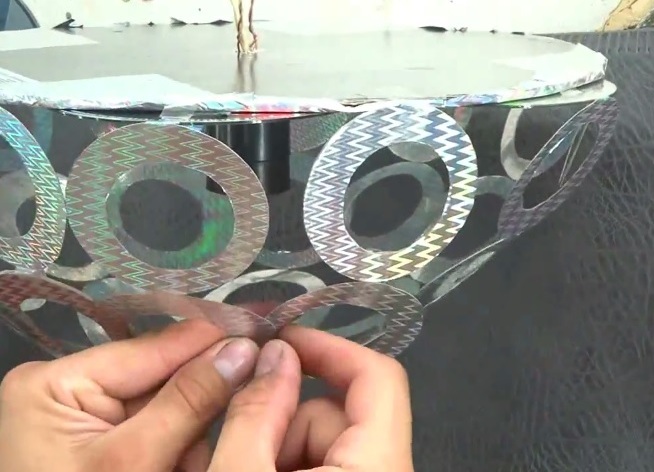
- Next, you need to make a lamp shade. Cut previously rings are laid on a flat surface and glued together with adhesive tape for several pieces together.
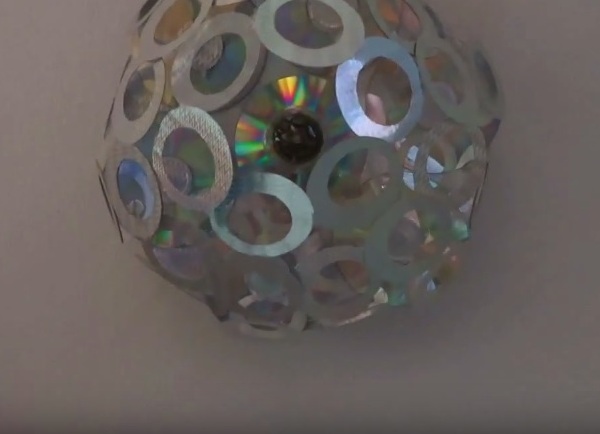
- The construction of the rings is hung on the base of the chandelier. It also uses pieces of Scotch tape. In the center of the chandelier, you need to leave a small hole so that you can easily change the light bulb as needed.
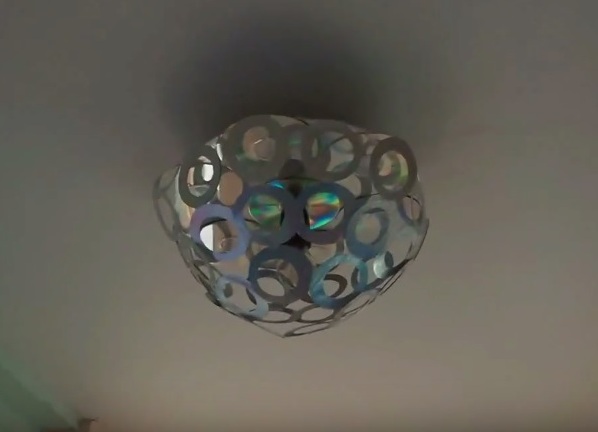
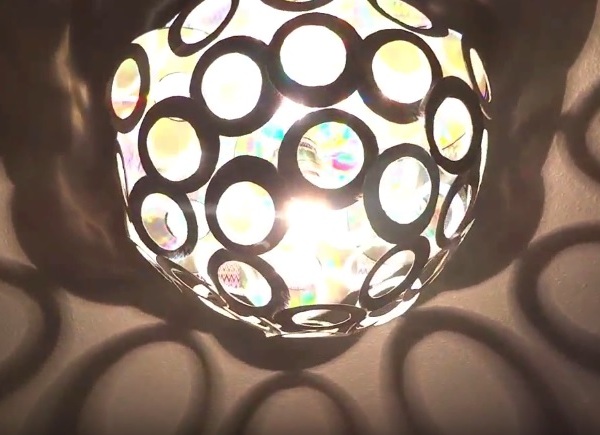
- When using the rings created a beautiful shape of the shade, the chandelier can be attached to the ceiling. The reflective surface of the foil and computer discs creates beautiful lighting effects when using a chandelier, and the shape of the rings is abstract beautiful figures on the ceiling.
Apparently, it's pretty easy to make a creative plafond for your room or as a gift to a friend . He will certainly please the eye with his originality and uniqueness.