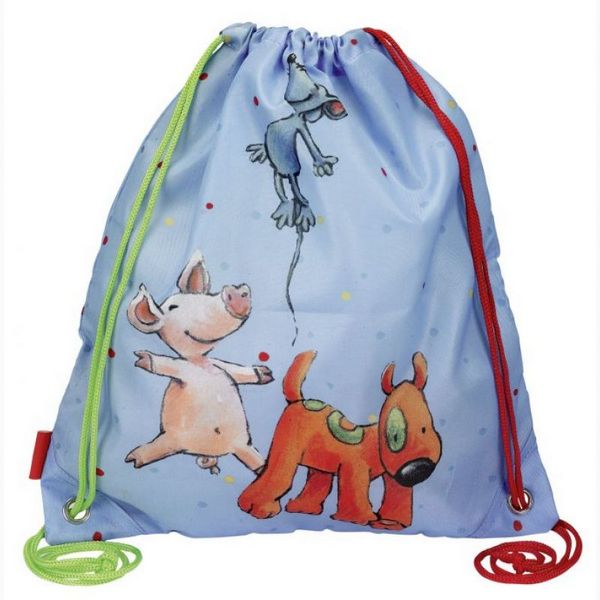
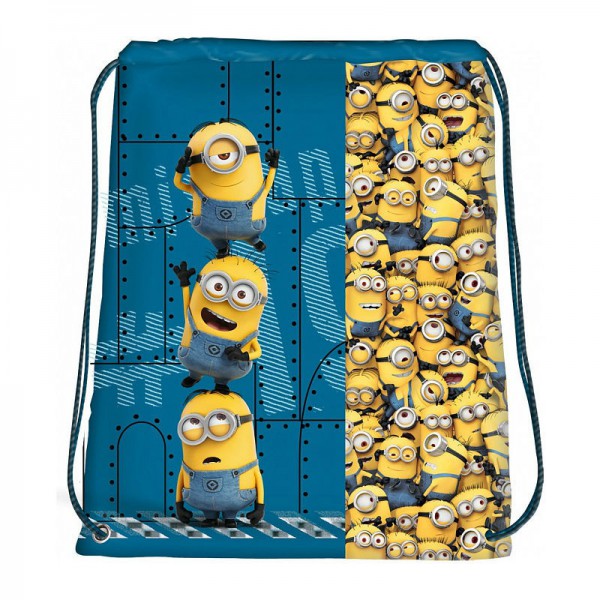
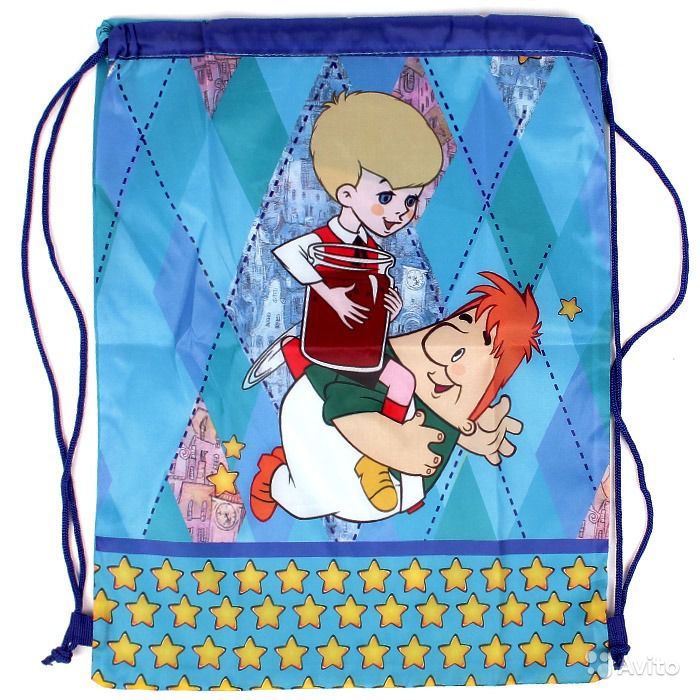
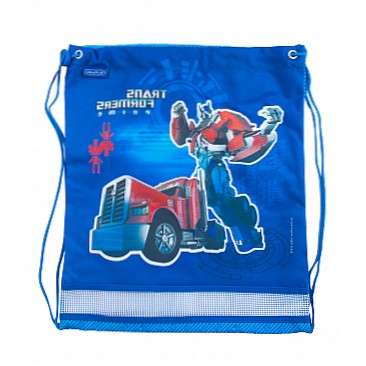
You can even buy a set of school backpack with a bag for shoes and a pencil case. Such sets are made in one color version, and all accessories perfectly complement each other.
Master class: school bag for shoes with their own hands
To the mother who has sewing skills and a sewing machine, to buy a school bag for shoes is not necessary, because she can sew it yourself, spending at least a minimum of effort and material:
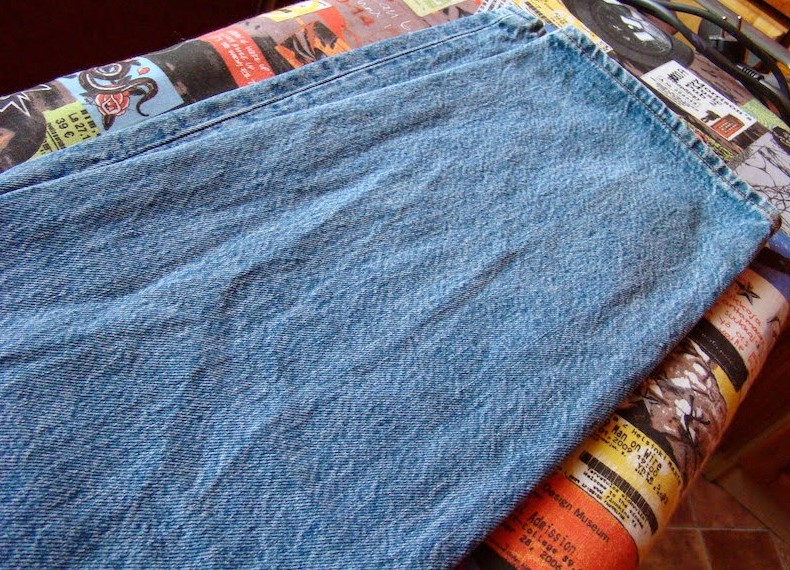
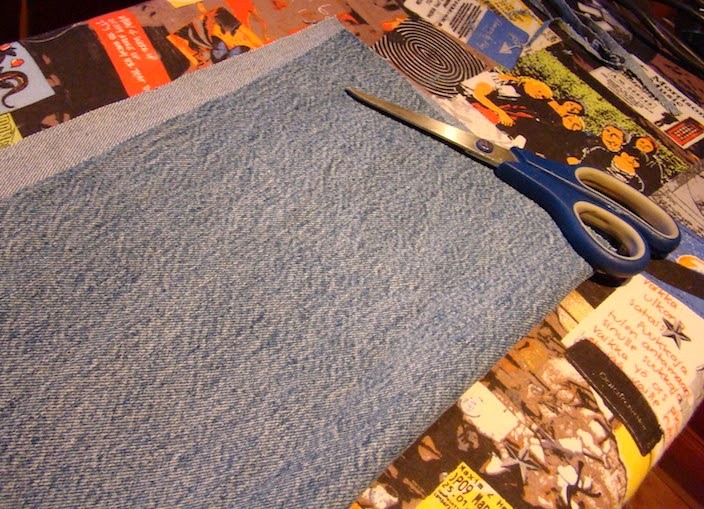
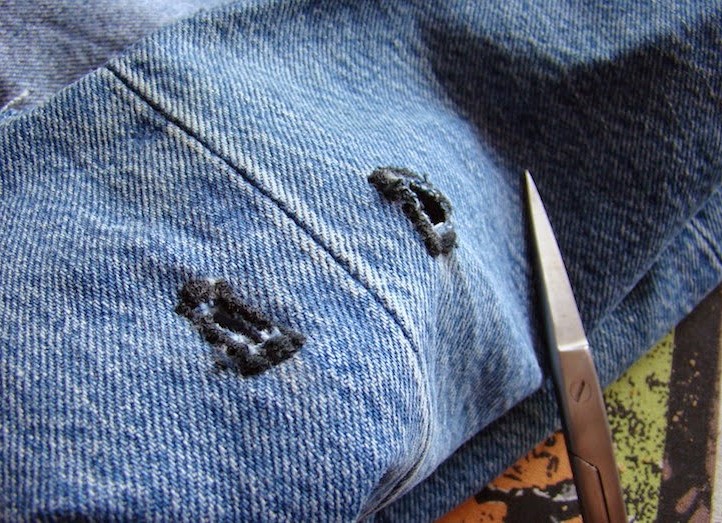
- For sewing a sack-bag for shoes, we will need leggings from old jeans. Cropping them, you can get more and shorts. In addition to the fabric, we need a strong cord, some leather for a dense bottom, as well as sharp scissors and chalk. By the footprint, this will be 1 m by 0.5 m, that is, two pants.
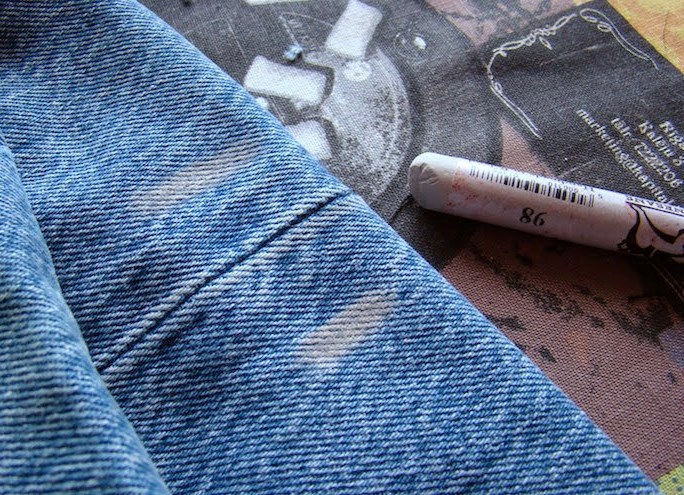
- Cut off the gate at the bottom of the pants - this tight seam to us to anything.
- Since the pants extend upwards, this form will not work for us, and so we draw a rectangle with a chalk.
- We measure the length of 45 centimeters.
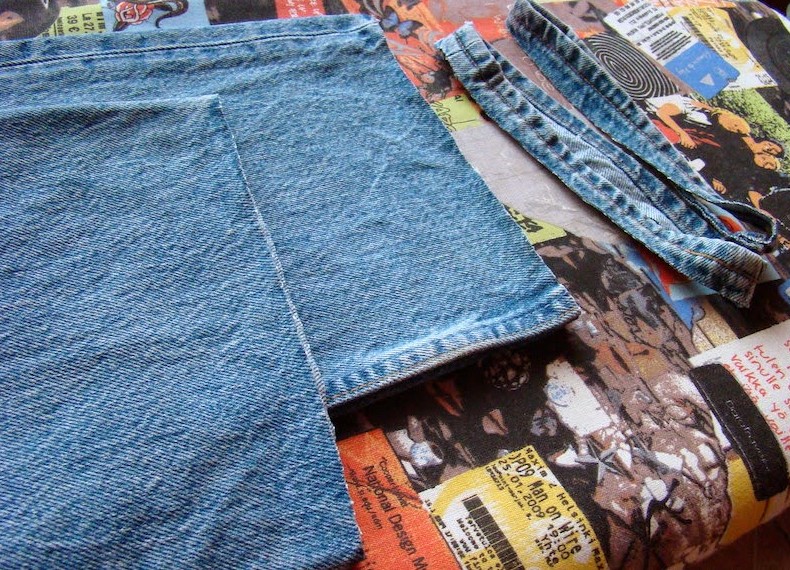
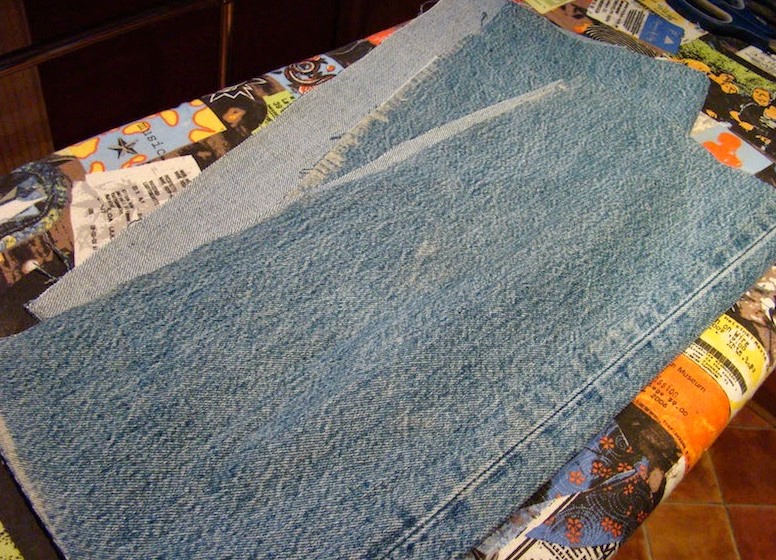
- We need a rectangle of 80 by 45, and for this we need to use two legs.
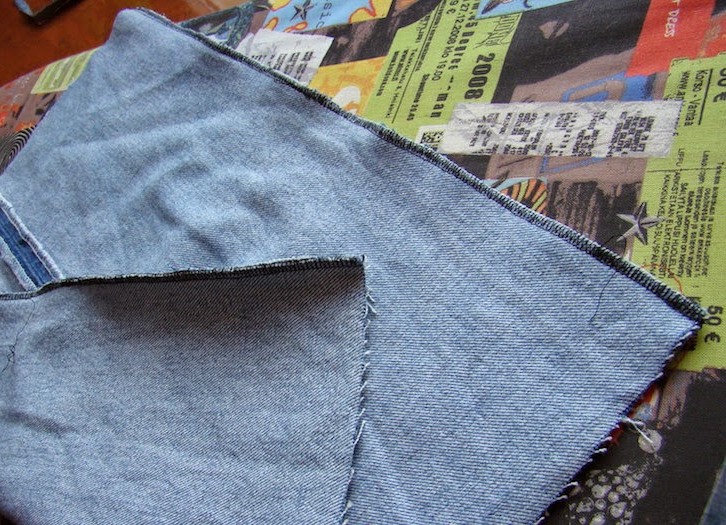
- These are the two blanks you should get.
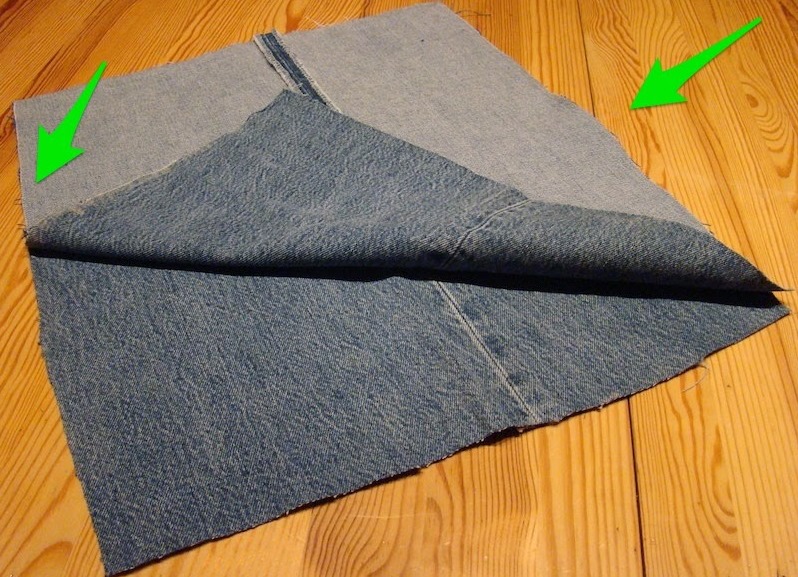
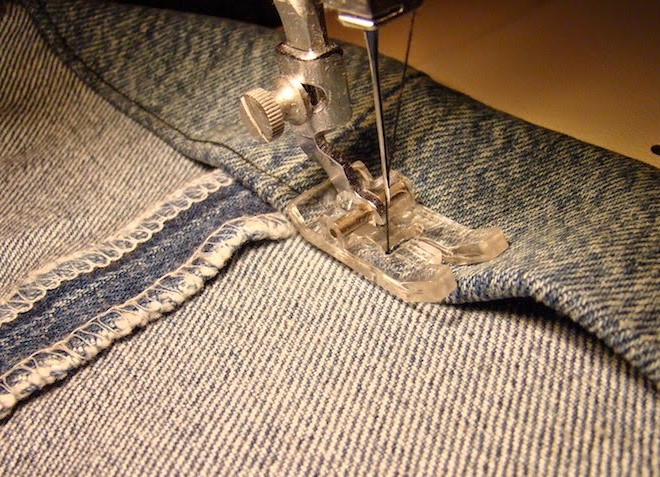
- Now turn them face-to-face, and we will conduct further work from the wrong side.
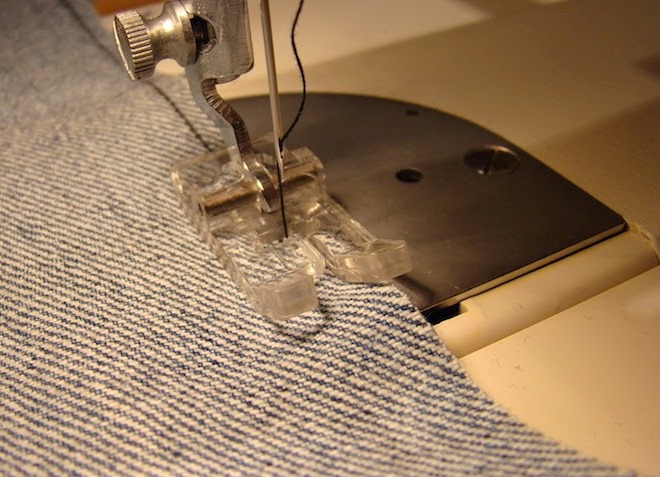
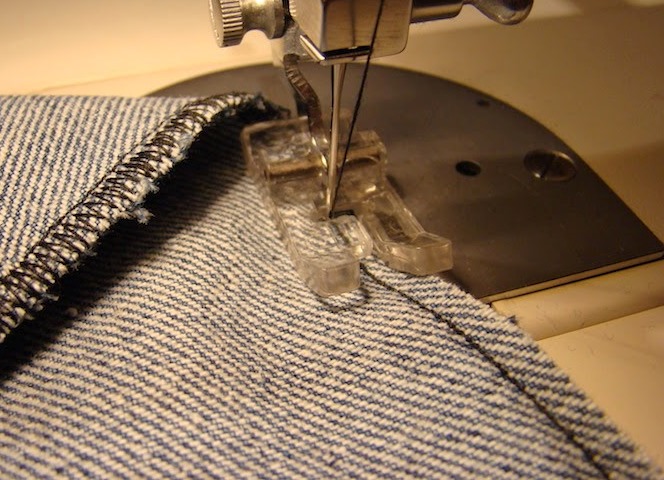
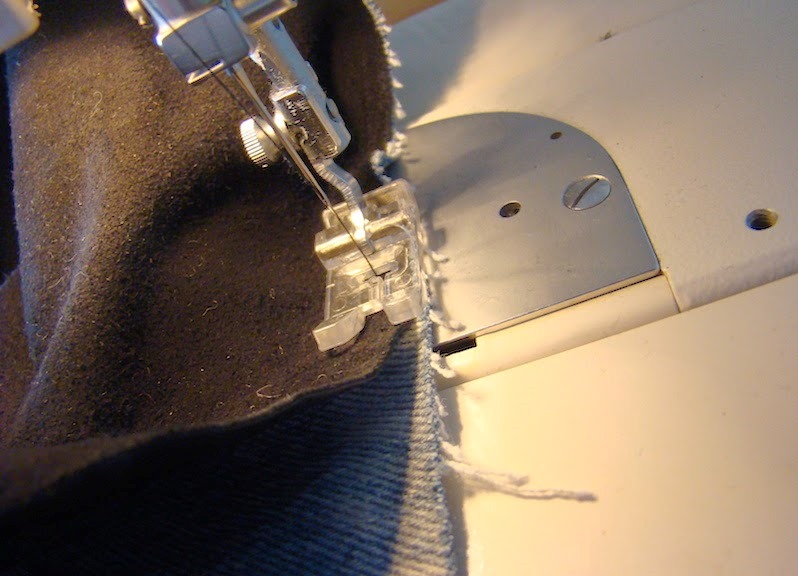
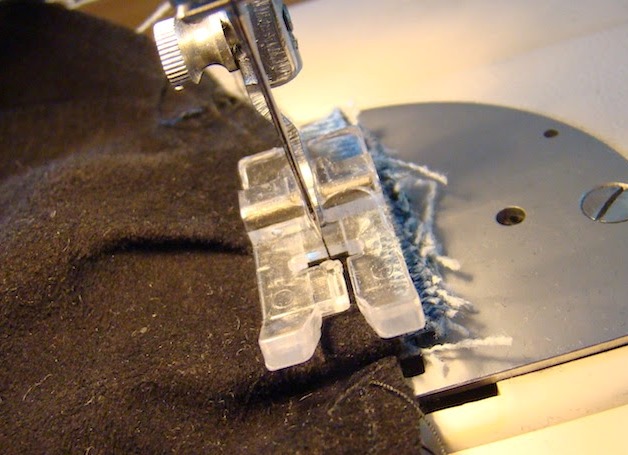
- Now at a distance of 5-8 mm from the edge we are using two pieces of denim.
- To the edges of the fabric do not pour, fix them in a zigzag.
- Do the same line on the opposite long side, leaving the short ones untouched. It will be a kind of pipe.
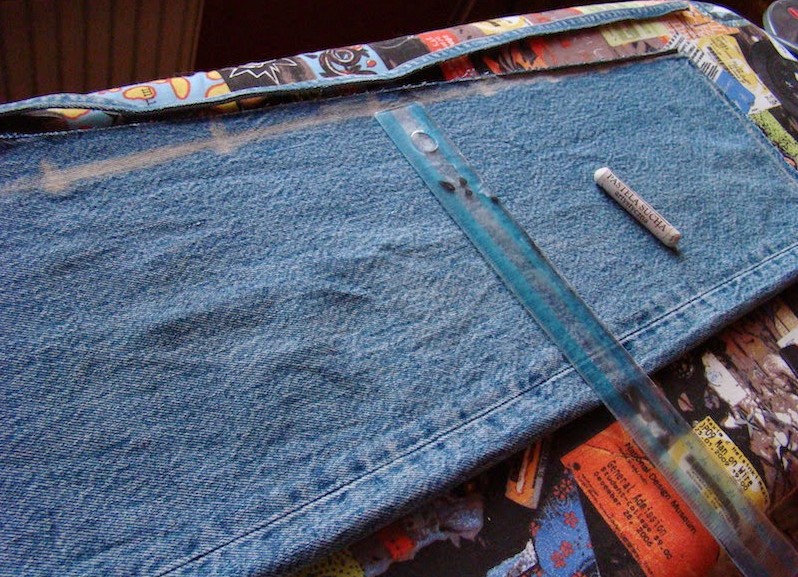
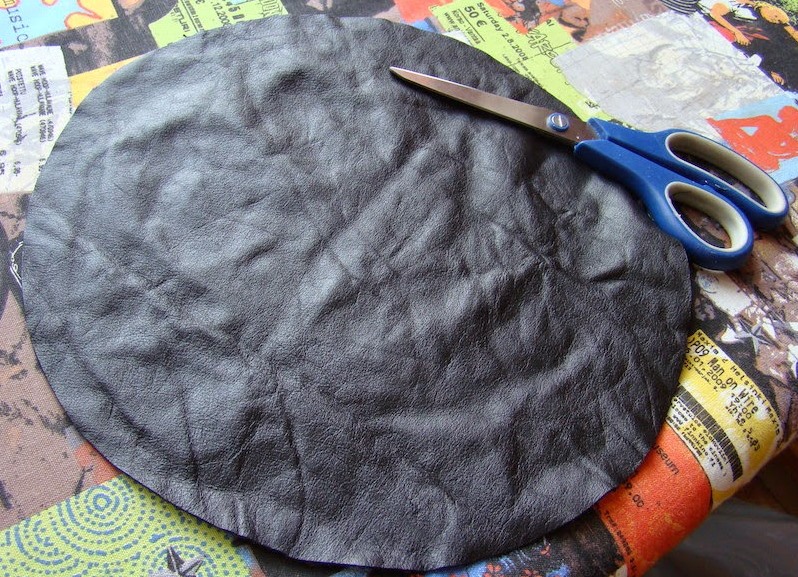
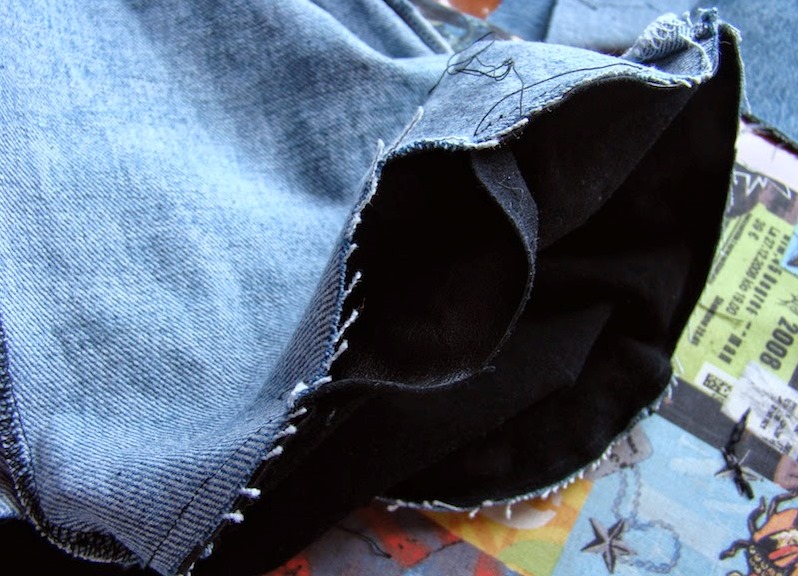
- Now the turn of the bottom has come. It can be made from the same tissue or use the skin or its substitute. With the help of a circular we make a circle with a radius of 26 cm.
- Carefully cut out the circle along the line.
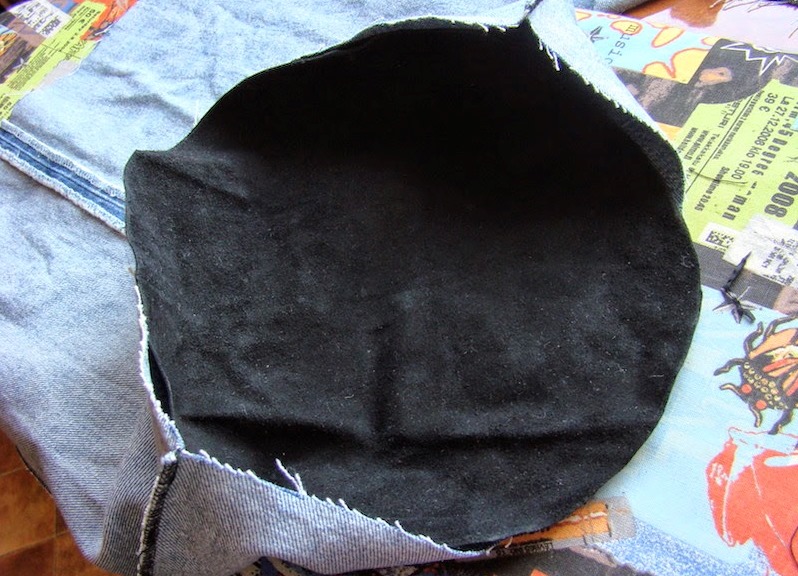
- The smooth side of the leather bottom should be inside, and rough outside.
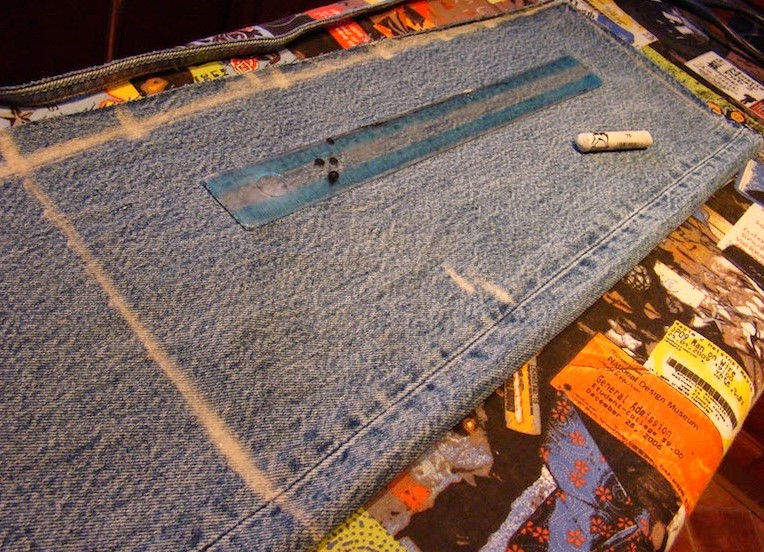
- Now, carefully place the bottom in a circle, 5 mm from the edge.
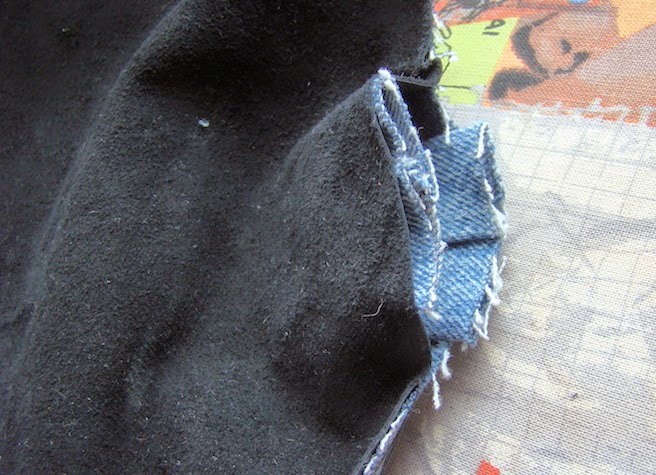
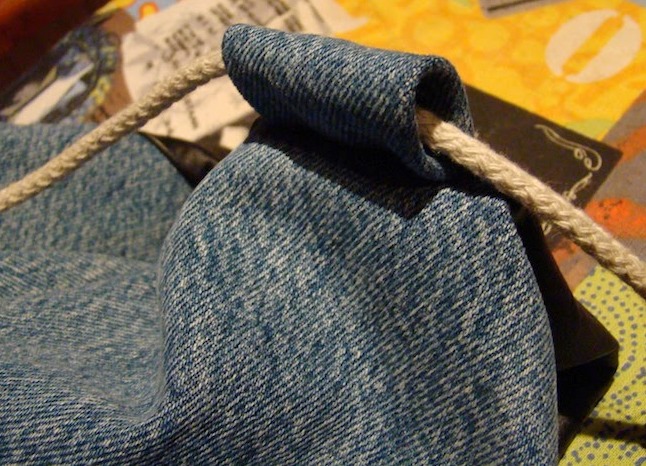
- Leave a hole about 5 cm to make a loop for the lace.
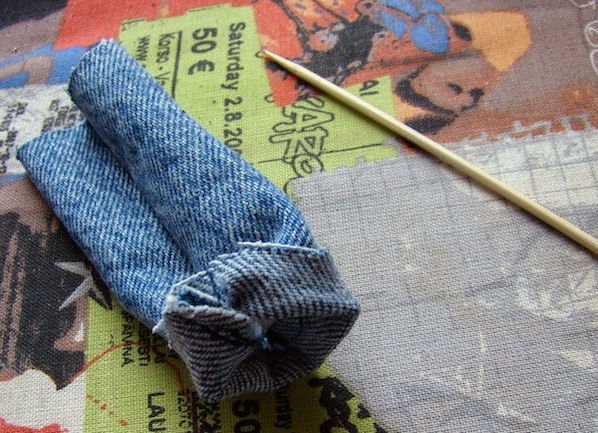
- We take a piece of cloth measuring 10 cm by 8 cm and we spread it from the back.
- With the help of a thin wooden knitting needle or pencil, we twist our product on the front side. This will be a loop for the lace.
- We insert a loop in the middle.
- Well spend the remaining hole.
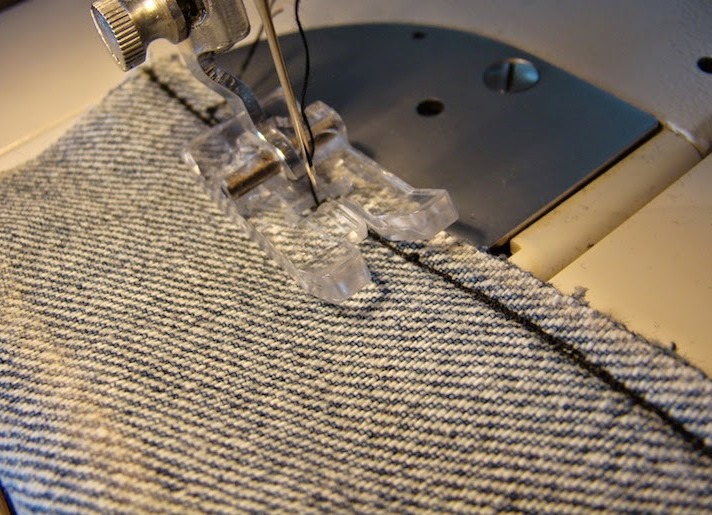
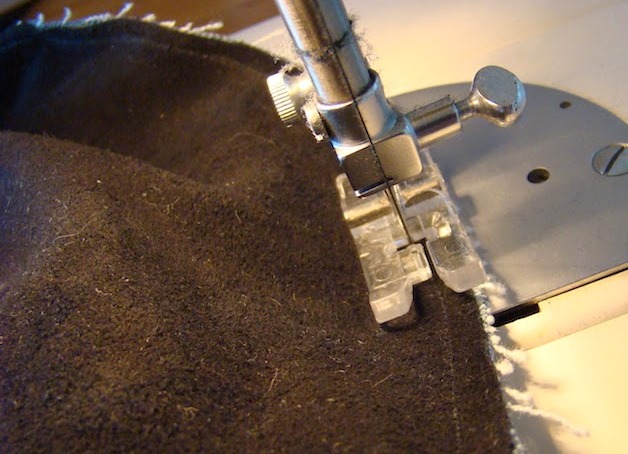
- Once again, we spend our product around the circle for the fortress, and we process the edge in a zigzag.
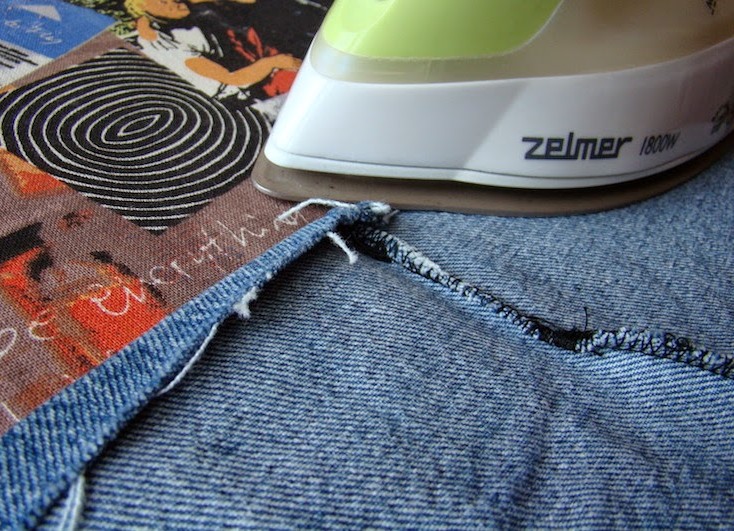
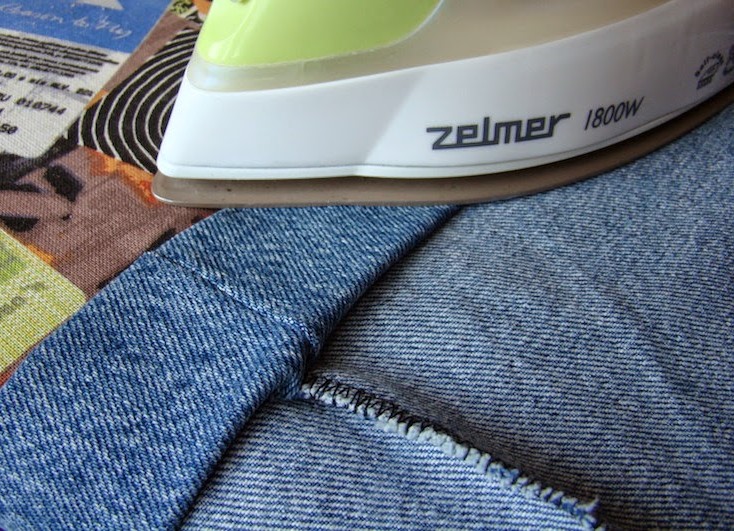
- The remaining free edge is turned by 5 mm and ironed.
- Again, turn, but now at 4 cm and smooth.
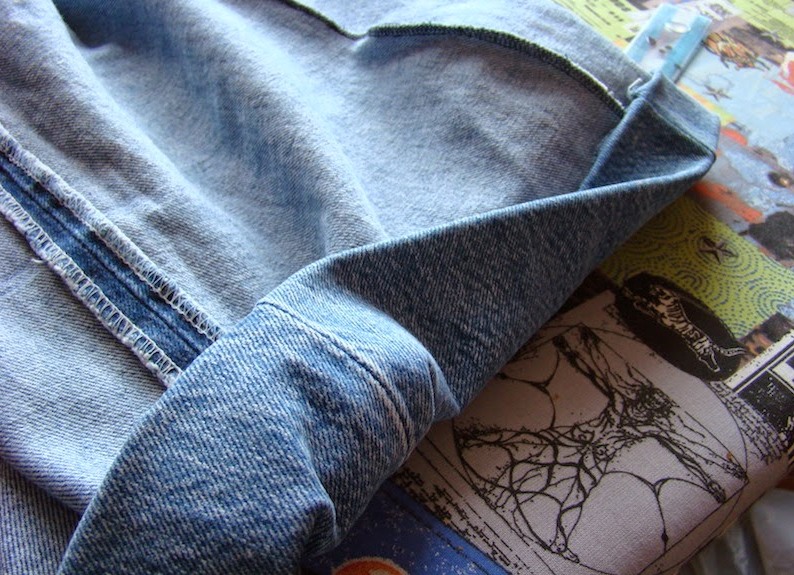
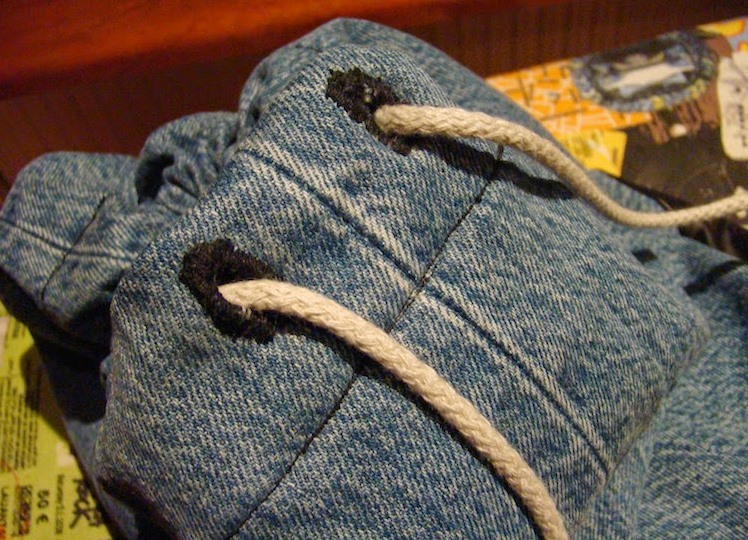
- Now will deal with this side of the backpack.
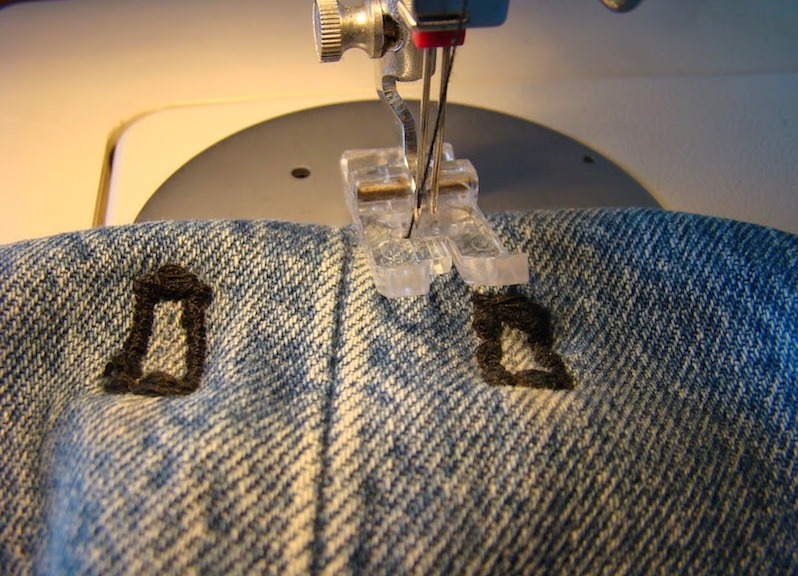
- We mark places for future holes for the lace.
- We work on the contour overlock.
- Carefully cut inside the hole.
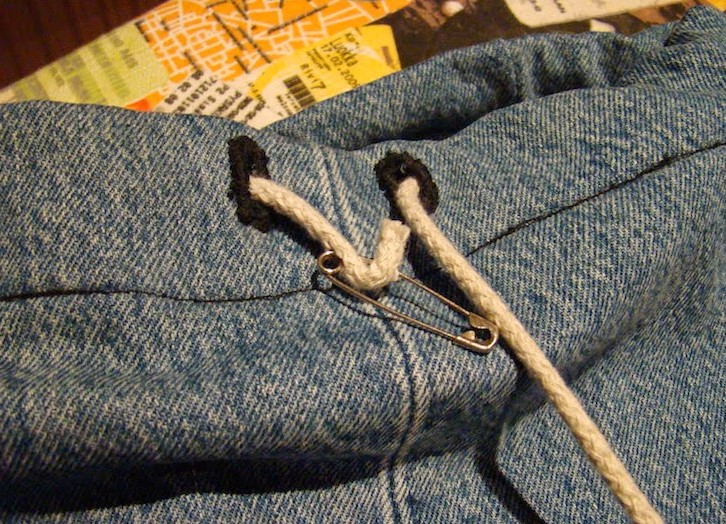
- Now we bend the kuliska and put it out.
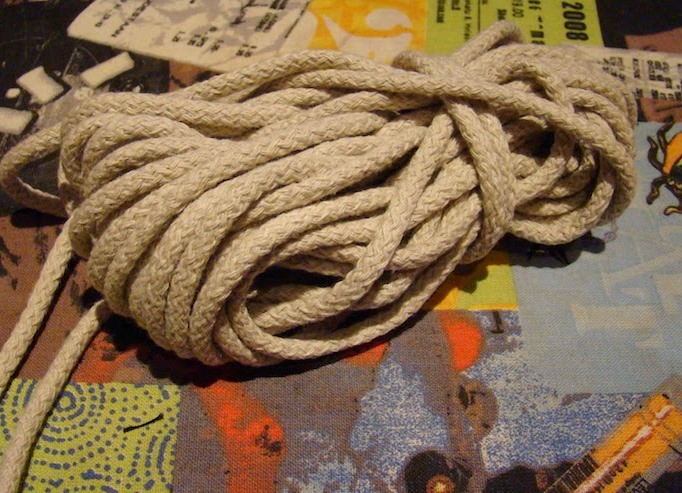
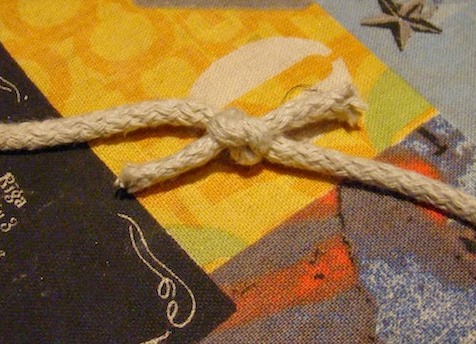
- We need a string about a meter long.
- With the help of a pin, tighten it into the kuliska.
- We put it in the loop.
- We connect the ends with a strong knot.
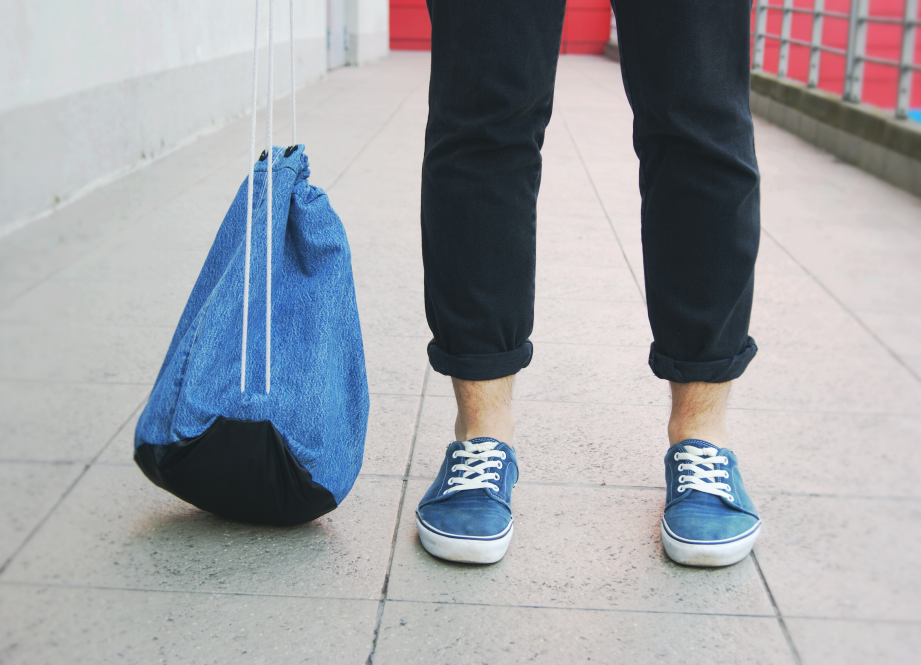
- Here's what happened:
- In such a bag-bag not only shoes will fit, but also a sports uniform.
As you can see, anyone can wish to sew a school sack with their own hands without an abstruse pattern. The product at the same time goes no worse than the purchased one. And the fortress even surpasses it.
| | | |
| | | |