Topiary from sisal is not only an attractive decorative element, capable of painting your house, but also a great idea for a gift. In this article we will tell you how to make a topiary from sisal, topiary from wool or any other similar material.
Topiary from sisal: a master class
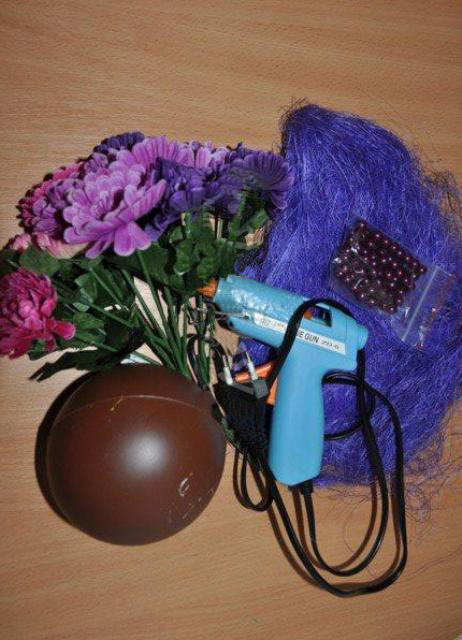
To create a topiary from sisal with our own hands, we will need:
- a small can of round shape (for example, from cotton buds);
- a small ball;
- thin, but strong branch from a tree (unusual shape or straight);
- sisal of the chosen color (we have purple);
- glue "Titan" (you can have another of this type);
- glue rods;
- Glue gun;
- glue stick;
- gypsum mixture (construction);
- nippers;
- scissors;
- color raffia;
- decorative beads (colored, metallized - any of your choice);
- Corrugated paper of the selected color;
- any additional decorative elements of your choice (we have - a decorative bird of violet, artificial flowers).
Progress:
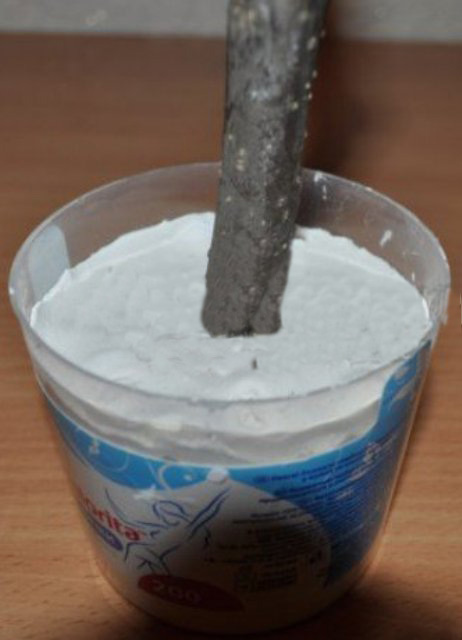
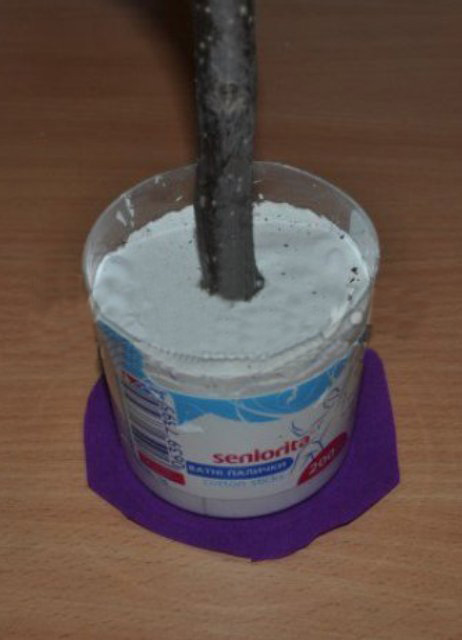
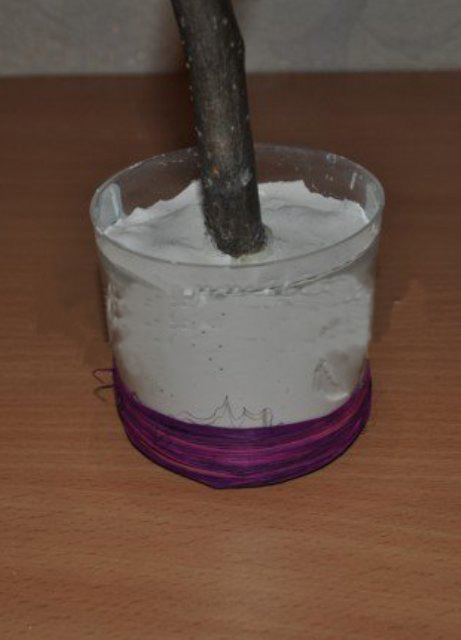
- Add a little water to the construction gypsum (so that the mixture has a consistency of thick sour cream), stir well, so that there are no lumps of dry gypsum and pour into an empty jar of cosmetic sticks (or any other suitable shape and size). In the center of the jar we insert a twig from the tree ("trunk"). If you can not find a twig, you can use a straight stick from any solid material - wood, metal, plastic. Insert the twig (stick) must be fixed for a while, until the gypsum grabs. You can just hold your hand, so as not to lean to the side.
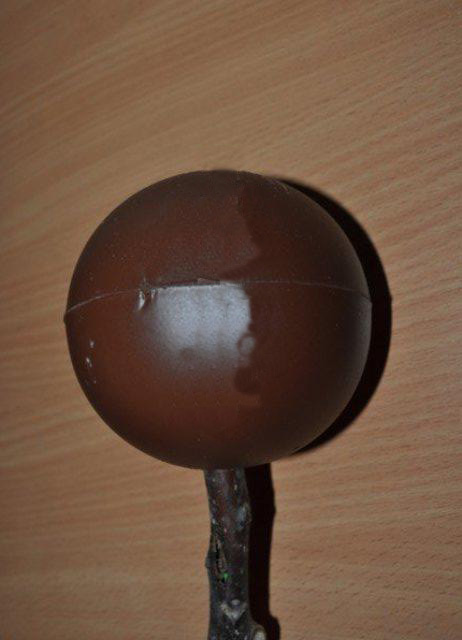
- After the gypsum has dried, we glue to the top of the "trunk" a small ball of children's ball. Do it best with hot glue.
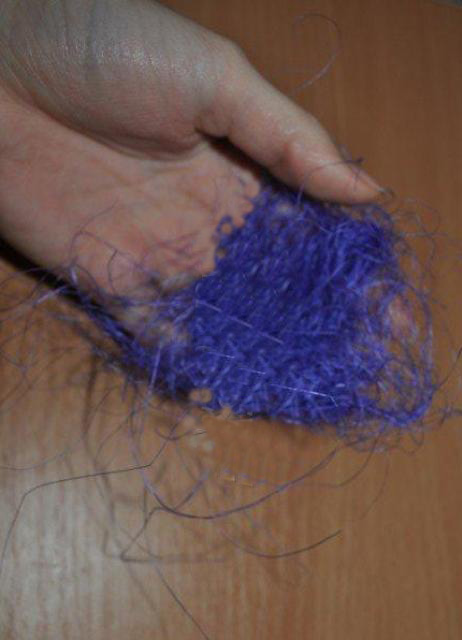
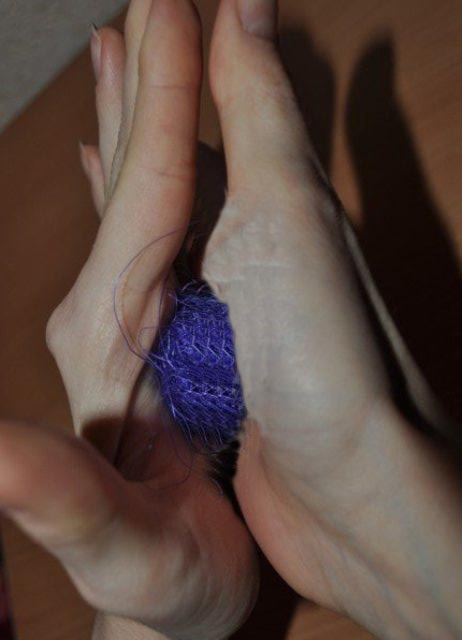
- We prepare sisal balls. To do this, take a small piece of sisal and begin to crush it, forming a ball. Movement in this case should be the same as when modeling a ball of plasticine.
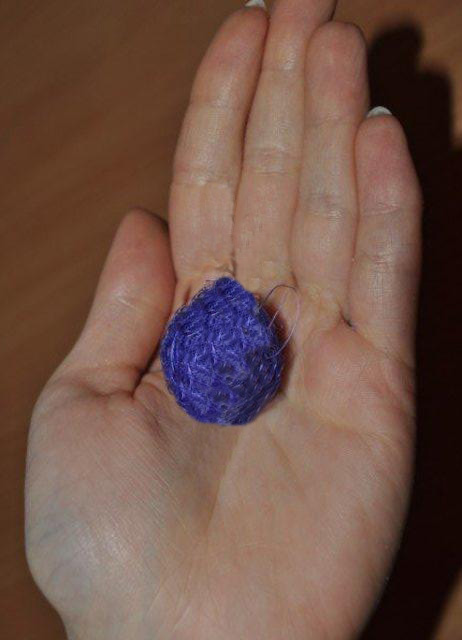
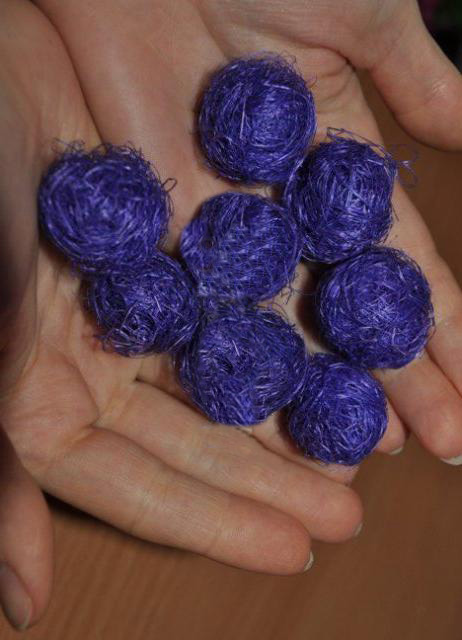
- As a result, these are the balls. We make a lot of these balls, so that we can stick the ball from all sides. To create such a topiary, as we have, it will take about two packs of sisal.
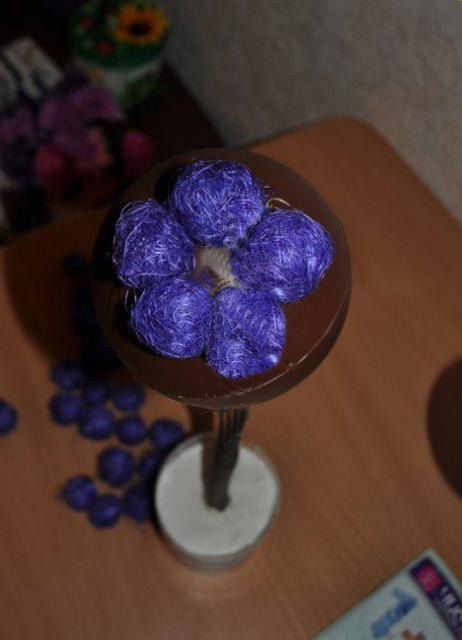
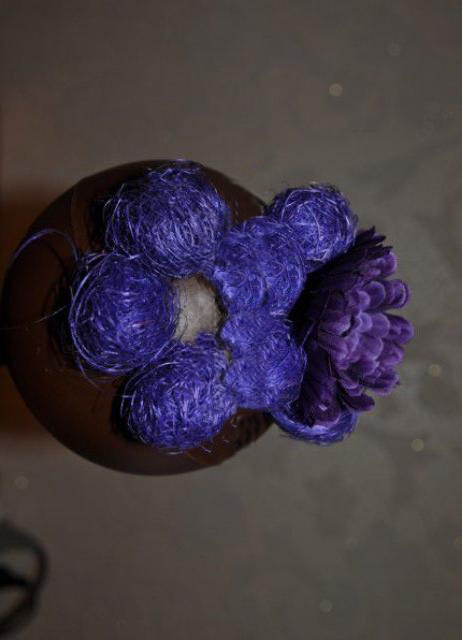
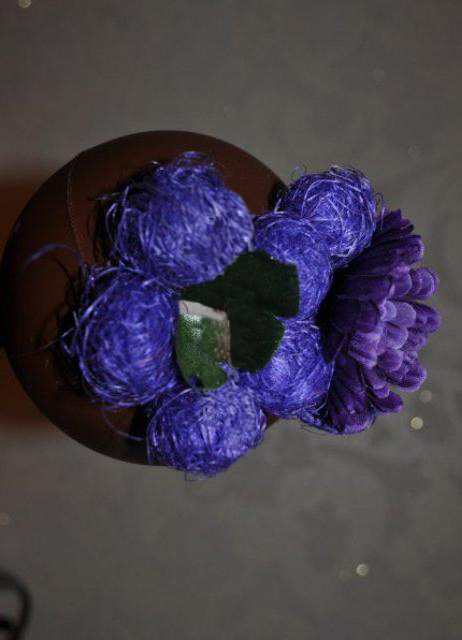
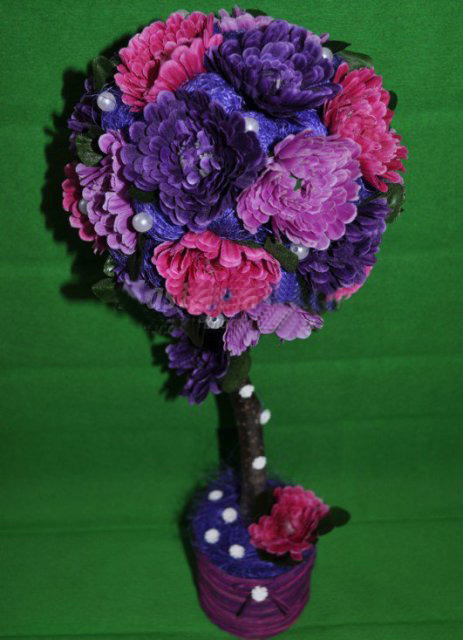
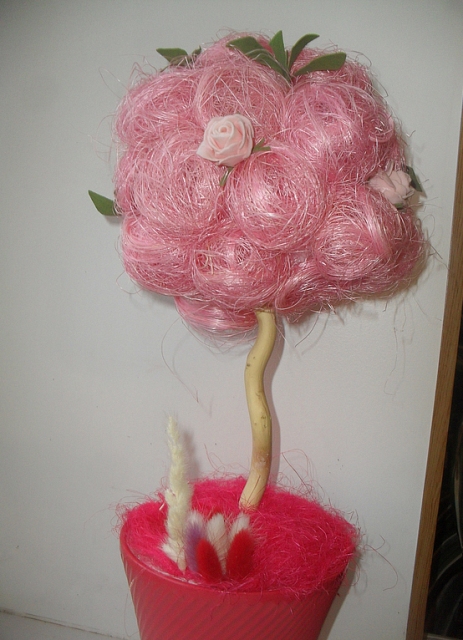
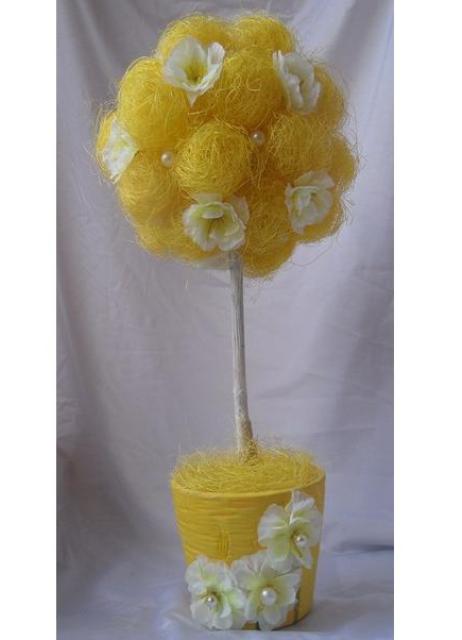
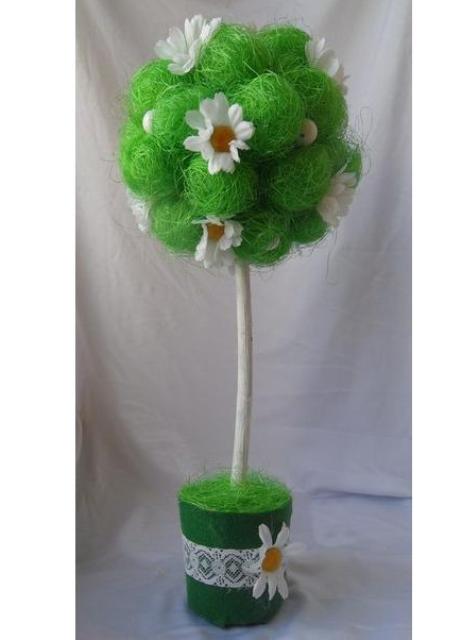
- After all the balls are twisted, we begin to glue them to the ball. We paste (with the help of hot glue) in the form of circles, leaving the center unfilled. In the center of each circle we glue a flower on a short stem. In several circles you can paste not only flowers, but also leaves.
- In this way we cover the whole surface of the ball with balls and flowers, forming the crown of our tree of happiness.
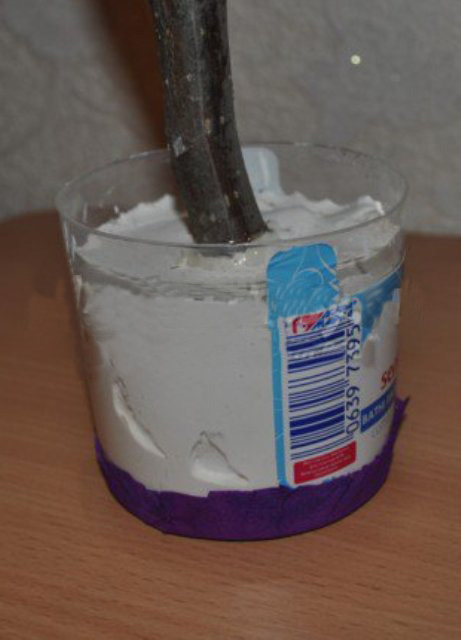
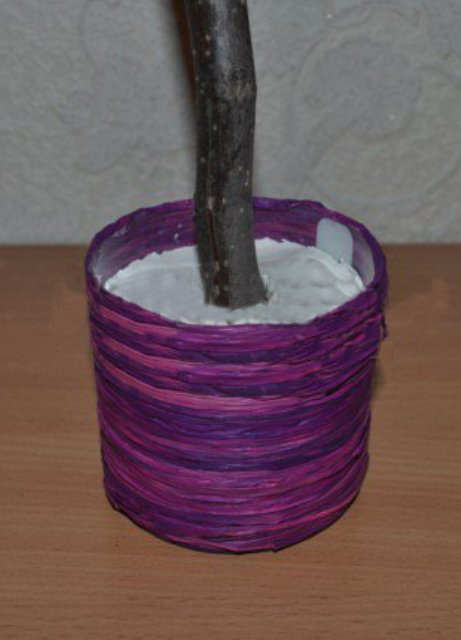
- Now let's design the bottom part. We cut out a circle from corrugated paper, a bit more in diameter than the bottom of the base jar.
- The protruding edges of the paper circle are greased with glue (we use a glue-pencil for this purpose) and press firmly against the walls of the base jar.
- To the resulting paper bottom we glue the edge of the raffia and begin wrapping it around our pot to the top edge. We fix the ends of raffia with hot glue.
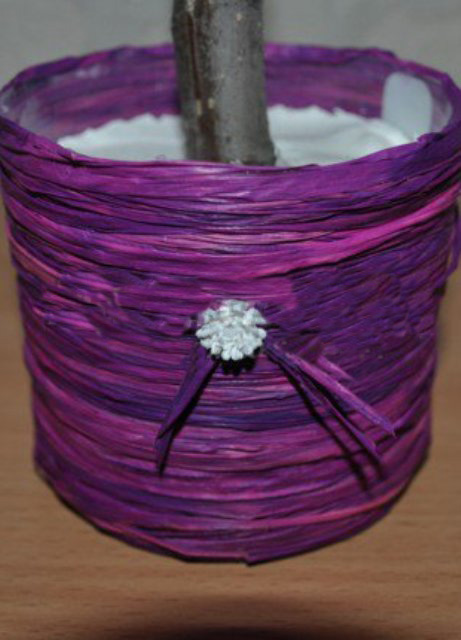
- After the pot is completely covered with raffia, you can decorate it to your taste, for example, with a bow and decorative flower. Similarly, you can use beads, shells, ribbons - whatever you want.
- The frozen gypsum in the jar is greased with "Titan" and covered with a piece of sisal of the appropriate size. We decorate the tree trunk and the crown with the help of beads, bows or any other ornaments. Our tree is ready.
| | | |
| | |
| | | |
| | |
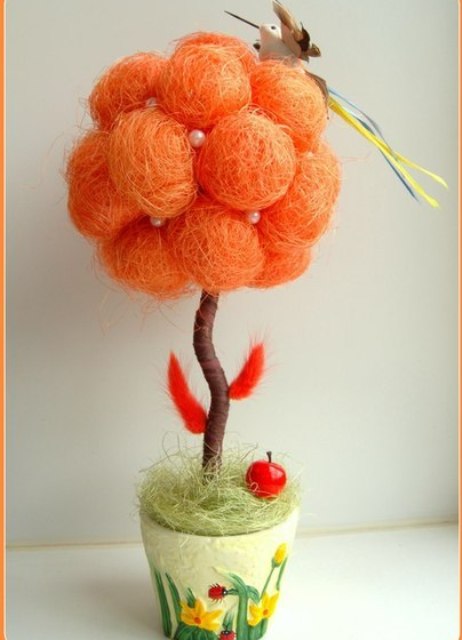
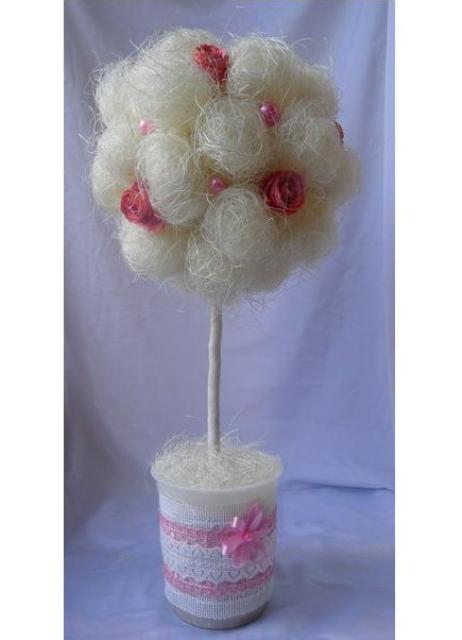
Now that you have learned how to make a topiary from sisal, you can apply this same technique when creating crafts from any other materials - woolen balls, decorative beads, beads or balls.
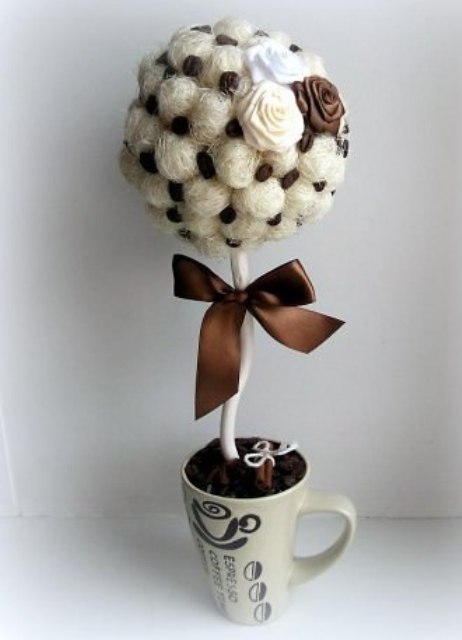
In the gallery you can see examples of other topiarias from sezal using our microscope. And when you master it, we suggest that you turn to creating topiary materials from other materials: coffee , pasta , corrugated paper , organza , satin ribbons .
| | | |
| | | |