The tie has long ceased to be the privilege of the men's wardrobe. The ladies borrowed this elegant accessory from the men in their toilet. And in the women's attire, the tie acquired a special sexuality, giving the possessor of this object extravagance and audacity.
Sometimes a woman needs a certain style and color for her outfit, which is not always available. We will tell you in detail how to sew a tie with your own hands.
How to sew a tie on an elastic band?
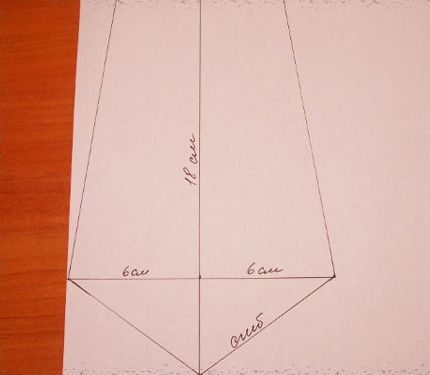
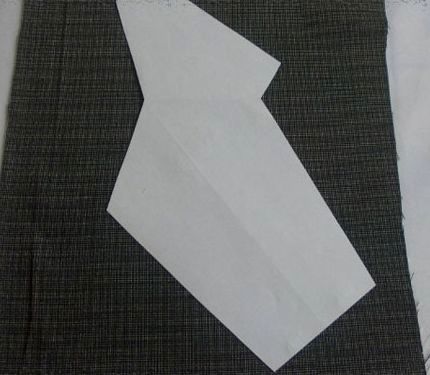
Let's start with the construction of a pattern of a tie on an elastic band. For the tie pattern we will need a sheet of A4 paper.
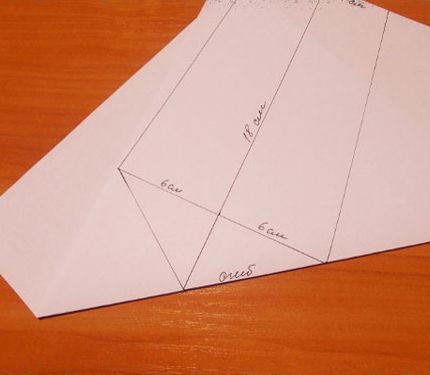
- We build a pattern for this sample. We fold along the "fold" line.
- Cut out the pattern, then turn it over and outline the lining line.
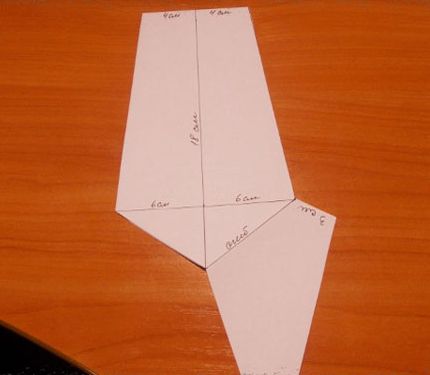
- In the finished unfolded form the pattern looks like this:
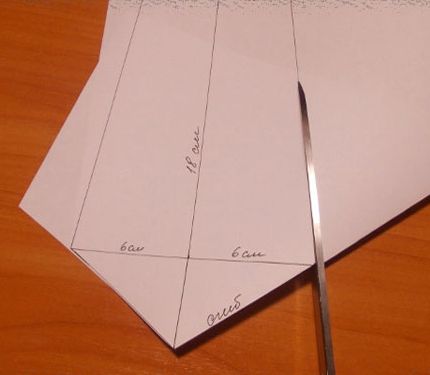
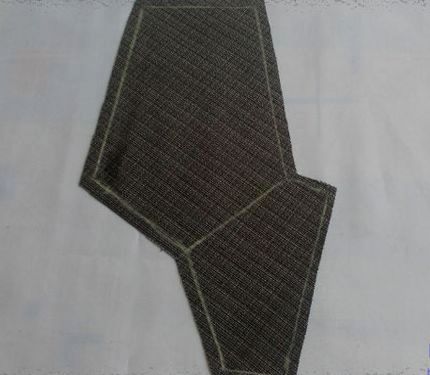
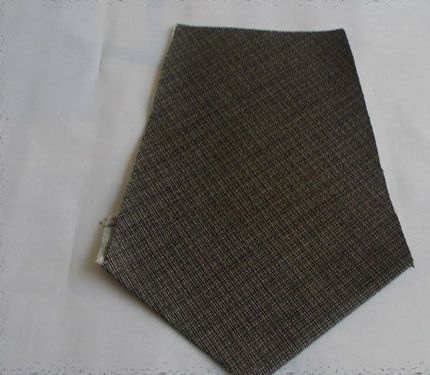
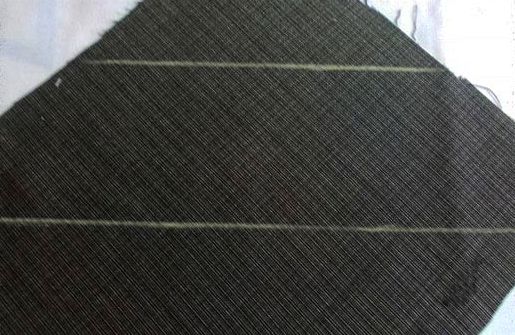
- The tie is cut along the oblique line.
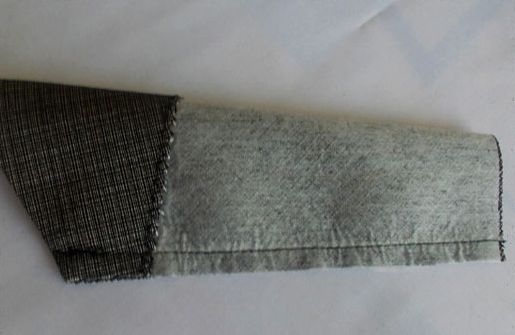
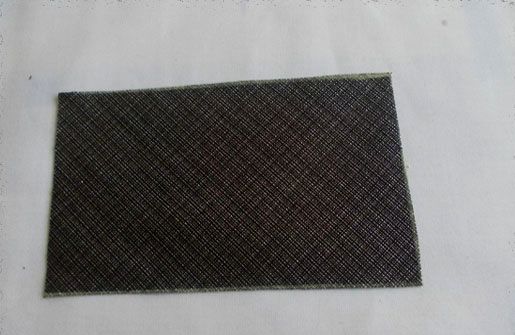
- "We glue" the fleece with a hot iron to keep the tie in shape. Fold along the fold line and stitch it.
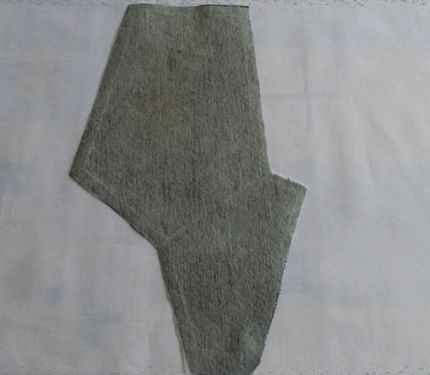
- We turn the workpiece out and iron it.
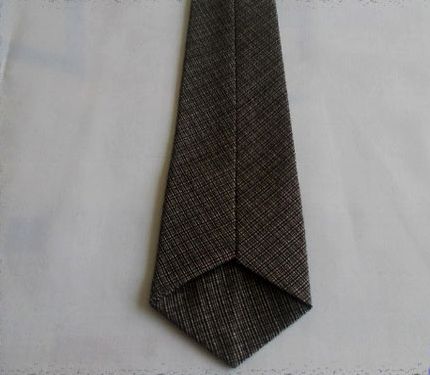
- Now we add and blank the workpiece. Then turn and carefully iron.
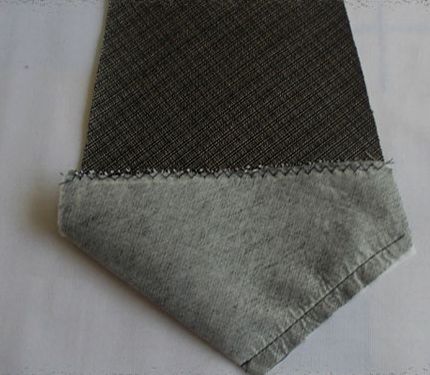
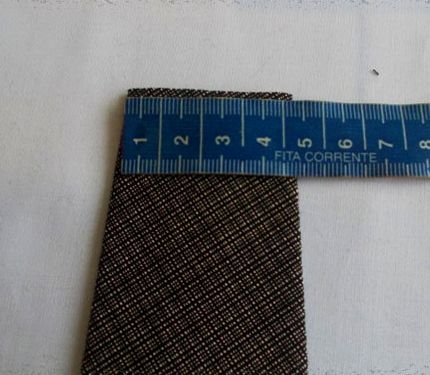
- We measure the width of the upper cut, if necessary, prior aligning it with scissors. For the node along the oblique we cut out a strip of width equal to the double width of the upper cut with the addition of the allowance.
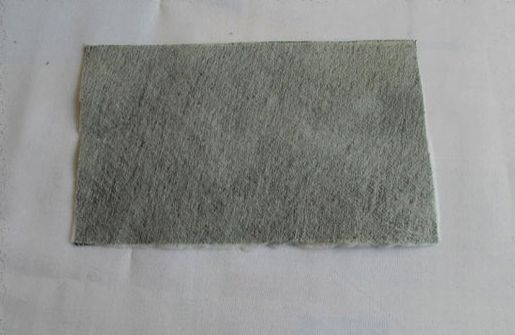
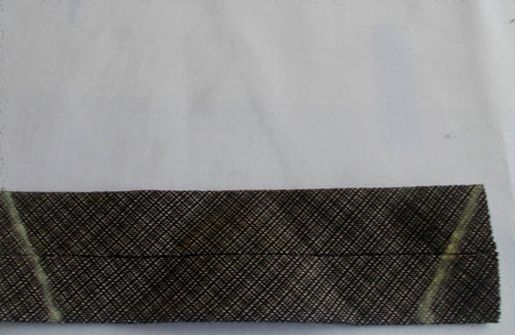
- Should be such a detail. We strengthen this part with non-woven fabric.
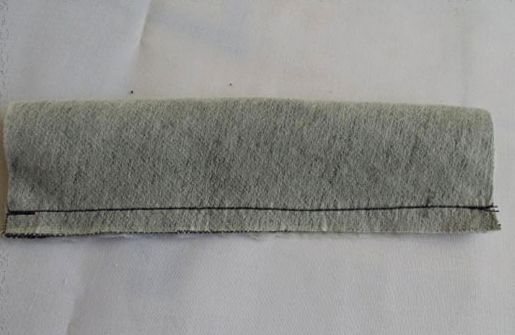
- Folded in half the piece is stitched, twisted and ironed so that the seam was in the center.
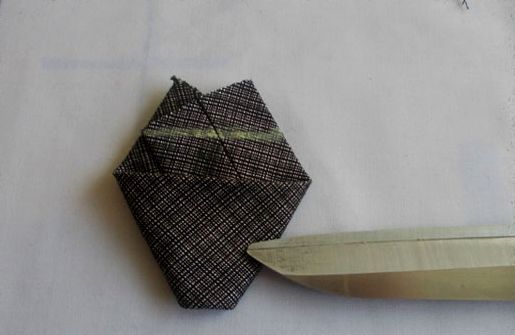
- Fold, as shown in the photo, and mark the seam line. Unfold and crop the excess.
- The detail for the node should look like this:
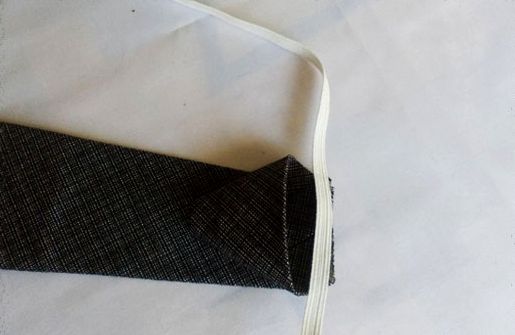
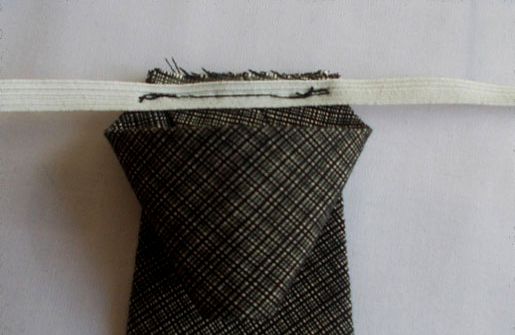
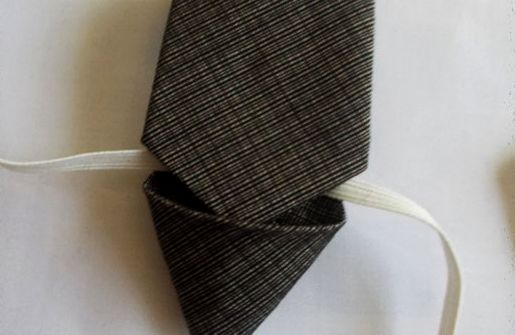
- We fold the knot, take the rubber band. Then we put the elastic on the sewing machine.
- We turn it through the knot and straighten it.
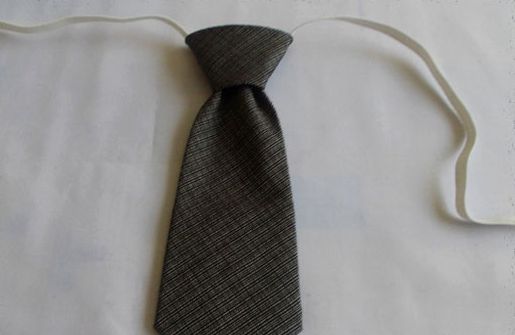
- We got such a strict tie.
How to sew a tie?
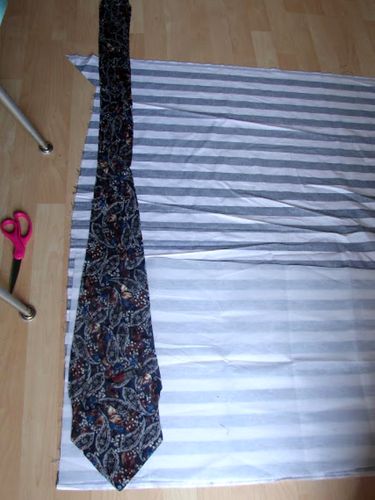
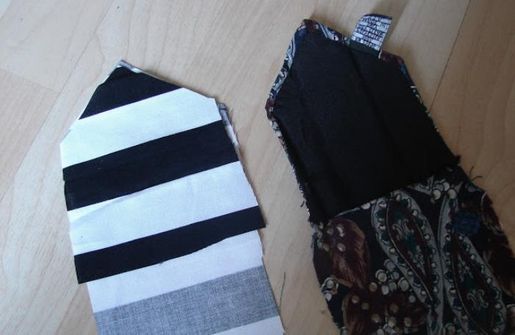
It is possible to sew and tie a tie with your own hands. You can use an old tie to make a pattern.
- If the old tie is no longer needed, then it can be ripped off and get a ready-made pattern. If the tie is still useful, then draw a tie with a pencil on the contour and increase the pattern twice.
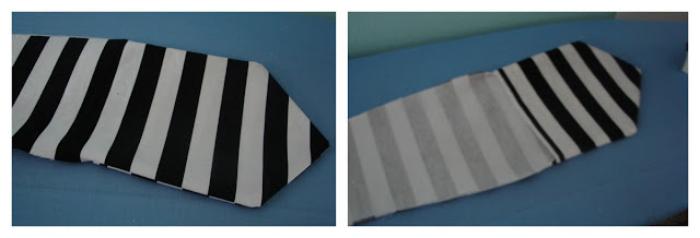
- Cut out a long piece of a tie and a small detail of 1 dm long for the inside of the tie. Both parts are sewn together.
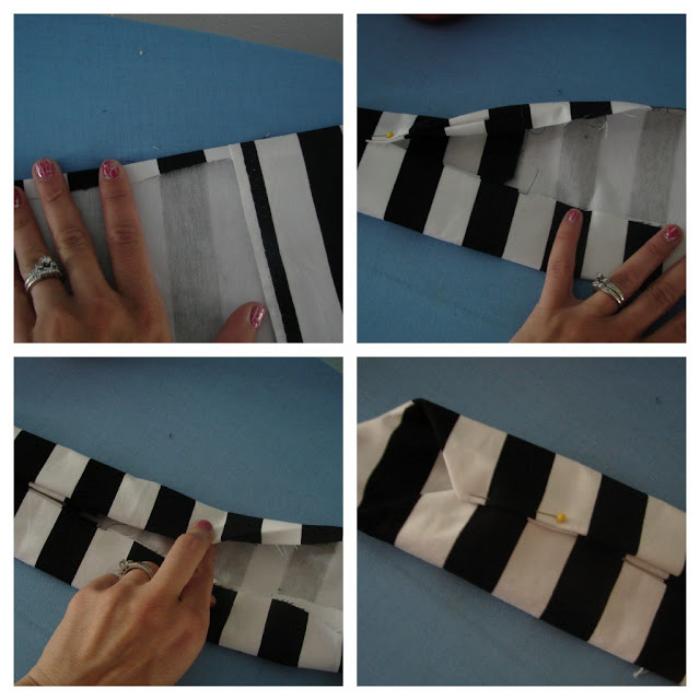
- We twist the workpiece, fold it in half along and fix the place of addition with tailor's pins.
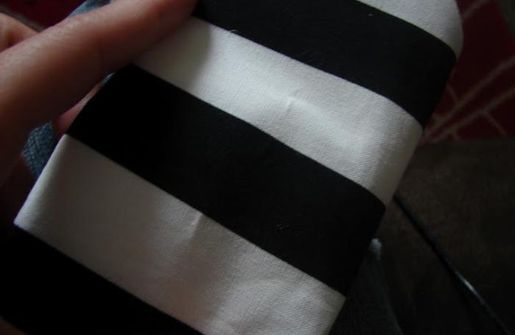
- Manually sew the folded edges carefully so that the stitches can not be seen from the outside of the tie. We iron the finished tie with an iron.
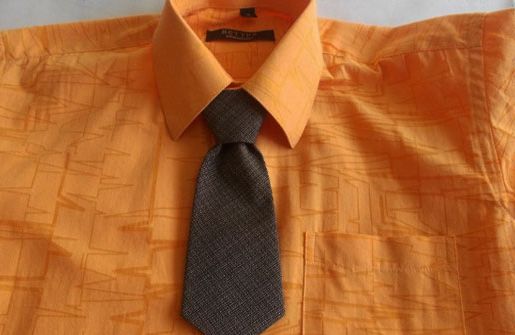
- Should get here is a tie!
We hope that the master class will help you sew a tie necessary to complete your costume or to complete the solemn appearance of your son.