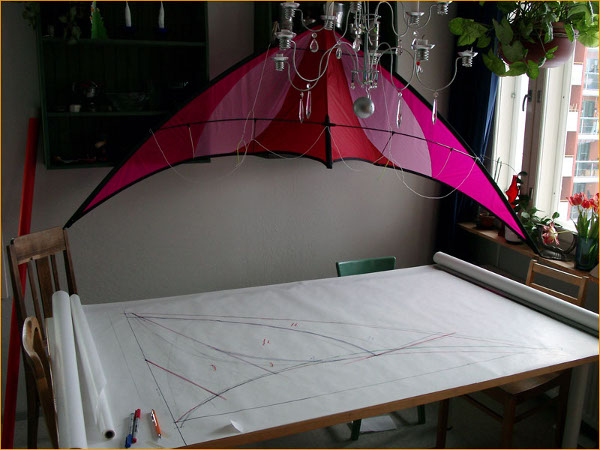
One of the most popular entertainment in the summer is the launching of a kite. This fun is equally loved by both children and adults. You can buy a quality kite and store, but its cost will be quite high. And at home, making a kite with your own hands is not so difficult, and you can choose a design yourself.
How to make a kite at home?
First you need to prepare all the materials and tools. To make a kite with your own hands we will need:
- fabric for sails (this can be light polyester or a nylon sail cloth);
- capron for the fender edging;
- guide tube in the center (internal d = 5.5 mm, external d = 8 mm, length L = 900 mm);
- for guides in the wing and other connecting: fiberglass d = 5.5 mm;
- for spacers between the lower and middle rear: fiberglass d = 3 mm;
- for sling braided cord or nylon thread 3 mm;
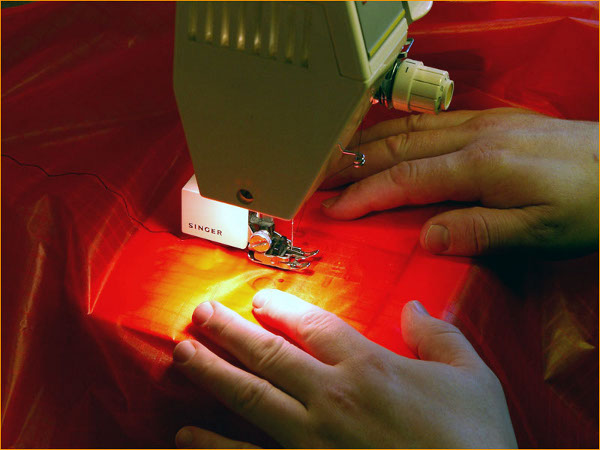
- sewing machine with a set of needles .
Now consider step-by-step instructions on how to make a controlled kite.
- First, prepare the workplace. The desktop should be large enough so that all the drawings can fit on it.
- The easiest way to make a kite with your own hands is to draw half on paper. At the edges we add a stock of about 12 mm for the edging.
- If you want to make multi-colored wings, then already at the drawing stage you need to make a few patterns. But for beginners it's better to start with a simple monochrome one.
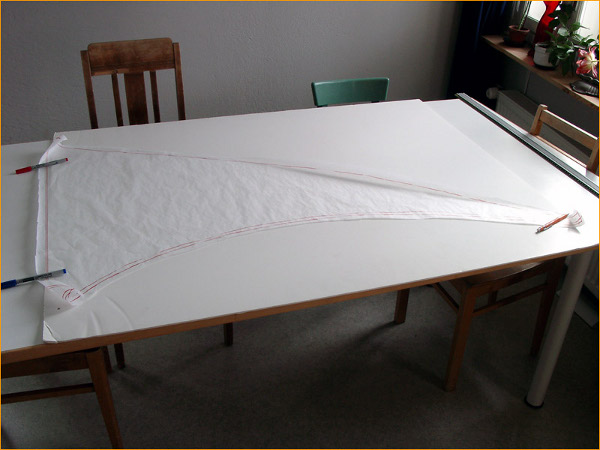
- Before making a kite at home, it is necessary to firmly fix the fabric around the edges and then lay the templates. Then the material will not move and the workpiece will turn out to be correct.
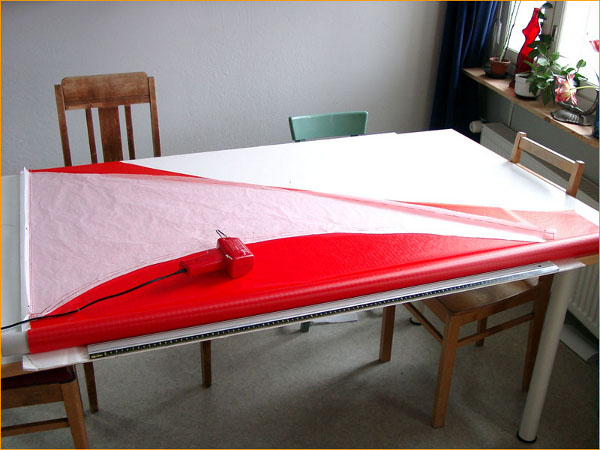
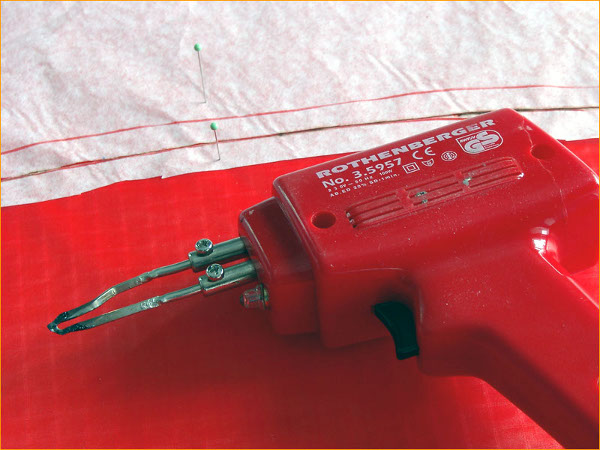
- It is most convenient for cutting to use an impulse soldering iron. This makes it possible to cut off a part of the matter at the same time and avoid shedding the edges.
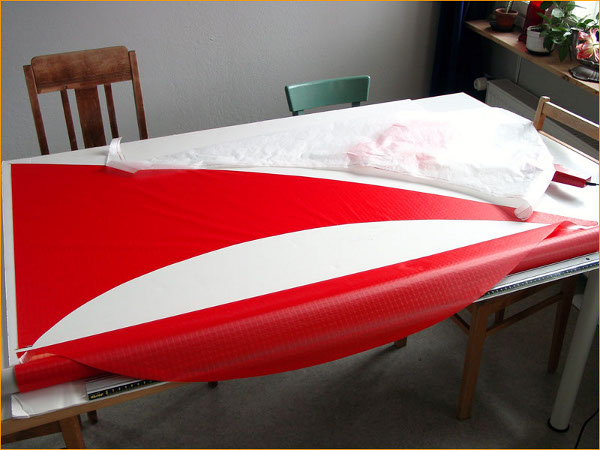
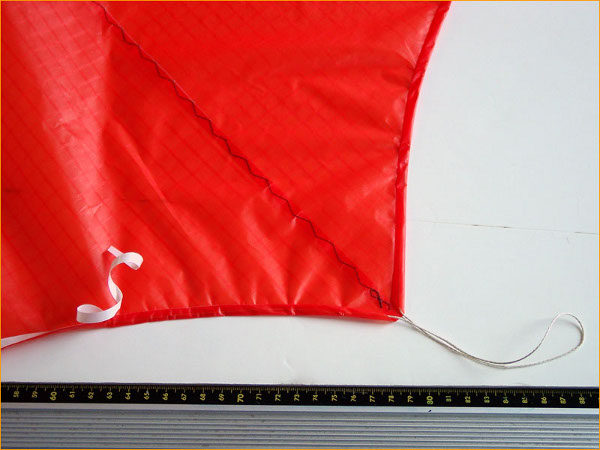
- We cut out two symmetrical billets.
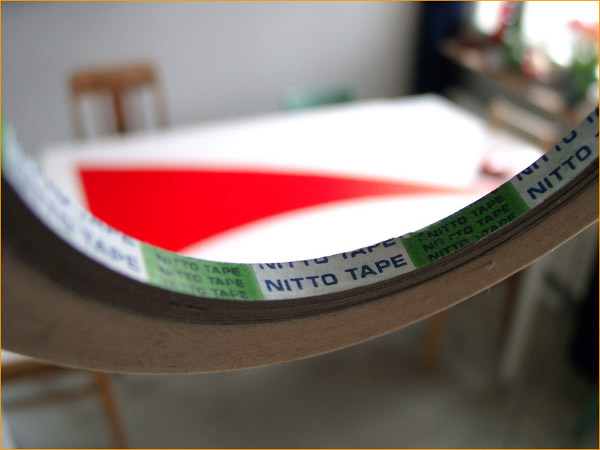
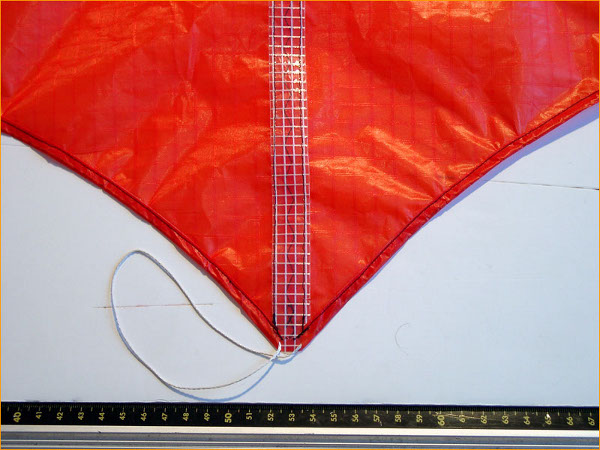
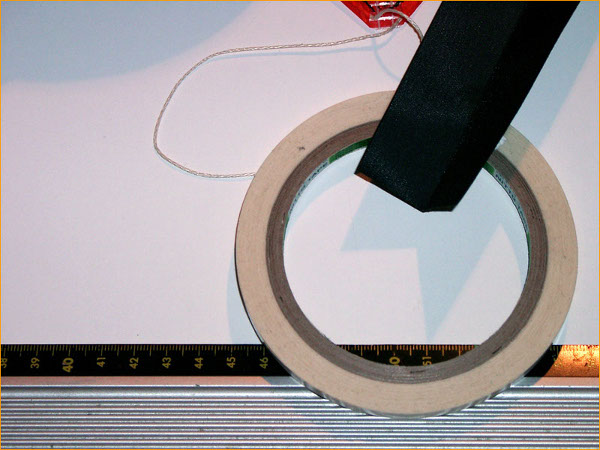
- We connect the two mats with a double-sided adhesive tape with a width of 6 mm.
- To strengthen the central seam, cut off the reinforced ribbon with a width equal to the width of the overlap.
- The tape should run from edge to edge.
- On the sewing machine, sew the "zigzag" stitch the ribbon along the center and the edges.
- To sew a nylon thread to the edge of the tape, it is necessary to wrap it and stitch it together with the backing. The thickness of the thread should be 2-3 mm.
- At the edges from the bottom, we leave a 10 cm loop.
- This is what our snake looks like at this stage.
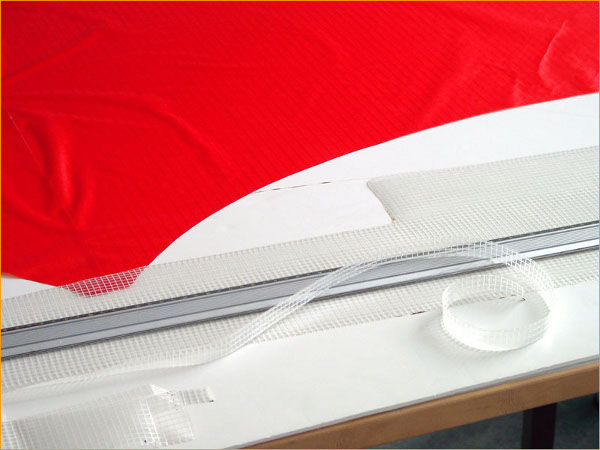
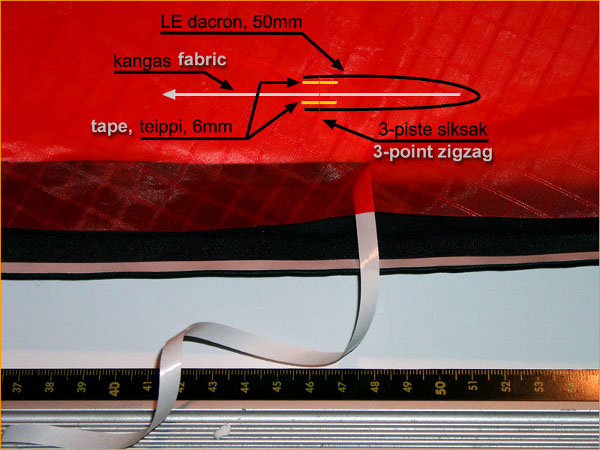
- For the front, you need a double-sided adhesive tape and waterproof cloth 6 cm wide.
- We wrap the fabric around the edge of the polyester linen and lay the substrate between the layers. We sew on the machine by a seam "zigzag".
- To strengthen the edges, we use a 10-cm tissue turn.
- Cloth with adhesive tape.
- Turn it to mark stitches and edges.
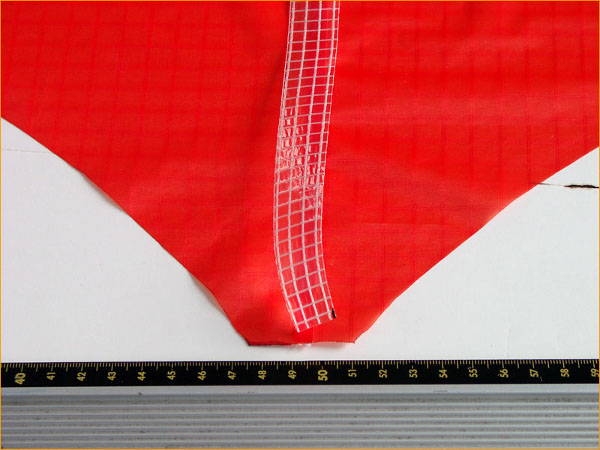
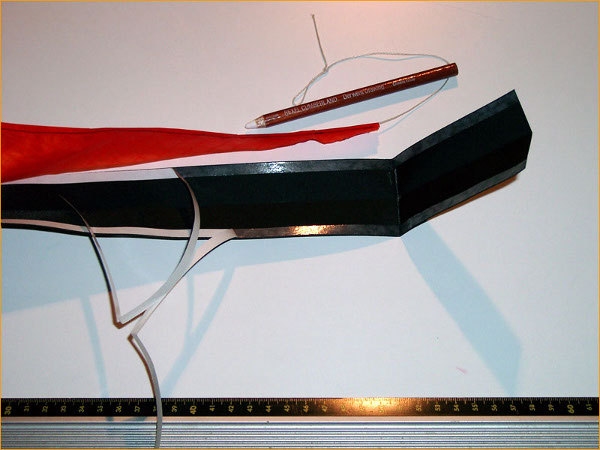
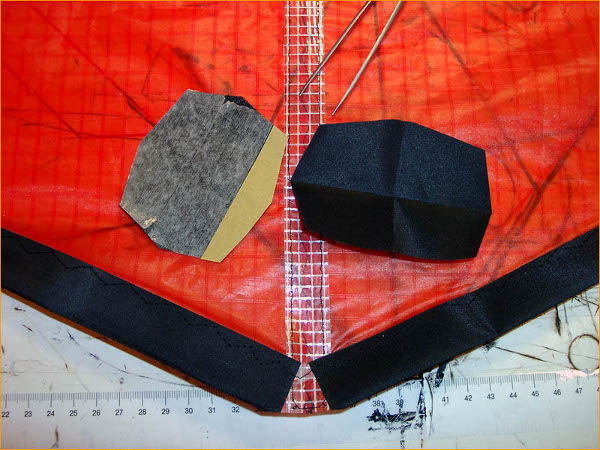
- The reinforcement is also strengthened with the help of a pocket. Suitable fabric is about 7 cm wide.
- Preparing the pocket.
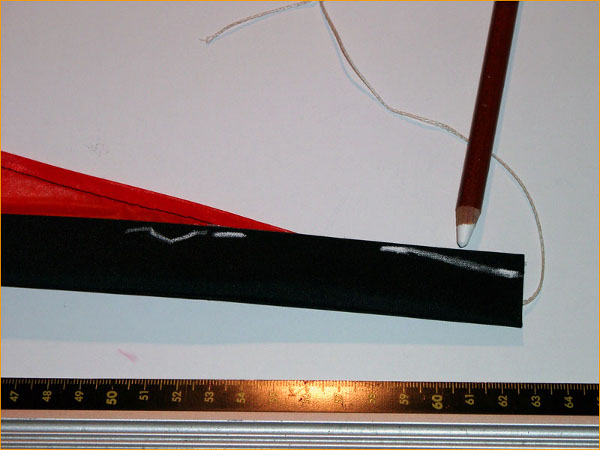
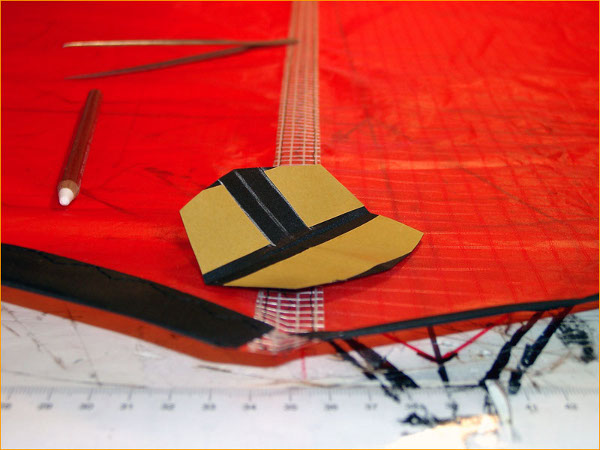
- First we attach a double-sided scotch.
- Next, we mark out the seams, leaving a pocket for inserting the reinforcement.
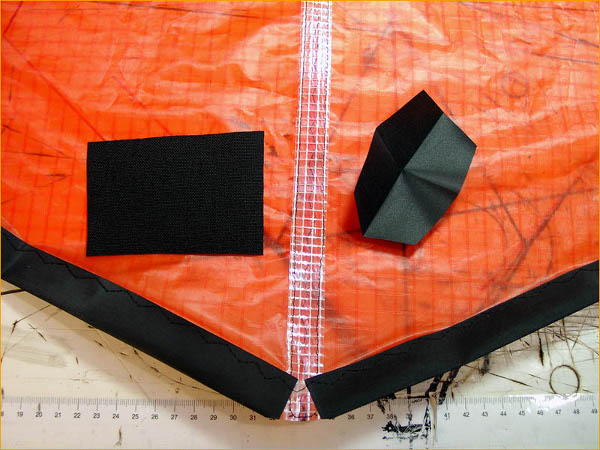
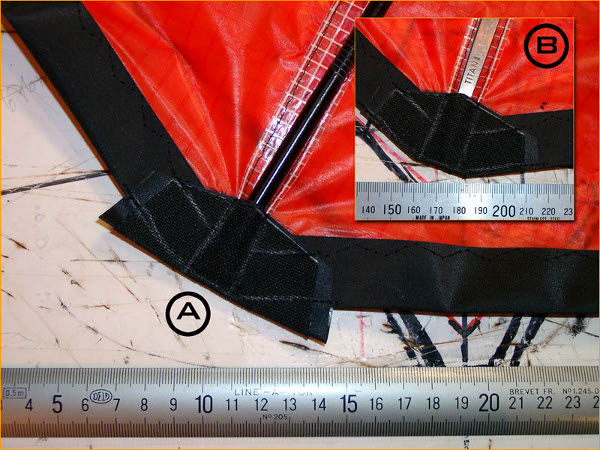
- The bottom of the pocket looks like this. The width of the tape is 25 cm.
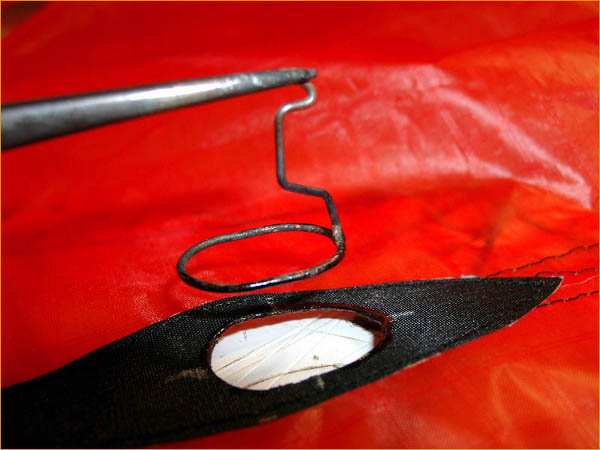
- Cut the holes for the connection.
- You can again use an impulse soldering iron or a heated wire of the desired shape.
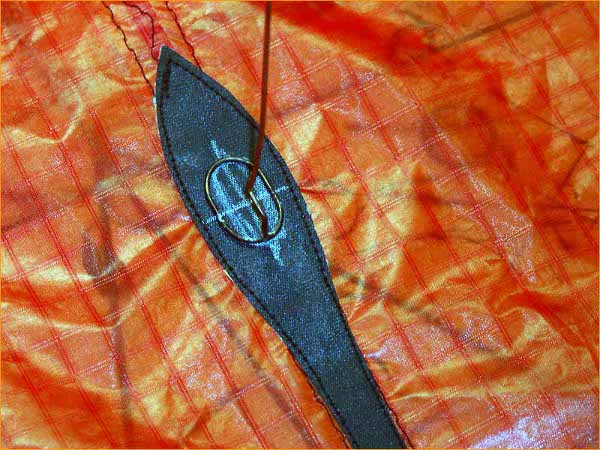
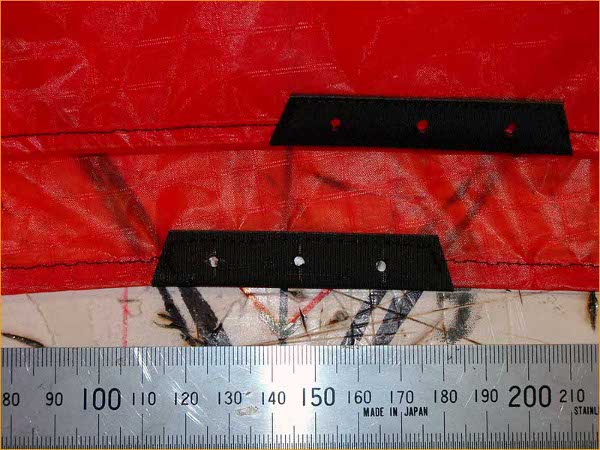
- To strengthen the places of lines, we use the same strong fabric. Dimensions 2,5х7 cm. Make holes for lines.
- In the edges make holes at a distance of 5 cm. In the future, there will be a retaining ring (kapron thread or plastic clip).
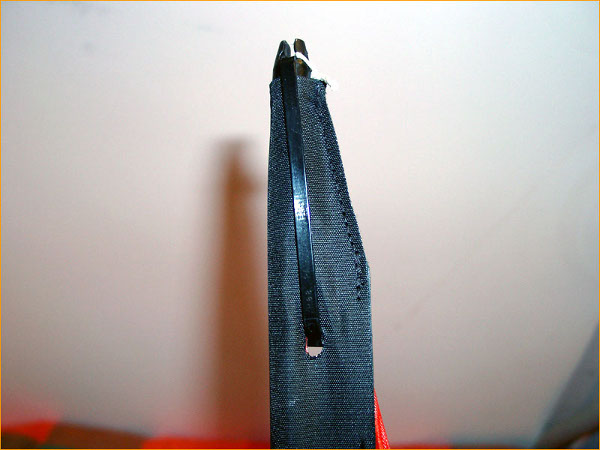
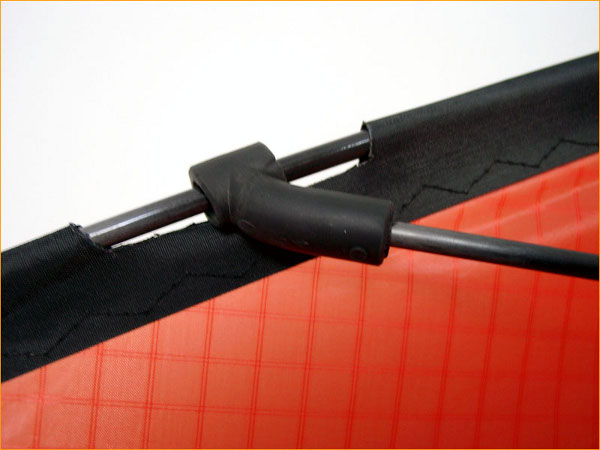
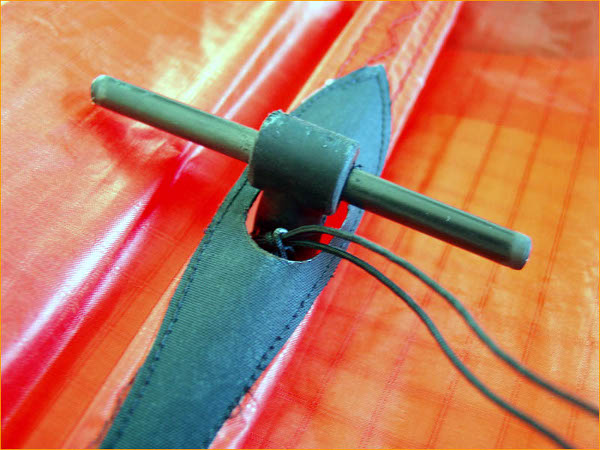
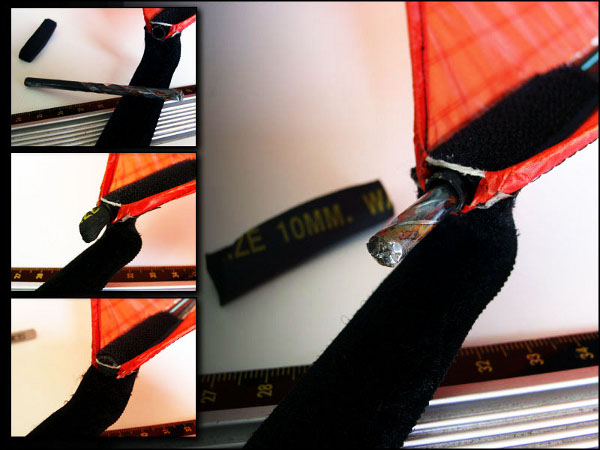
- According to the drawings we make slots for the upper and lower connectors of the guide.
- In the central slot, insert the T-connector.
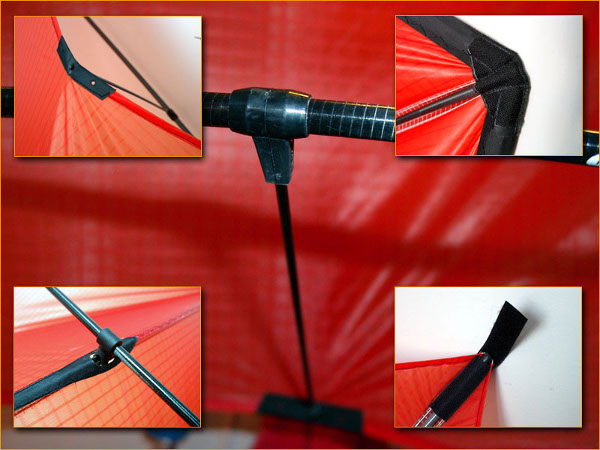
- The fixation points are as follows.
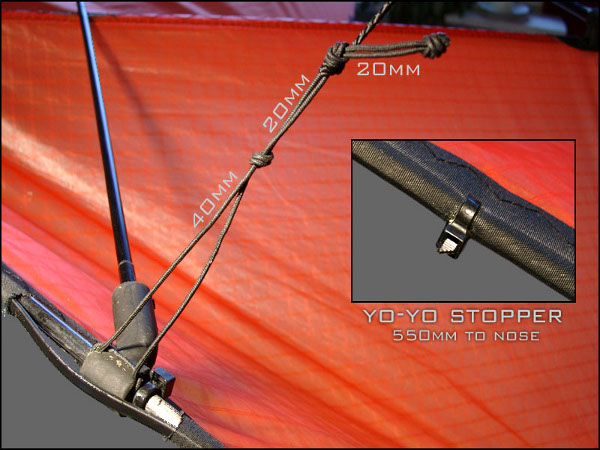
- So it looks like slinging and fixing the fittings. In addition, fix at a distance of 55 cm from the nose on the sides of the snake.
- The standard slinging scheme looks like this.
- Moving ballast is fixed in the central armature. This can be a piece of lead weighing 8 g, d = 5 mm. This will allow you to do various tricks in the air.
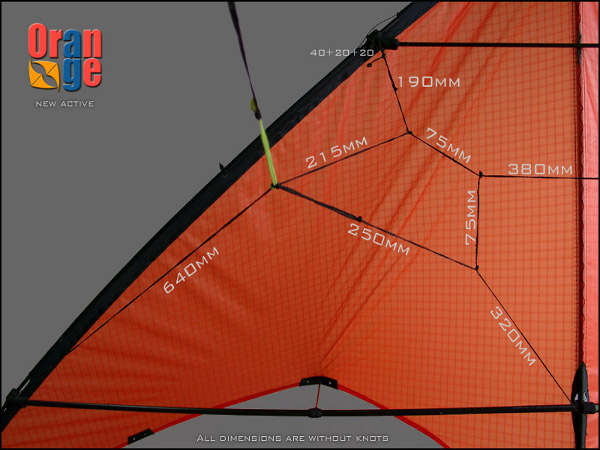
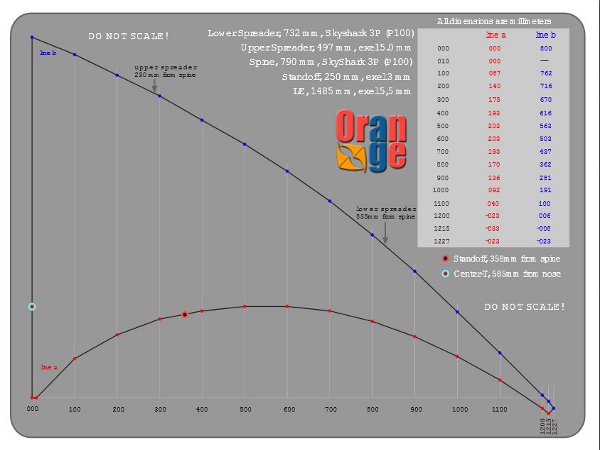
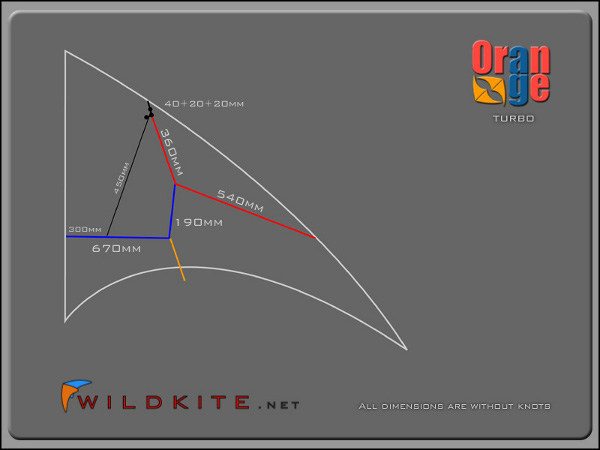
- Before making a kite, it is necessary to review the drawings and an alternative stitching scheme.
The kite is ready with your own hands!