Very fashionable now are all things "hand made" - made by hand. And it does not matter, it's chocolate or some nice little thing of a home interior. Very adorn the interior of the kitchen with cute handmade stitches or tea houses , decorated in decoupage techniques. But it is not necessary to buy them and spend a lot of money, as any handmade products are valued highly. It's not at all difficult to do these very unique things yourself.
Decoupage of the tea house with their own hands
If you decide to create this truly attractive and sweet detail, then in your home a simple drinking of tea can turn into a festive tea ceremony.
How to make decoupage of a tea house?
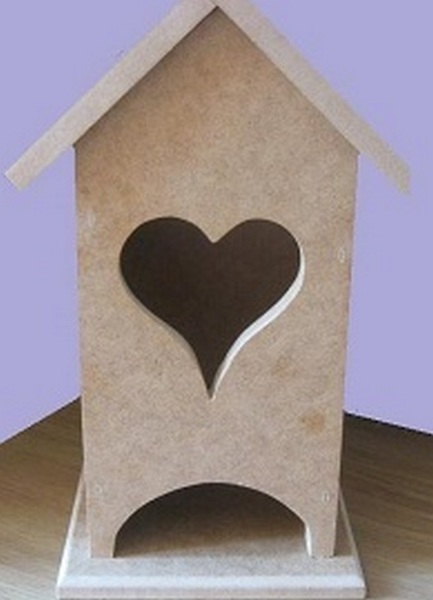
The size of the tea house for decoupage is selected at your discretion. You can make the workpiece on an individual drawing yourself from dense cardboard or plywood. But we advise not to waste time on this, and to purchase a ready-made stock for decoupage in the store. In the shops for needlework is quite a large selection of blanks of various shapes and sizes for every taste. Then choose the drawing you like and apply it to the surface of the prepared house, using the basic techniques of decoupage. For those who are not familiar with this technique, we offer a detailed step-by-step master class.
Decoupage of the tea house - M
We hope, our master class of decoupage of tea houses will help you to create a beautiful and unique object for tea drinking of your family or the most beautiful gift.
To create a tea house in the style of decoupage we need:
- preparation of a tea house;
- PVA glue;
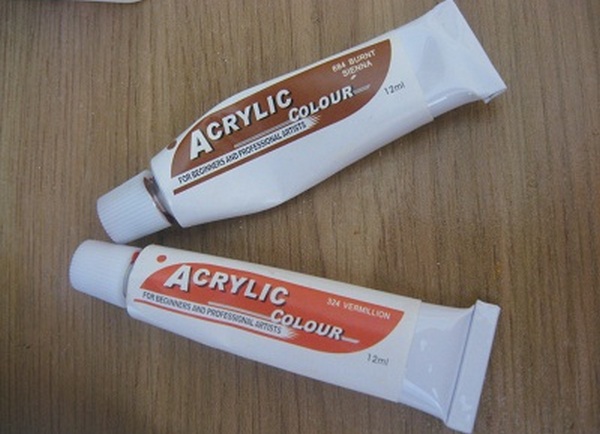
- acrylic paints;
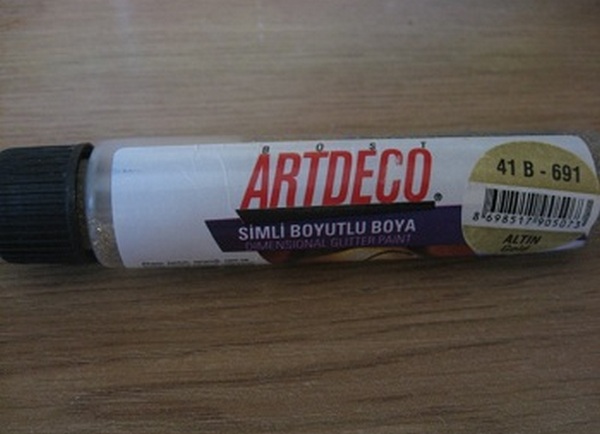
- contour for decoupage;
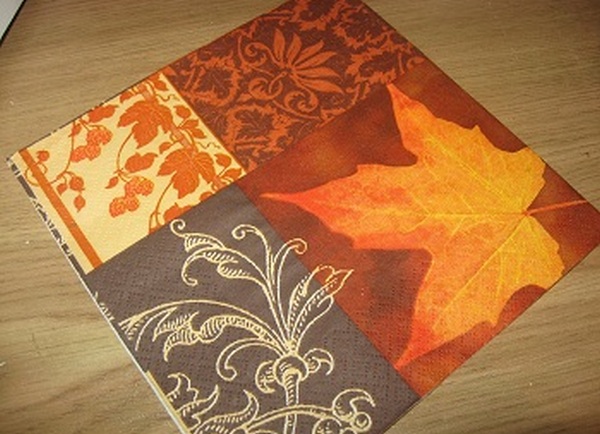
- napkin with motifs;
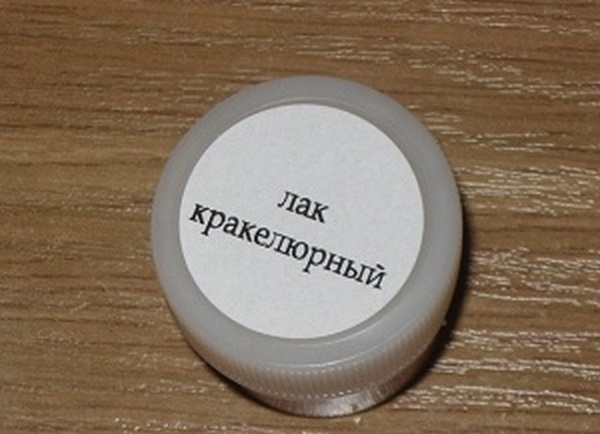
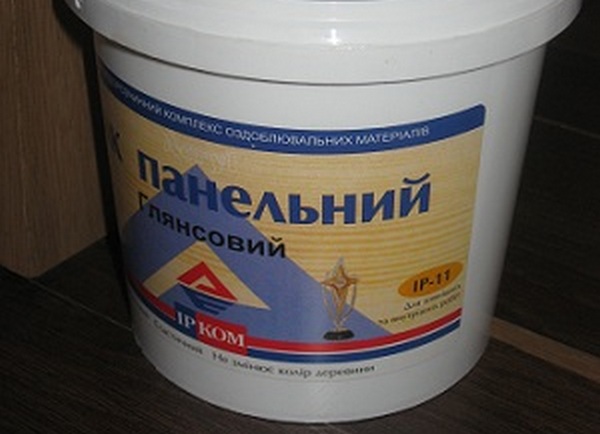
- varnish craquelure;
- brush;
- sponge.
At us here such charming zagotovochka for a tea small house.
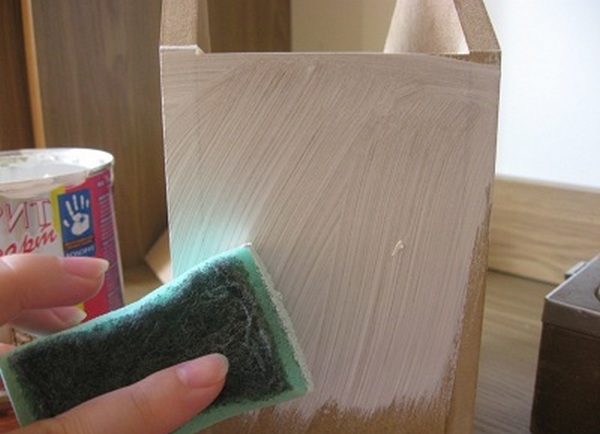
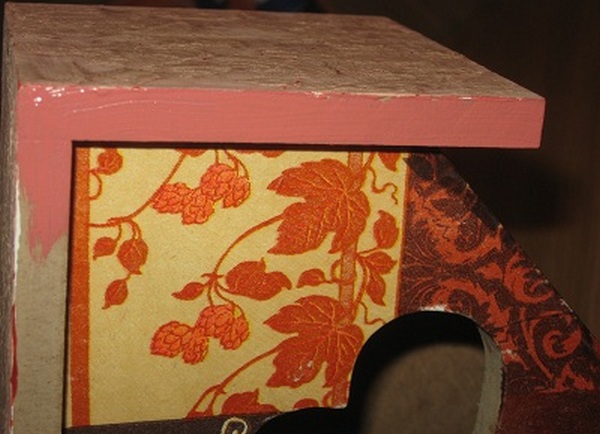
We proceed to the creation of our masterpiece. We take the workpiece and apply a white acrylic paint to the whole surface of our house with a sponge. When one layer of paint dries, we will apply one more to make our napkin pattern on this background become brighter and more contrast. Do not forget about the roof - we, like the house, cover it with white paint.
| | | |
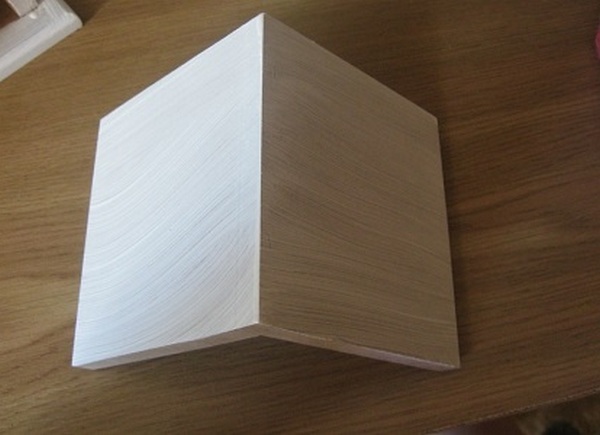
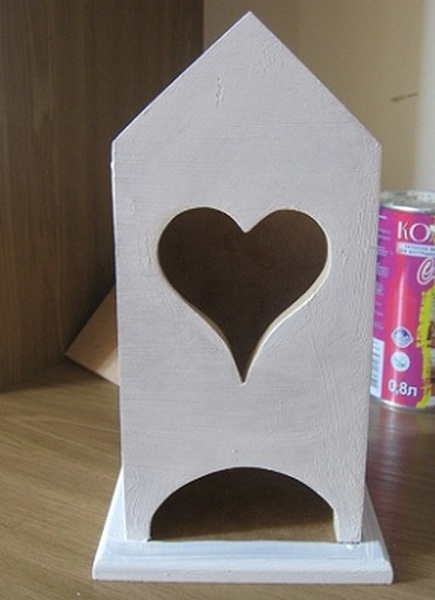
Our workpiece is completely covered in paint and has already dried up.
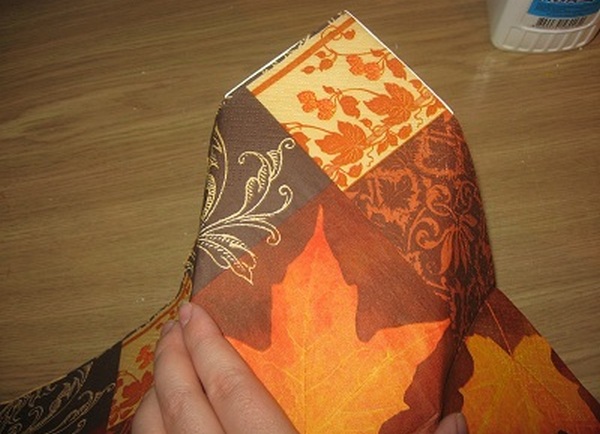
We continue the further transformations of our future beautiful house. We take the napkin chosen by us, we separate the uppermost layer of the napkin with the pattern. We do the fitting on the house and manually tear off the necessary piece of napkin. Next, sprinkle our piece of water so that it is well wet and stretched out.
| | | |
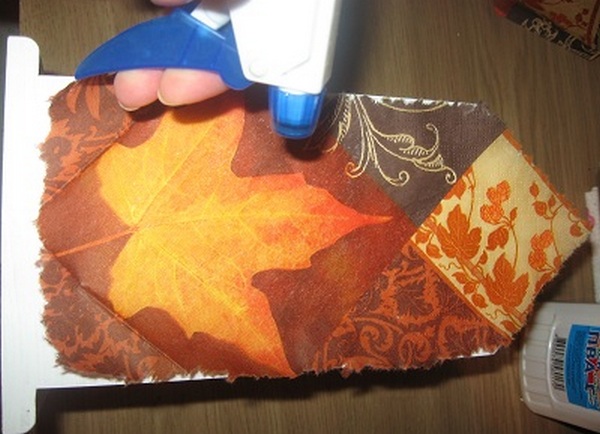
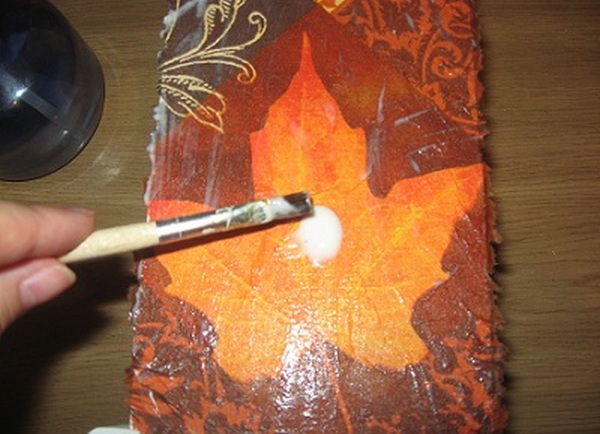
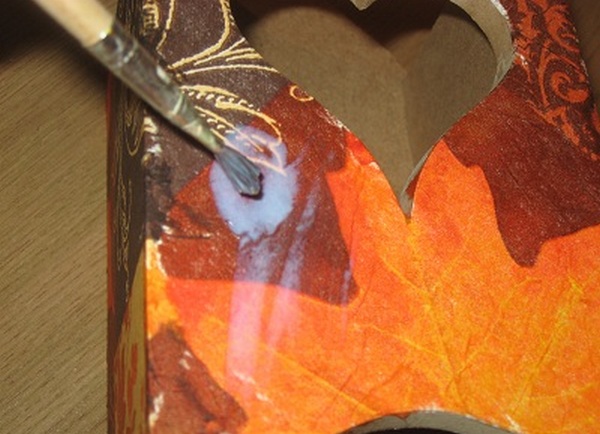
Then, on top of the already soaked napkin, drip the PVA glue and use a brush to stretch it well over the entire surface. Try to keep a single bubble of air under the napkin. In the same way we make out all the sides of our house. On the front side, where our workpiece has windows, carefully break them through the back of the brush.
| | |
The house dries, and in the meantime we make a roof. Cover it with bright paint with a brush. This paint we will see through the cracks crack. Leave the roof to dry.
| | | |
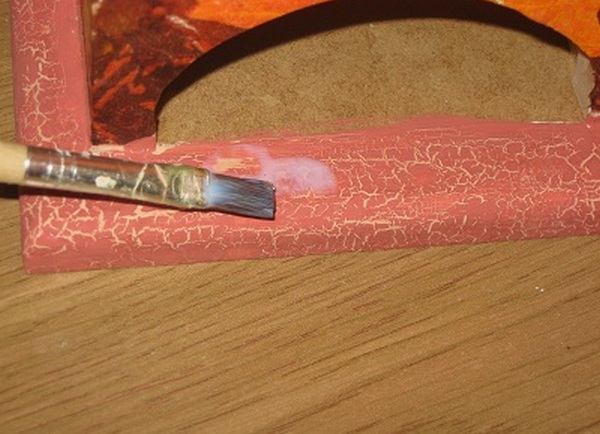
When the roof dries, take the varnish of craquelure and cover the roof.
| | |
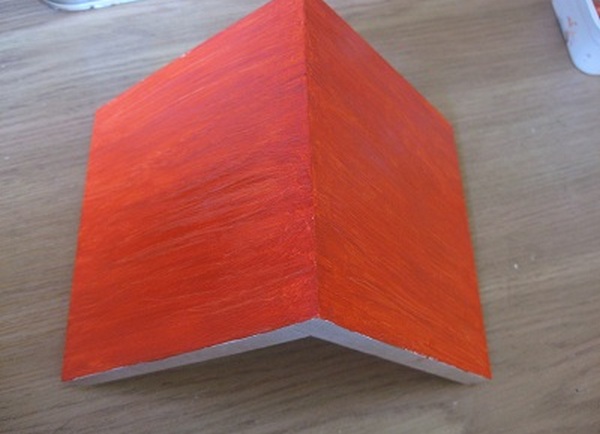
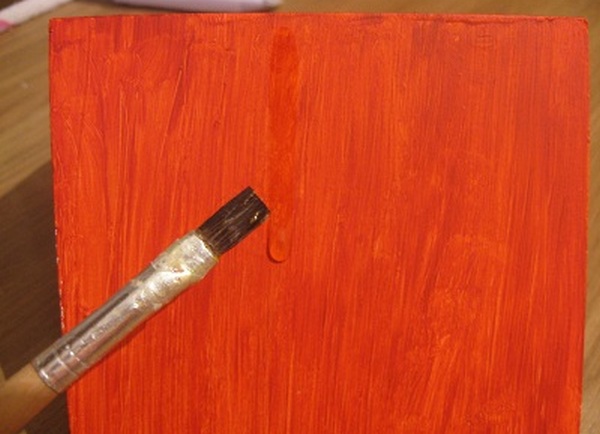
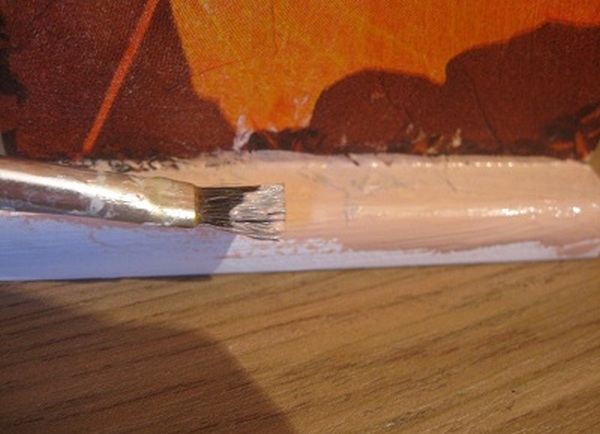
While our roof is drying up, take the paint and paint the base of our house.
| | |
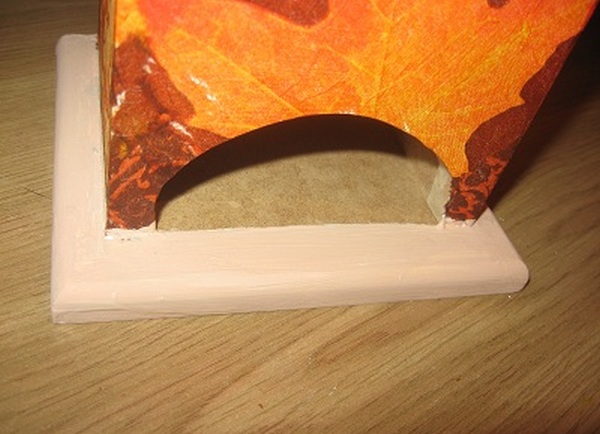
After the ground has dried and ready, we also cover it with a layer of varnish, craquelure.
Without losing time, we take acrylic lacquer and apply to the entire surface of our tea house, do not touch the roof.
| | |
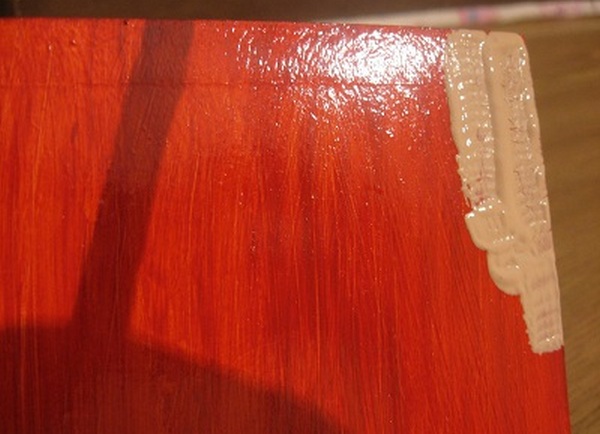
And on the dried up roof we put a second coat of paint, just a different color - such as our base of the house. We apply paint in a brush in different directions. On the base of the house, we also apply a second coat of paint.
| | | |
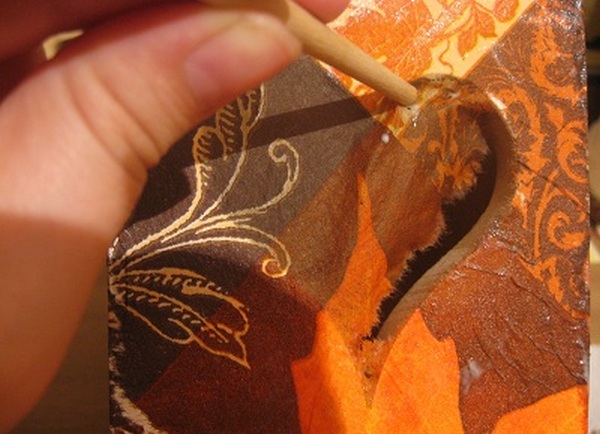
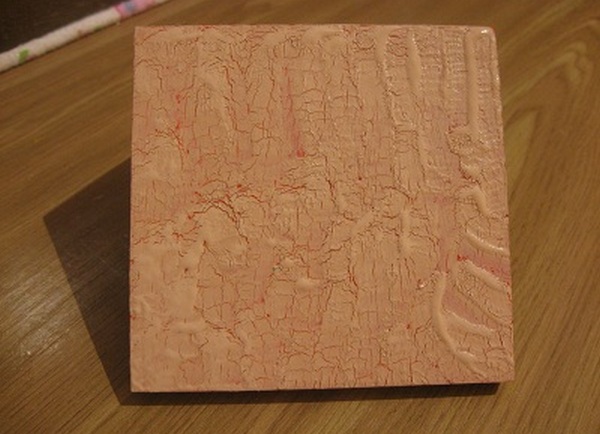
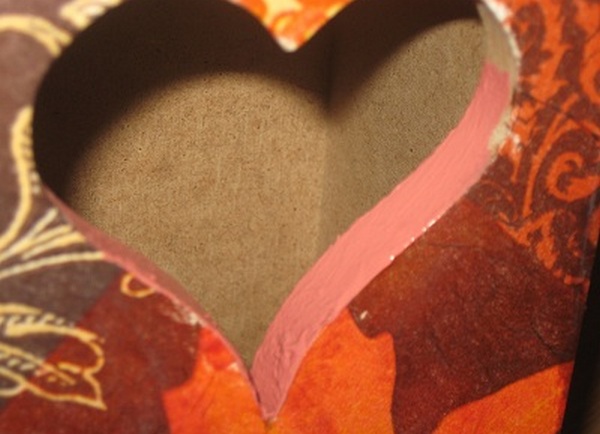
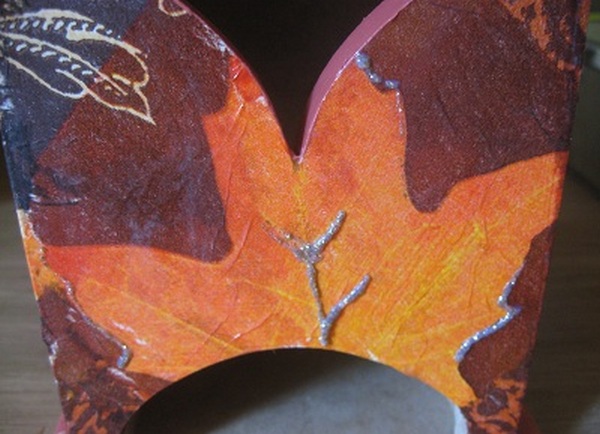
While the crackle dries and forms beautiful cracks, we paint all the ends of the roof and the window-heart from inside with acrylic paints.
| | |
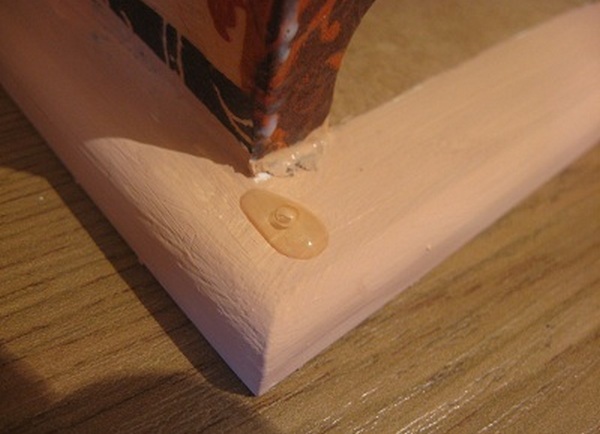
It remains only to cover the base of the house with acrylic lacquer. And on the front side near the windows make a small decoration with a contour for decoupage.
| | | |
Our house is ready. Have a nice tea.