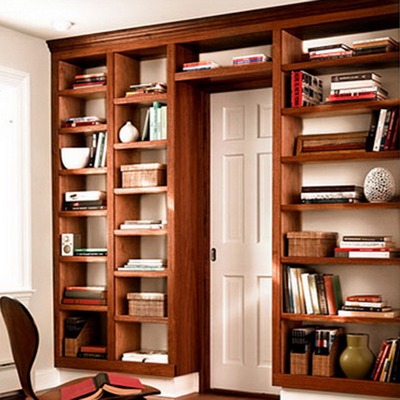
Very often in our houses and apartments there is a space that is practically not maintained, although we would not be in a hurry to save additional space for storing books, magazines, and any small things. In this case, you can quickly and easily build your own hands a bookcase made of wood.
This rational use of space will enable you to place literature on the shelves so that it is always at hand and does not occupy other furniture in the room.
You can attach the shelving in the kitchen to put on it all sorts of spices, products, bowls, trinkets, decorating the room and serving as an element of the decor of your kitchen.
A wooden rack with their own hands is, in principle, not at all difficult. By the way, such furniture is useful not only in the house, but also in the garage or barn. On neat shelves you can fold tools, garden tools, jars-crockery - yes, anything. They will not lie and bother you under your feet, they will not have to be searched for long, because for each thing you can determine your place and they will always be in your sight and easy access.
How to make racks of wood with your own hands?
The main material for our shelving is plywood, as well as chipboard sheets laminated to wood . Particleboard we will use for finishing the lining of the rack to give it a more aesthetic appearance.
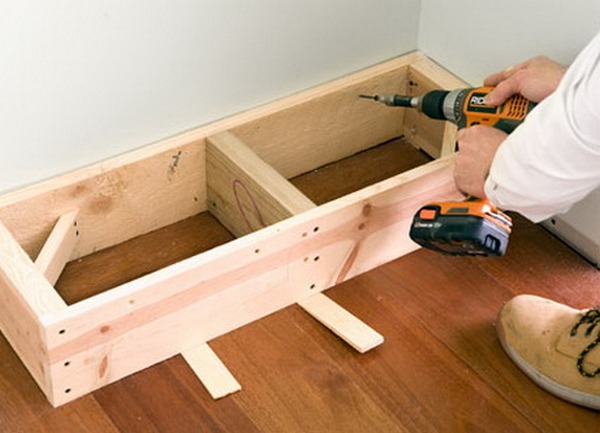
First, we will collect a base of boards with a thickness of 40 mm. We fix it with screws, and strengthen the corners with additional slats.
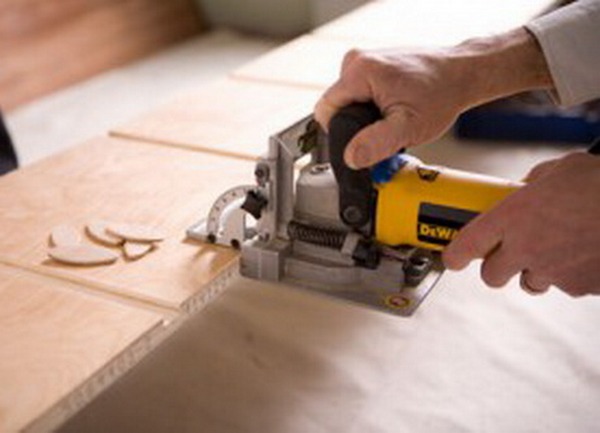
Next, cut out the plywood (12 mm), the vertical side walls, in which we choose the groove grooves for fixing the horizontal shelves.
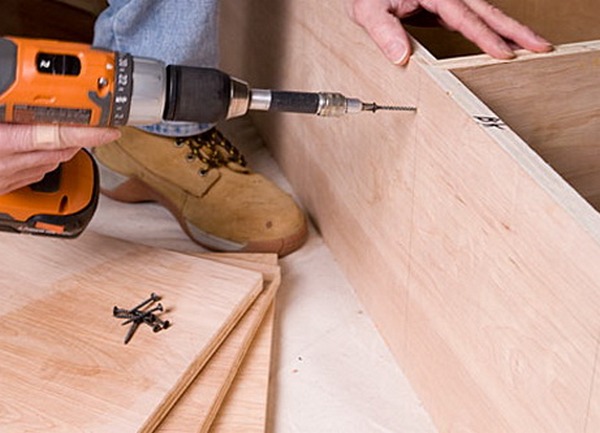
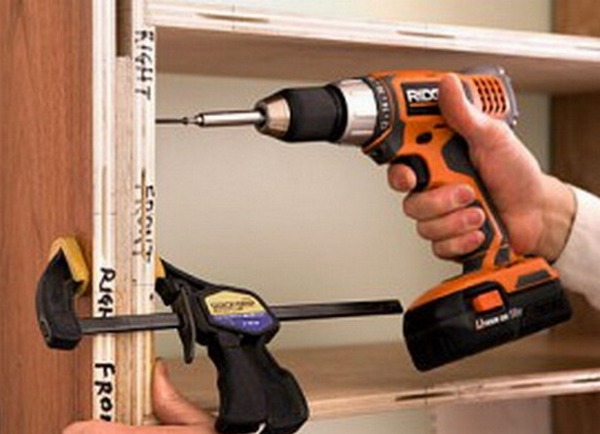
We cut out the plywood from the shelf, insert them into the grooves and fix it with screws for reliability.
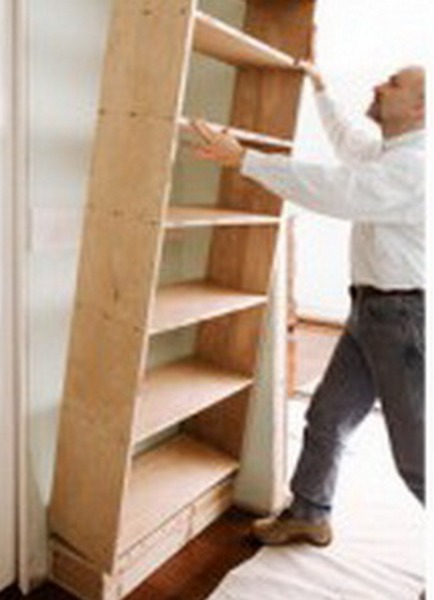
It remains to attach our rack to the wall. We put it on the previously constructed stand. So that he does not fall inadvertently, it is desirable to attach it to the wall with metal corners from above.
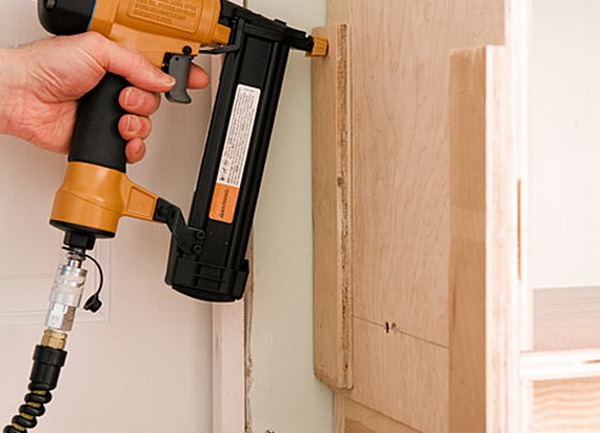
If you want to make the appearance of the bookcase of wood more aesthetic with your own hands, you can polish its ends laminated for wood chipboard. To do this, you need to impose on the walls to sew pieces of plywood.
And on these pads already attach chipboard. As a preliminary support you can use clamps.
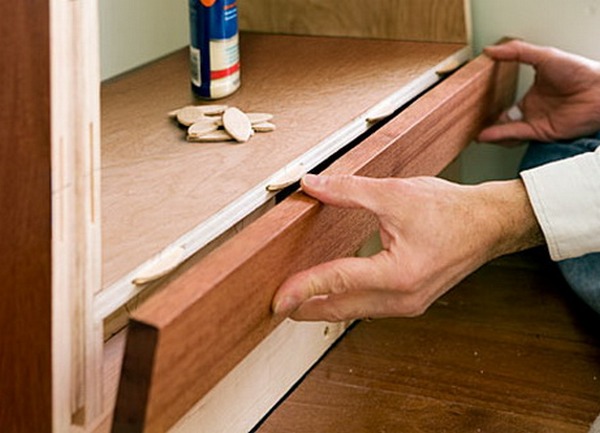
You can also decorate the chipboard facades of shelves.
The top and bottom of the rack, which adjoin the ceiling and the floor, can be finished with a wooden skirting board.
And on top of that, we treat all plywood with stain in tone with the chipboard. Our wonderful rack is ready for operation!