Many of the repairs you could have done yourself. In their number it is possible to carry a laying of a tile safely. Ways of laying tiles on the floor are diverse, but are conducted according to similar algorithms. So store tools and patience, you will succeed!
Options for laying tiles on the floor
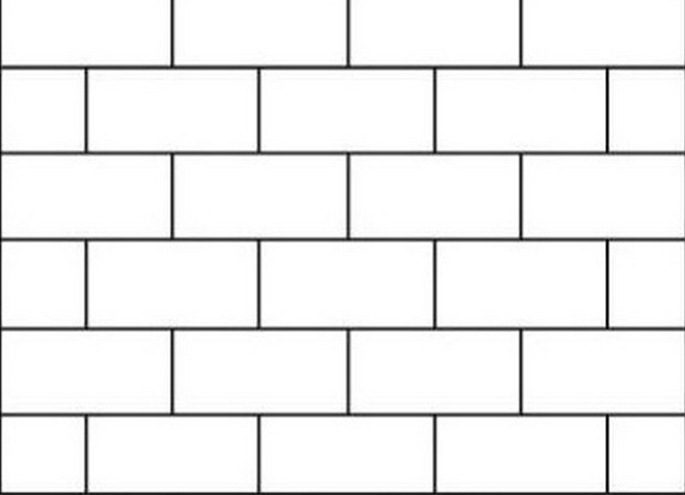
Before you start installing tiles, you need to buy supplies with a margin of 10-15%. The stock directly depends on how the fabric will lie. The traditional method involves a "step" tile seam in the seam, the flooring material is usually a square configuration, sometimes rectangular in shape. For a source of originality, you can use a different pattern.
| | |
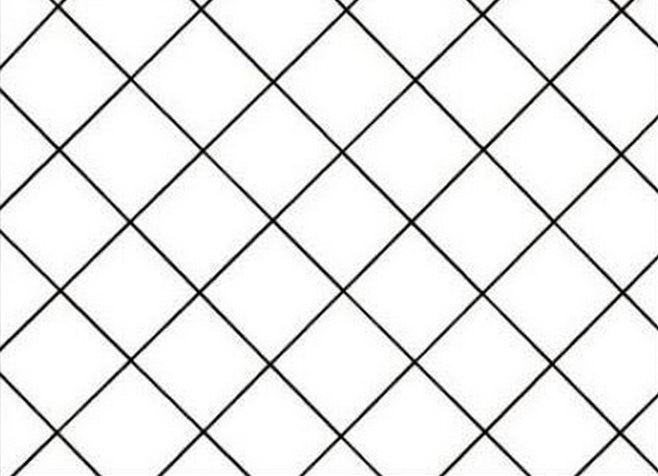
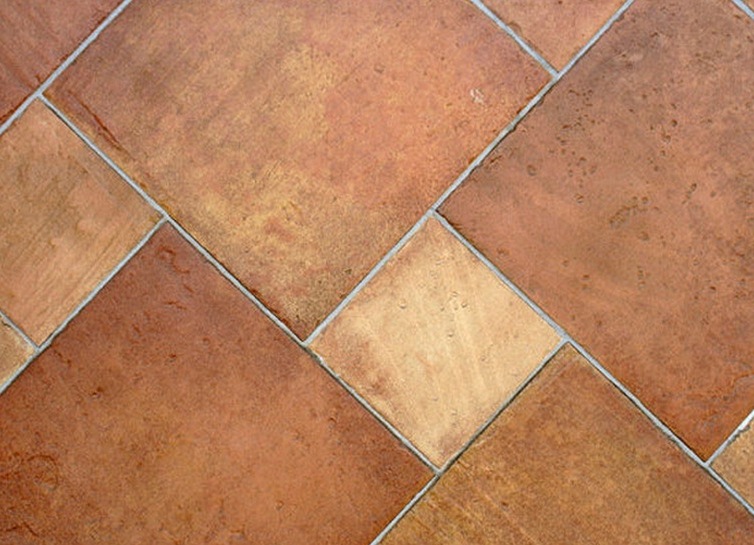
More complex in the editing is the diagonal approach. The complexity lies in the competent marking of diagonal axes and numerous trimming edges. But you will be able to hide the errors (curvature) of surfaces and visually increase the room.
| | |
For the method of "unraveling", that is, with an offset, it is better to use a rectangular monophonic tile , the appearance will please you.
| | |
Connect the diagonal masonry and "ransom", get the masonry "deck".
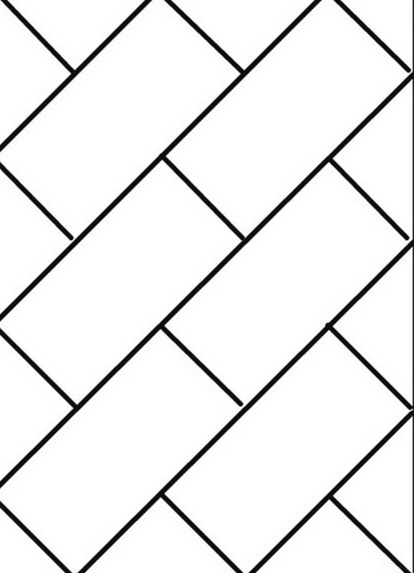
The original is the herringbone.
| | |
Pay attention to the "herringbone".
| | |
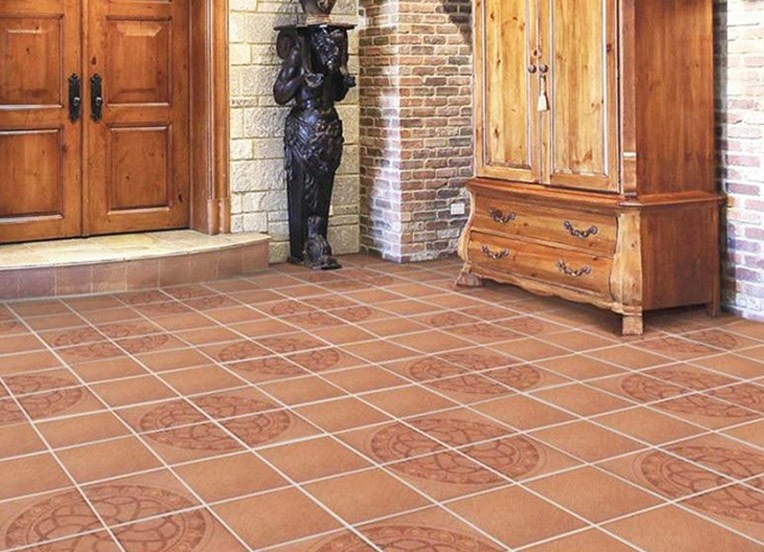
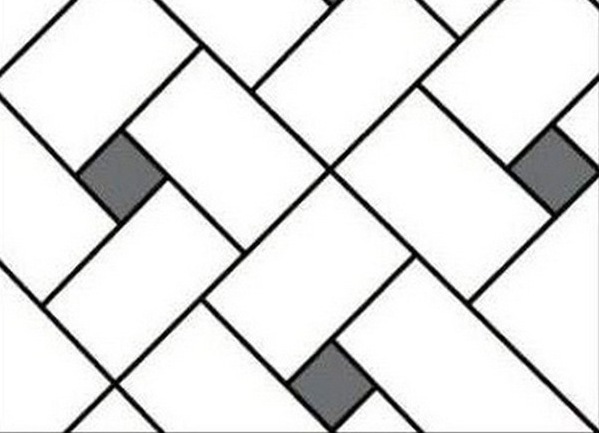
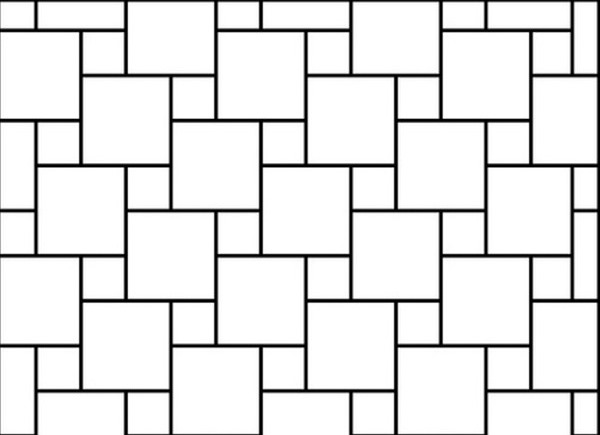
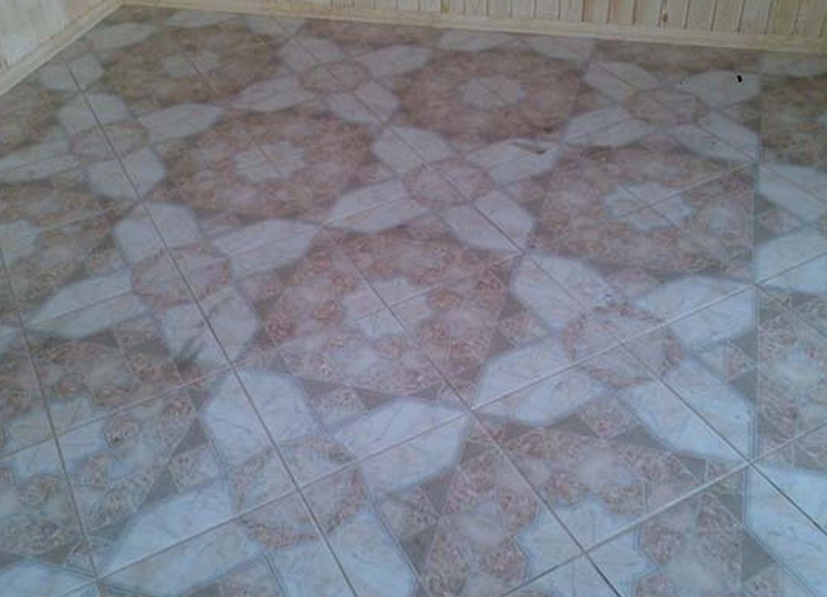
Visually solid looks modular option. If you need to put the tile yourself, then in addition to the correctness of the horizontal levels, you will need to peek at the selection of the picture.
| | |
The latest intricate way of installing a tiled floor is laying with a shift in this way:
| | |
Rules for laying tiles on the floor
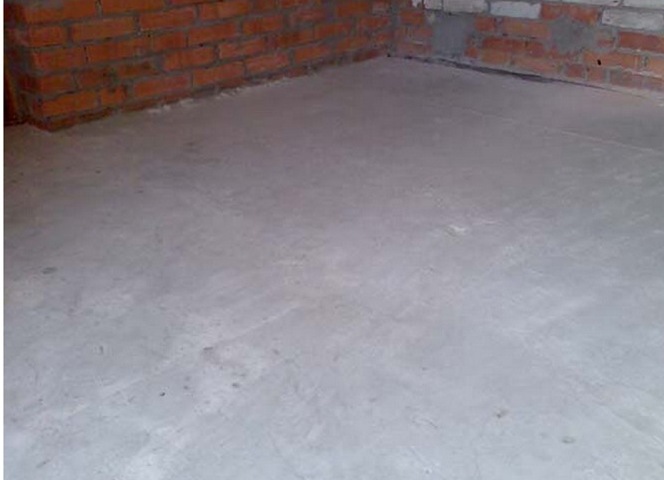
Masonry tiles will be the harder, the worse the floor itself. To ensure that the adhesive layer and material consumption are minimal, the floor must be flat. Cement-sand screed will help eliminate all irregularities and swings. So, something like this should look like the base:
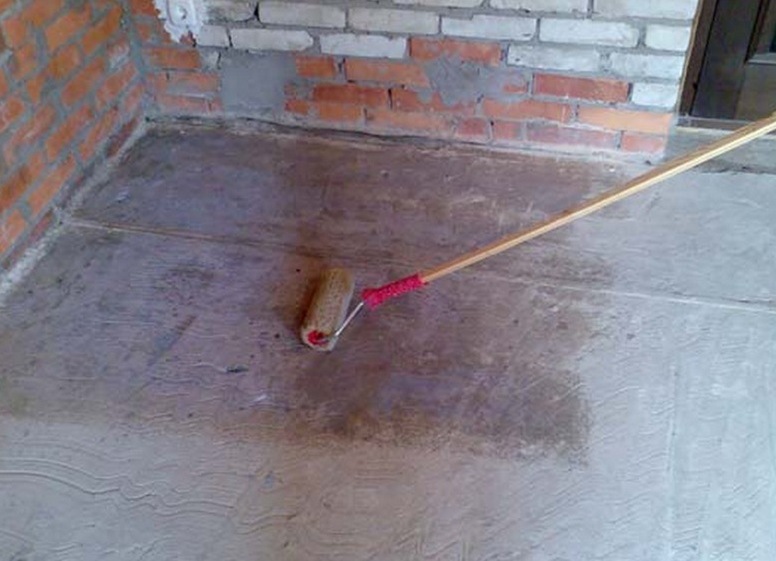
The simplest method of laying for a beginner is "seam in the seam". We proceed to the basic works.
- Cement-sand screed treated with a primer.
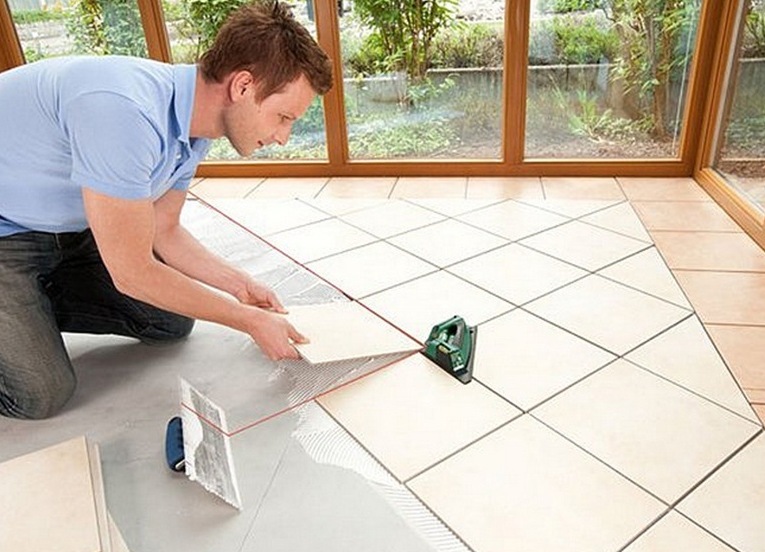
- Some time will take the marking of the territory. Try to keep the minimum of edged parts visible, observe symmetry if necessary. When the preparation of the floor for laying the tiles is ready, proceed to the kneading of the adhesive composition. Observe the proportions indicated on the glue pack. The mixture should not consist of lumps. Using a perforator and a special nozzle, prepare a small amount of solution, since it hardens quickly enough.
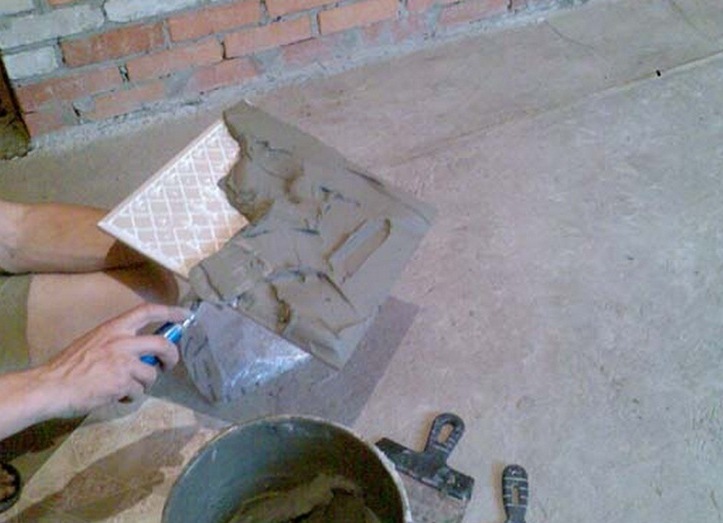
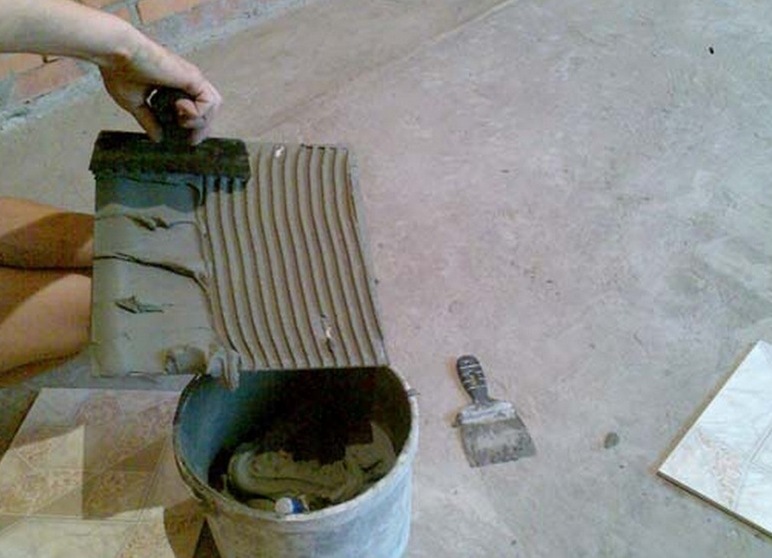
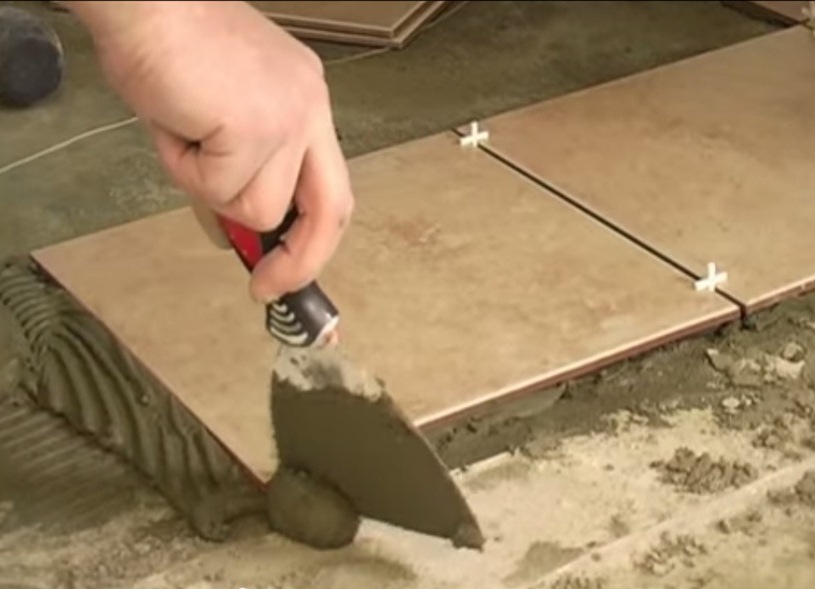
- A smooth and toothed spatula will be applied to the floor and the tile itself.
- The layer should not be thick. Apply glue to the floor in the area of one tile.
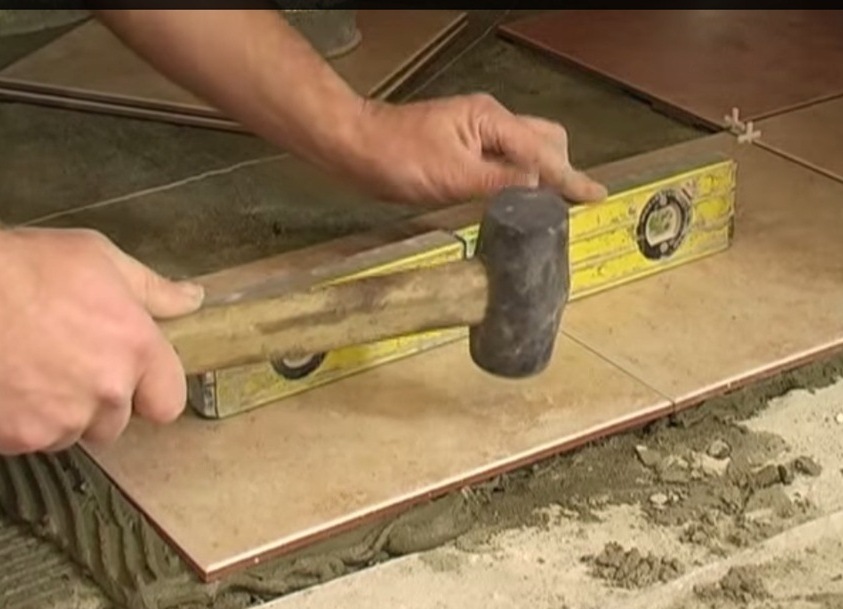
- Correct and compact the base with a rubberized hammer by tapping.
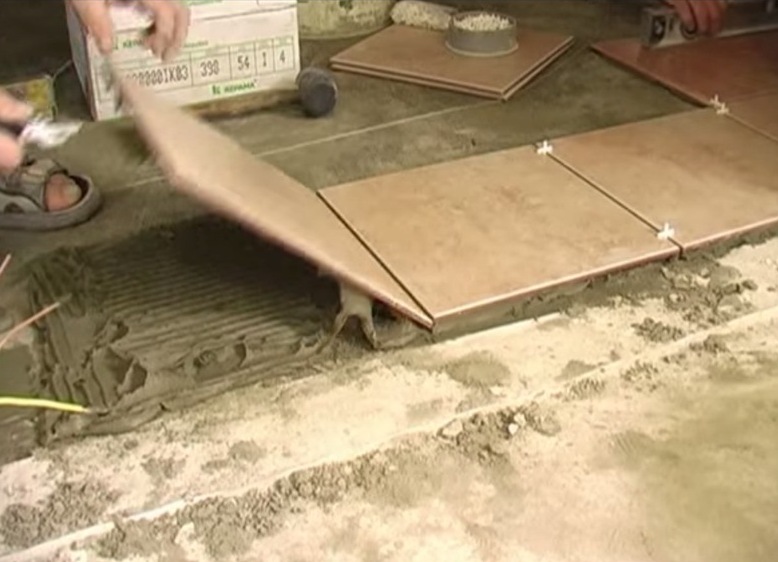
- Excess glue is removed, stitches are placed in the seam.
- For cutting, a tile cutter is used - a very easy to use tool. When the masonry is finished, after a few days it will be necessary to fill the seams with a special grout and rubber spatula. Preliminarily remove the crosses.
- Attach the skirting board and the new floor is ready.
| | |
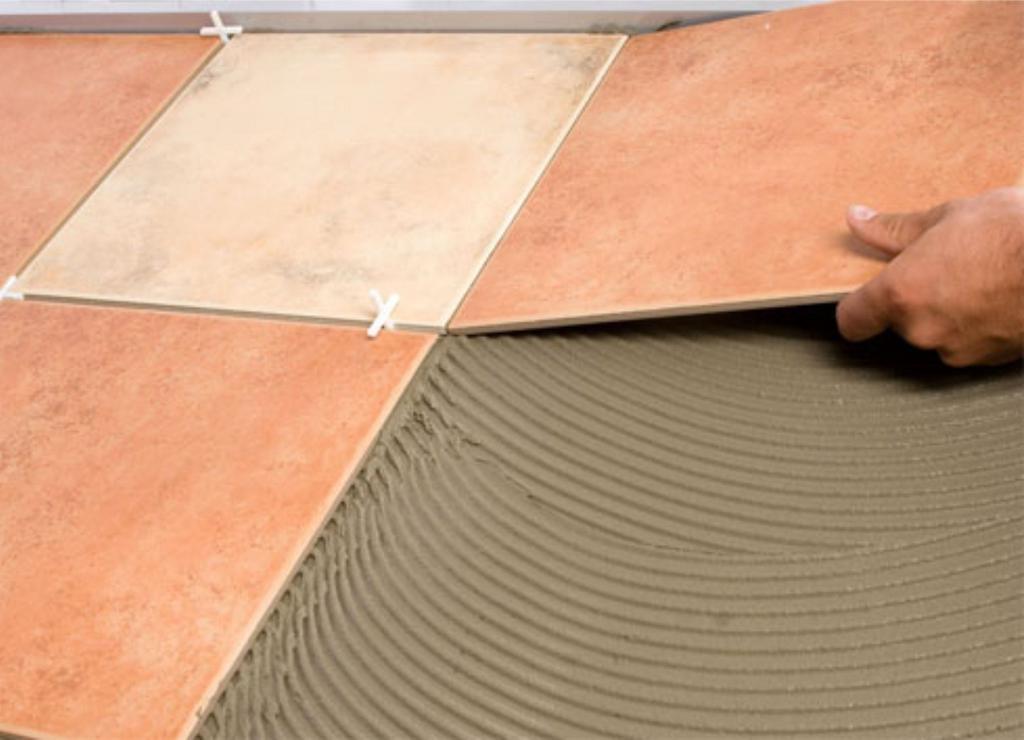
The notched trowel makes furrows along the area of application of glue, which is a mandatory requirement during tile works.
| | |
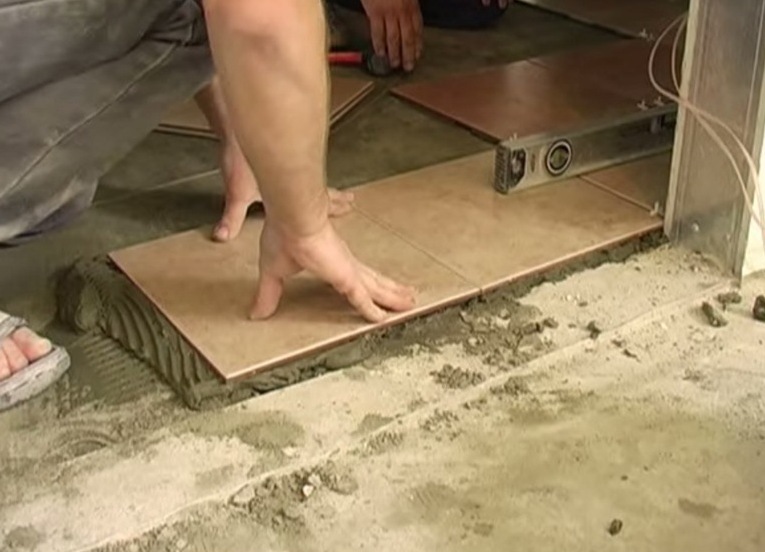
Put the tile, press it down.
Do not forget to check the leveling of the surface level.
If the level is far from the required parameters, remove the last tile, add or remove unnecessary glue.