With the appearance of a small fluffy kitten in your house, a lot of problems arise: what and from what to feed it, how to equip its toilet, where it will sleep. Very often the owners agree that for a dream the cat chose their bed. But after all it is not absolutely hygienic: the kitten, having collected a dust under a sofa, climbs on clean sheets! In addition, the cat can get a night's work in the closet with things or in some kind of box.
Therefore, it is better to immediately teach the kitten to his permanent place. It can be a special house, bought in the store. But it is quite expensive. But to make a lounger for a cat with their own hands is not at all expensive and not difficult. We present to your attention a master class, how to sew a lounger for cats with your own hands.
How to make a lounger for a cat with their own hands?
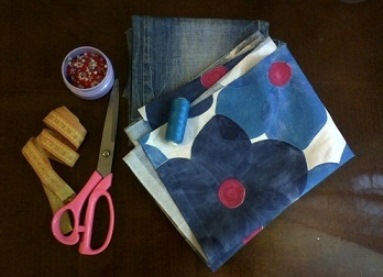
To sew a lounger for a cat, we need the following materials:
- fabric for warp;
- strong jeans fabric for the bottom;
- filler in the form of sintepon, hollofaybera, komforelya;
- centimeter;
- scissors;
- thread with a needle;
- sewing machine .
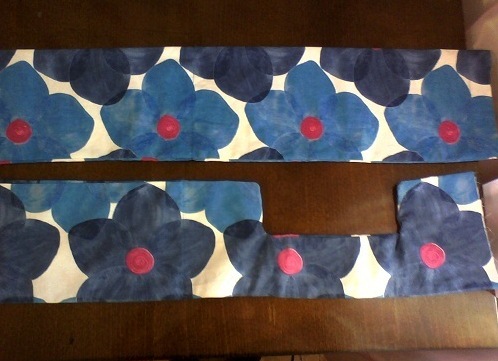
- The size of the lounger is chosen individually for your cat. In our example, the base has the following dimensions: length 55 cm, width 45 cm and height 15 cm. A pillow will be inserted inside the lounger, the dimensions of which are 35x45 cm. We will sew the pillow separately, since in this case it will be easier to take care of - just wash it in the washing machine. We paint the base for the cat's lounger. To do this, cut two strips of fabric 110 cm long and 15 cm wide. In one strip, make a ledge - this will be the entrance to the cat's house. For each detail of the lounger, we make allowances of 5 cm. We strip the strips from the inside. If the fabric is heavily streaked, it is possible to treat its edges with a zig-zag seam. We turn the product on the front side. On the front part we spread the dividers of the sides of the lounger.
- Now we put the filler in the base of the lounger, in this case it is sintepon. It is necessary to fill the strips very tightly, as this will be the support of the whole lounger for the cat. As a filler, it is possible to use a foam of the required thickness.
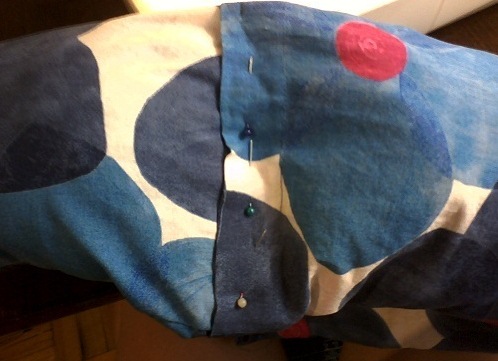
- The parts of the base of the cat's house must be joined together. Now we will use those allowances that we left when cutting the parts. Due to them we will connect the parts of the base. First, we fix the parts of the product with pins.
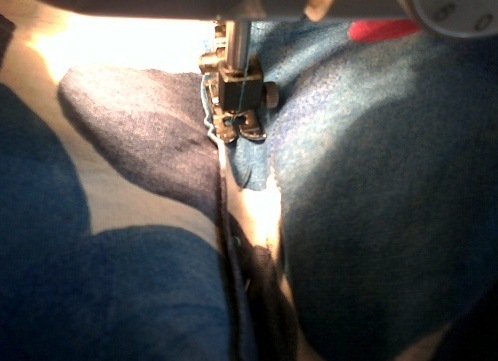
- With the help of a sewing machine, we need to stitch the product. To do this, lifting the machine's high presser foot, lay the middle of the base underneath it, make a line and carefully take out the cloth. Similarly, we also draw the base on the other side.
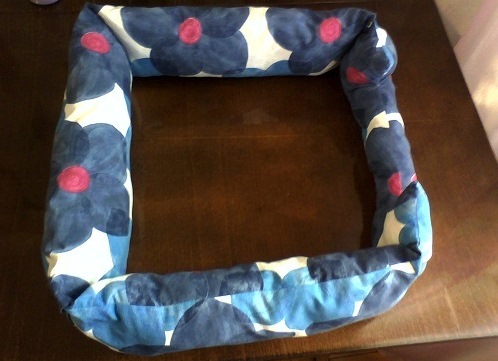
- That's what happened to us the basis for the lap of our kitty.
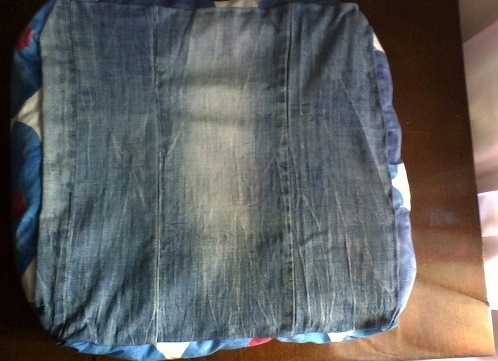
- Now we need to sew a dense fabric to the bottom of the lounger for greater stability of the product. For this, you can use, for example, pieces from old jeans or skirts, or any other durable fabric. Our bottom will measure 45x55 cm. It is sewn to the base by hand, with hidden stitches. Threads are better to choose suitable for the main tone of the fabric. In order for the product to be strong, you can lay another row of stitches along the first.
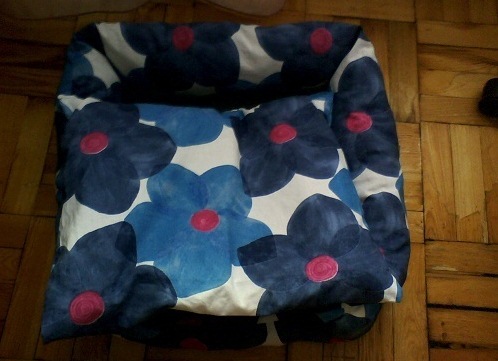
- It remains for us to sew a pillow, which will be put in a lounger for a cat. For this, we sew a pillowcase, measuring 35x45 cm. We fill it with sintepon or another filler. But in this case, the filler should not be much: let the pillow be soft. It remains to stiffen the pillow filled.
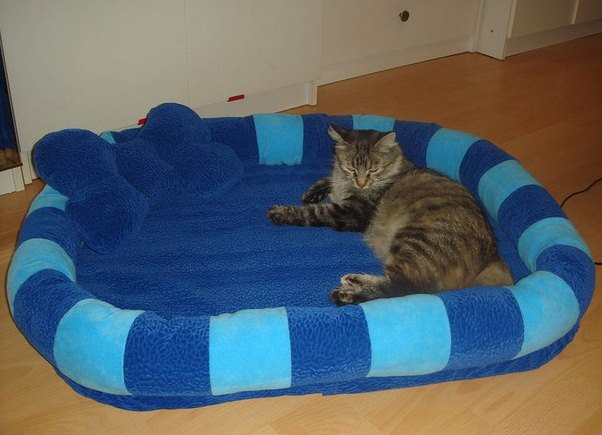
- We put it in a lounger and a place for resting your pet is ready.
As you can see, making a lounger for a cat with your own hands is not difficult, and it will take a little time. But your cat, having chosen this place, will be happy to rest in such a cozy and soft sunbed.