In summer, during a period of intense heat, one of the most popular purchases is a fan, which in theory should present the long-awaited coolness in the apartment. And after you select it in the store and purchase, you will have to collect it yourself, but the instructions for collecting the fan attached to it do not always help.
In this article on the example of a floor fan company "Scarlet", we'll tell you how you can collect it.
How to assemble a fan - instruction
How to assemble the bottom of the fan?
- We take out the parts for the lower fastening from the packing box.
- We insert one long crossbar into the second one and tighten 4 bolts.
- We put a decorative cap on the bottom of the rack, and put the caps in the ends of the crossbeams. So that they do not jump out, they can be put on a superglue or a little squeeze the grooves where they go. Then pull out the metal tube and fix it with a plastic nut. The height is chosen arbitrarily, depending on your needs.
| | |
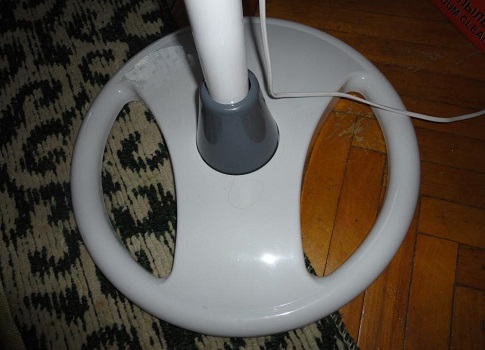
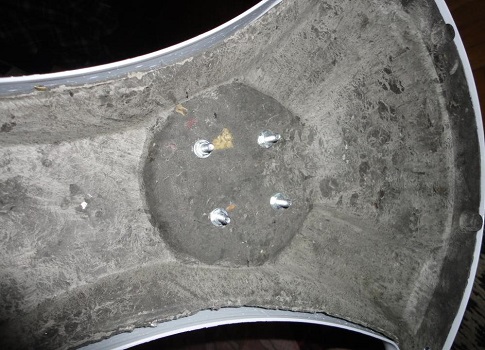
There is another type of rack - in the form of a disk, which consists of heavy dark plastic and light white, which are fastened together with 4 bolts and nuts.
| | |
How do I assemble the top of the fan?
- We remove the remaining parts from the box for the upper block.
- On the front grille, attach the manufacturer's label to the three small bolts. If this is not done, then this will not affect the fan performance in any way.
- Take the rear grille of the fan and attach it to the engine compartment. Be sure to make sure that the pins are in the slots for them. And then tighten them with a plastic nut. It is tightened very tight, so it will be necessary to make efforts.
- On the rotor of the motor we impose blades (impeller). We must make sure that the groove coincides with the rotor pin. The securing nut is screwed against the clockwise direction.
- We put the front grille of the fan and fix it with four fasteners located on top, bottom and sides of the engine block.
- We insert the motor block into the pipe and tighten the stop screw at the junction.
The floor fan is ready to work!
In order not to cause any misunderstandings after the collection of the fan, it is necessary to check the operation of the motor unit and the completeness of the assembly in the shop, otherwise you will not be able to completely assemble the entire structure.