The Great Patriotic War is that page of our history that can not be ignored. For the peaceful sky, for bread on the table, we owe our grandfathers and great-grandfathers, who, sparing no loss of their lives, fought with the fierce enemy for the sake of the happy future of their children.
As a sign of eternal memory and respect in our country, it is customary to give flowers and postcards to veterans, thematic drawings made by small children's handles. Such masterpieces are more expensive than any awards, because they testify that even babies know and are proud of the exploits of their ancestors. Today we will tell you how and what drawings for children about the war can be drawn on the eve of the great holiday of May 9 or simply to consolidate the acquired knowledge from the history lesson.
So, we offer your attention a master class, how to stage the Patriotic War for children in pencil step by step.
Example 1
In boys, the war is invariably associated with military equipment and aviation. Tanks, helicopters, airplanes, miscellaneous weapons are all those achievements of scientific progress, without which the victory would have gotten to us even more. Therefore, we will begin our first lesson on drawings for the war (1941-1945) for children, with a detailed description of how to stage the tank in stages.
The first step is to prepare everything you need: simple and colored pencils, an eraser and a blank sheet of paper.
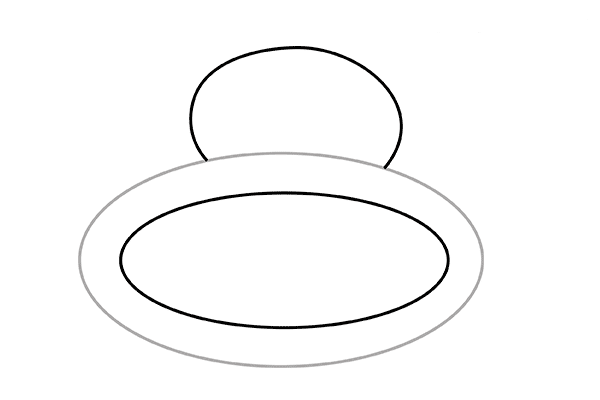
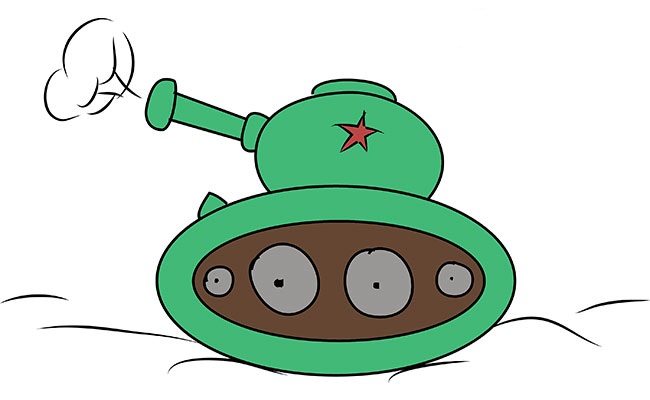
- Now proceed. First, draw a large oval at the bottom of the sheet.
- After that, add another oval smaller inside the large one and draw the tower.
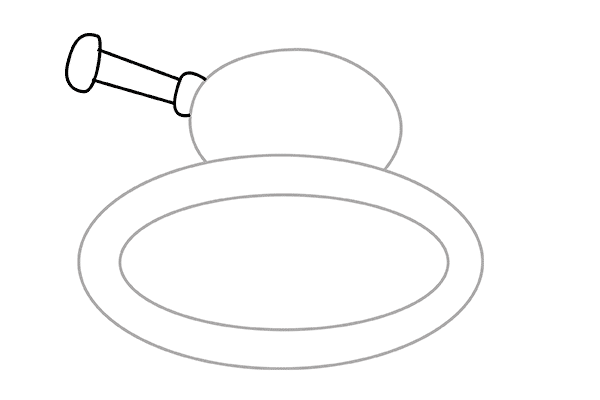
- Our next step is a gun.
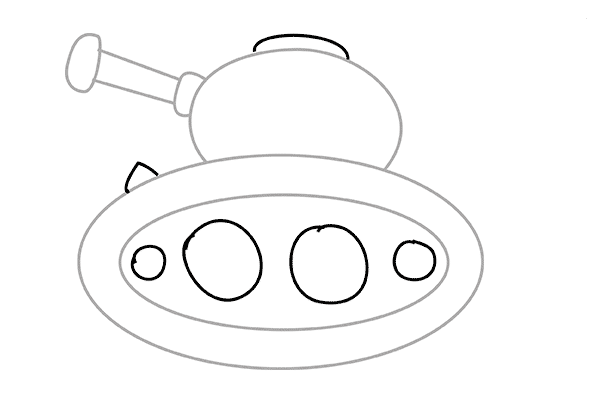
- Then draw the wheels, the lantern needed for military operations at night, and the hatch.
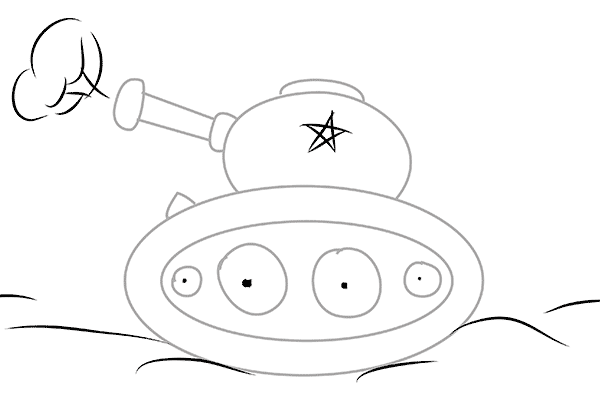
- Add details: the Soviet star and smoke after the shot.
- That's actually we figured out how to stage in stages one of the simplest drawings about the war for children in pencil, it remains to decorate our sketch in the traditional palette.
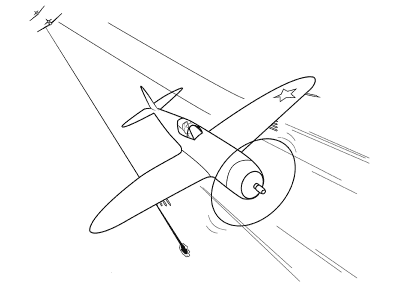
Continuing to improve their skills, we will draw a military aircraft:
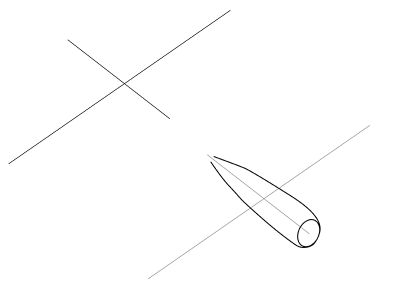
- First, we draw the auxiliary lines and the main contours of the hull.
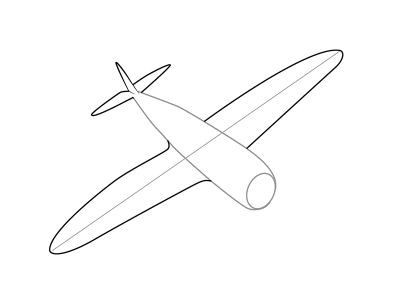
- Then we draw the wings and tail.
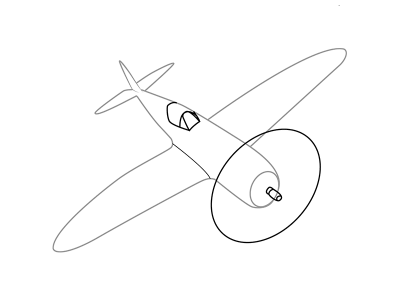
- Next, add the cockpit and the propeller.
- For plausibility draw a silhouette of the pilot, a star, guns under the wings and in the distance two attacking aircraft.
- Now we decorate the creation, and we can assume that our masterpiece is ready.
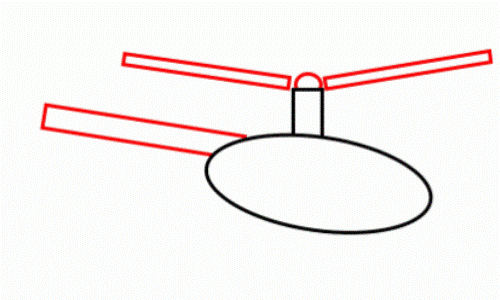
- For complete combat equipment, we do not have enough of a helicopter:
- In the middle of the sheet a simple pencil draws a large oval, it will be the body of the fuselage, auxiliary lines for the tail and a screw.
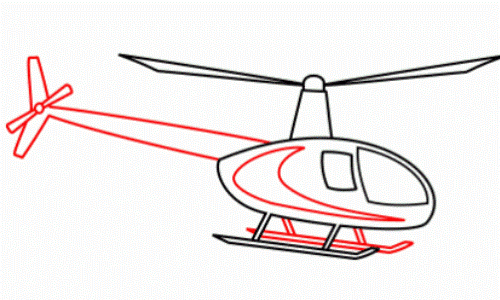
- Now let's do a tail drawing, add runners, cab windows and small details on the body for realism.
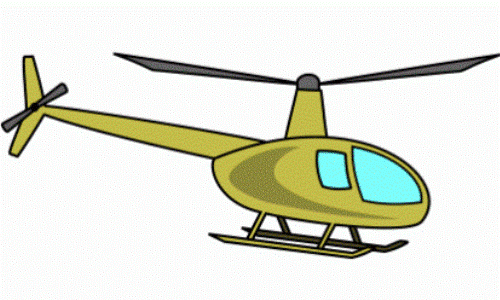
- Then decorate our helicopter.
Example 2
Of course, the drawing of military equipment to small princesses may not like it. Therefore for them we have prepared some drawings that can be used as a greeting card:
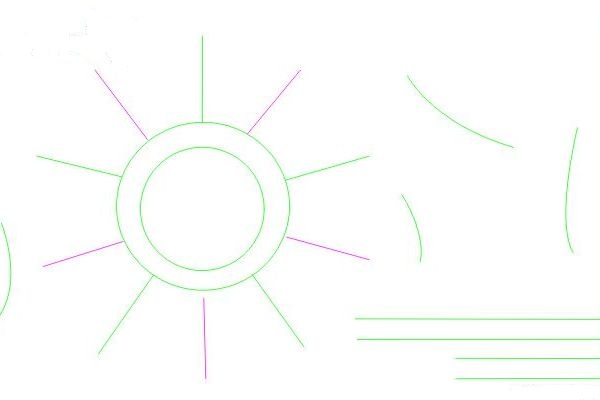
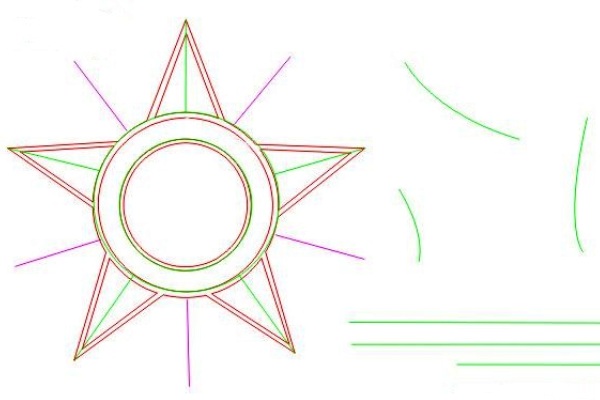
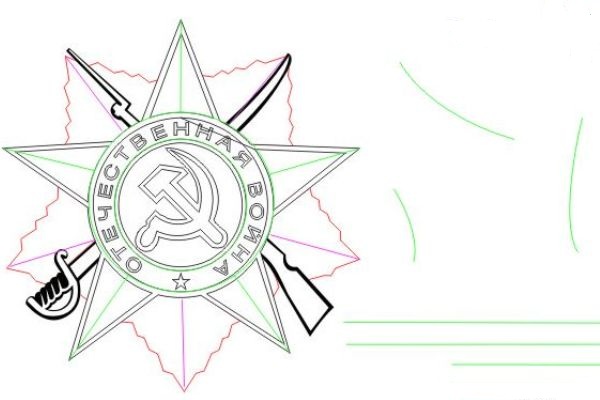
- Again, the first thing we do is draw auxiliary lines.
- Now we begin to draw the main contours and small details of the basis of the composition - the stars.
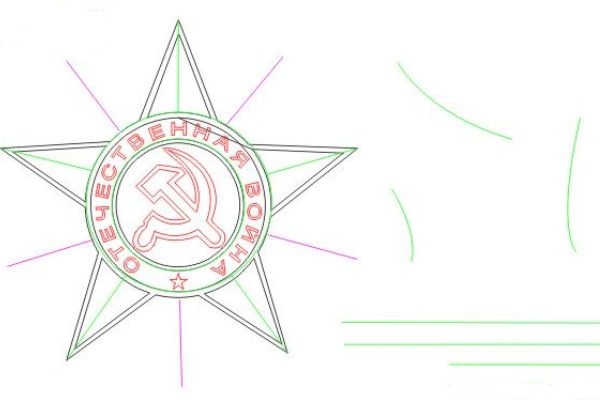
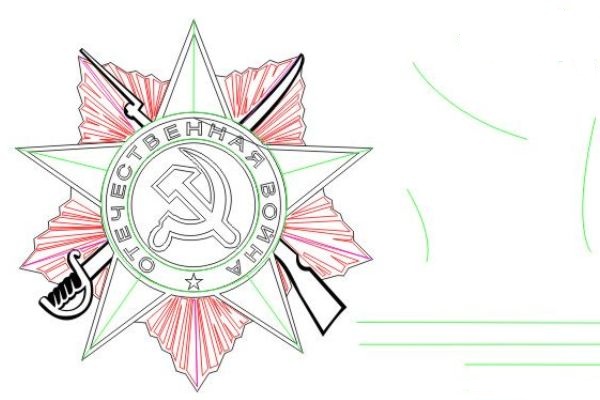
- Next, look carefully at the picture and write in capital letters "DOMESTIC WAR", we add Soviet symbols - a hammer and sickle.
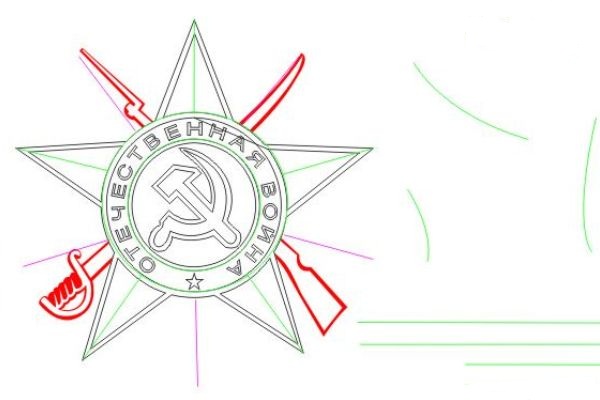
- We finish the sword and the machine, as shown in the picture.
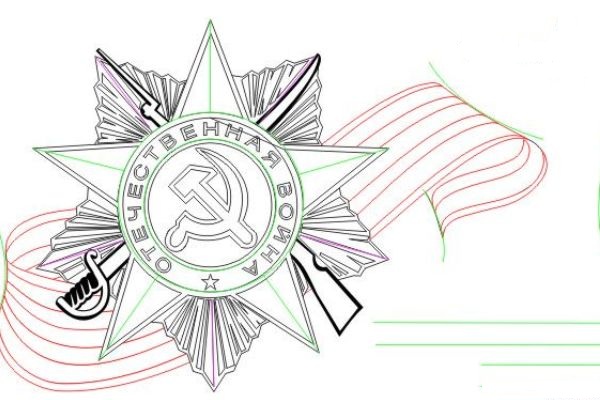
- Now we can say that all the most difficult is behind, it remains to finish the second star in the background.
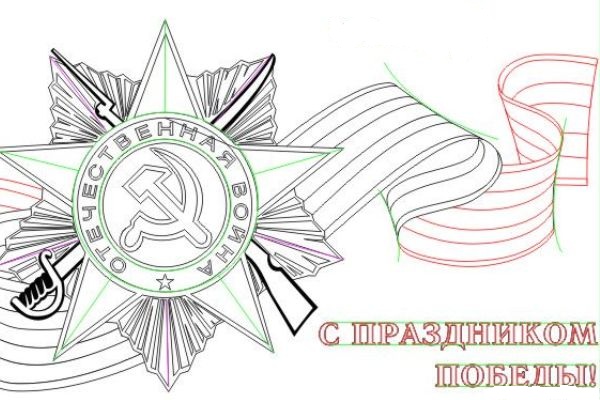
- Of course, you can not do without the traditional St. George ribbon and congratulatory inscription.
- In the end we wipe the auxiliary lines and decorate them.
| | |
| | |
As you can see, it's not difficult to draw such simple pictures about the war to a child, the main thing is to show a little bit of imagination and patience.