In many houses, the ceiling is a bunch of cracks, crumbling plaster, but not a decoration of the room. Sometimes it seems that the foam tiles look cheap and not aesthetically pleasing. But when the task is to update the room without much expense, then the correct and optimal solution will be the use of seamless slabs on the ceiling.
How to glue the ceiling tiles ? This occupation is not difficult and quite interesting. But before you start to self-adhesive the ceiling tile, let's talk about the material itself.
Ceiling tiles are thin polystyrene plates, mostly square format, 50x50 cm in size. Most often these tiles are seamless, having uneven edges that, when properly joined, form invisible connections. There are suture elements - with even cut edges.
Tiles can have a complex pattern, which, when glued, requires a pattern fit. With this option, a large amount of unused trimmed tiles remains. The ceiling tile, which has a simple repeating pattern, can be glued to one another on either side.
Sticker for ceiling tiles with your own hands - master class
Probably, everyone will agree that repair is not one of the cheapest pleasures. And if there is an opportunity to save something, then why not take advantage of this. Polyfoam tiles on the ceiling - one of the best options for finishing the surface. Today we will tell you how to glue ceiling tiles, and for example we show how to get a beautiful seamless ceiling.
- Before you glue the ceiling tiles, you need to prepare the surface. It must be brought into a dry, firm and flat state. Eliminate the ceiling from old wallpaper, paint, and also as much as possible level it. If the surface was previously covered with water-based paint , and it remained in excellent condition, gluing the tile can be done without additional preparation.
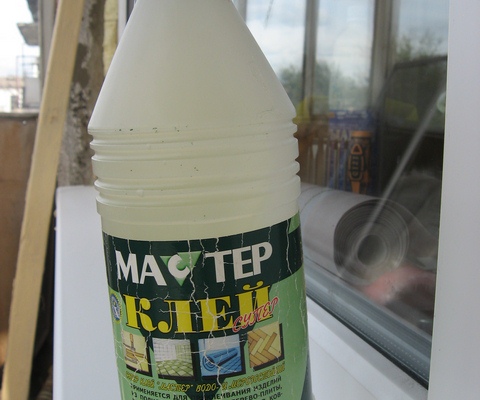
- Next, we recommend that you start calculating the required amount of material. Ceiling tiles have a standard format and dimensions of 50x50 cm. The package contains 8 pieces, i.e. it is enough for 2 square meters. Mastic is used to fix the tile to the surface. In a room of 12 square meters it is better to buy one container of mastic for ceiling works weighing 1.5 kg. And the ceiling skirting is best placed on the surface with the help of "Master-glue" or "Super-glue". From the tools - just a spatula.
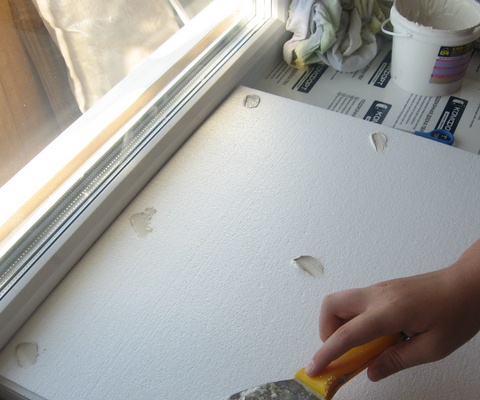
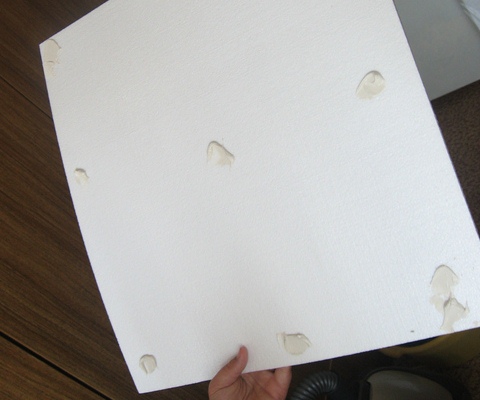
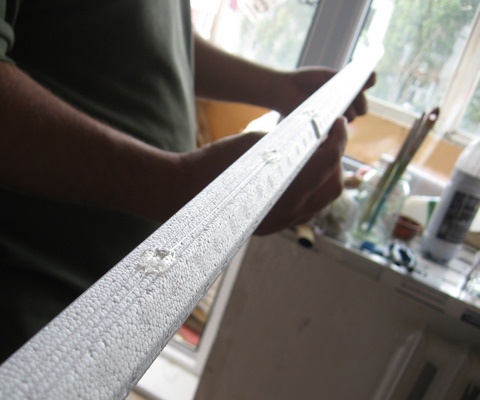
- On the tiles on the back side, apply the mastic in a dotted manner with a spatula - 9 points along the entire perimeter.
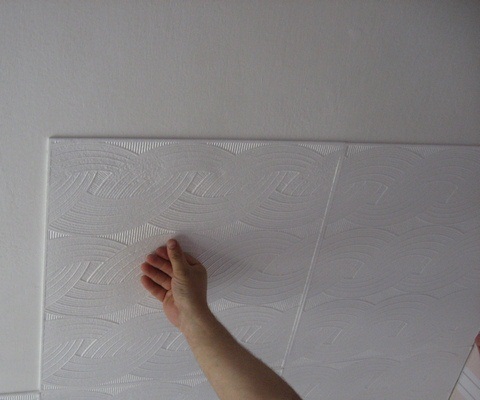
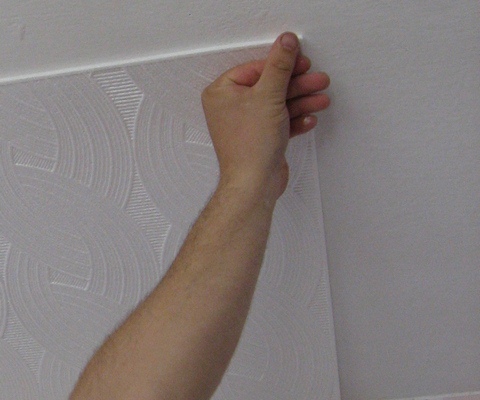
- Immediately after applying the mastic, apply the tile to the ceiling, and hold it for 3-4 minutes until it is completely fixed.
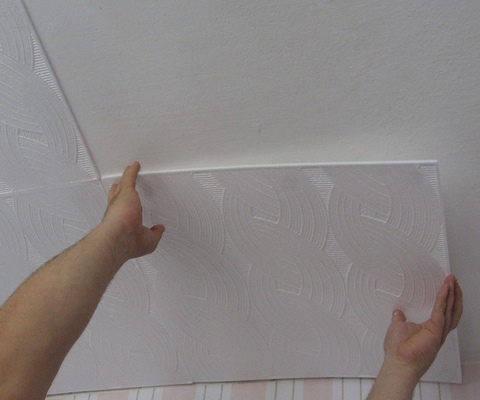
- In the same way, glue one after another the following elements. Tiles can be glued, starting from the middle of the ceiling, along the edges or diagonally. It depends only on your ability and desire.
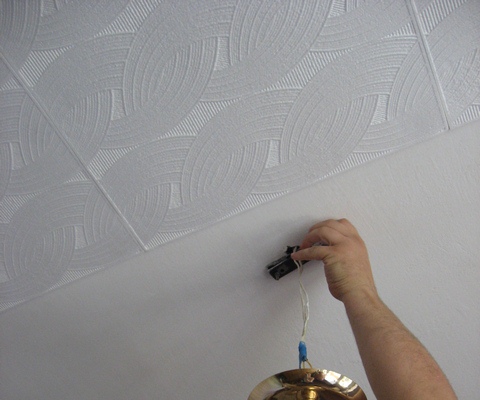
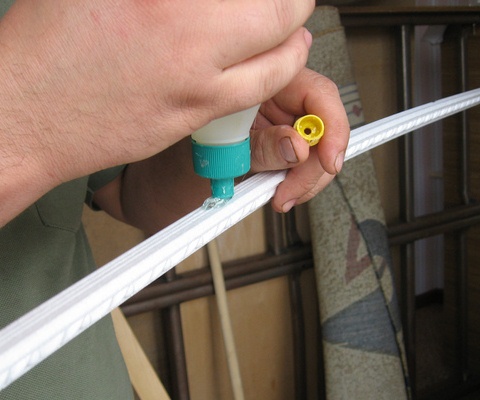
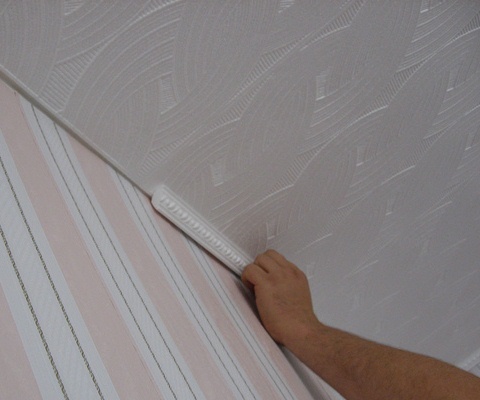
- Ceiling baseboard is fixed after the finishing of walls and glued ceiling tiles. Take the plinth and pin it on the glue. How to apply glue, on the top of the plinth or on the bottom, depends only on your desire. Some prefer to glue the ceiling skirting on the walls, and some on the tile.
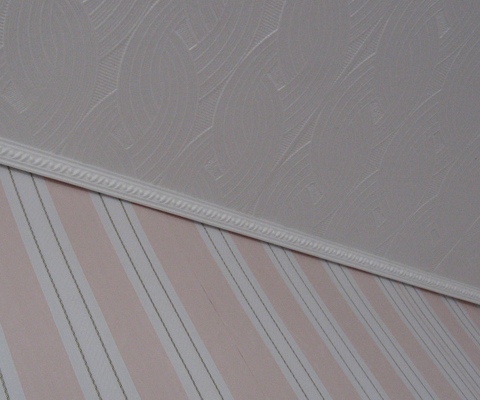
- Attach the skirting board to the surface, wait a few minutes. So, cover the entire ceiling along the perimeter.
When you finish all the works, you will notice that the room as a whole has acquired a new, clean and neat appearance. We hope that, thanks to this article, you have theoretically understood how to glue the ceiling tile, and will be satisfied with your practical result.