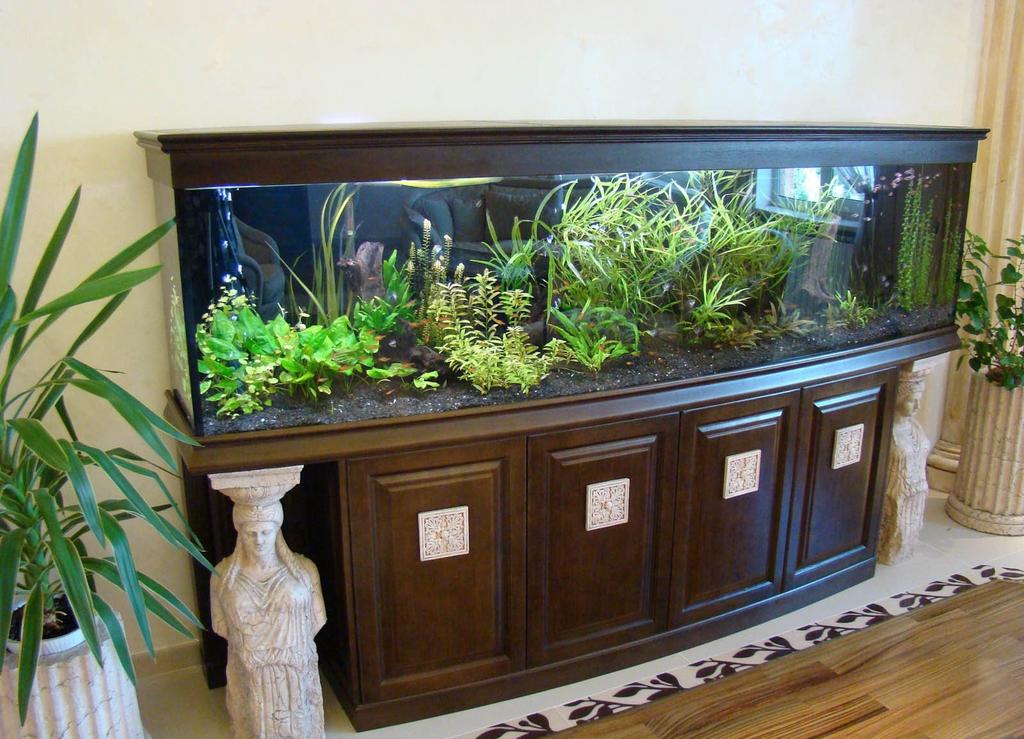
Many people dream of an aquarium, but not everyone can afford it for one reason or another. It happens that the niche in which the aquarium needs to be placed has a non-standard configuration, and it is not always possible to make an aquarium for an order. In any case, do not despair, because you can make an aquarium with your own hands. The work is quite painstaking, but with a great desire and skills to work with glass to glue the aquarium with their own hands, everyone can.
Selection of materials
Before you make an aquarium with your own hands, you need to purchase certain tools for work and the material itself. Manufacturing of an aquarium assumes presence of following components:
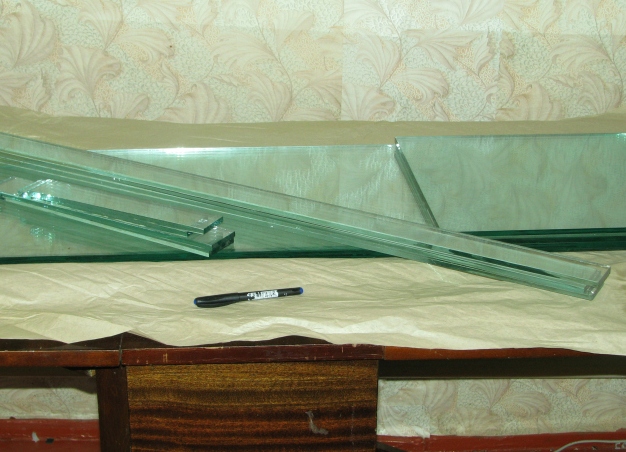
- Glass . For an aquarium, you need to buy glass grade M3. It can be purchased at any workshop / glass store. Using a specially designed table, determine the thickness of the glass. But before that, calculate the size of the future aquarium, focusing on the desired volume. After counting on the table, select the glass of the desired thickness.
- Cutting . Turning to the workshop, you will get more precise details, because they use not a glass cutter, but a special machine. Quality cuts in the future will affect the appearance and convenience of gluing. Often, the cutting of glasses is included in the cost of the material, so this service is better not to be neglected.
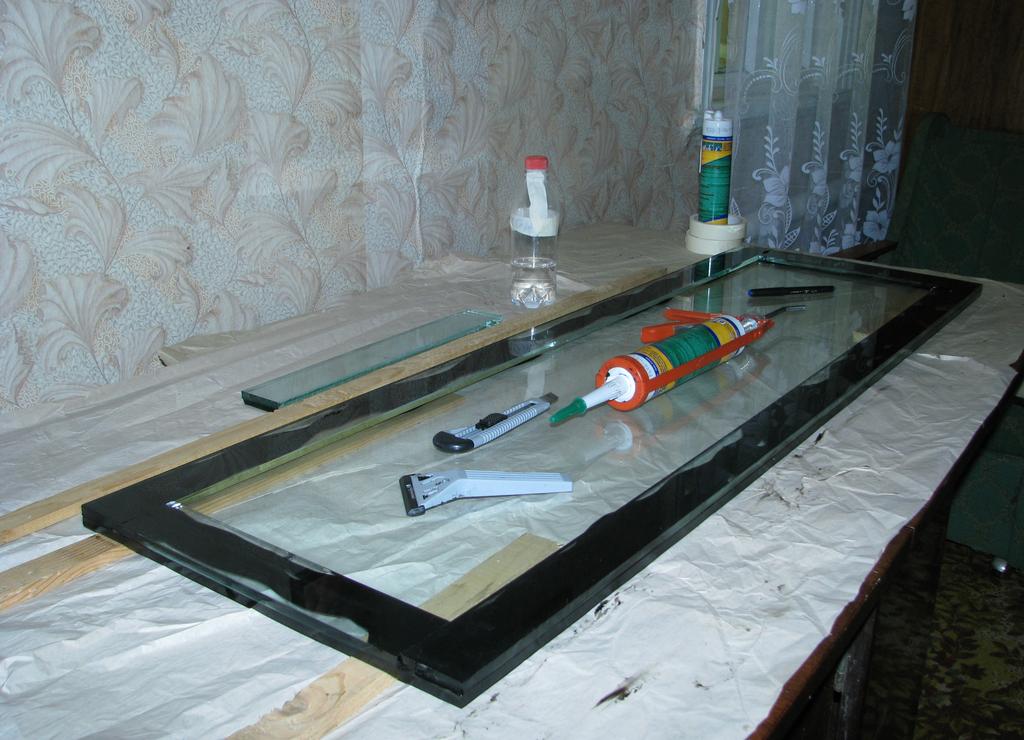
- Glue . For the aquarium use a silicone gel, consisting of 100% sealant. The adhesive can be black, light and transparent. Black is used for large aquariums, to emphasize the clarity of borders, white - to link with the interior of the room. For beginners, it is recommended to use a colorless sealant that hides gluing errors.
In addition, before starting work, you need to stock up on auxiliary tools:
- a syringe for 20 cubes;
- nazhdachka;
- degreaser;
- blade;
- napkins;
- Gun for glue.
We glue the aquarium with our own hands
After the glass is cut and a set of tools is prepared, you can start the arrangement of the aquarium with your own hands. This is done step by step:
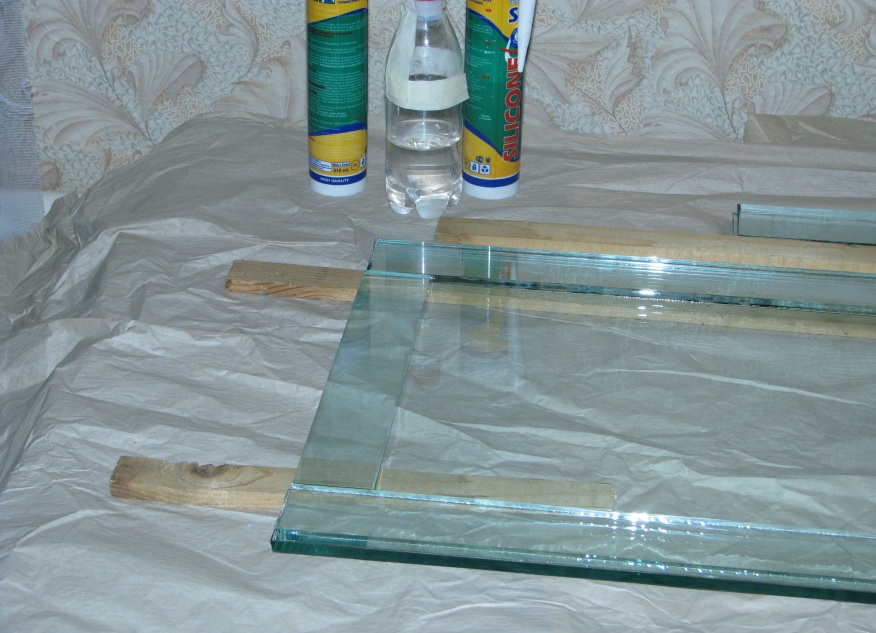
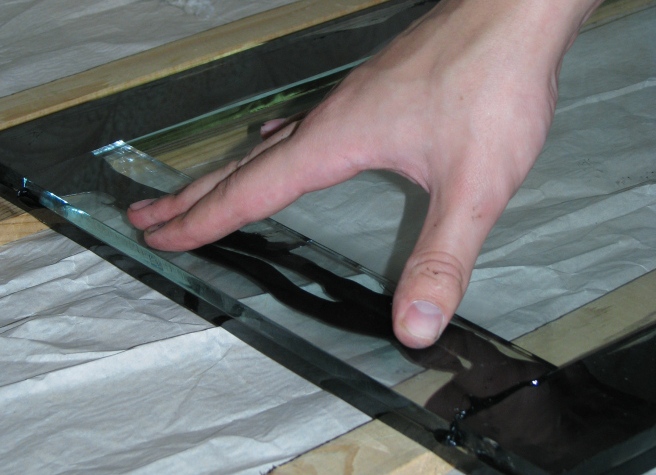
- Place the glass on a work surface pre-woven with paper / cloth.
- Place the floor glass on the slats. Try on the plates to strengthen the bottom. Degrease the place of adhesion with acetone.
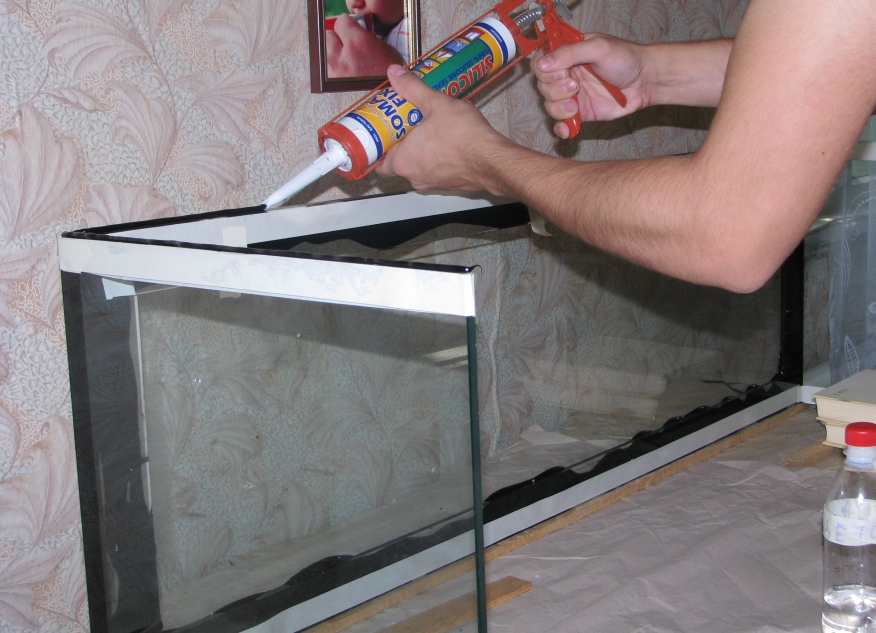
- Press the silicone onto the glass surface.
- Tightly attach the trays to each other. Silicone should be evenly distributed across the glass and its entire surface should be painted black.
- Wait 2-3 hours until the silicone freezes.
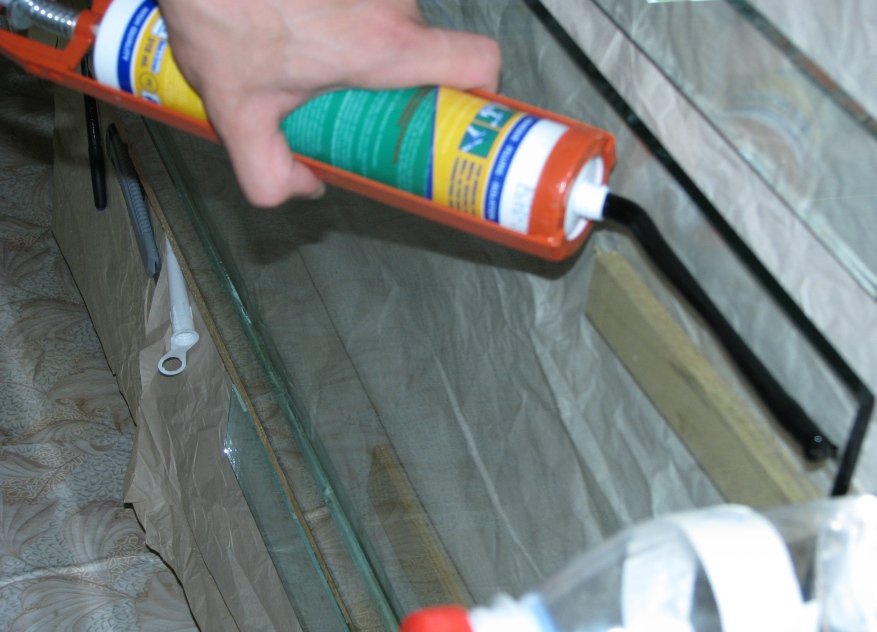
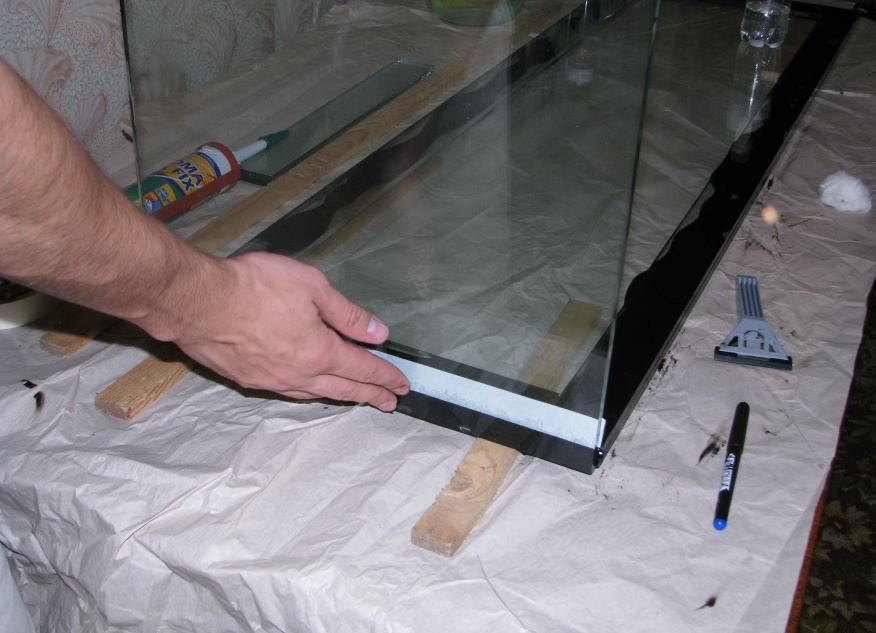
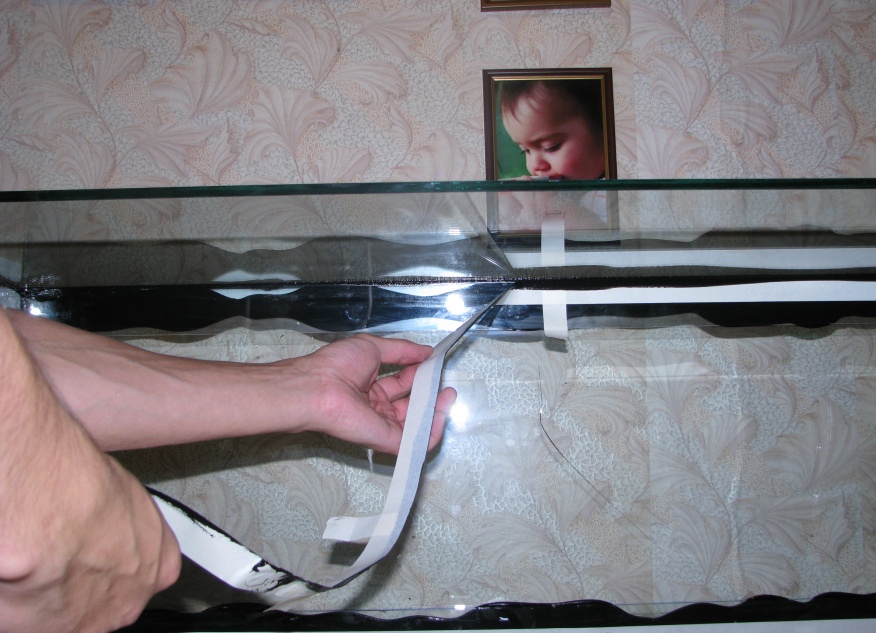
- Degrease the side windows and cover them with molar, having previously retreated from the edges of 2 cm.
- Slowly squeeze out the silicone onto the lateral edge of the bottom. Press down the side window and remove the remnants of silicone from the inside, moistening before it hands in a solution of soap. Remove the molar.
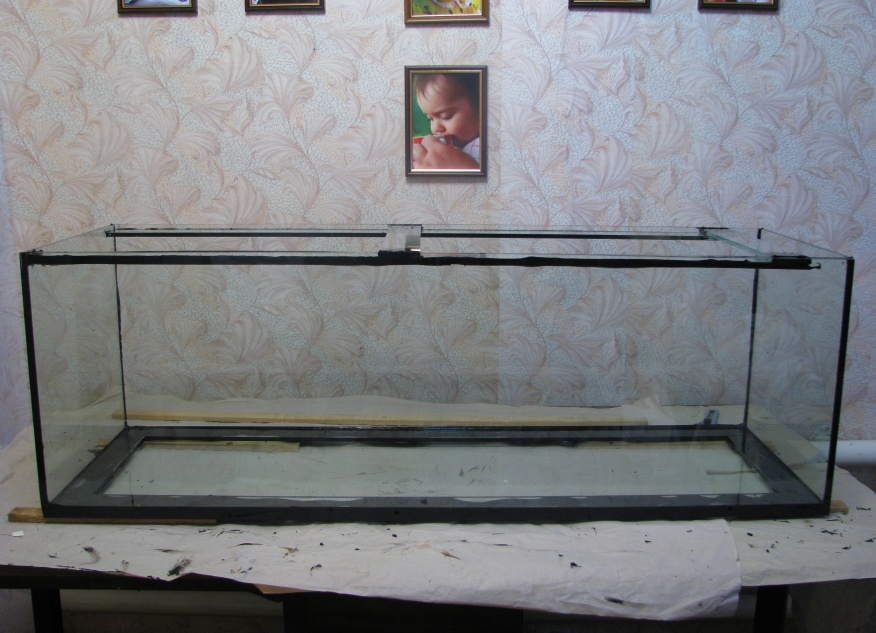
- Secure the glass. It does not matter at what angle it will be done - the main thing is that the glass should fail inward.
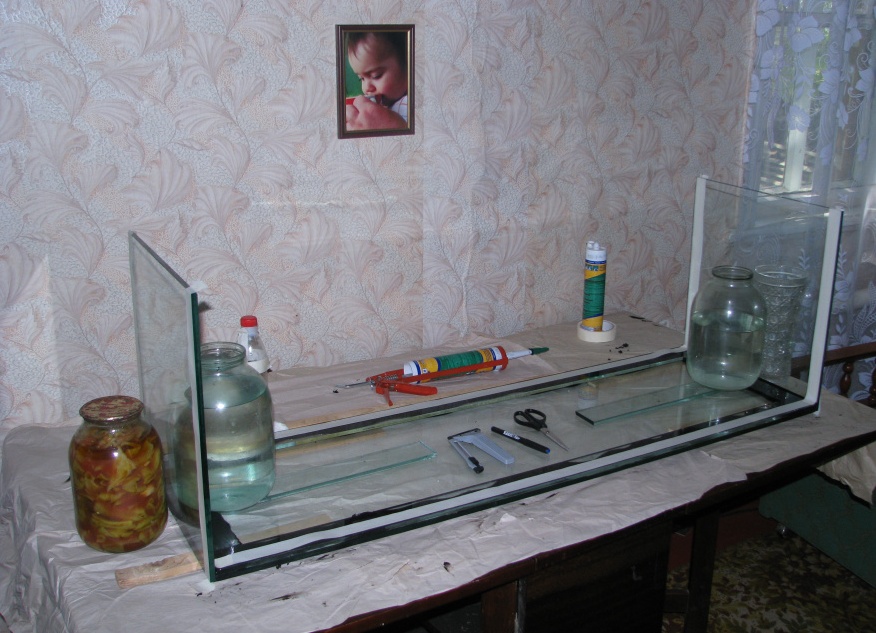
- In a day, you can glue the front glass, after having exposed the side windows under it. Paste the front glass with tape taking into account the thickness of the stack (+3 mm). Apply glue.
- Attach the glass and remove the inside of the silicone and paint.
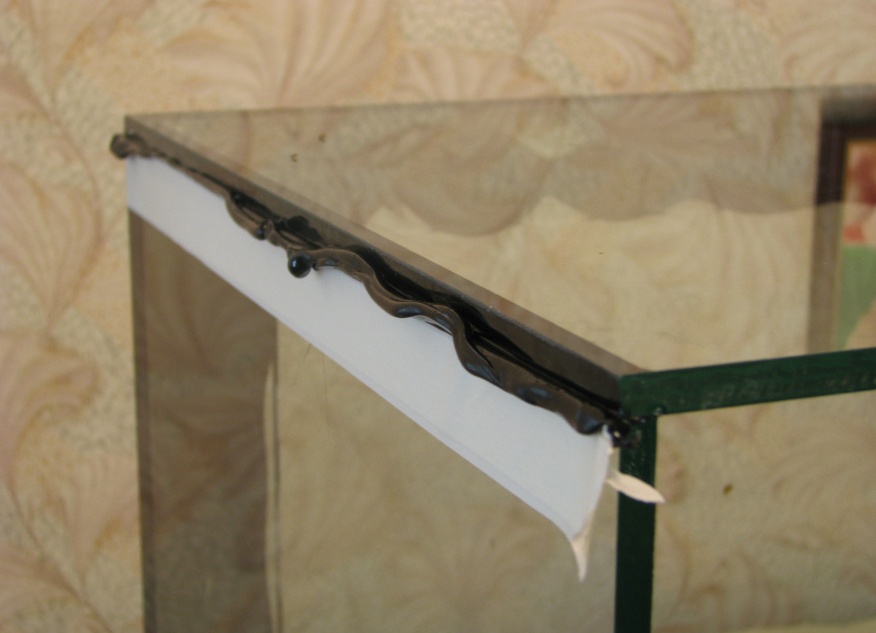
- On the outside, the silicone is removed after completely drying with a knife.
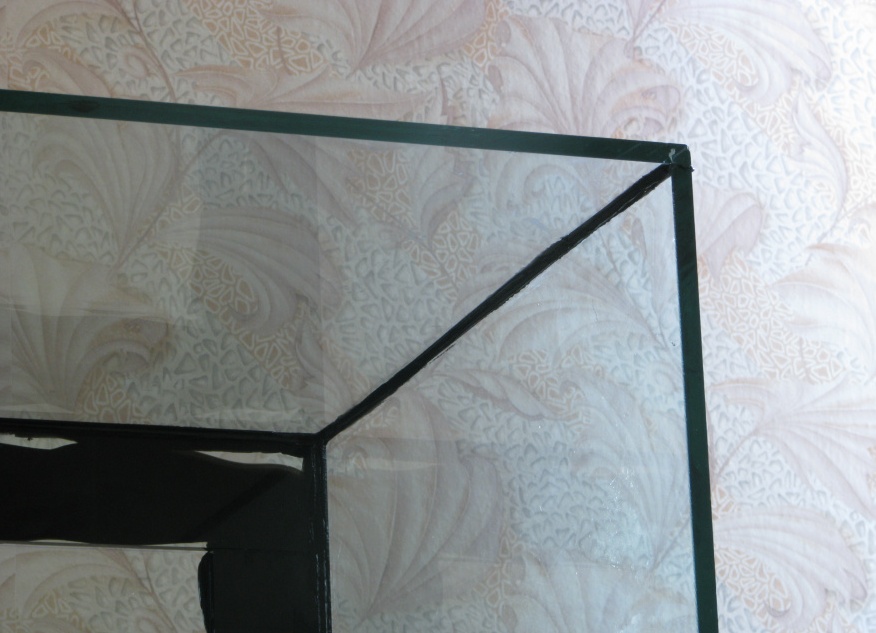
- There will be such a corner.
- After 12 hours you can turn the aquarium and glue the rear glass according to the example of the front glass.
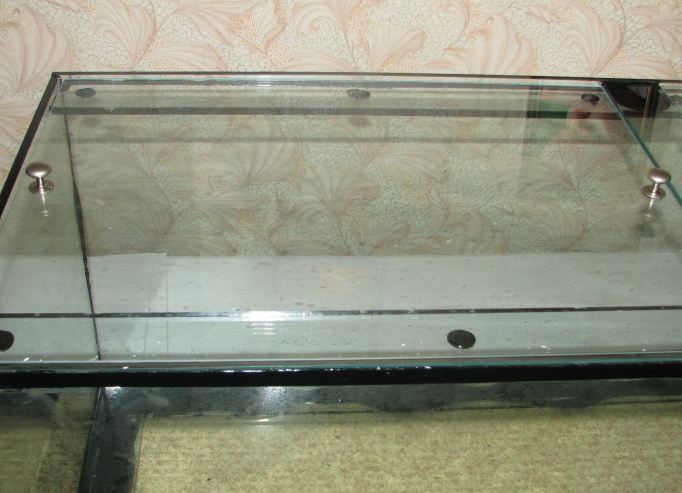
- It remains to attach the screeds and the aquarium is ready. In a week it will be possible to experience it.
As you can see, assembling an aquarium with your own hands is quite a simple matter. The main thing is to correctly calculate the sizes and choose high-quality glue. In everything else, you just need to follow the instructions for equipping the aquarium with your own hands.