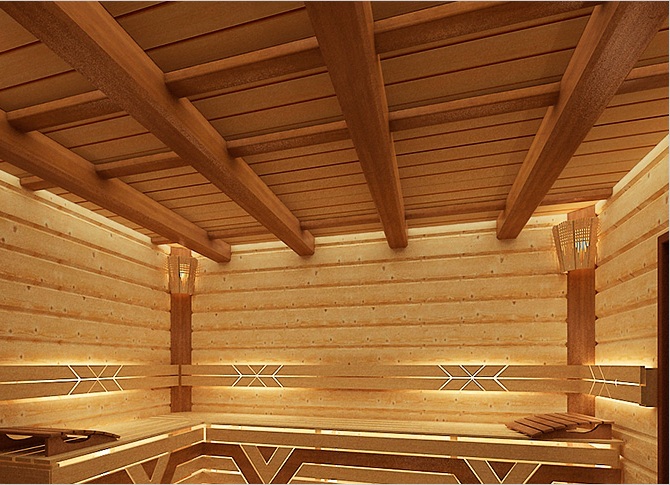
Proper insulation of the ceiling in the bath , made by themselves, will avoid heat loss and save money on fuel. In such a room, heat insulation is needed, as warm air rises, and it will allow to achieve maximum heat preservation in the absence of condensation.
Principle of thermal insulation
Regardless of the structure of the roof when the ceiling is insulated, the steam insulation of the bath is carried out. As such a layer, aluminum foil impregnated with linseed paper, waxed paper, polyethylene is used. Steam insulation is required to prevent the passage of moisture vapor and settling them in the insulating layer. Laying heat insulation material in a multi-layer system will prevent all kinds of leaks.
Of the materials for the insulation of the ceiling of the bath, mineral wool is often used. It consists of interlaced basalt fibers, there are many voids inside the material, which ensure heat retention. You can also use foam foam, clay, sawdust, expanded clay.
Insulate the ceiling of the bath can be combined - both from inside the room, and outside in the attic.
Warming of the ceiling of the bath
Consider one of the ways to insulate the ceiling in a bath with the help of mineral wool and foil. There are ready-made slabs with waterproofing or you can use mineral wool, and on top separately lay foil.
In this example, we use:
- heater minvata with foil coated;
- rails for the crate;
- gloves;
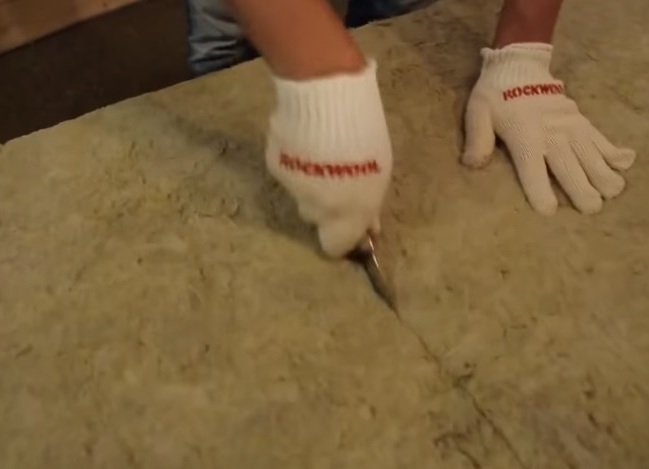
- knife;
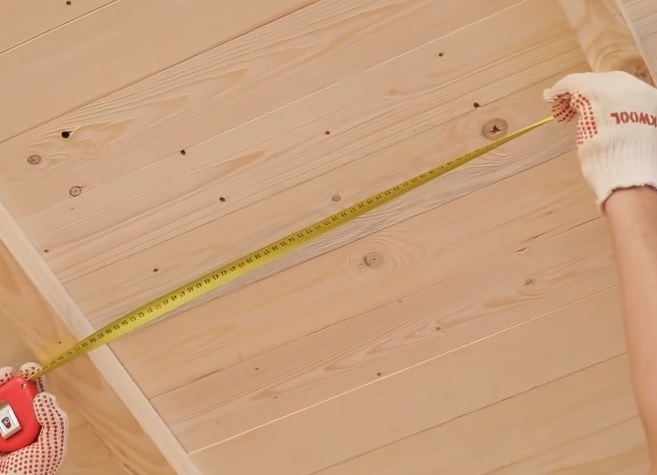
- roulette;
- drill;
- self-tapping screws;
- aluminum adhesive tape.
For external insulation, cardboard, polyethylene, sawdust, cement, water and trowel are used.
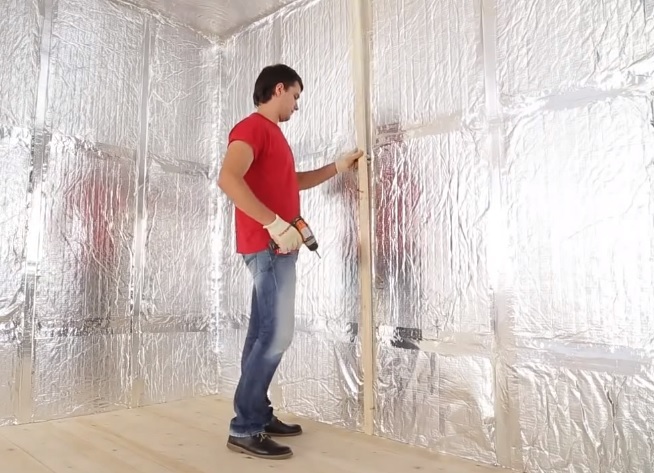
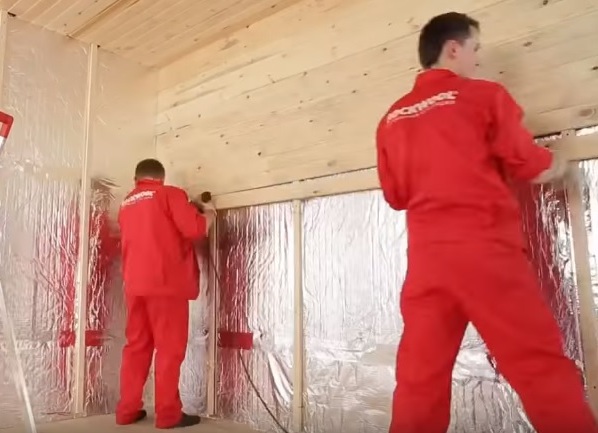
- First, guide rails with a width of 590 mm are attached to the ceiling inside the room. The structure of the frame for a heater with the use of different materials is almost identical. It is possible to treat the wood with antiseptic before the installation. Particular attention should be paid to the joints in the joints of the structure.
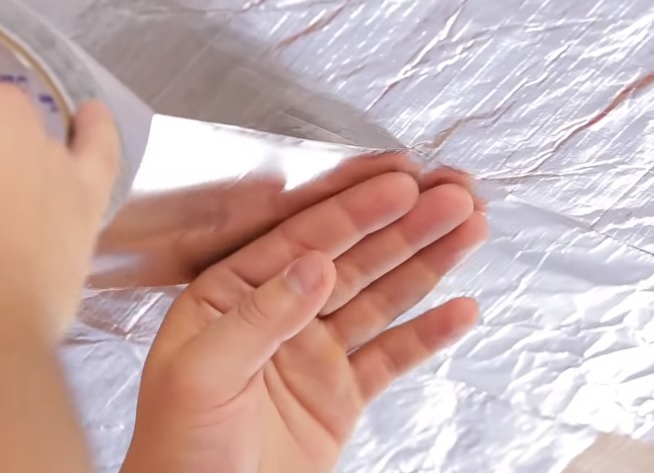
- Further, the insulation is insulated with special plates of mineral wool, covered with aluminum foil. Cut it with a conventional knife in gloves. The heater is installed in the frame to the frame and does not require mechanical fastening.
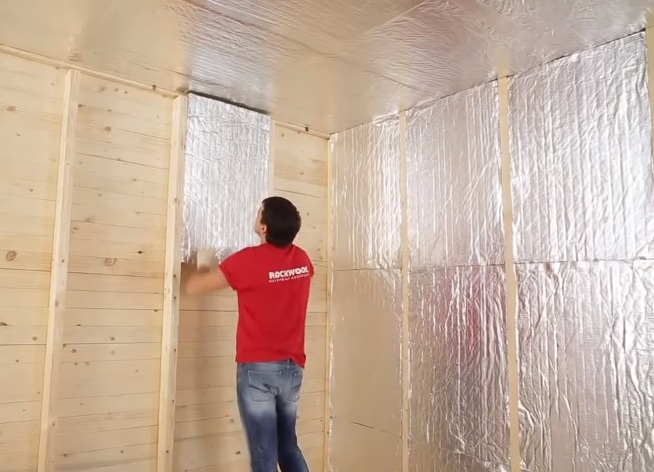
- Plates are installed with a foil side inside the room. It will reflect the heat and protect the insulation from getting wet.
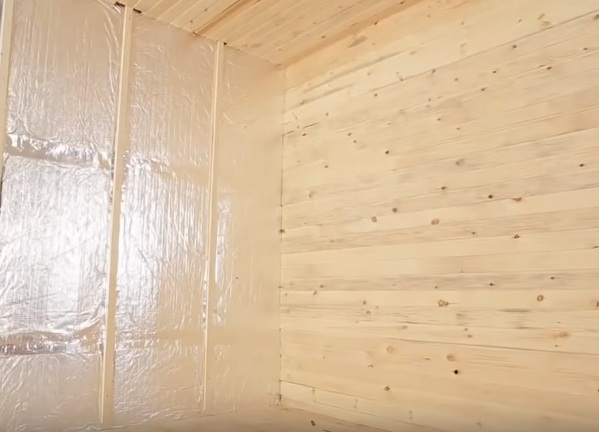
- After installing the plates in the frame, the seams and joints are glued with an aluminum adhesive tape.
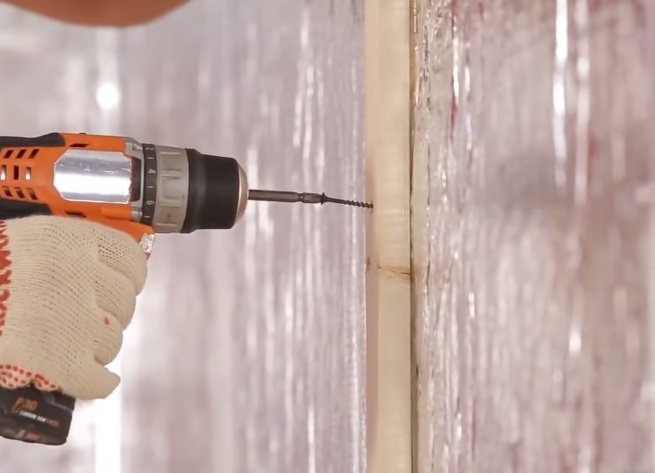
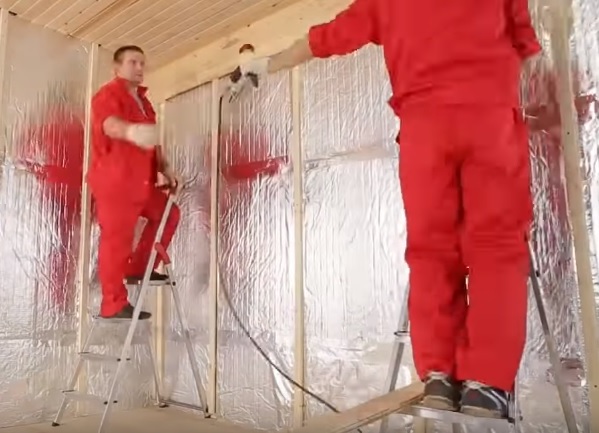
- After installing the insulation on the ceiling and walls, a crate is attached to create an air gap with the help of screws and drills.
- At the last stage the finishing finish is fixed with a lining, which is fastened to the lathing.
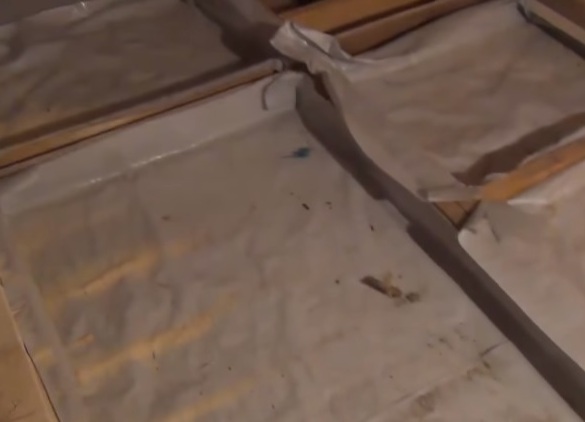
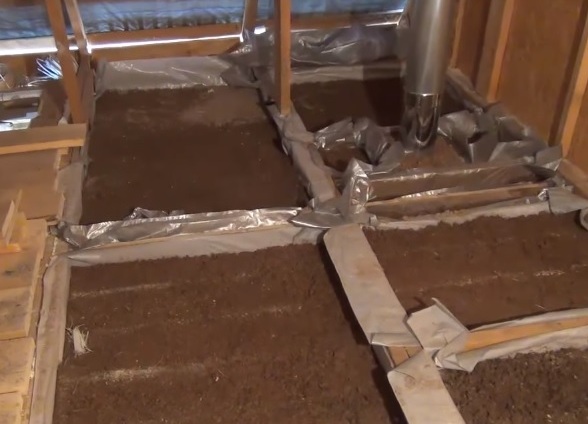
- If necessary, you can combine the internal and external insulation of the bath. On the attic side, sawdust is considered the cheapest material. On the crate can be put cardboard, on top - waterproofing made of polyethylene. They serve as additional protection of the insulation from moisture from the attic.
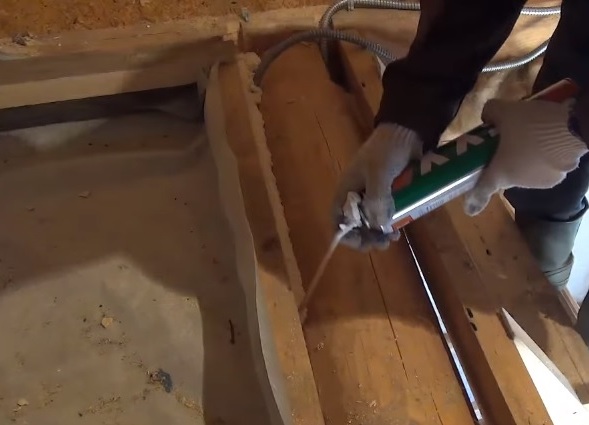
- Before the insulation, the gaps are covered with construction foam.
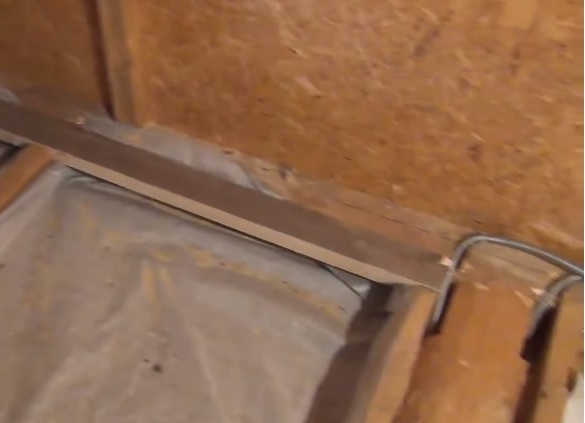
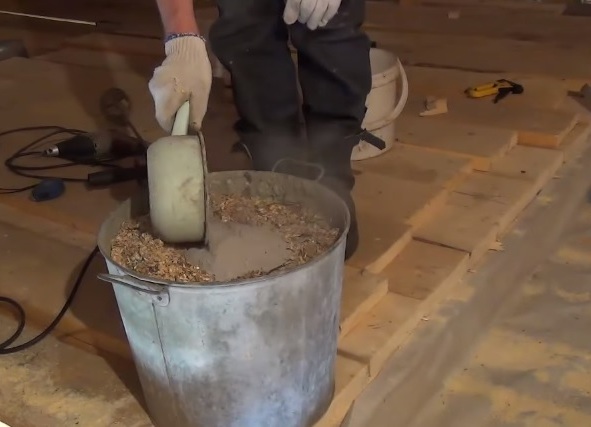
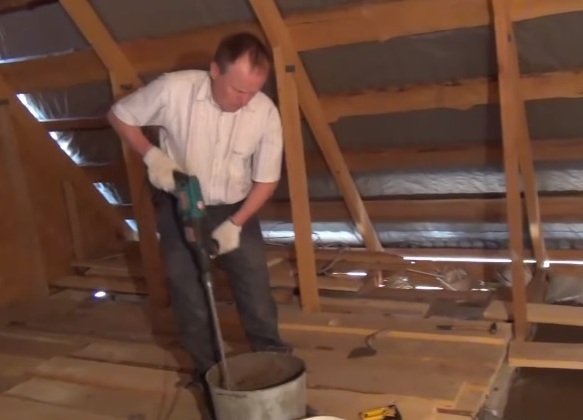
- The material is being prepared - a bucket of cement is put on a bucket of sawdust.
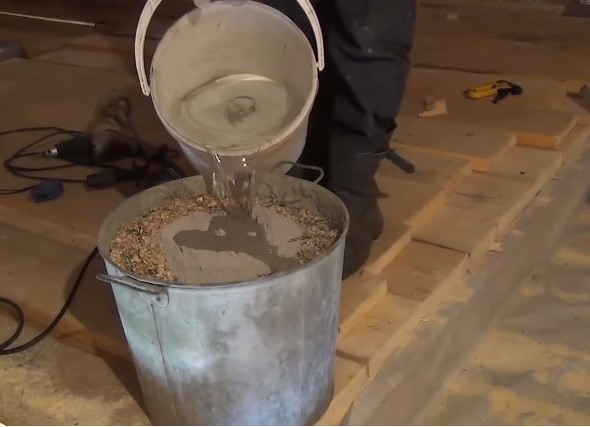
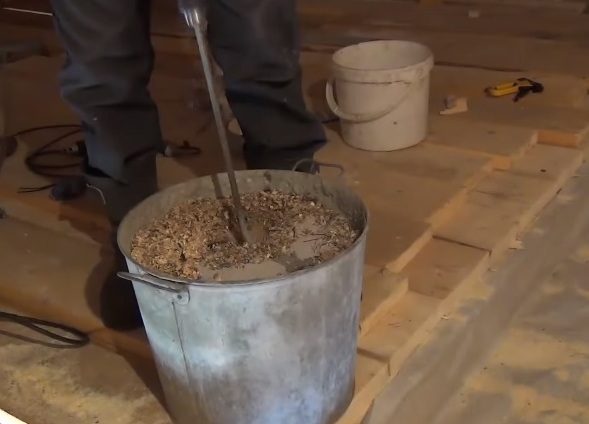
- You need to add water and mix. The solution should not be too liquid.
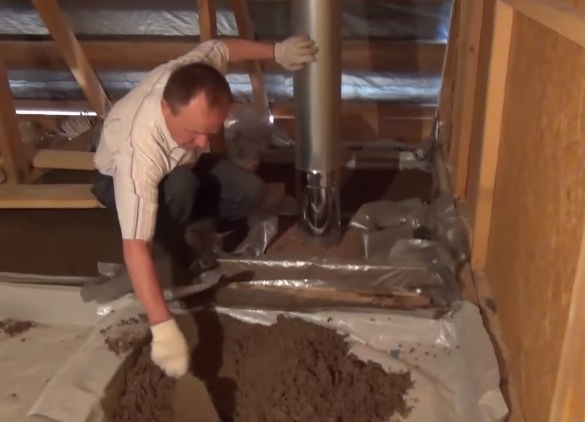
- Then the insulation is filled between the lags and leveled with a trowel. A layer of sawdust can be poured up to 150 mm. If necessary, it can be increased.
| | |
| | | |
| | |
| | |
| | | |
| | |
| | | |
| | |
The insulated bath will provide for a long time comfort, if desired, to steam with hot steam and the smell of a birch broom.