The ceiling should be neat in any room. But, unfortunately, very often the process of bringing the ceiling surface in order causes some difficulties. After all, many houses are rented with different levels of tiled ceilings, and in order to fix it you need a fairly large investment of strength and money. And in this case, the perfect solution to the problem is installing a drywall ceiling yourself. This will simultaneously make a beautiful ceiling of any configuration and save on installation.
Gypsum plaster structures with their own hands: ceiling
The construction of a suspended ceiling from plasterboard sheets (GKL) is impossible without a specific set of tools:
- To secure the guide profile, a level is required. If there is such an opportunity, it is better to purchase a household laser level, otherwise a simple water level will do;
- in order not to form a drop in the GCR on the ceiling, they will need to be fixed with a two-meter level;
- under the dowels of fixing the profile it will be necessary to drill holes with a perforator;
- Scissors for metal will be needed to cut the profile.
And, of course, no construction work can do without a tape measure, a knife and a pencil for marking. In addition, materials will be required from which the ceiling will be mounted:
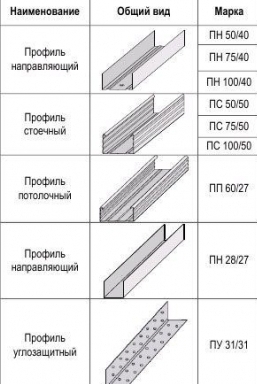
- The guide profile serves as the base for the ceiling structure. Its number is calculated from the perimeter of the room;
- The C-shaped ceiling profile is fixed along the length of the entire room in 60 cm increments, that is, the required amount is calculated as the width of the room divided by 60 cm and multiplied by the length.
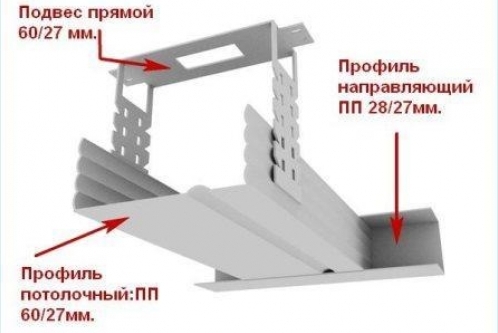
- The direct suspension is designed to mount the C-shaped profile to the ceiling. It must be located at a distance of at least 60-70 cm, but if the construction is complex and multilevel, then more often;
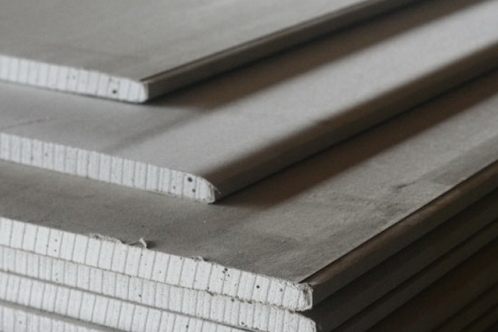
- drywall. It should be purchased in accordance with the area of the ceiling construction;
- 8x10 dowels are needed to fix the guide profile to the wall;
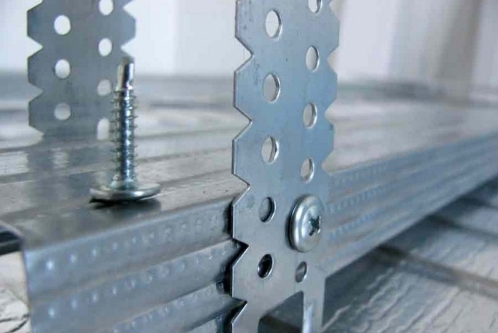
- Self-tapping screws for joining profile and fixing drywall.
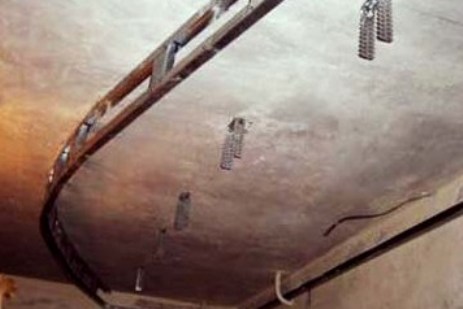
Once all the necessary materials and tools are purchased, you can proceed to install the ceiling from the GCR. This process begins with a markup for the profile profile. The distance from the base ceiling is determined on the basis of individual needs, but not less than 10 cm. After the installation of the guide profile, C-shaped profiles are attached to the ceiling using direct suspension. In case of installation of a complex ceiling design, ceiling profiles are fixed not only along the length, but also along the width of the ceiling surface.
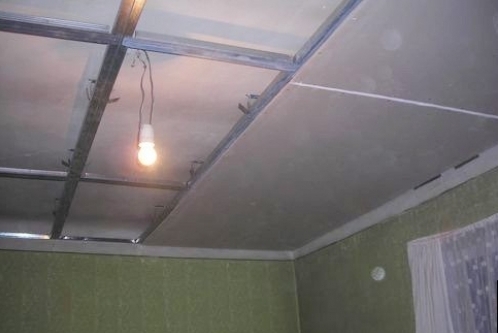
As a result of the connection of all the metal elements of the frame, this design should turn out:
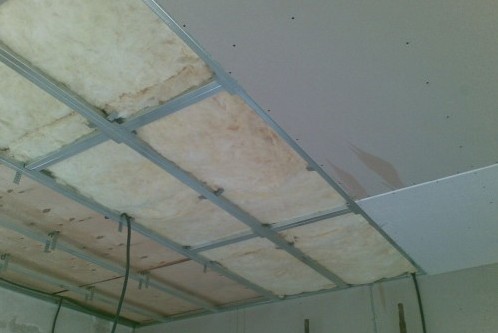
After the frame is ready, you can start installing plasterboard. This is done using self-tapping screws at a distance of 10-15 cm between them.
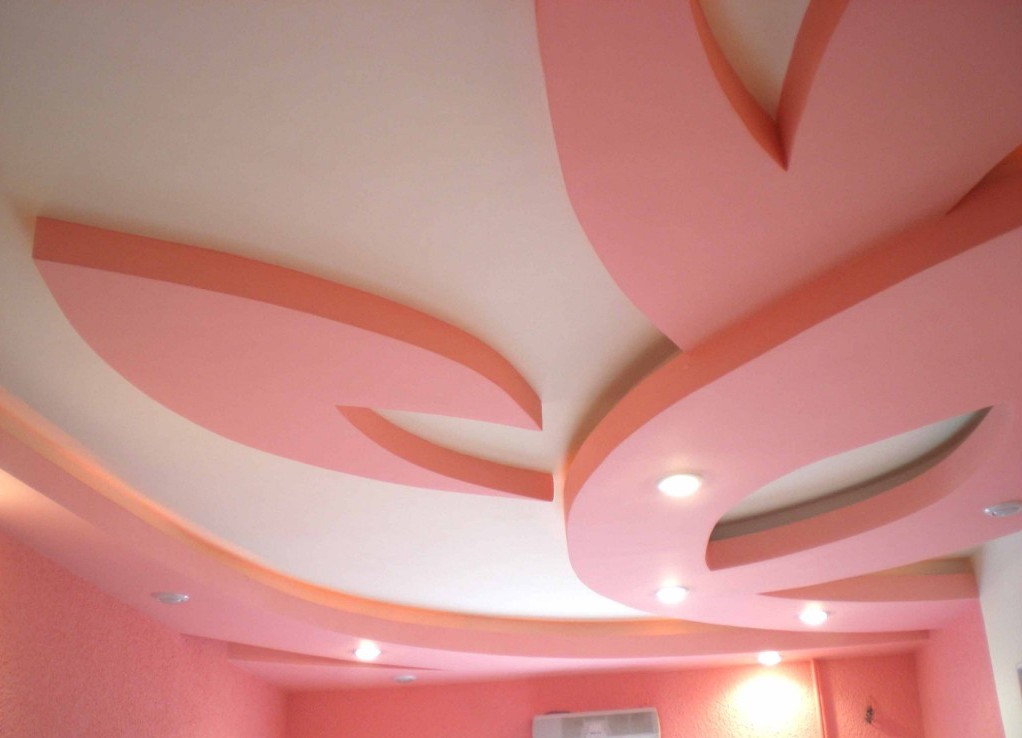
The second level is attached to the first after installing the drywall. Two-level gypsum plasterboard ceilings with their own hands are mounted on the same principle as simple constructions. The difference is only in the sequence of connection profiles. So the ceiling profile is fixed first to the first level by means of a direct suspension, and only after that to the guiding profile. In addition, for later installation of the vertical part of the ceiling between the guide profiles are installed jumpers. The sequence of fastening the drywall sheets for the second level is as follows: first the sheets are mounted on horizontal surfaces, and then on vertical ones.
After the ceiling design is fully assembled, you can proceed to finishing and painting works.