Gifts and souvenirs made by oneself have always been more valuable. Close people are always pleased to receive what is made specifically for them. So are things with postcards, so we offer you a master class, how to make your own hands an original postcard for a man, using materials from the departments for scrapbooking.
We collect materials
Before starting work we suggest you to visit the specialized department, where you can find everything you need to create postcards in the scrapbooking technique. For today's work you will need:
- white thin cardboard for scrapbooking;
- black cardboard for scrapbooking;
- paper for scrapbooking of several colors;
- glue;
- a simple pencil;
- stationery knife;
- scissors;
- a white gel pen, or a thin corrector;
- family photos;
- large white envelope.
Getting Started
In order to make a postcard to your beloved man, father or grandfather does not have to "reinvent the wheel", it's enough to look around. Surely your view first of all stumbles upon modern mobile devices and other similar elements. We propose not to let go of this idea and implement it on paper - we will build the iDad and compose a competition for the Chinese!
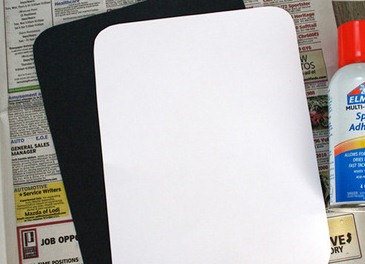
- Cut out of black cardboard 2 rectangles measuring 8.5 * 11 cm, and a little smaller size 1 white rectangle. It will be very interesting if one of the black cards is an unusual texture.
- On one of the black rectangles, glue the cut out white layer and set aside to make it dry.
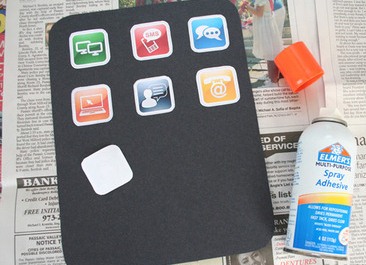
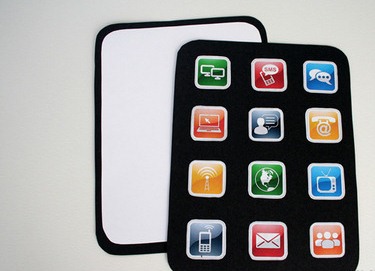
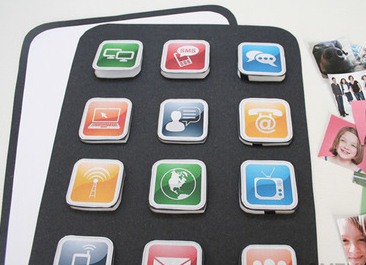
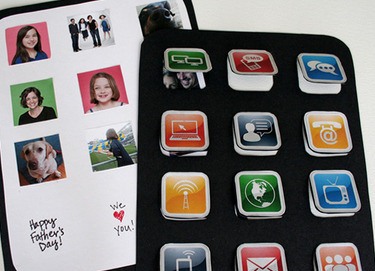
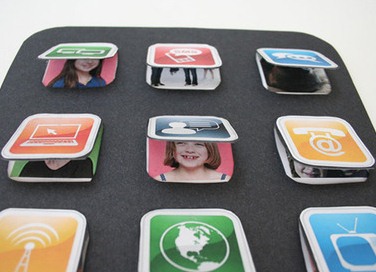
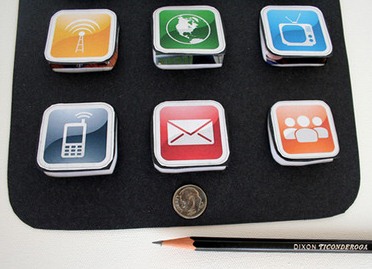
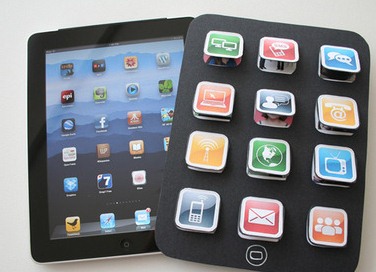
- On the Internet, find icons from the desktops of modern gadgets and print them on a color printer. The dimensions should be 1.5 * 1.5. Gently cut them and paste them in even rows on a free rectangle of black cardboard, simulating the menu of modern devices.
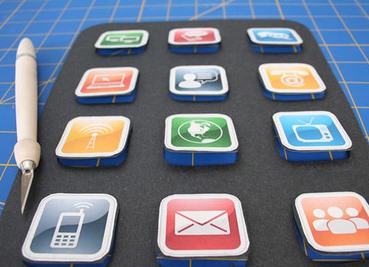
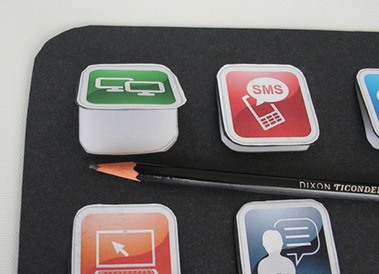
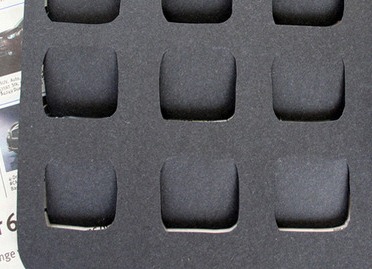
- When the glue under the icons tightly grasp, arm yourself with a stationery knife. Using it, trim the pasted icons on three sides, so that the fourth side allows them to open.
- Now the most interesting thing: collecting photos that depict you, or relatives. Cut them in sizes slightly larger than the holes under the icons.
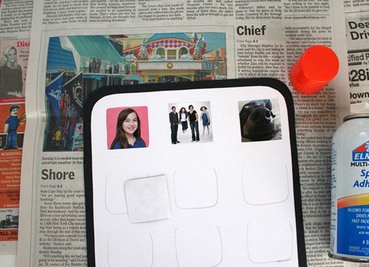
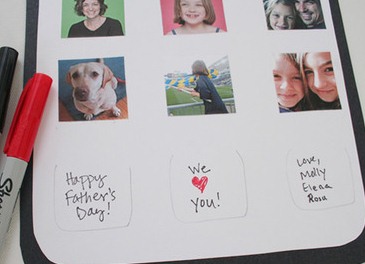
- Fold together prepared cartons and on the white side make pencil marks indicating where the windows will be.
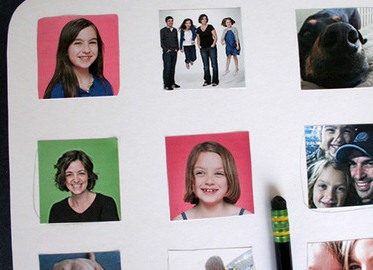
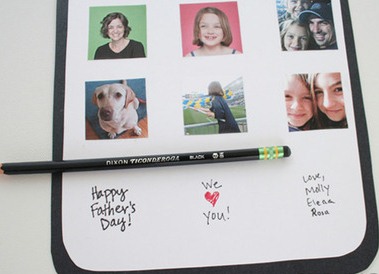
- You can begin to paste prepared photos on white cardboard. And here we will make a small surprise: leave some windows without "faces", there you can write a few gentle words.
- When the glue under the photos dries, you can erase the prominent pencil lines. Although, you do not have to do this if you cut out the photos, as we advised in step 5.
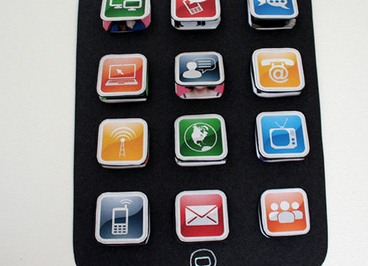
- Now with the help of pencil glue we connect both parts of our postcard. White with photos from below, black with icons-windows on top. Take yourself into the arms, that the glue is best applied to the underside of the half, which is with holes. So you can avoid accidentally stucking the window.
- To make the postcard more similar to the real iPad, we'll make the "home" button below. To do this, draw an even circle (you can arm yourself with a small button).
- With a white gel pen or a corrector, draw a circle around the contour and draw a symbol in the middle.
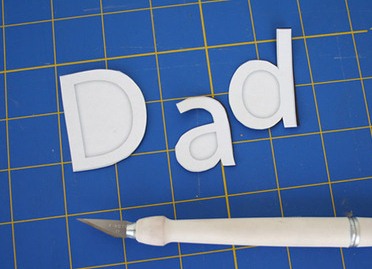
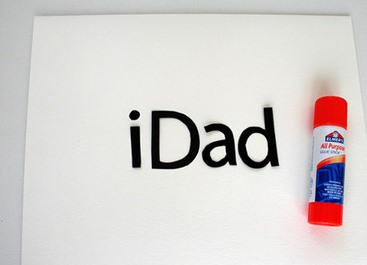
- On the printer, print out the black letters "i", "D", "a", "d" and carefully cut them out.
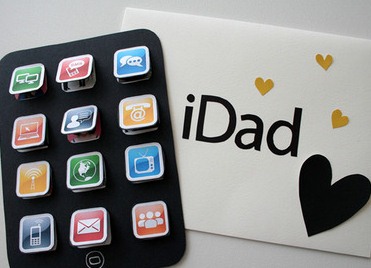
- On the front side of the envelope, collect the word "iDad" and decorate it with hearts. Everything, the postcard is ready.
| | |
| | | |
| | | |
| | | |
The child can also connect to the process and make a beautiful postcard for the pope .