Passport is one of the most important documents. We use it more often than others, we present it in different institutions and organizations, so it is not surprising that we choose "clothes" for the passport more carefully than for other documents. But no one knows us better than ourselves, so why not make the cover for the passport yourself, taking into account all your wishes?
Cover on the passport scrapbooking - master class (m)
Necessary tools and materials:
- sewing machine;
- colored and white cardboard;
- scrapbooking paper;
- fabric and sintepon;
- a tetrad cover or corner for documents;
- ruler, clerical knife, scissors;
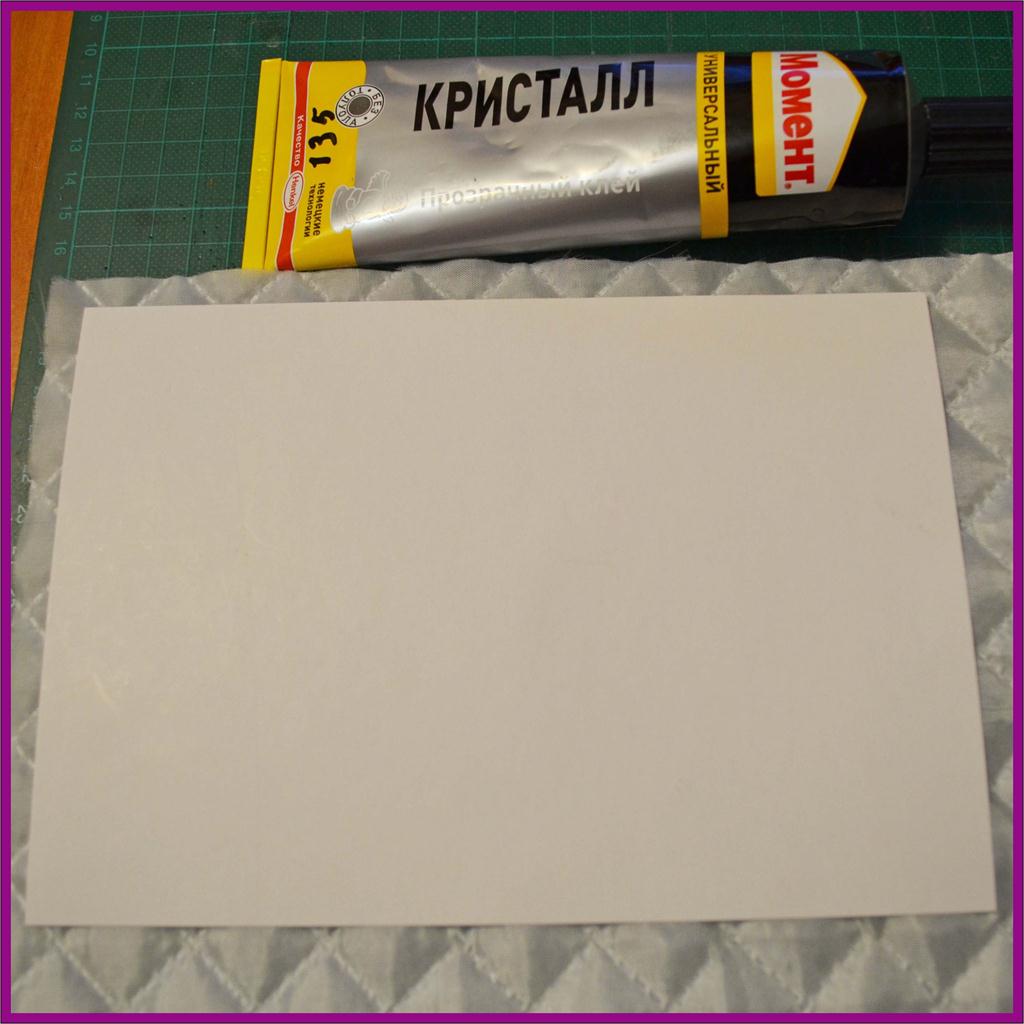
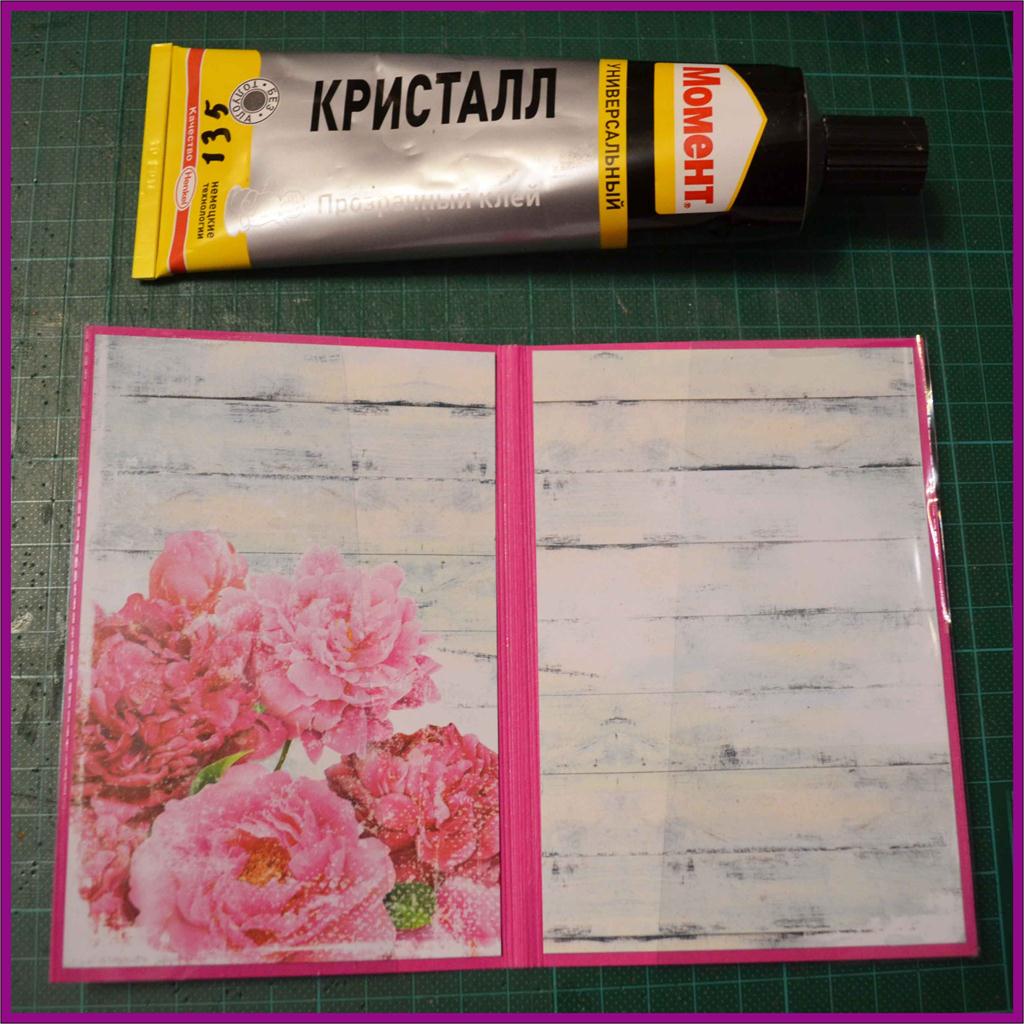
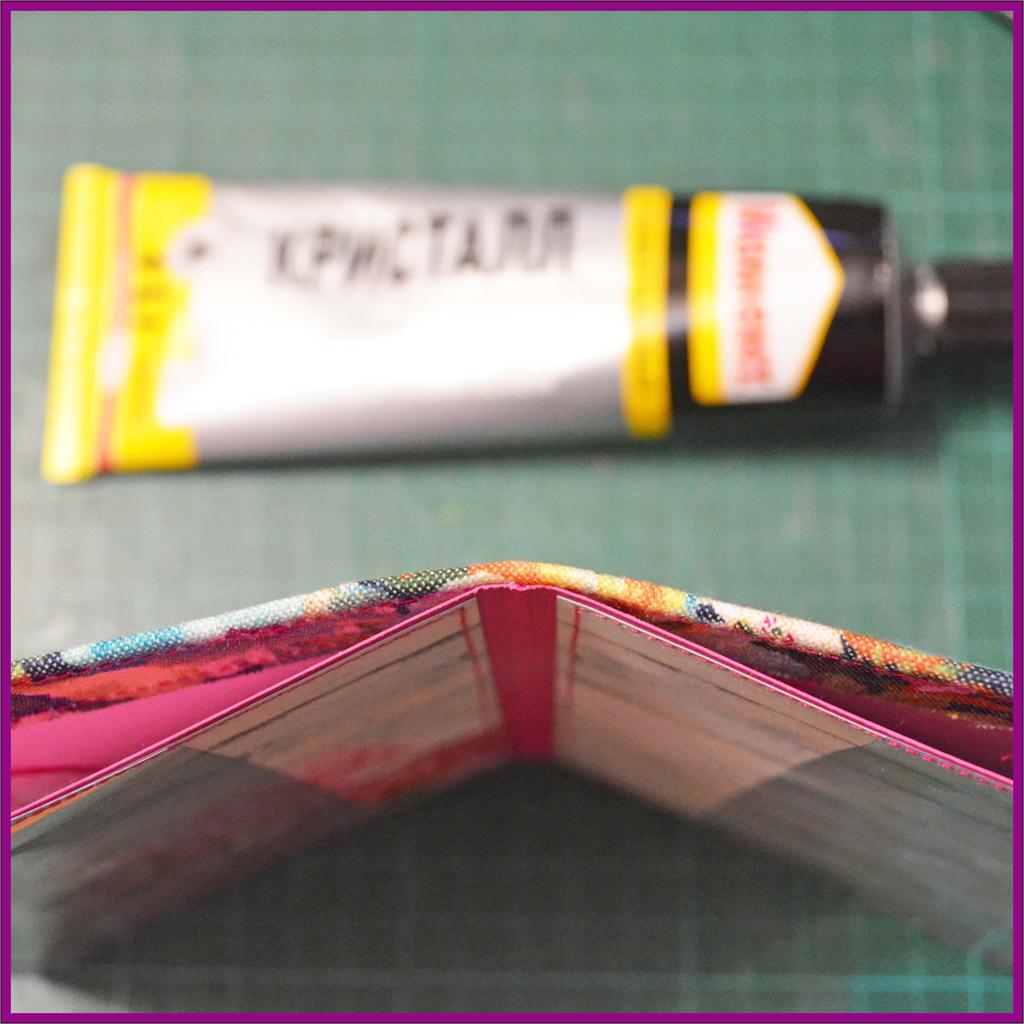
- double-sided adhesive tape, glue "Moment crystal";
- decorative band;
- brads (optional);
- thread;
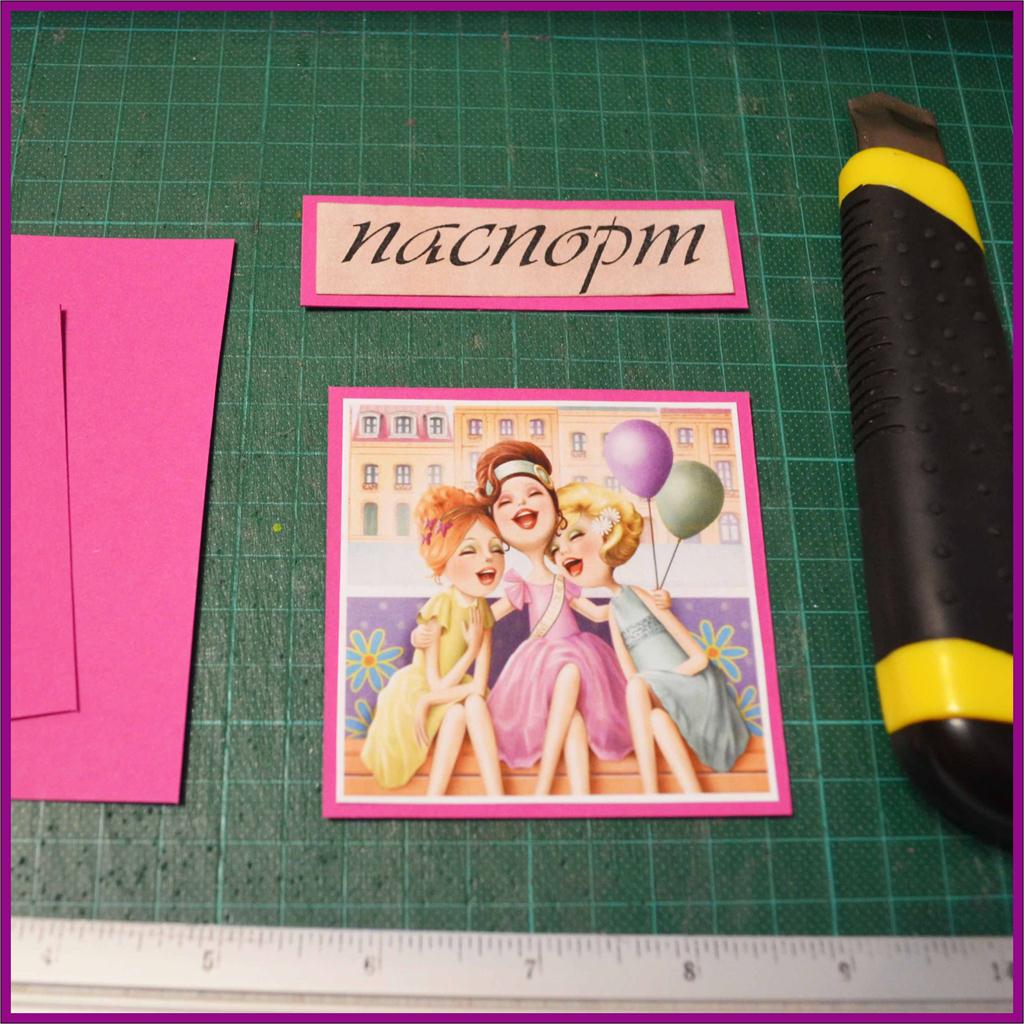
- a picture and an inscription to taste.
So, let's start creating our cover:
- First of all, using a ruler and a clerical knife, we cut paper, cardboard and a tetrad cover onto the parts of the right size.
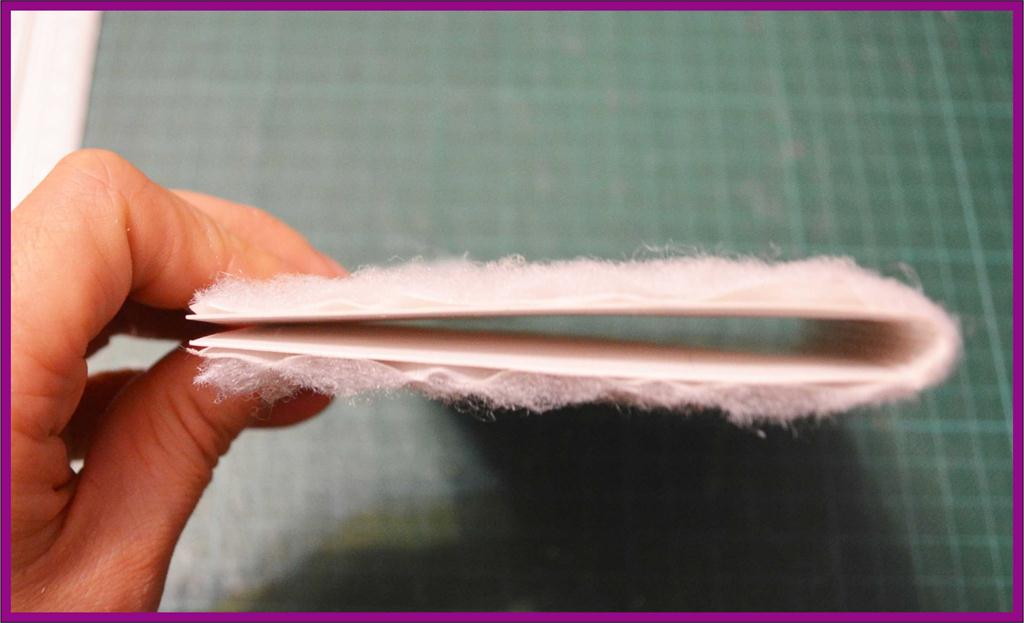
- Now paste the cardboard onto the sintepon.
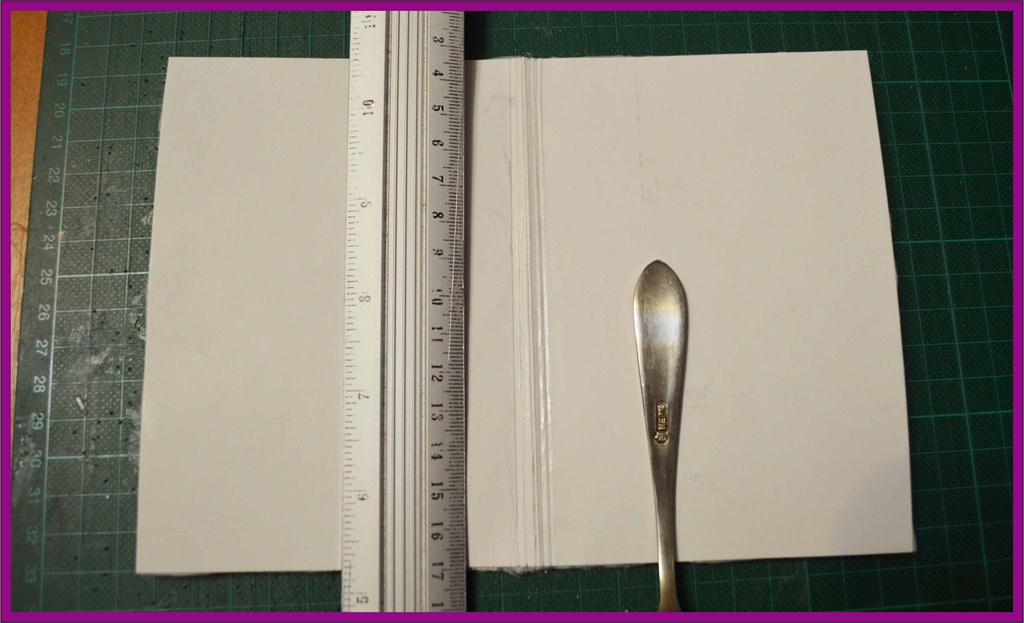
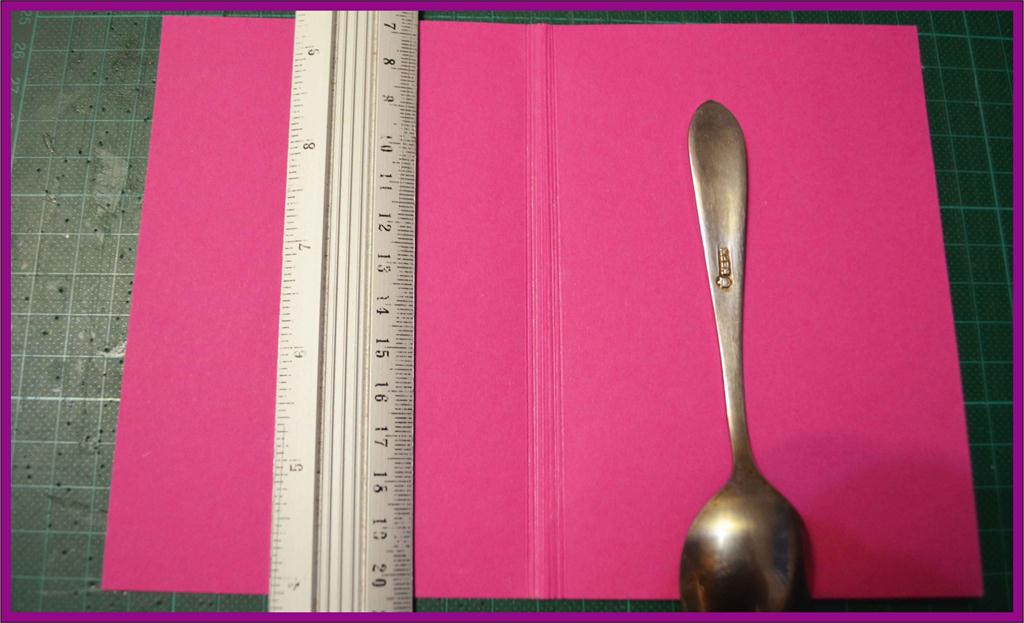
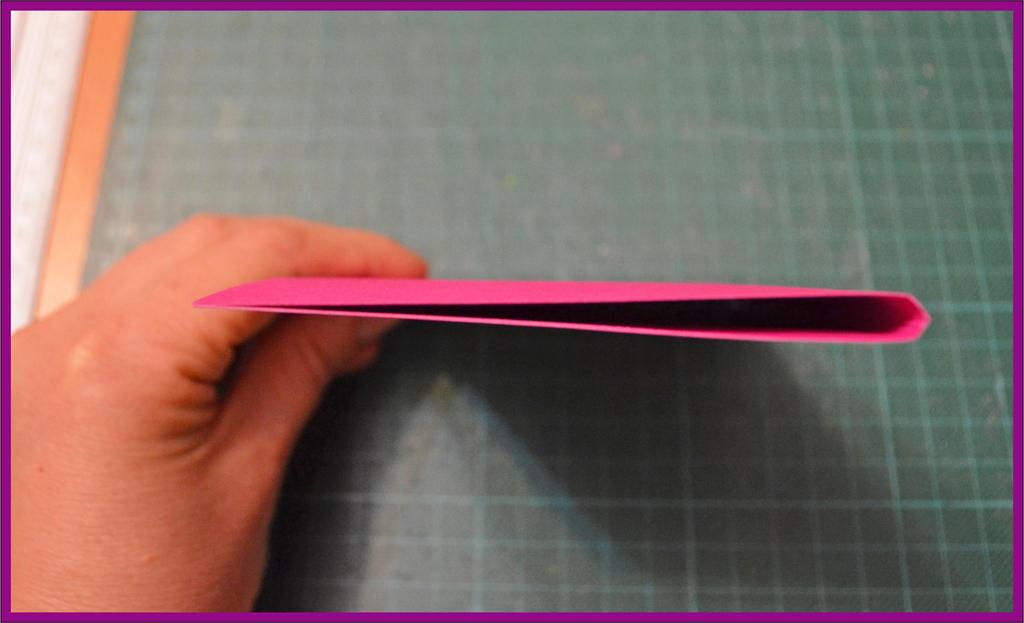
- Cropping the excess biguyu (pushing the bend) as shown in the photo. I used a ruler and a regular teaspoon for this.
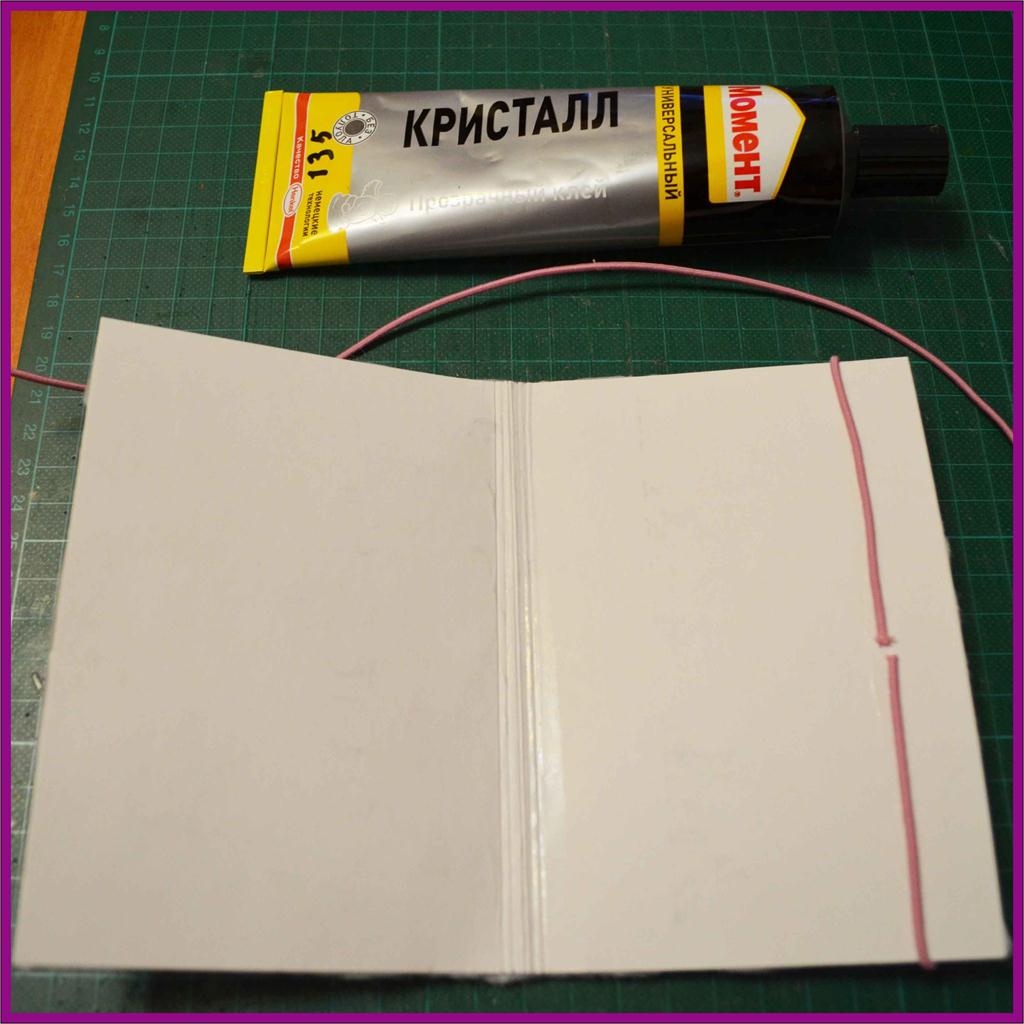
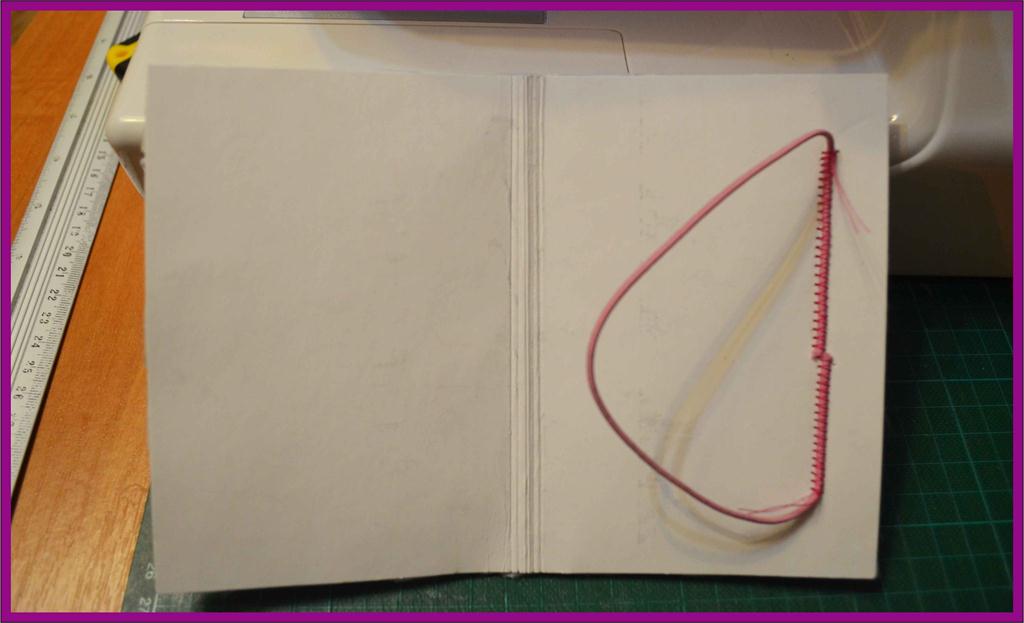
- Next, we fix the rubber band, which will keep the cover closed.
- We glue the elastic band so that it does not reach the edge about 2 cm (since we still need to drape the cover with a cloth), and then we sew the elastic band with a zigzag.
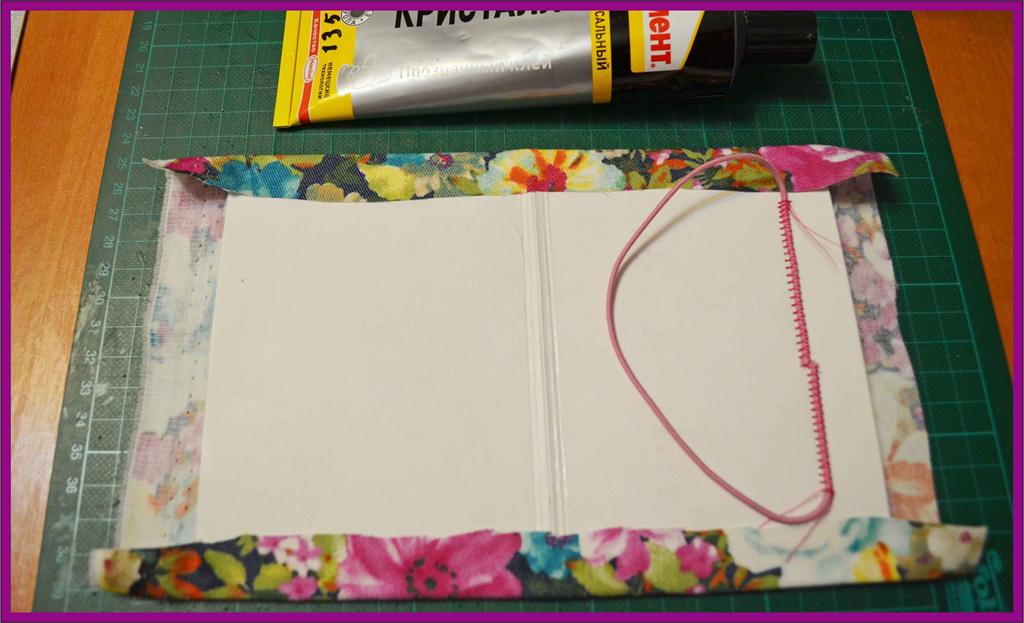
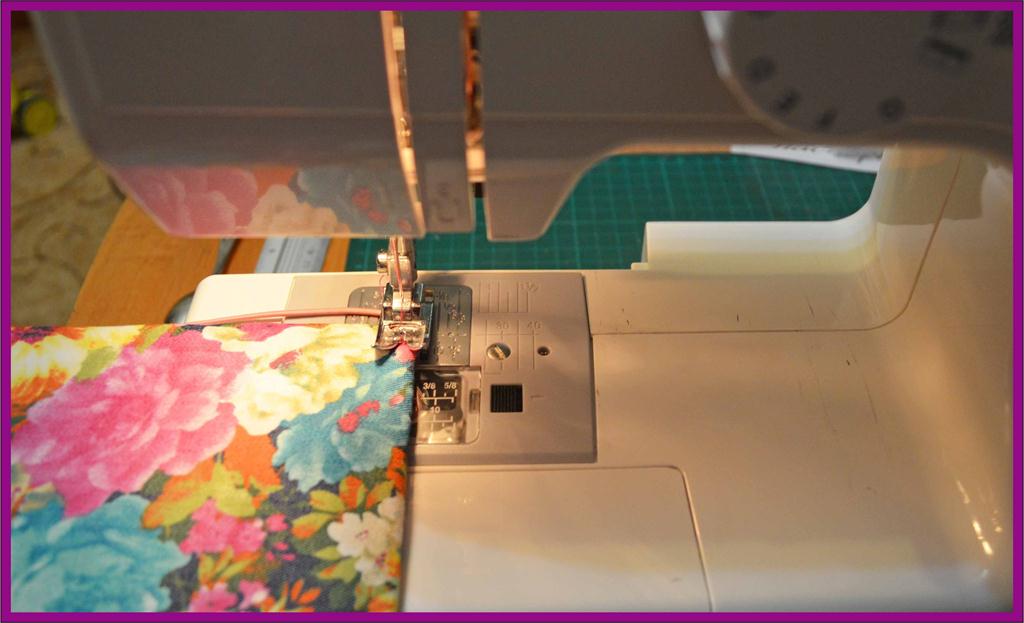
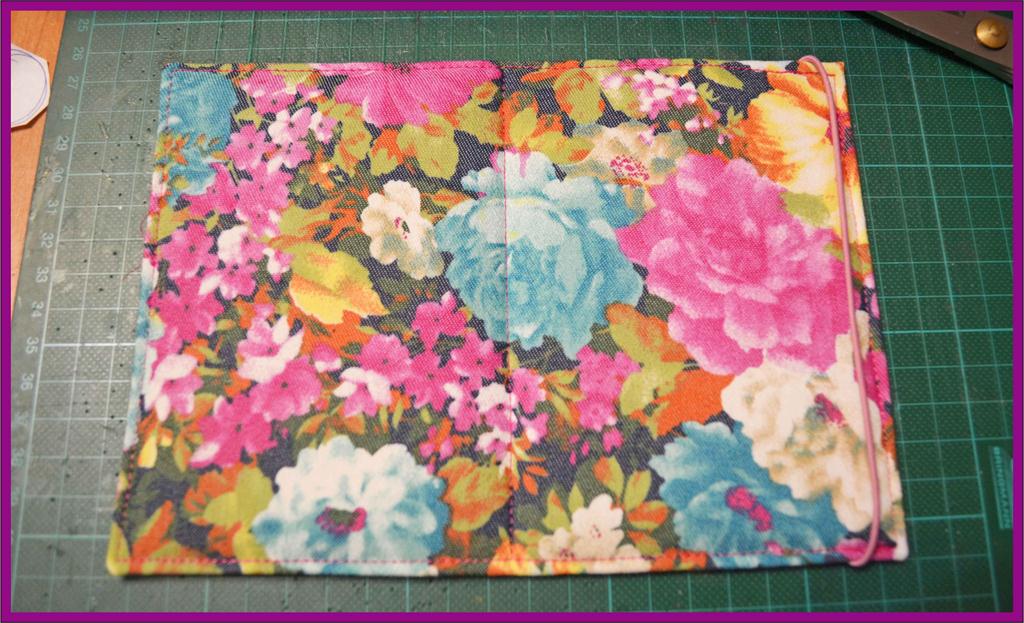
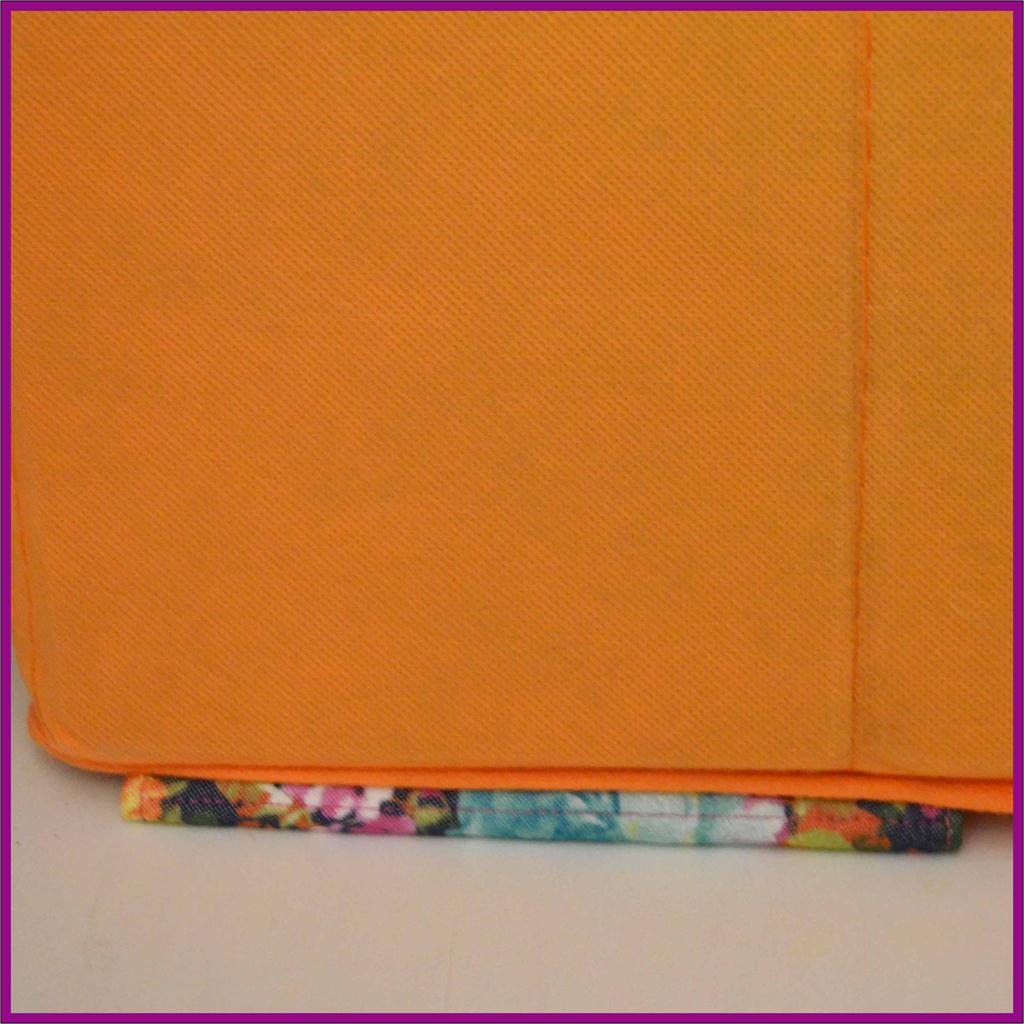
- The next step is fixing the fabric: glue on top and bottom, pulling hard enough, but while trying not to deform the cardboard.
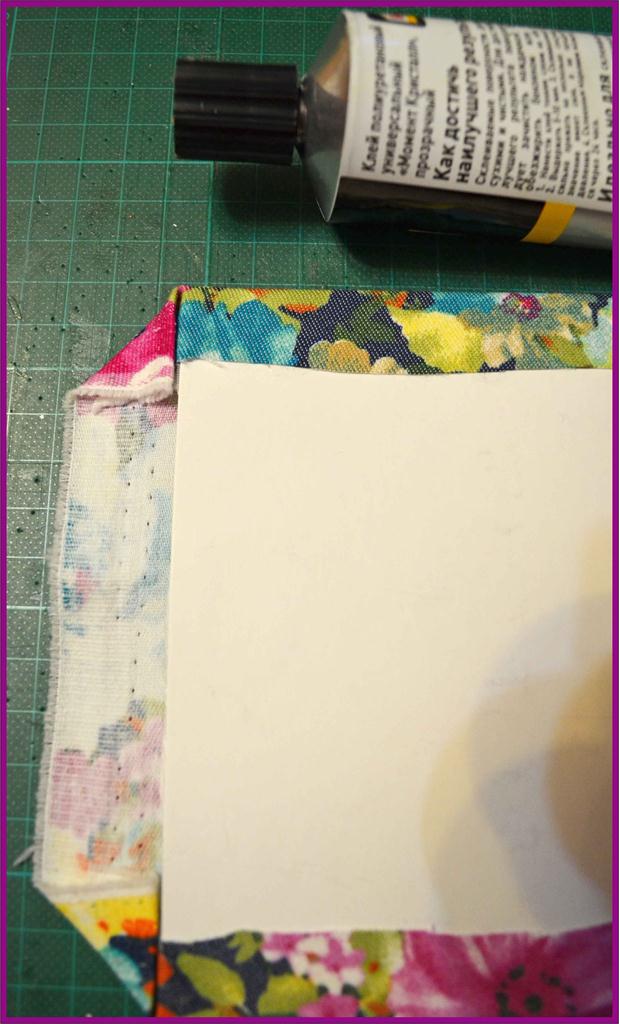
- We form the corners: first we bend and glue the fabric, and then gently fix it, making sure that the corners are even
- We use colored cardboard on the same principle as white.
This creasing is necessary in order to keep the cover in the cover, because the passport has some thickness.
| | |
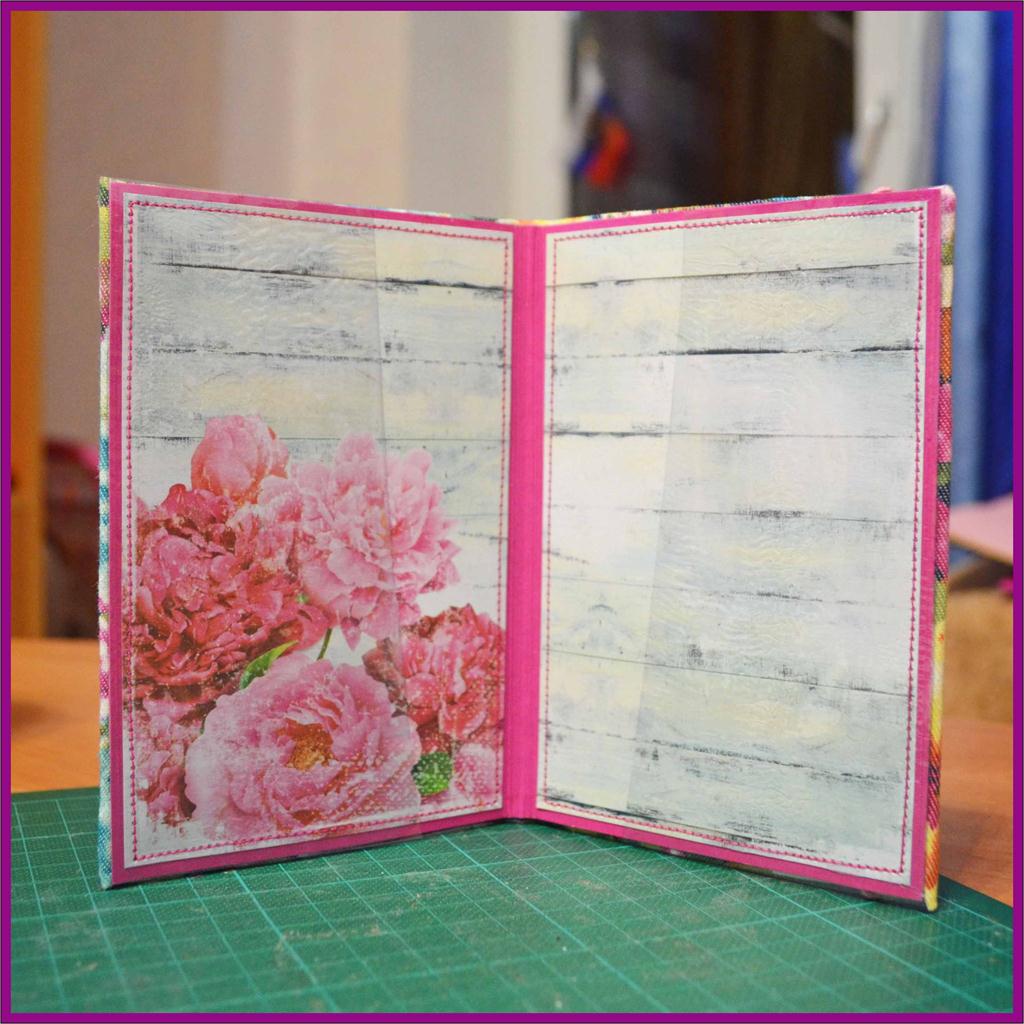
It's time to start preparing the inside of the cover:
- First, a little adjust the transparent rectangles from the notebook cover - we trim them obliquely.
- And after that, first we glue the paper onto the cardboard, and then the film will be fixed with glue in the corners, so that it does not move during the sewing.
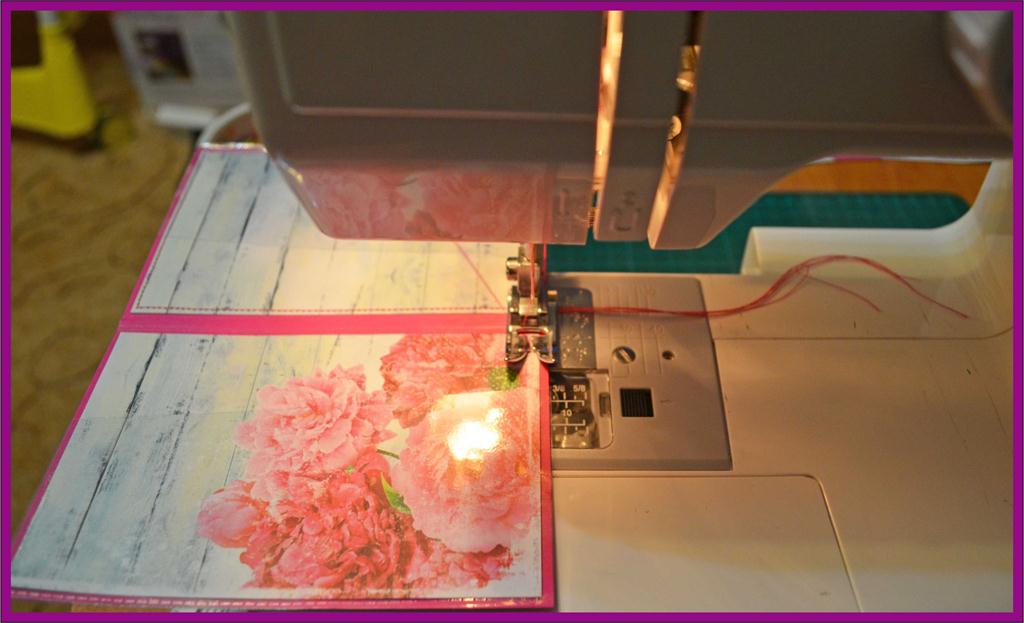
- Carefully we sew our middle - first one side, then the other.
- Immediately let's sew the cover itself. Do not forget to keep an eye on the rubber band so that you do not accidentally flash it.
- We should get such a cover.
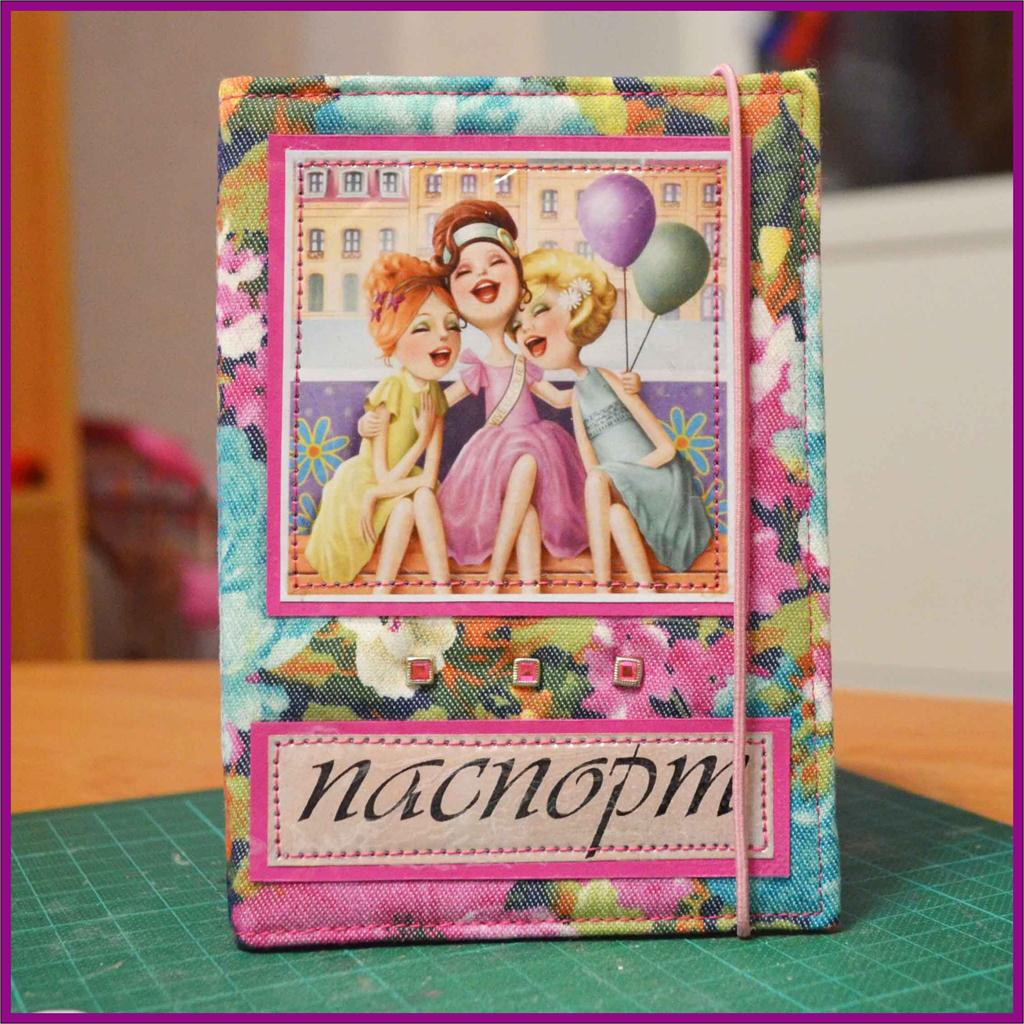
- Gently paste the inscription and picture on the substrate - the remains of colored cardboard.
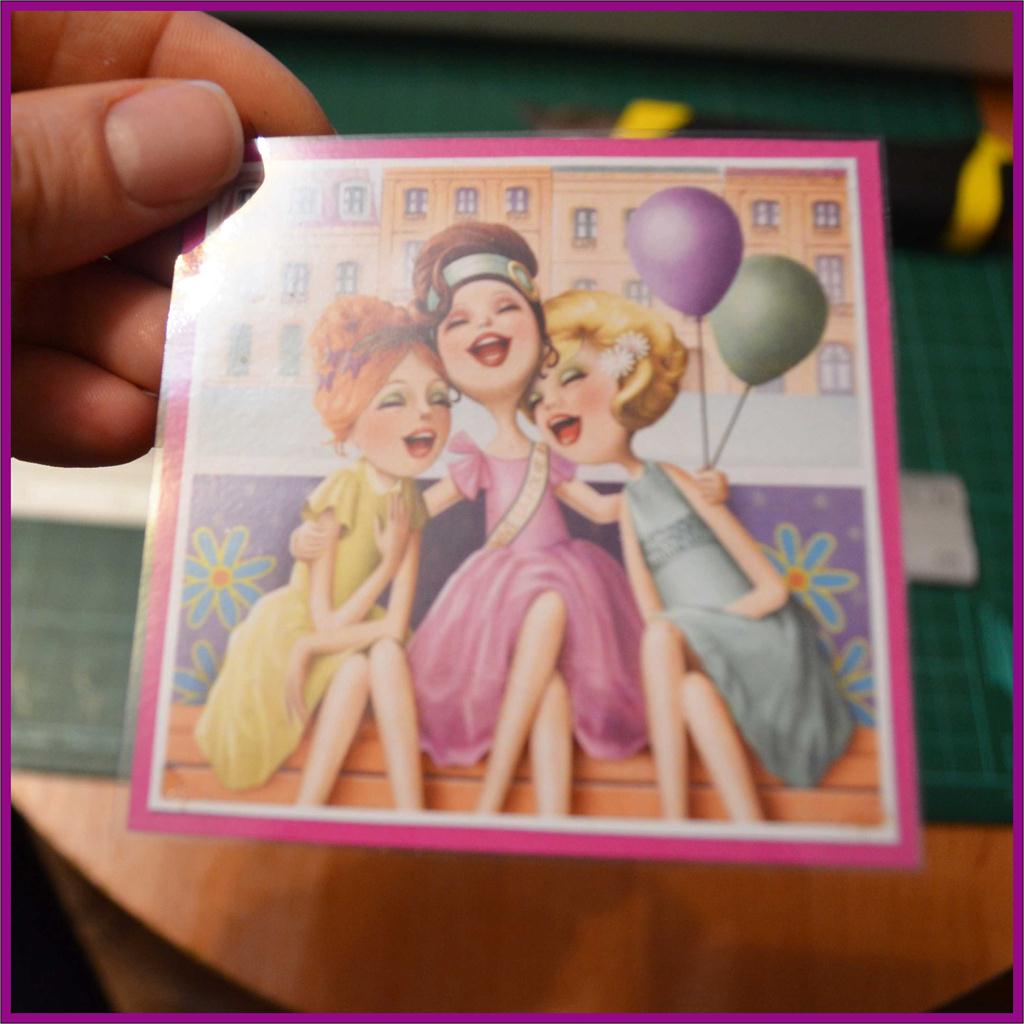
- And we will glue the transparent film (all the same notebook cover) to the inscription and the picture, because we do not want them to get stuck in the bag.
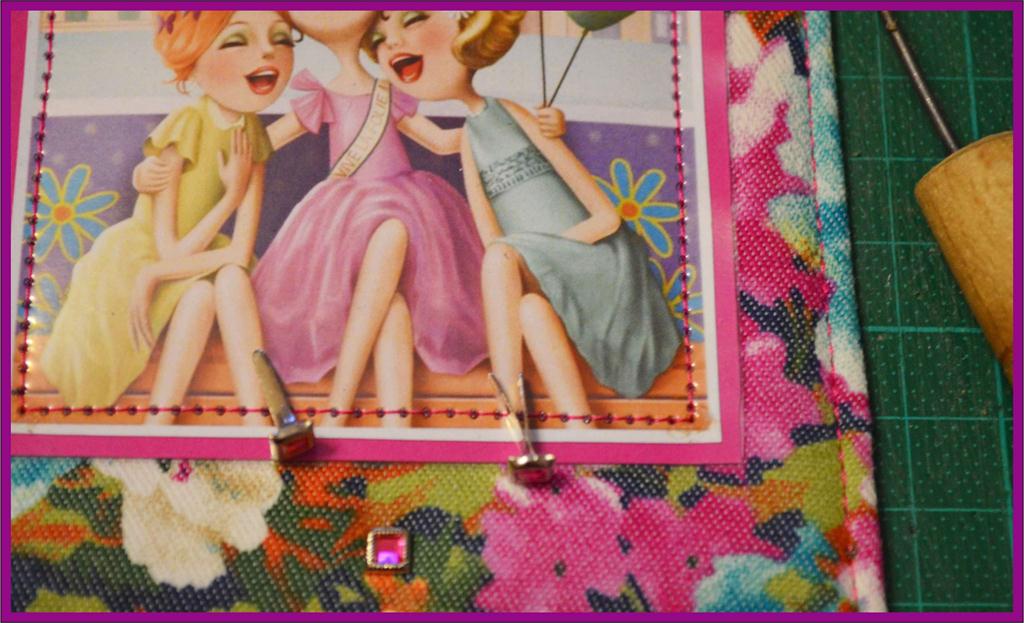
- We will paste and paste the picture and the inscription, and, if desired, decorate the gap between them with the help of the Brades.
We proceed to the final stage - the joining of the details:
- First we paste the middle and wait for 5-10 minutes.
- And, finally, we glue the remainder and send it under the press for an hour and a half (I play the role of the press box with old magazines). The part that was glued before, under the press is not removed.
- Here is such a "juicy" cover for the passport, made by themselves we have turned out. And you can listen to yourself and make one that will be to your liking, and its main value is that it will fully correspond to your personal taste.
| | |
The author of the master class is Maria Nikishova.