A very beautiful interior decoration can be a cushion rose-pillow made by one's own hands. Sew such pillows is simple enough and there are several options, as it can be done.
Master class 1: Decorative pillow-rose
It will take:
- fabric of 2 kinds: for the upper layer of the petal - light and thinner, for the lower - darker and denser;
- sintepon;
- pink oblique bake;
- sewing accessories: sewing machine, needle, thread, scissors, pins;
- cardboard for templates and compasses.
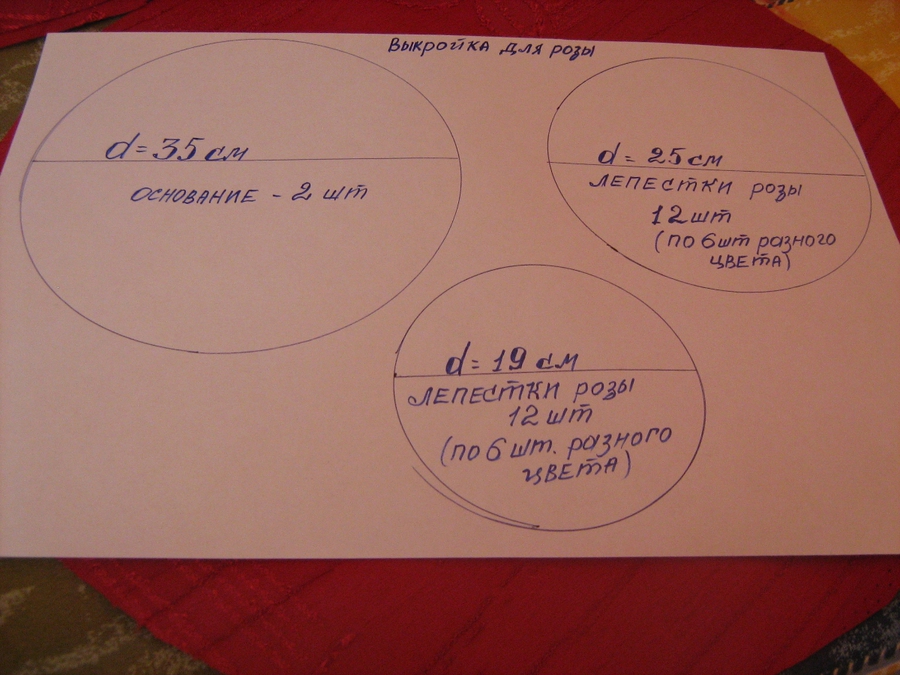
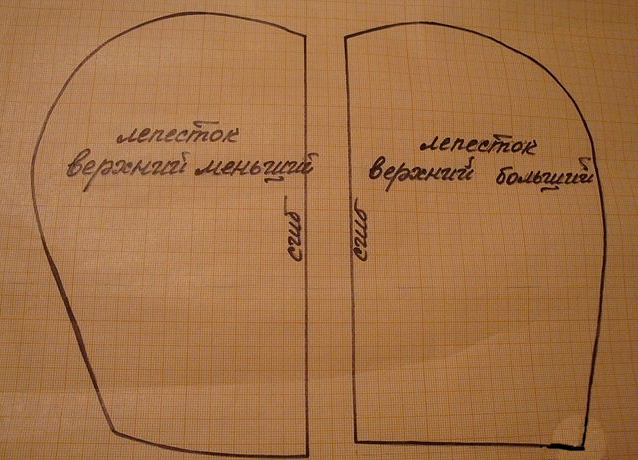
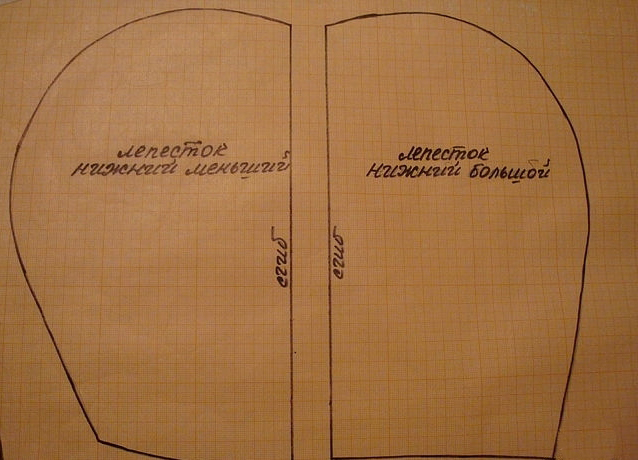
1. On the cardboard draw the necessary templates: circles of different diameters - 35 cm, 25 cm and 19 cm.
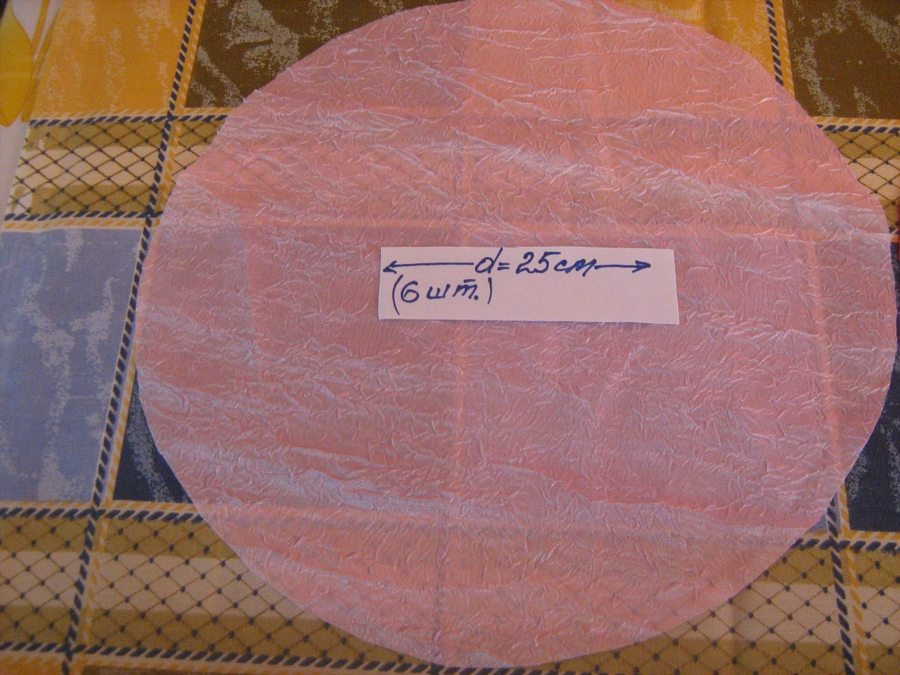
2. Cut out the fabric from these patterns details:
- diameter 35 cm - of dark fabric 2 pieces;
- diameter of 25 cm and 19 cm - 6 pcs. from light and 6 pcs. from a dark fabric.
| | |
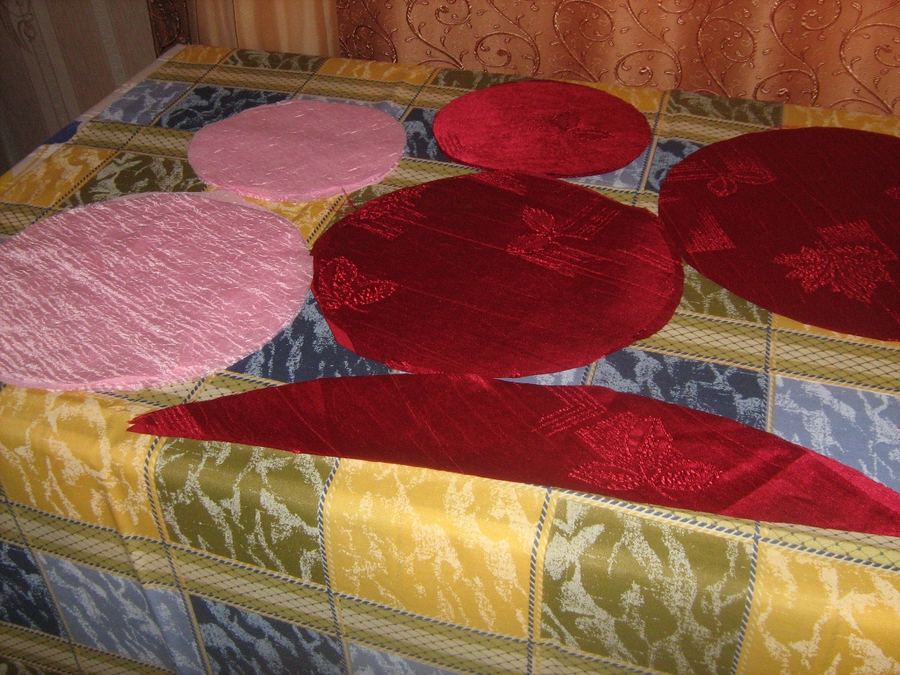
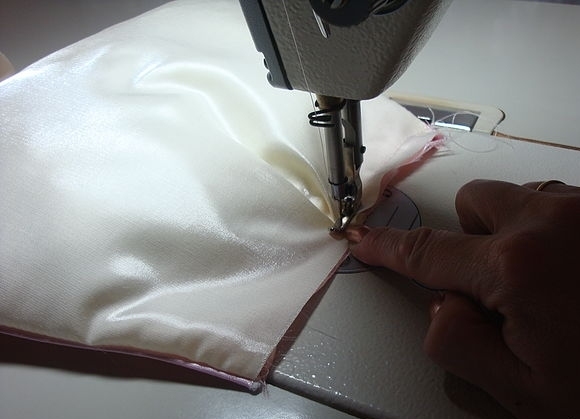
3. For the core of our rose, cut out of the dark fabric 2 rectangles 50 cm long and 10 cm wide, and on the one hand we make a semicircle along the entire length.
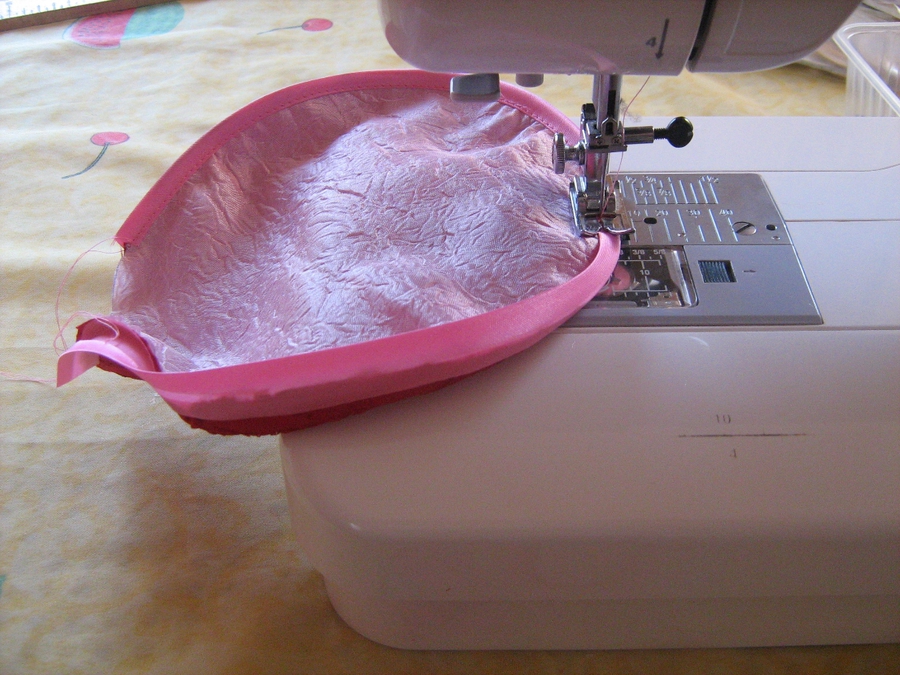
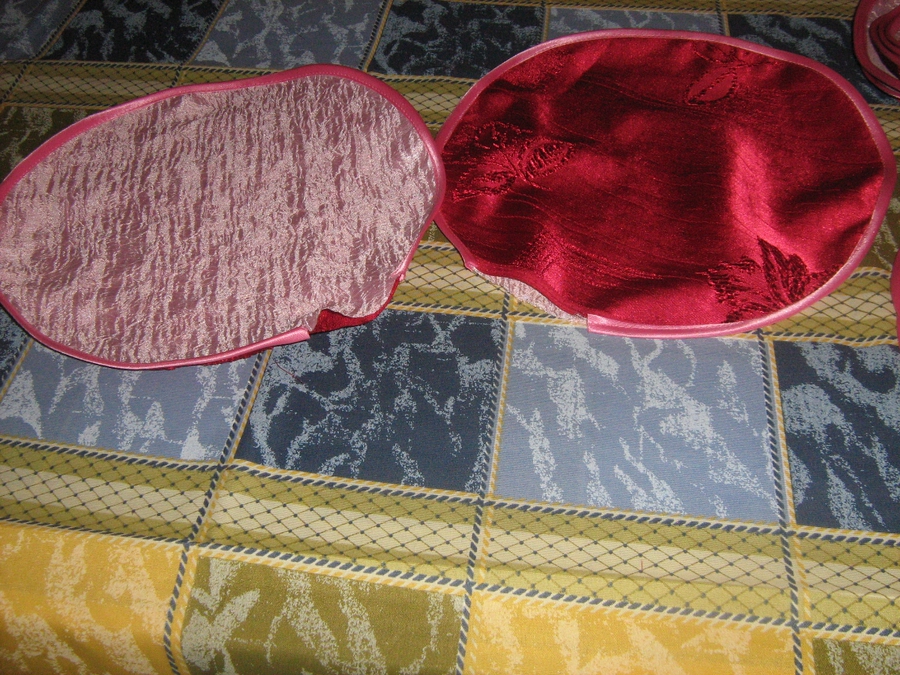
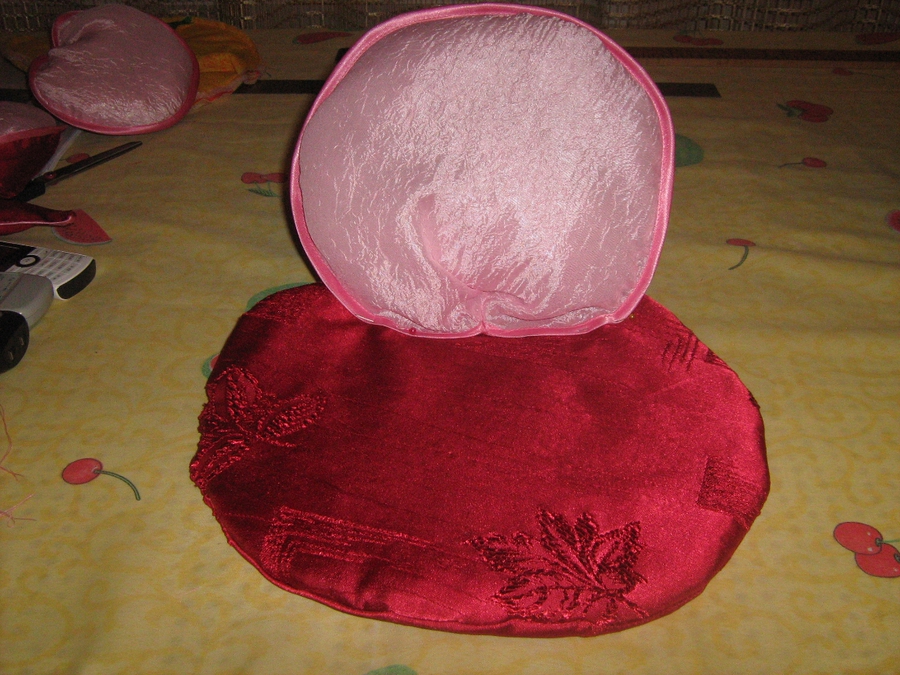
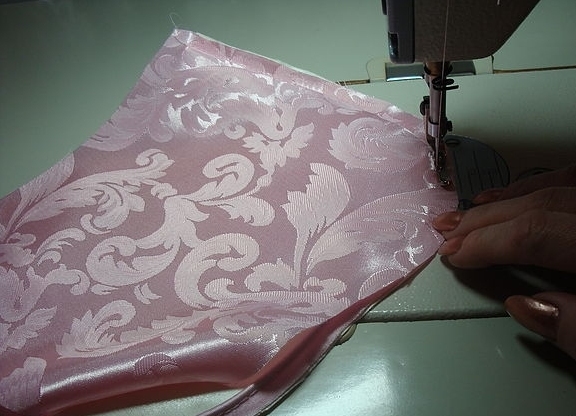
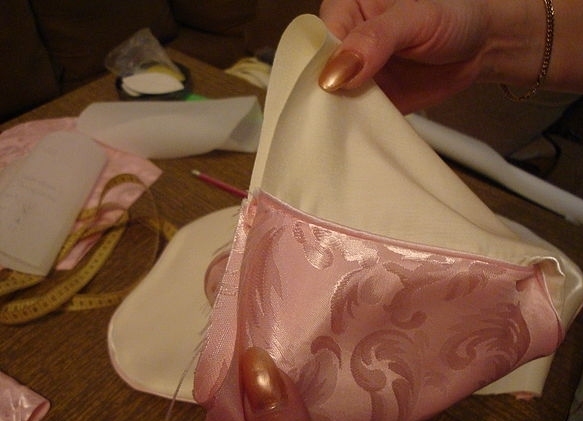
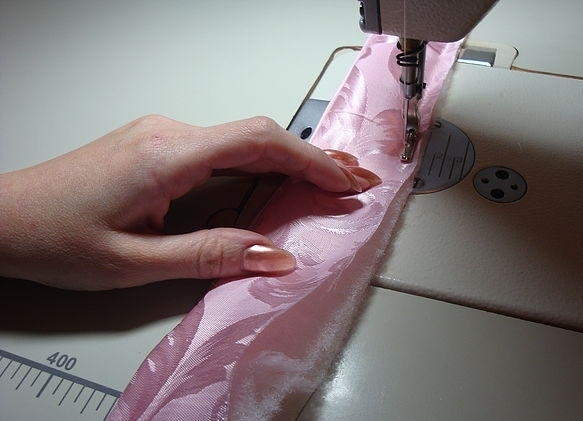
4. To make a petal, we take 2 parts of the same diameter of different colors, we fold the wrong side to each other and we tie the oblique bake along the edges, leaving 5-7 cm for filling the synthepone. We do this with all the parts of the same size and a strip for the core.
| | |
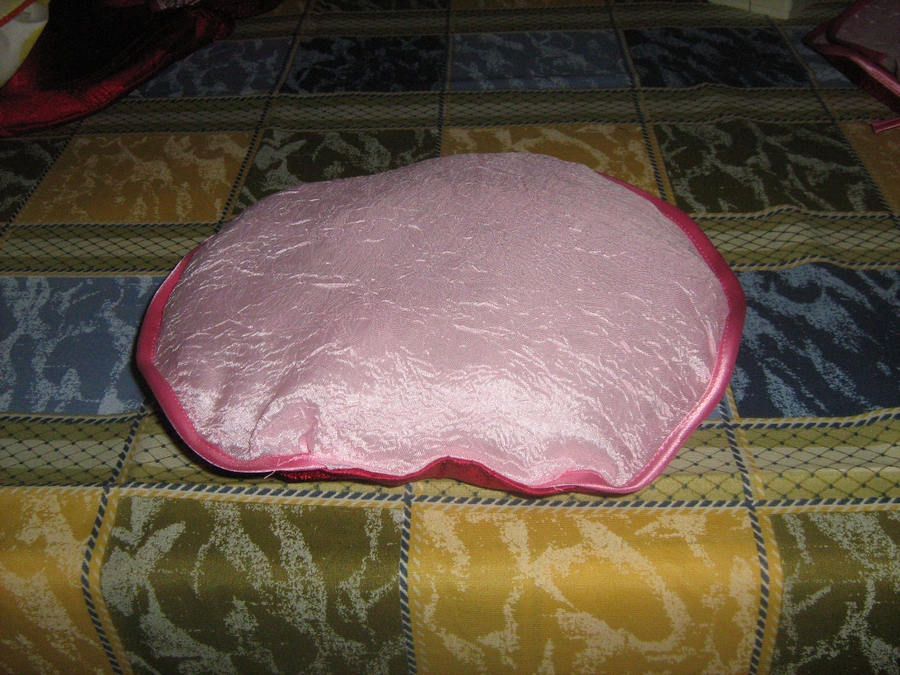
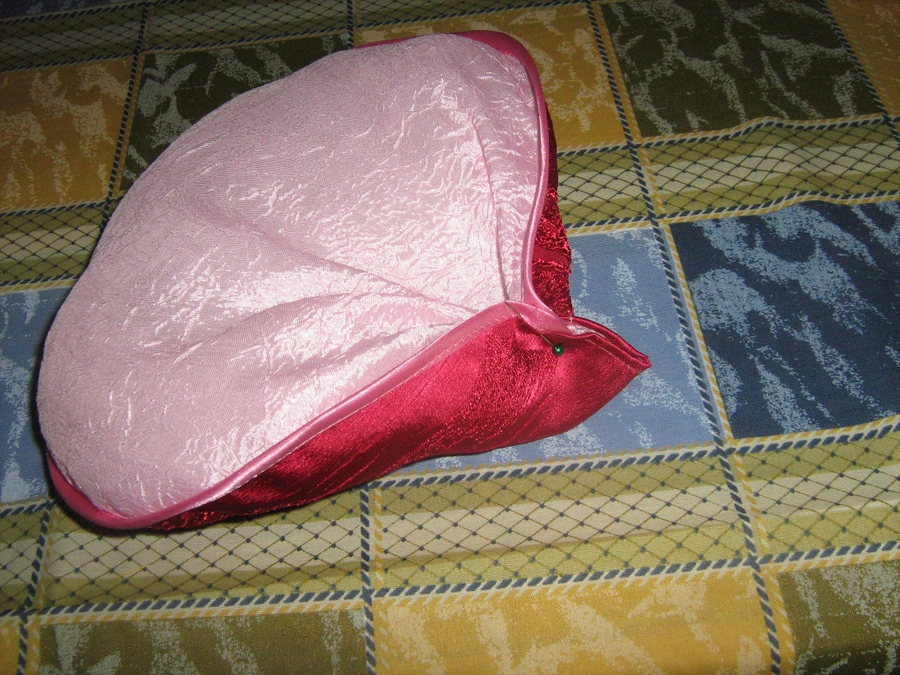
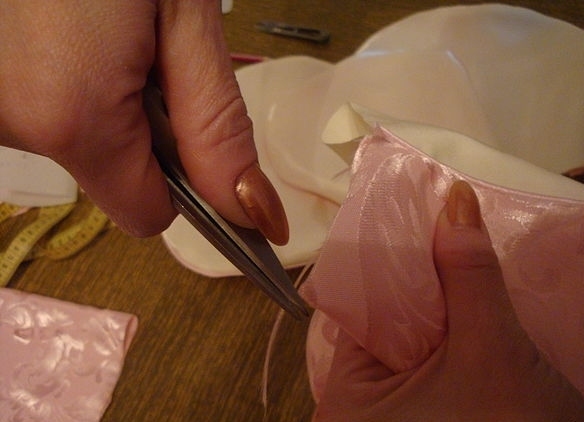
5. Through the left hole all the sewn parts are filled with filler, after which it is sewn.
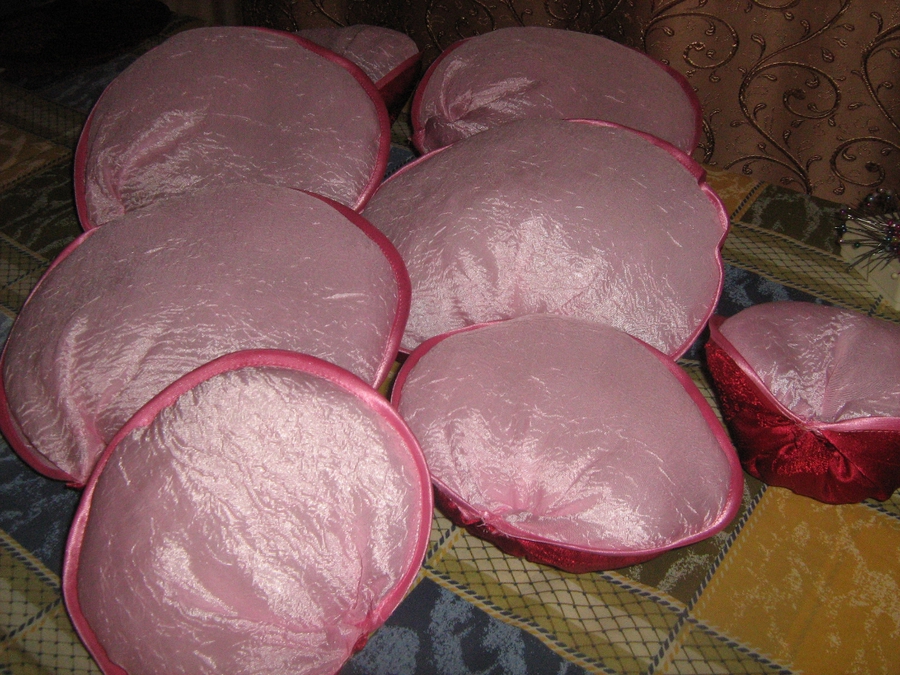
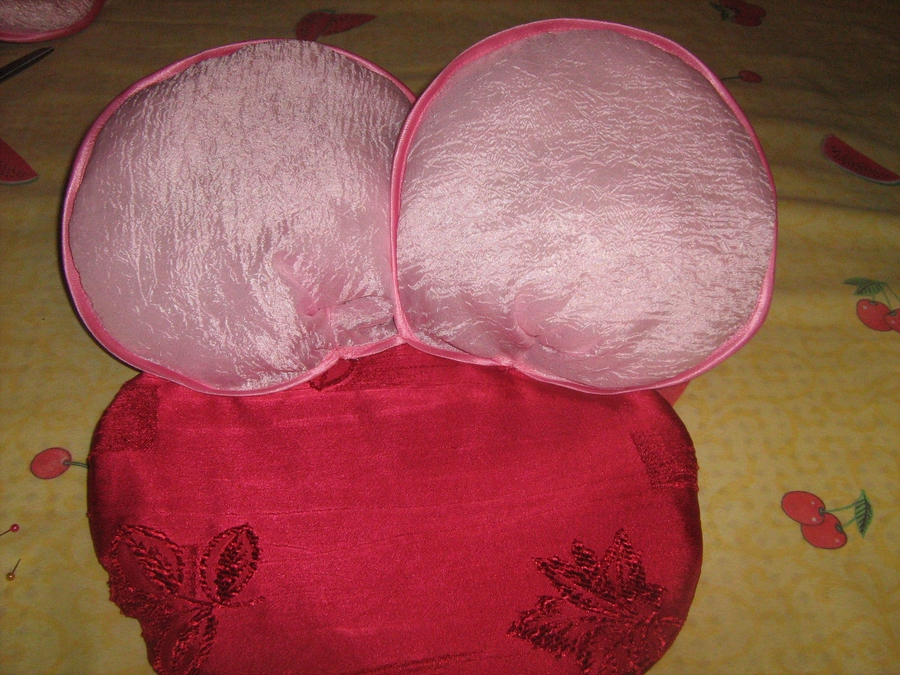
6. We break off all the petals on this side to give them shape.
| | |
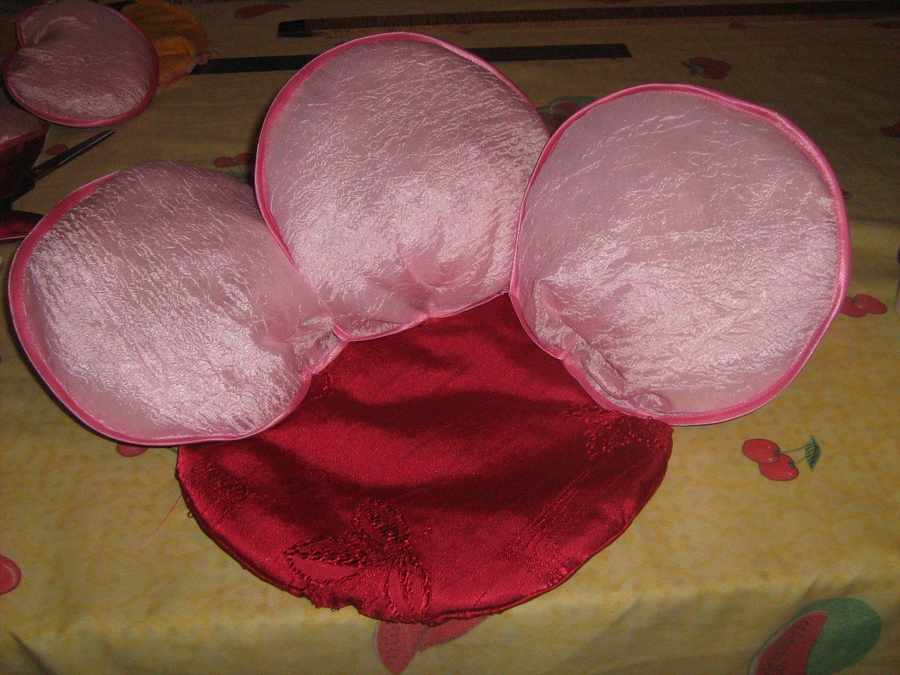
7. We start to collect a rose. On the base (a circle with a diameter of 35 cm), having deviated from the edge 3-5 cm, we sew a petal of a larger diameter. The next petal is sewed, a little by stepping on the first and so all 6 petals.
| | | |
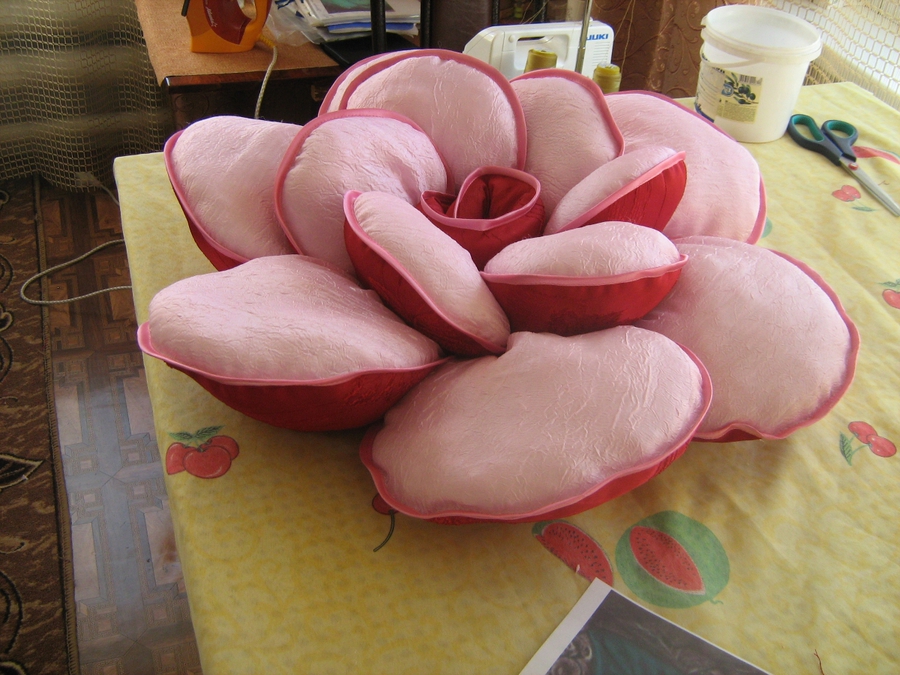
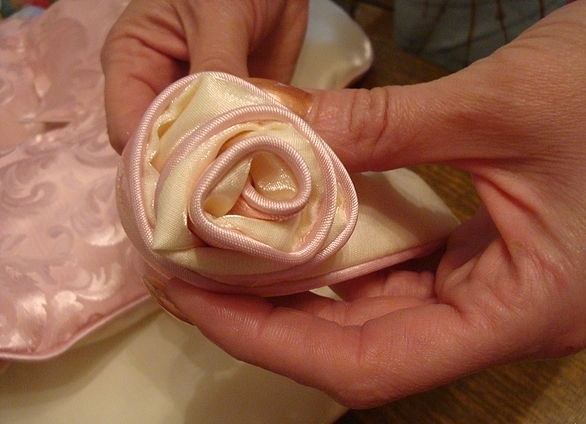
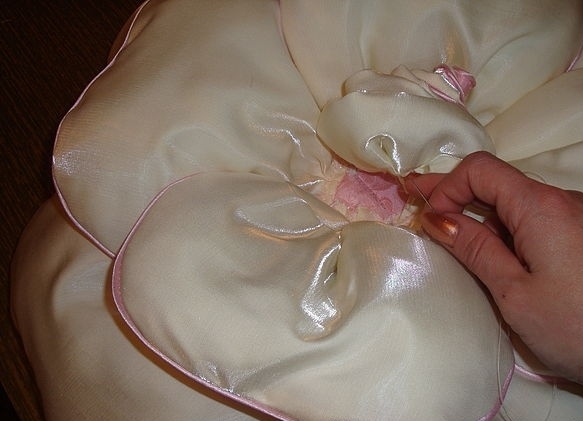
8. In the same way sew small petals, placing them between two large ones. By twisting a prepared strip into the bud, we sew the core of the flower.
Our rose is ready!
Using another pattern, you can make another pillow-rose.
Master-class 2: Pillow-rose with your own hands
It will take:
- pink and beige satin fabric;
- edging;
- sintepon;
- sewing accessories;
- templates.
| | |
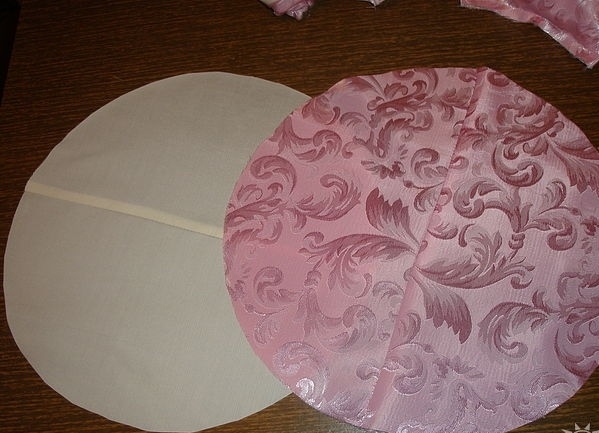
- Cut out of the fabric 4 pieces of each pattern: beige color - smaller size, pink - larger, making approximately the length along the fold of the upper lobe 19 cm and the bottom - 24 cm. Cut 2 bands of different colors 1 m long and 7 cm wide.
- To the front side of the petals of a smaller size, from beige fabric, along the whole circumference we tie the edge, necessarily combining the slices.
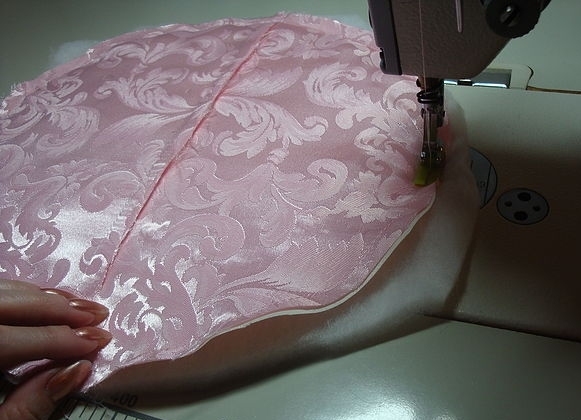
- The corresponding part of the pink fabric is superimposed on top and, combining the sections along the circumference, we spread along the edge. We turn it to the front and cut unevenness.
- Combining the seams, we find the centers of the details and make cuttings there.
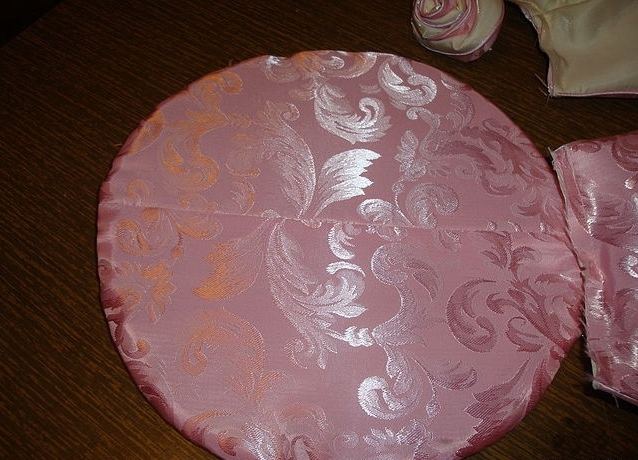
- We fill the petals with sintepon. Sew up the bottom of the details, making a counter fold on the top.
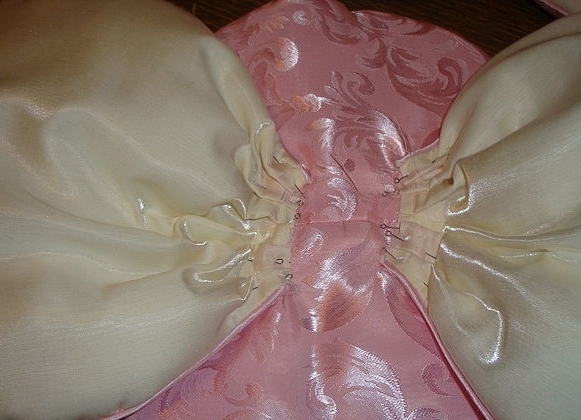
- Two rectangles are spent together with the edging, we turn it out, stuff it with synthepone and staple it in the second cut. Then the resulting workpiece is twisted into a bud and fixed from below by hand.
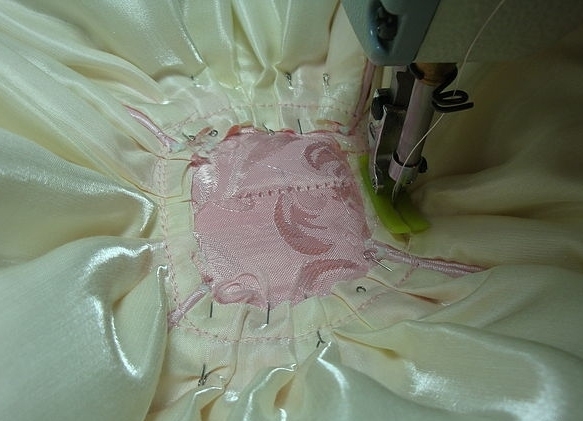
- We cut out 2 circles with a diameter of 32 cm from different tissues. Fold them with the faces and we put them on the sintepon, leaving the hole in order to unscrew it, after which we sew it.
- To the received basis, stepping slightly from the center, we attach large petals, making uniform folds.
- The next 2 petals are sewn just like that.
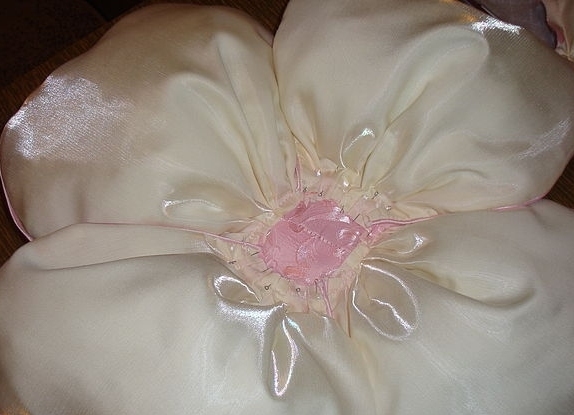
- Over them we impose 4 smaller petals and, making folds, we add them to the base.
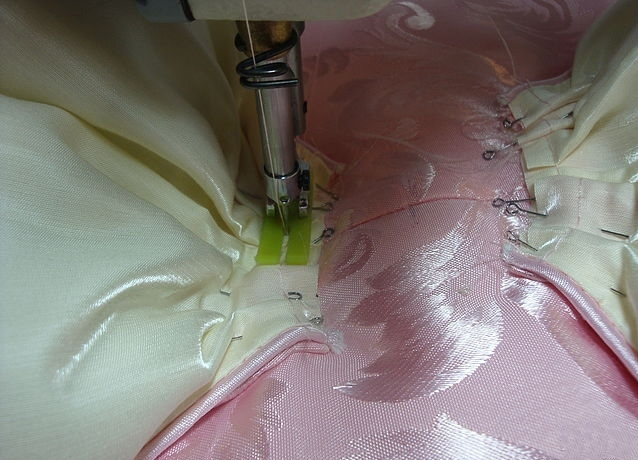
- Sredinka we sew gently by hand.
| | |
| | |
| | | |
| | | |
| | |
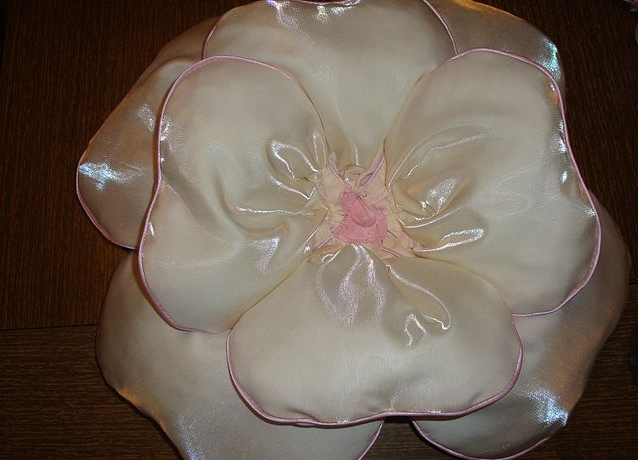
Our rose is ready!
And for the children's room you can sew an unusual pillow-owl .