Each needlewoman, regardless of whether she is a professional seamstress or knitter, or just an amateur who makes something unusual with her own hands, eventually overgrew with a multitude of tools, accessories and trifles necessary for work. There is a need to organize the workspace in such a way that not only not lose all "needs", but also at any time to detect them when necessary. This is especially true for needles and pins, which are used to "find" in the most unexpected places. The length of storage is well suited to a variety of beds that are easy to make by hand.
In this review we will help you with an answer to the question of how to make a needle bar with your own hands, by offering interesting patterns and master classes.
Needle from the bank
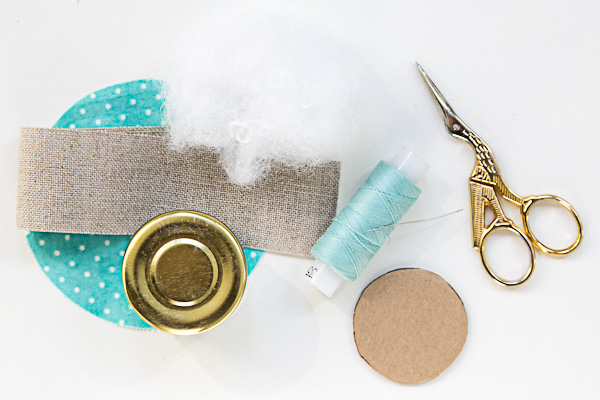
To create an original needle bed, we will need:
- a small jar, for example, from baby food;
- glue gun or superglue;
- holofayber, sintepon or sintepuh for filling;
- dense cardboard;
- fabric: for the top of the needle bed and the trim of the side of the jar;
- ribbons, ribbons and flowers for decoration;
- thread and needle;
- scissors.
Progress:
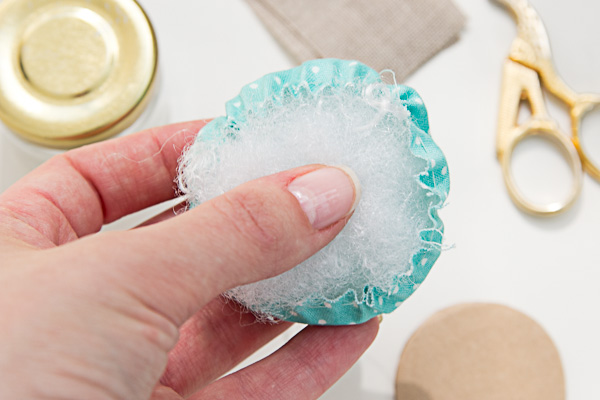
- From the fabric, we cut out a circle that is twice the size of the lid. Stitch with a simple seam, tighten a little and fill with filler.
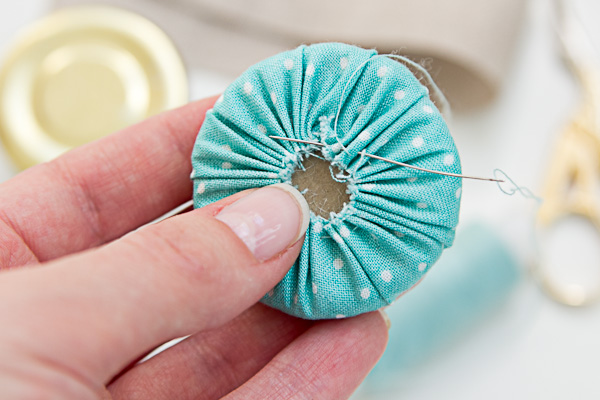
- From the cardboard we cut out the circle by the size of the lid, put it on top of the filler, tighten it and fix it with a thread.
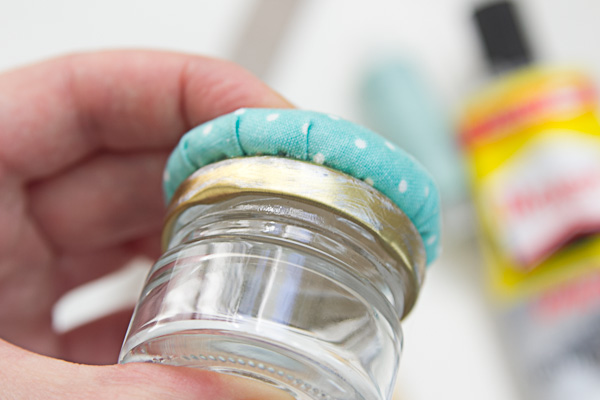
- The resulting cushion is fixed on the lid with a gun or glue.
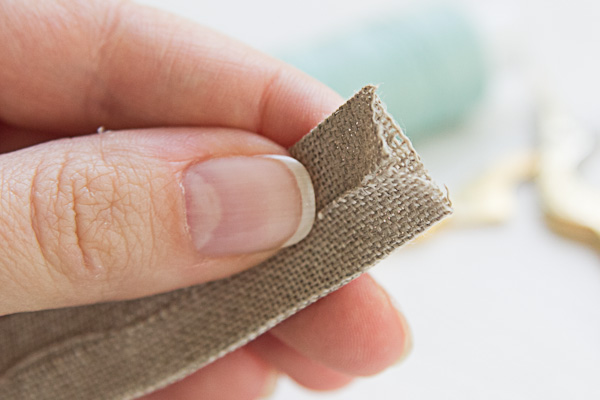
- Take a strip of linen fabric and glue, wrapped inside the edges. We glue the resulting edge around the jar close to the cushion, so that there is no free space between them.
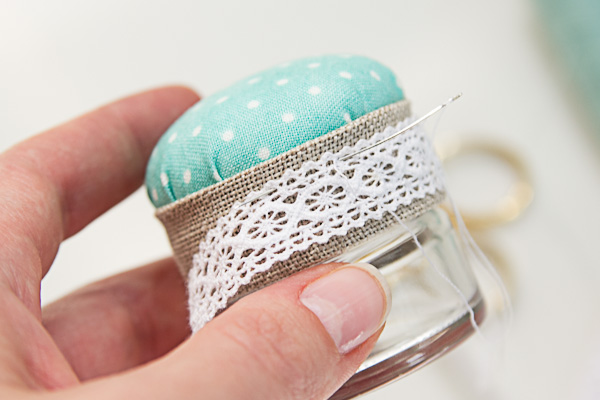
- We decorate the side - sew on top of the lace.
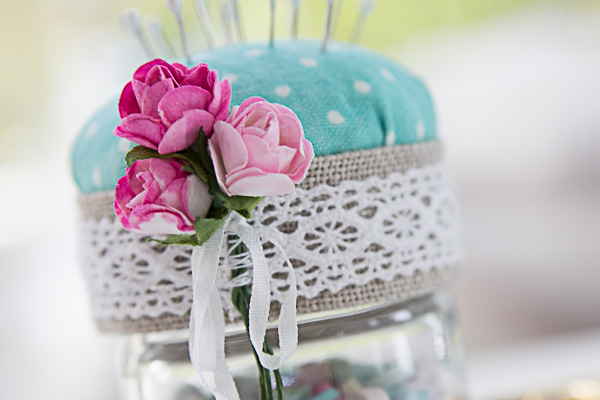
- Sew flowers and ribbons on the joint.
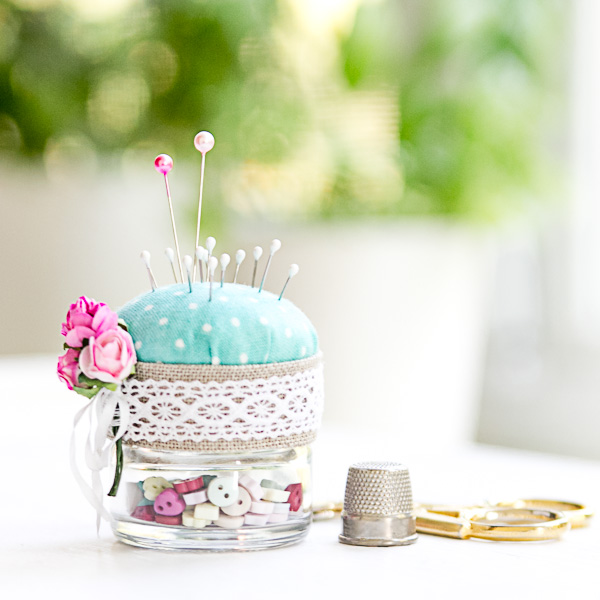
- The charming bed is ready. By the way, the bank can also be used for the purpose of storing some small things, for example, buttons.
How to sew a beautiful needle bed with a hat?
We need:
- dense cardboard;
- the cloth;
- tapes;
- flowers;
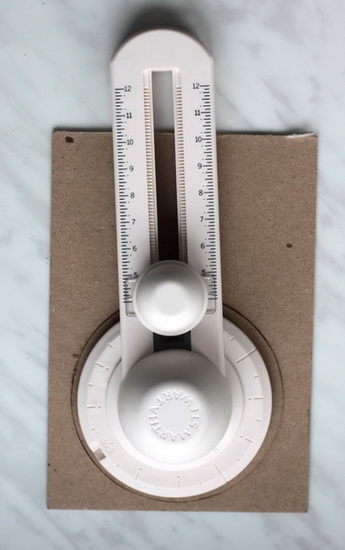
- cutter for circles or compasses and scissors;
- decorative needles;
- needle and thread;
- glue gun or glue;
- sintepon for filling.
Progress:
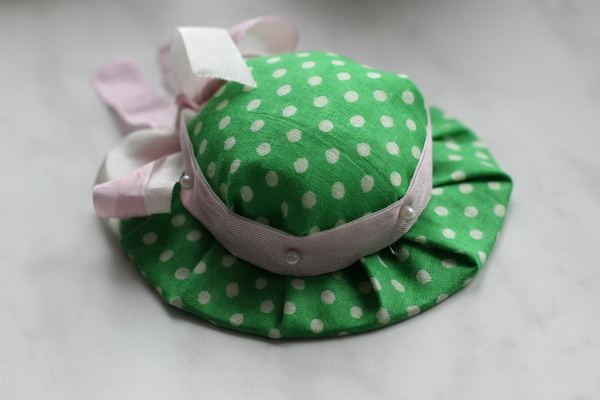
- From the cardboard we cut out a circle with a diameter of 10.5 cm.
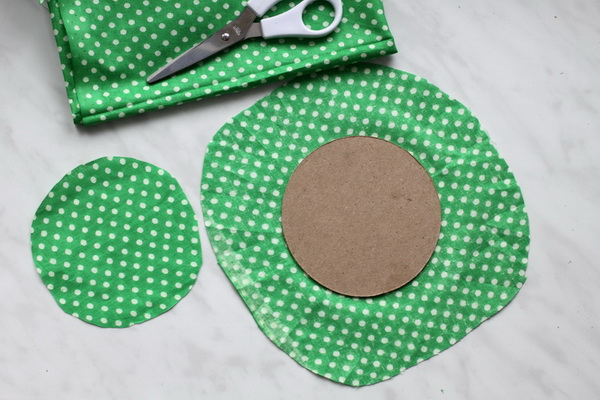
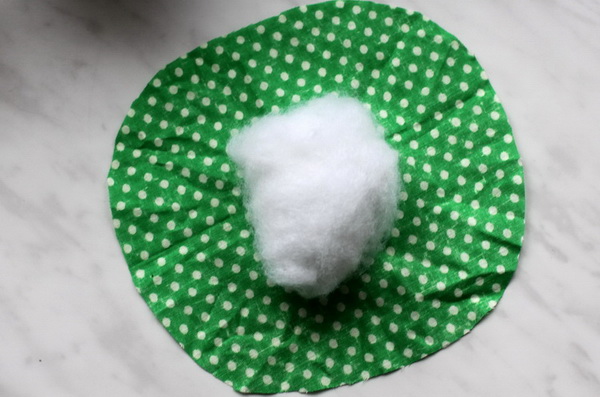
- Two more circles are cut from the fabric - 14 and 22 cm in diameter.
- In the middle of a larger mug of cloth, put a circle of cardboard and ply around the perimeter, forming a neat crease.
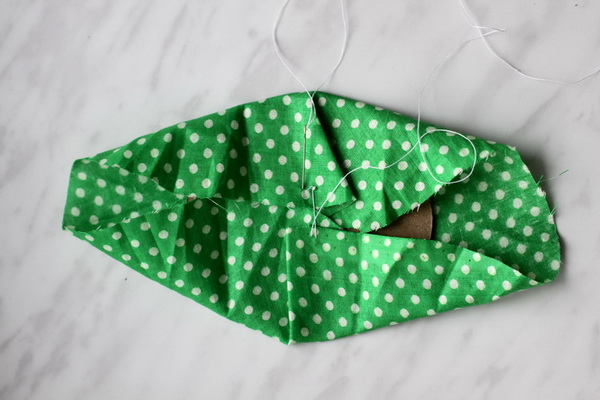
- In the fabric circle we put a smaller sintepon ball.
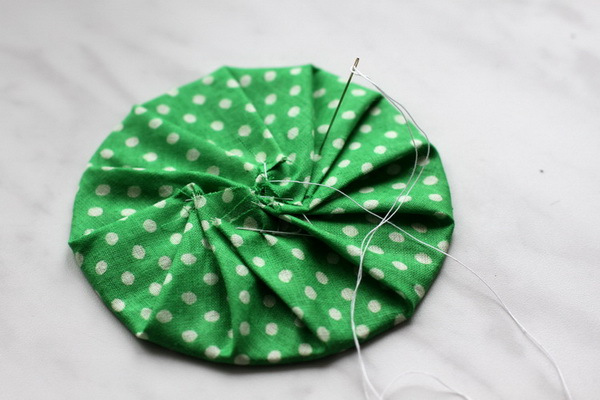
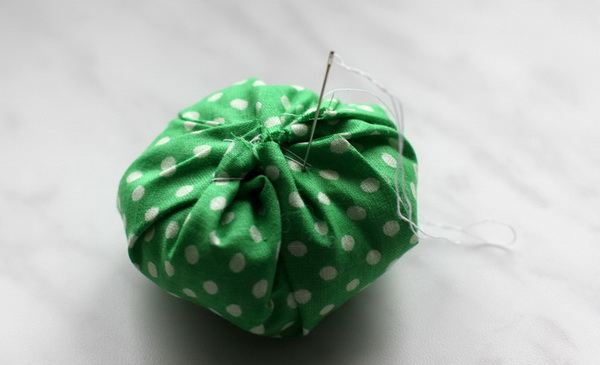
- The opposite edges of the fabric are joined and sewed together.
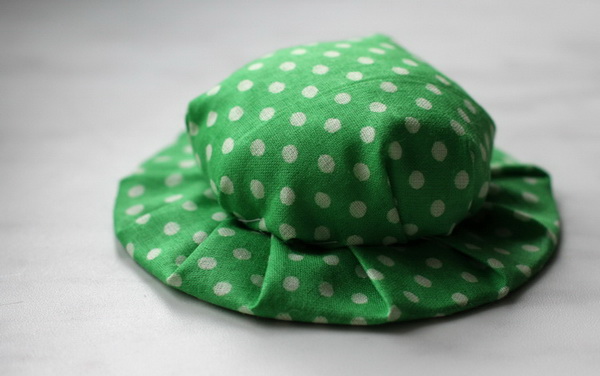
- Sew the two parts of the cap.
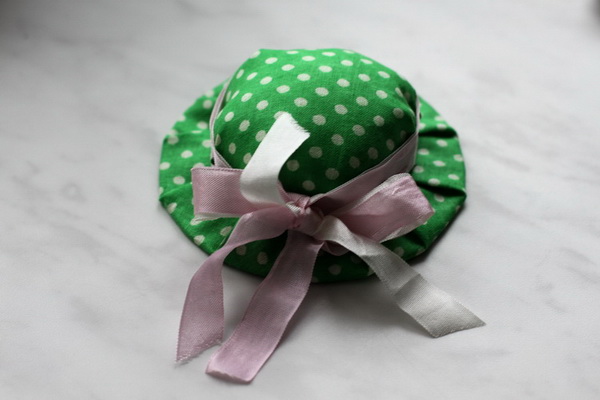
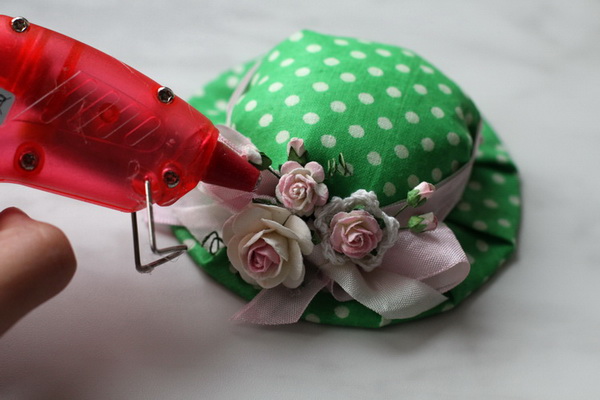
- Around the tulle we tie ribbons, fix them with decorative pins.
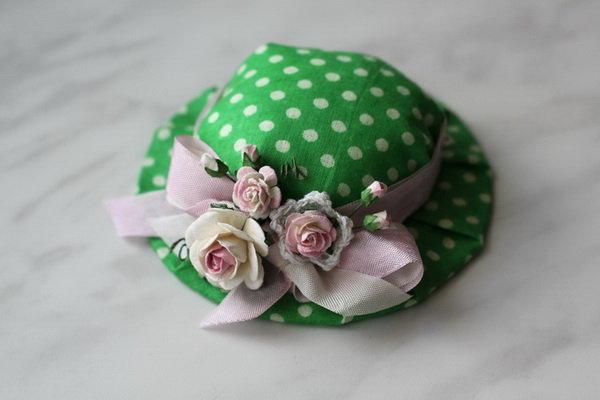
- We paste flowers.
- The needle-hat is ready.
| | |
| | |
| | |
Armchair-needle bed - master class
For the manufacture of a miniature chair, we need:
- a small piece of dense fabric - coarse calico, satin or chintz;
- scissors;
- dense cardboard;
- sintepon for packing;
- glue gun.
Progress:
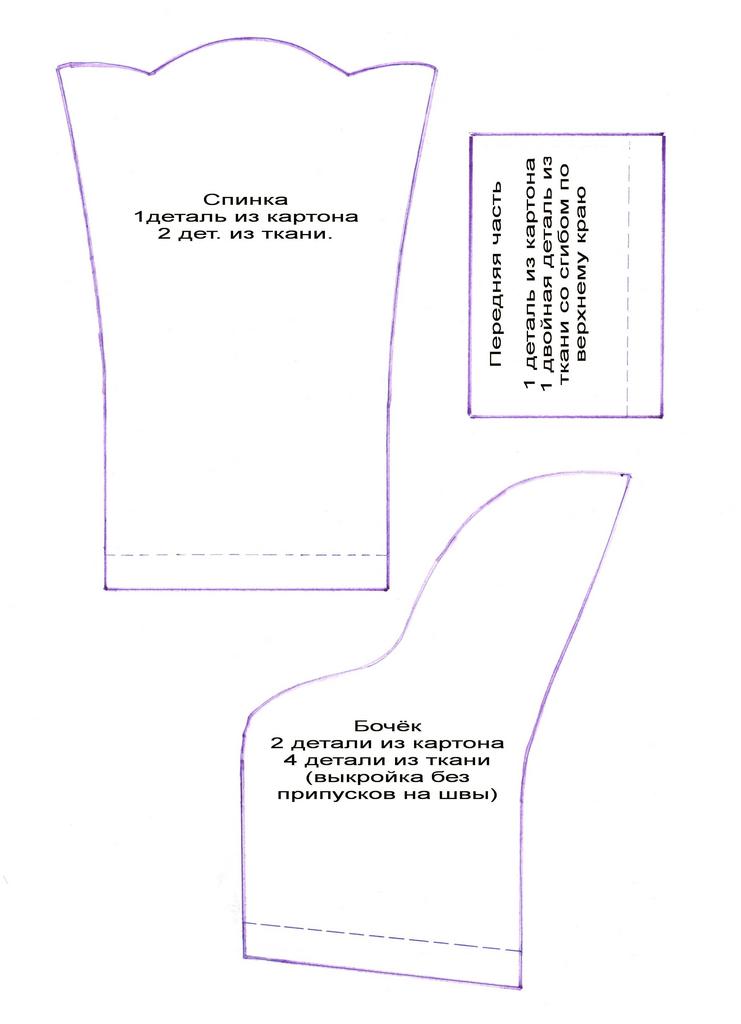
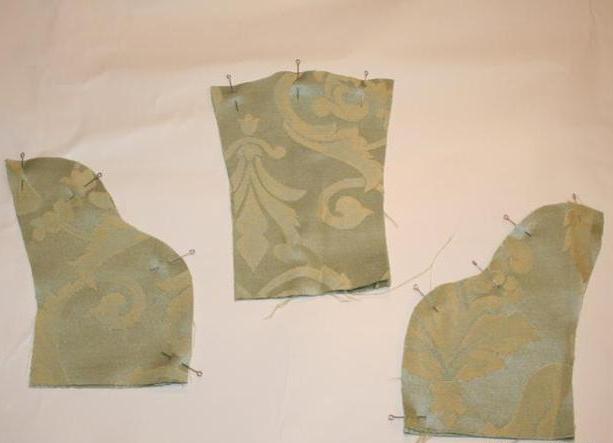
- Move the details of the chair to the fabric on the pattern, leaving the allowances on the seams - two parts of the backrest and four - sidewalls. Cut and pound two by pins.
- On the curved edges of the pattern to sew, retreating 1 mm from the drawn edge towards the allowances.
- Cut out the details of the chair from the cardboard in a pattern, retreating 2 mm in the direction of its decrease: one part of the back and front and two - side.
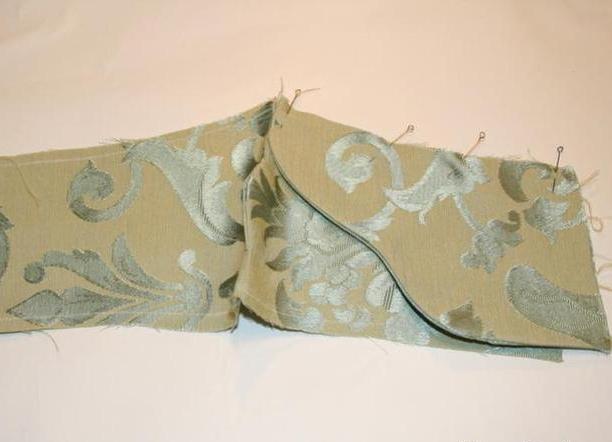
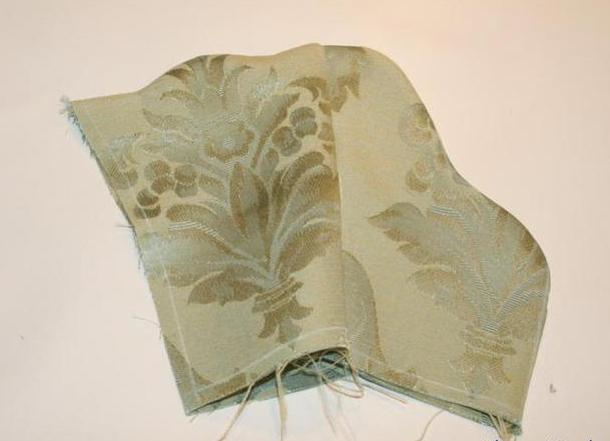
- Stitched parts to unscrew and steal the seams.
- Insert cardboard inside the sewn parts. The details of the chair are folded, fastened with pins and sewed together.
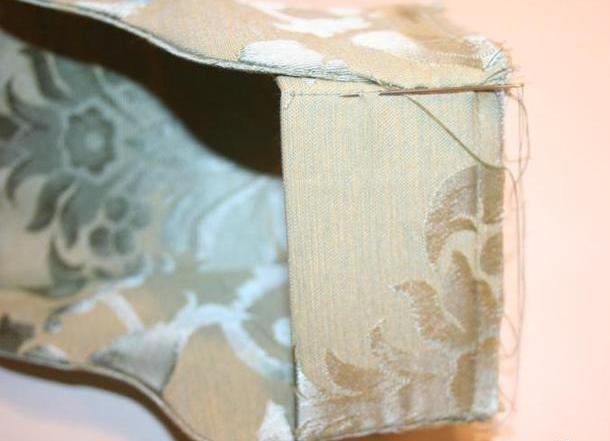
- The front part of the chair is also wrapped in cloth and sewed with three seams to the sides and back. Inaccurate edges will subsequently be hidden under the technical element of the needle bed.
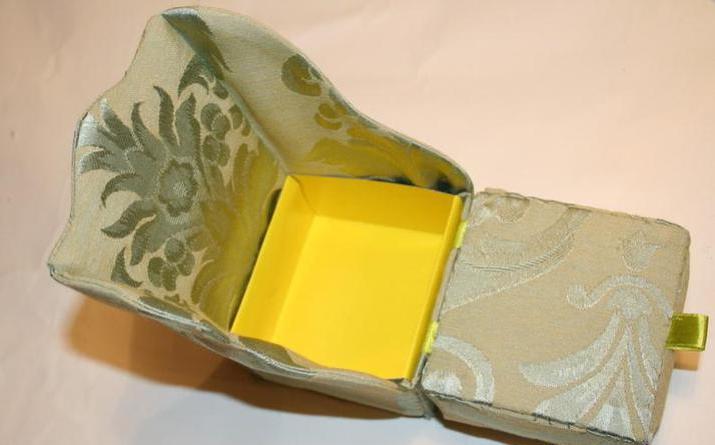
- We make a cardboard box: the bottom is square with sides of 7.8 cm, depth - 4.5 cm. The side details are turned outwards and inserted inside the chair.
- Cut out 3 cardboard boxes with sides 8 cm, one wrapped in cloth.
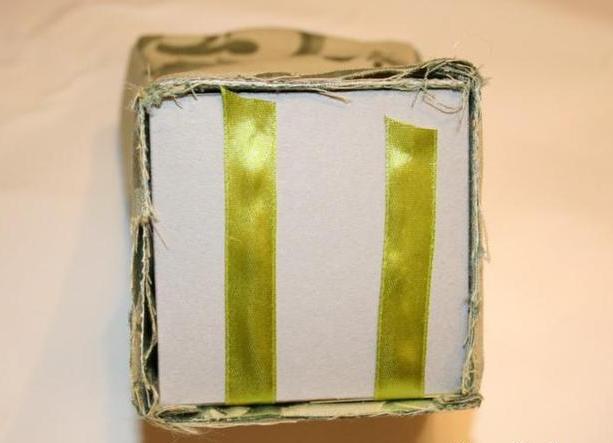
- We cut out the same squares from the sintepon, put them on the cardboard and wrap the seat.
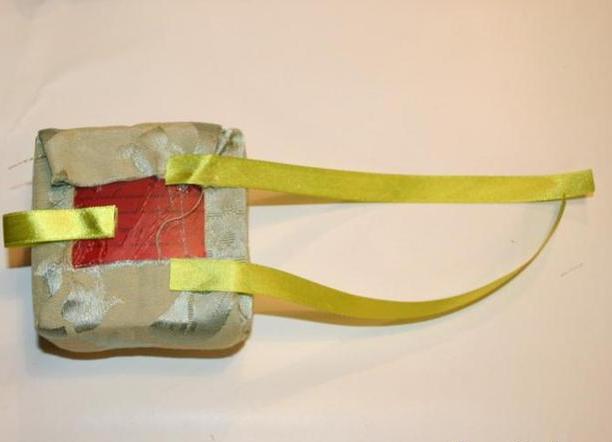
- We tighten the saddle with a cloth, fix the edges with a glue gun, from above we glue the tapes.
- Prepared in advance, the cloth covered with a cloth is applied to the cushion and sewed with a hidden seam.
- The ends of the tape should be glued between the front part and the box.
- It turned out that this is a chair with a secret box, in which you can store chalk, thimble and buttons.
| | |
| | |
You can also crochet a cute needle bed.