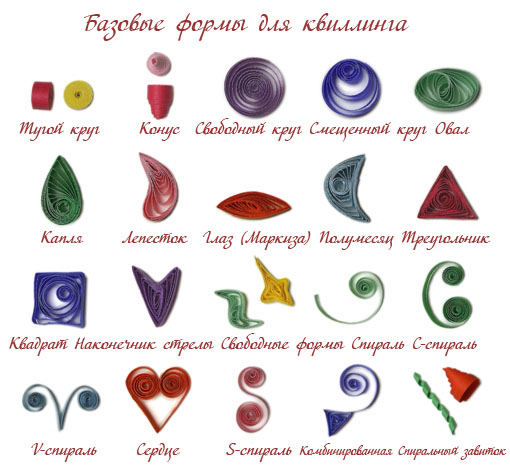
A postcard in the quilling technique can make even a beginner with his own hands for any holiday, for this it is enough to know the technology of manufacturing the basic elements and have a good imagination.
In this article, we will look at a few master classes, from which you will learn how to make postcards in the quilling technique.
Master class 1: Valentine's day card
It will take:
- light cardboard;
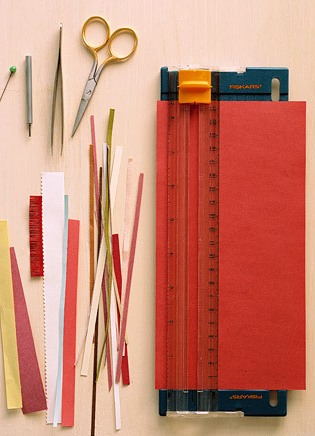
- Quilling paper for all shades of red;
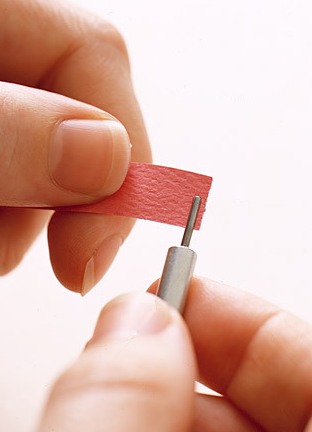
- tool for winding rolls;
- PVA glue.
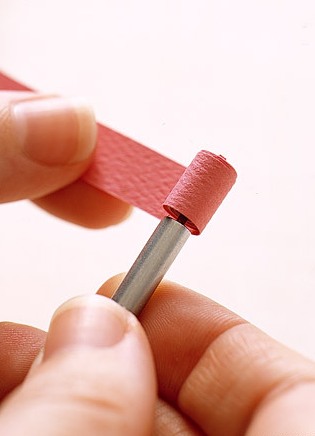
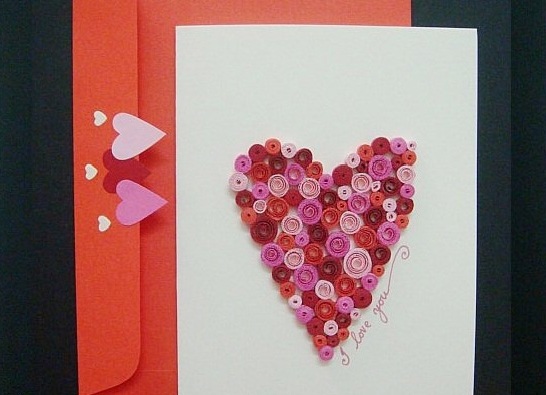
- We wind multicolored tight rolls of different sizes, necessarily fixing the end with glue, so as not to bloom.
- We glue them in the form of a heart on the folded in half cardboard.
| | |
| | |
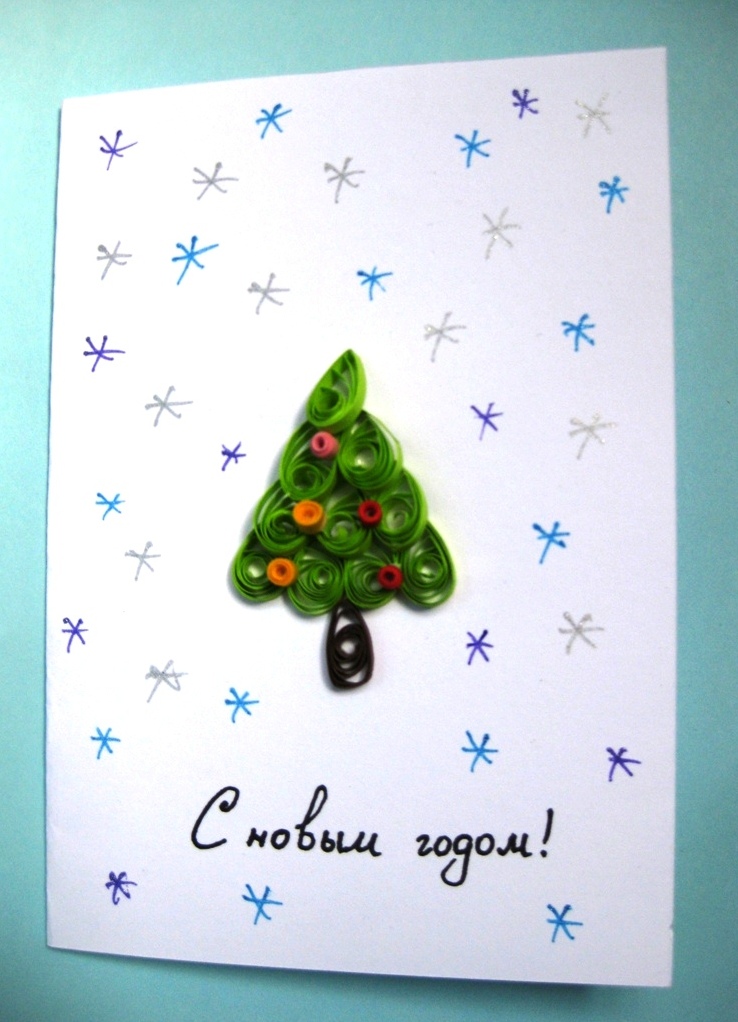
Master class 2: New Year's card
It will take:
- strips for quilling 3mm in different colors;
- PVA glue;
- tool for winding rolls;
- light cardboard.
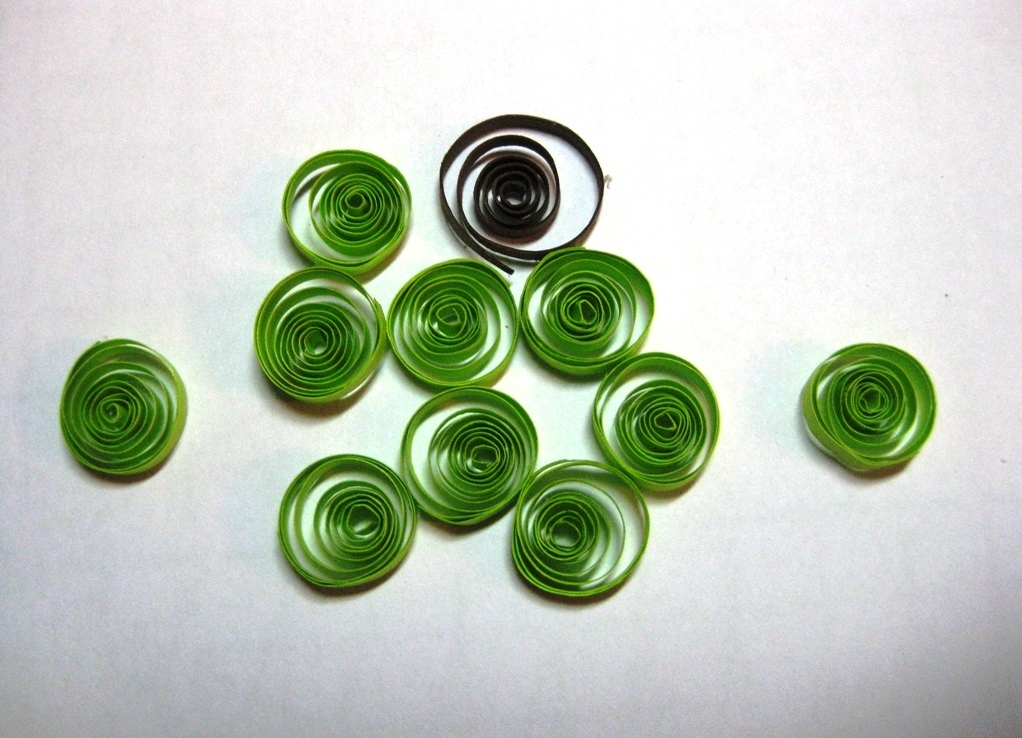
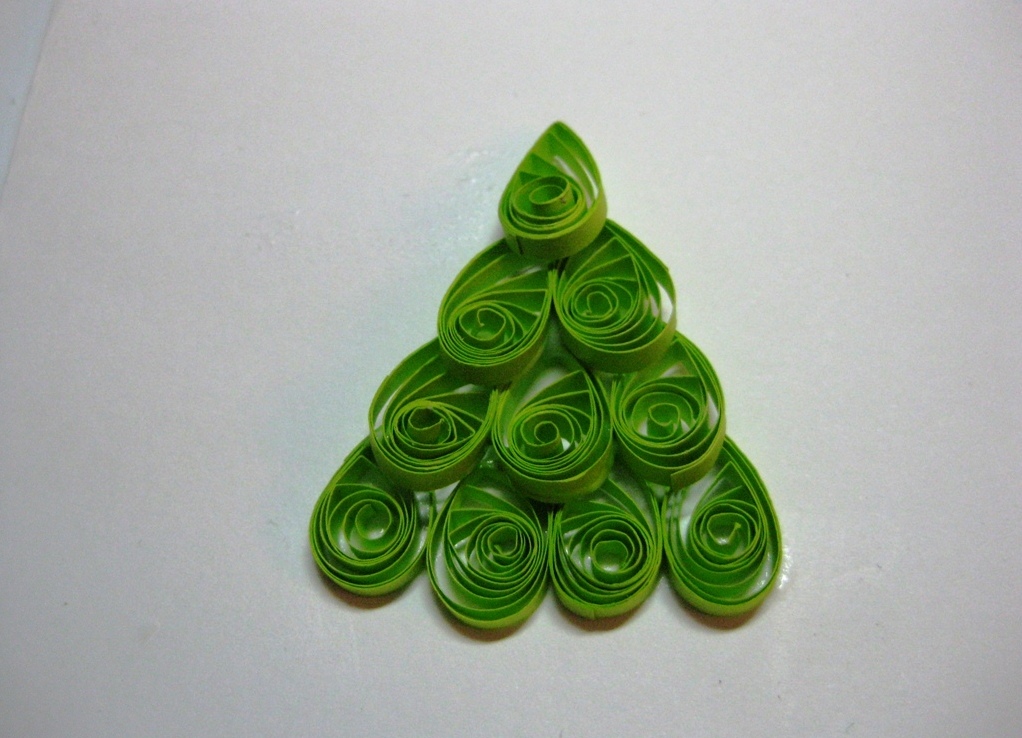
- From green stripes wind loose rolls (the amount depends on the size of the proposed heart), for our tree is enough for 10pcs. From the black or brown strip do 1 roll.
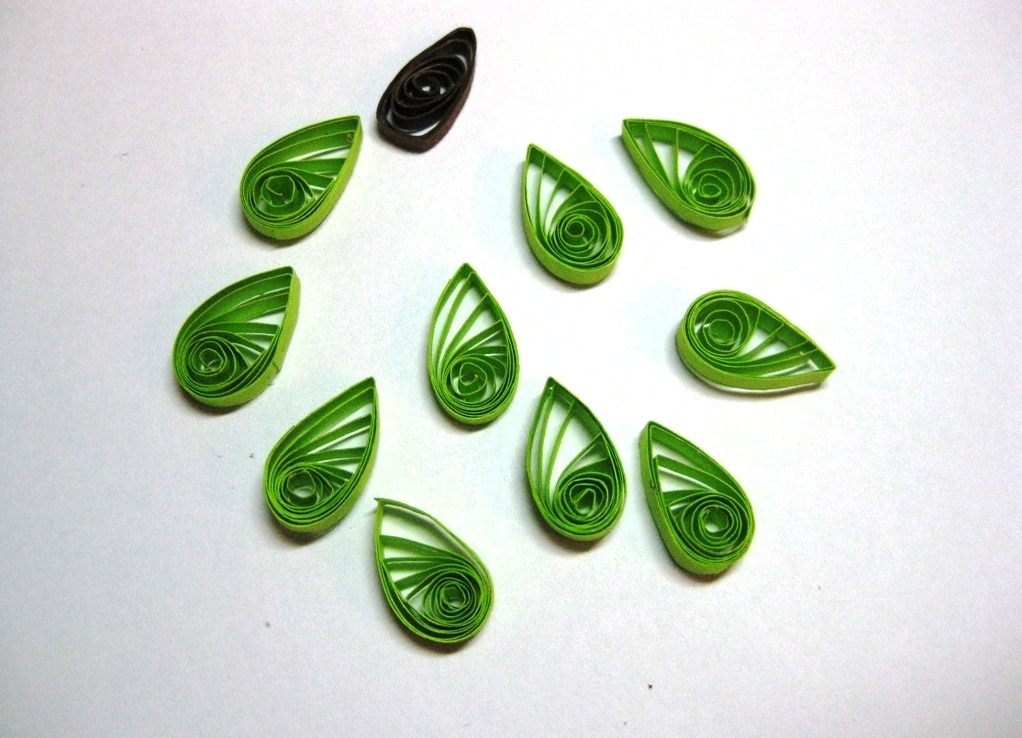
- Pressing them on one side, we give them a drop shape.
- To the cardboard folded in half, we begin to glue the lower tier of the tree, consisting of 4 elements. The next tier, consisting of 3 elements, is glued, slightly going to the first layer. And so to the top.
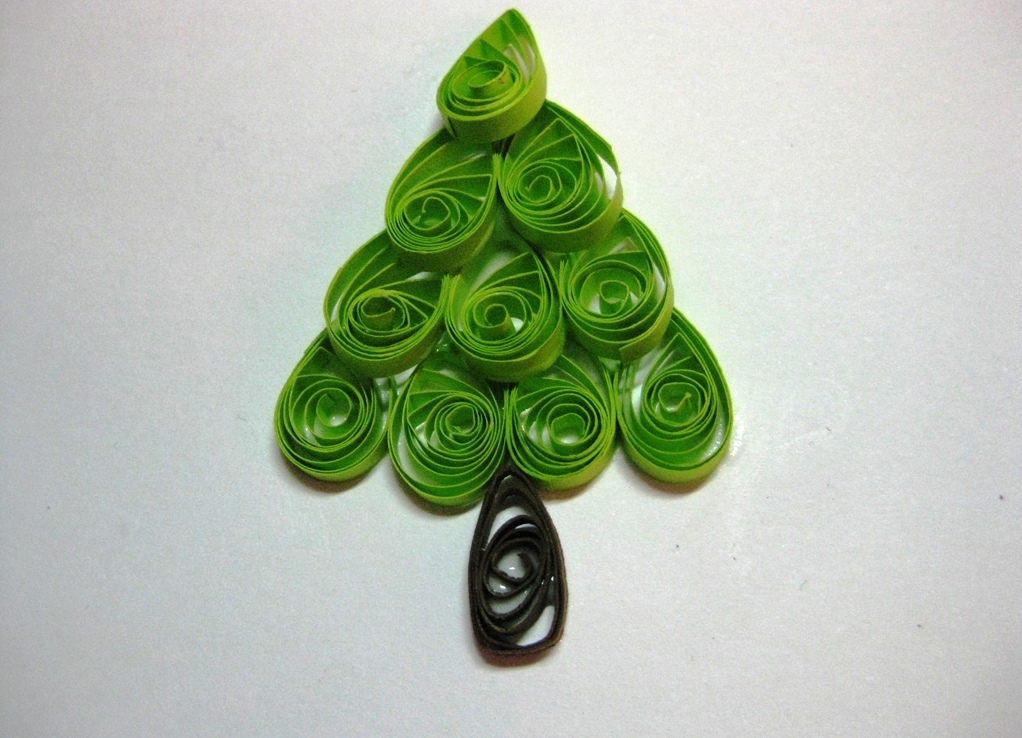
- From below the fir tree, in the middle we glue the trunk.
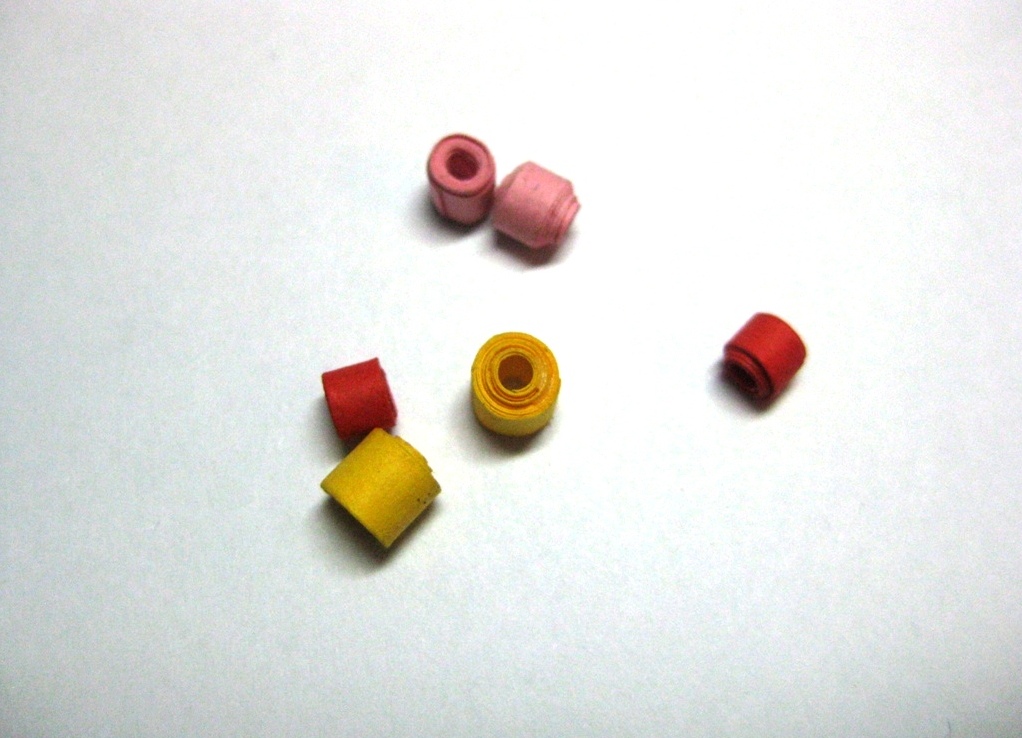
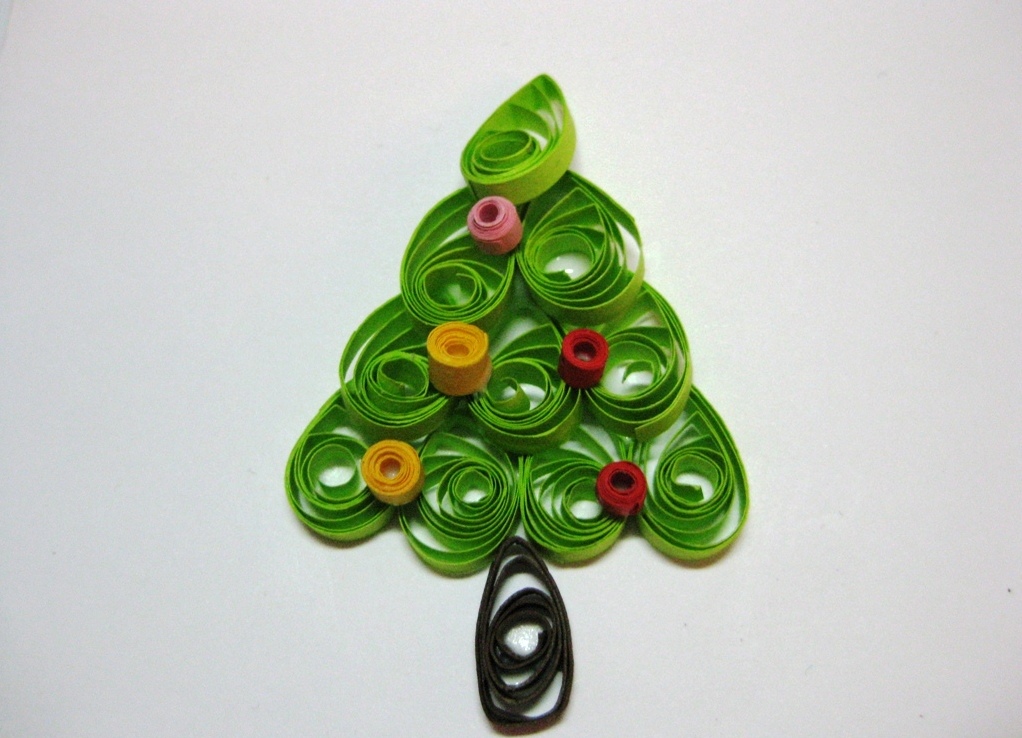
- The resulting Christmas tree is decorated with tightly twisted rolls of different colors, gluing them over the Christmas tree.
- It remains to draw falling snowflakes and congratulations.
| | | |
| | | |
Such a postcard is suitable for making with children.
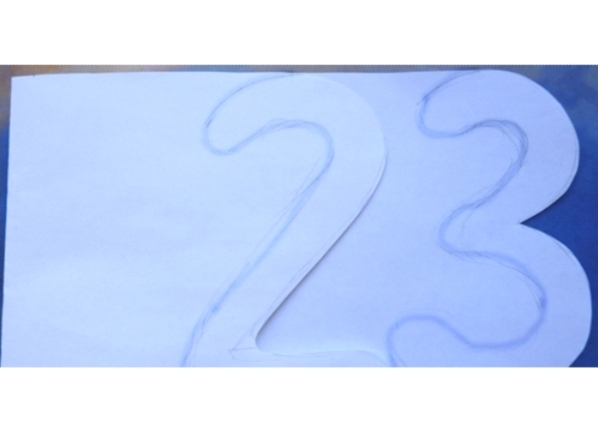
Master class 3: postcard in the quilling technique "From February 23"
It will take:
- white sheet of cardboard;
- color paper for quilling;
- scissors, glue, toothpick.
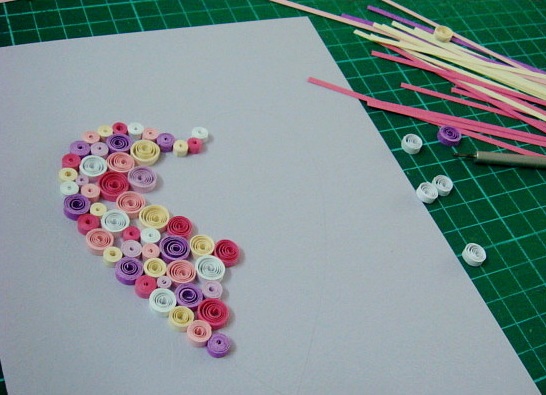
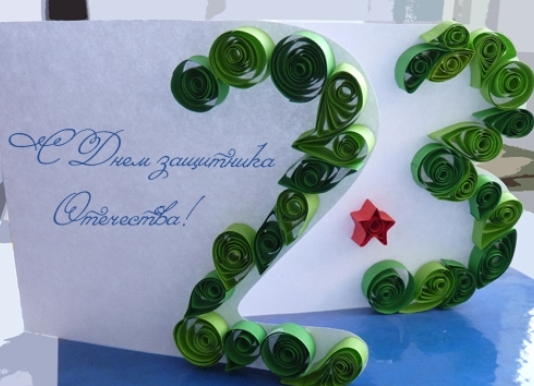
- White sheet bend so that one side protrudes. Draw the number 2 on one part, and 3 on the other and cut them out on the outer edge.
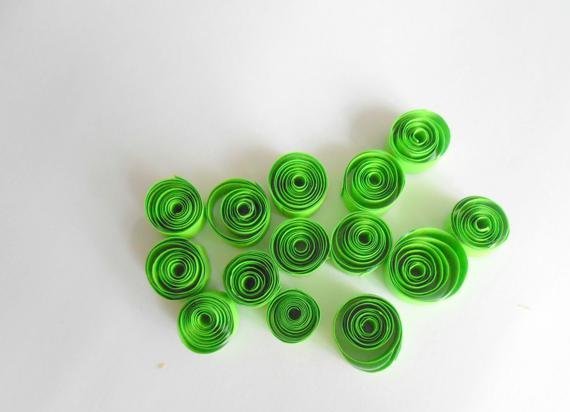
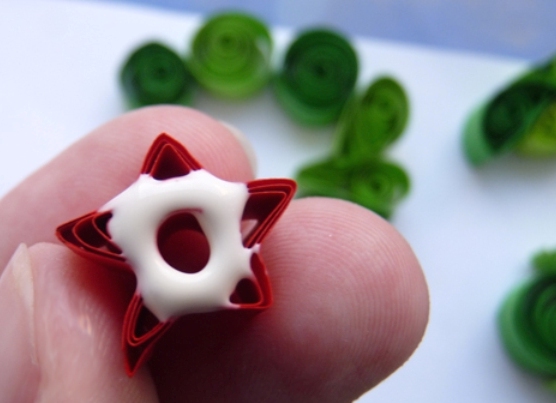
- We make free green billets: wind on the toothpick, spread out a little and fix the end with glue.
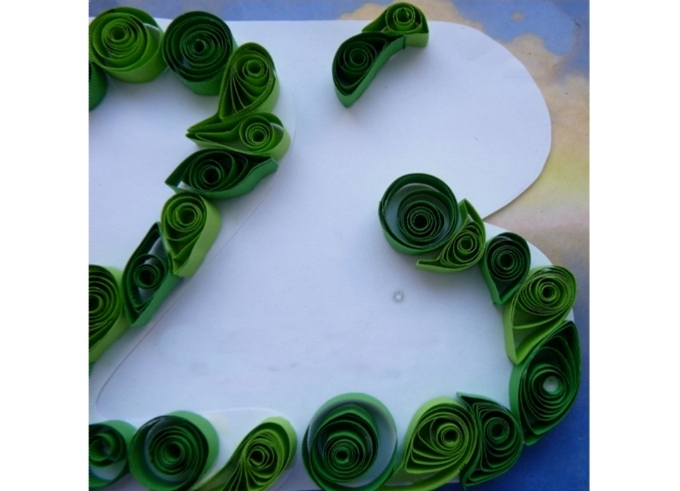
- We paste the received green elements in the form of figures, giving them the necessary form.
- We paste a red star on the postcard and sign it.
| | |
| | |
So you can make a postcard with any number to congratulate you on your birthday.
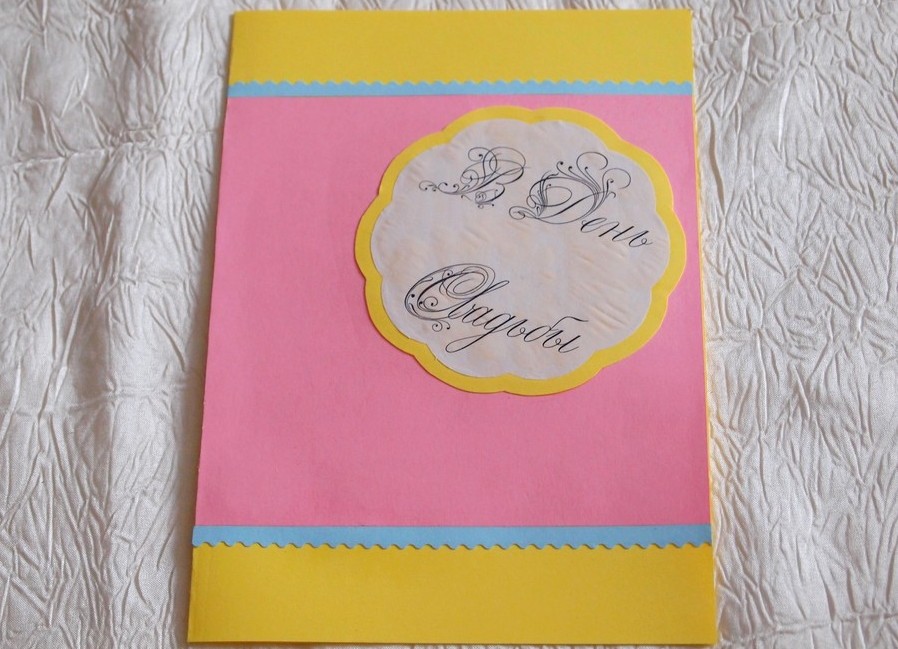
Master class 4: wedding card in quilling technique
It will take:
- yellow and pink double-sided cardboard;
- Quilling paper (3 and 10 mm wide);
- scissors, toothpick, PVA glue and with sparkles.
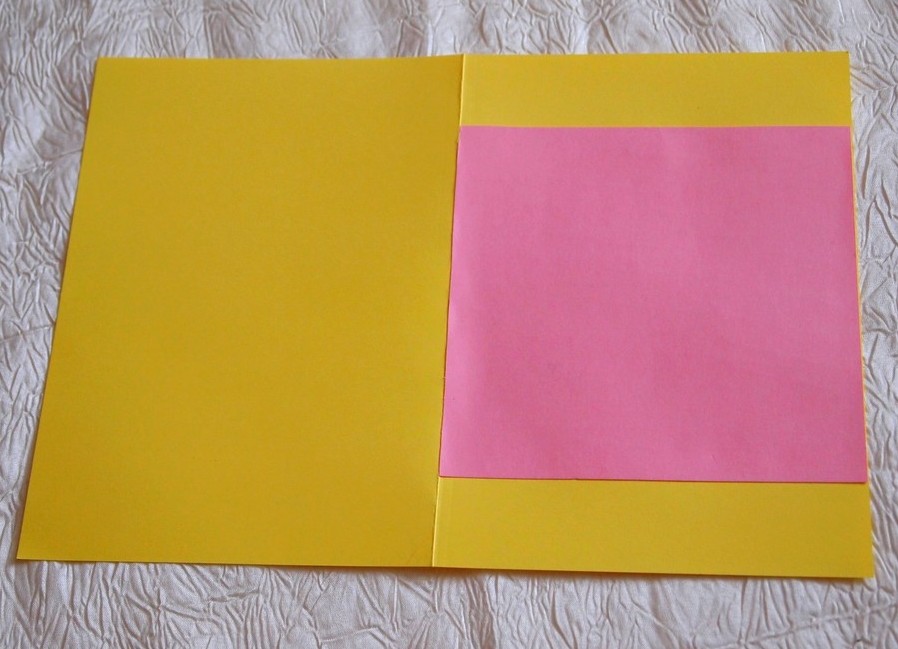
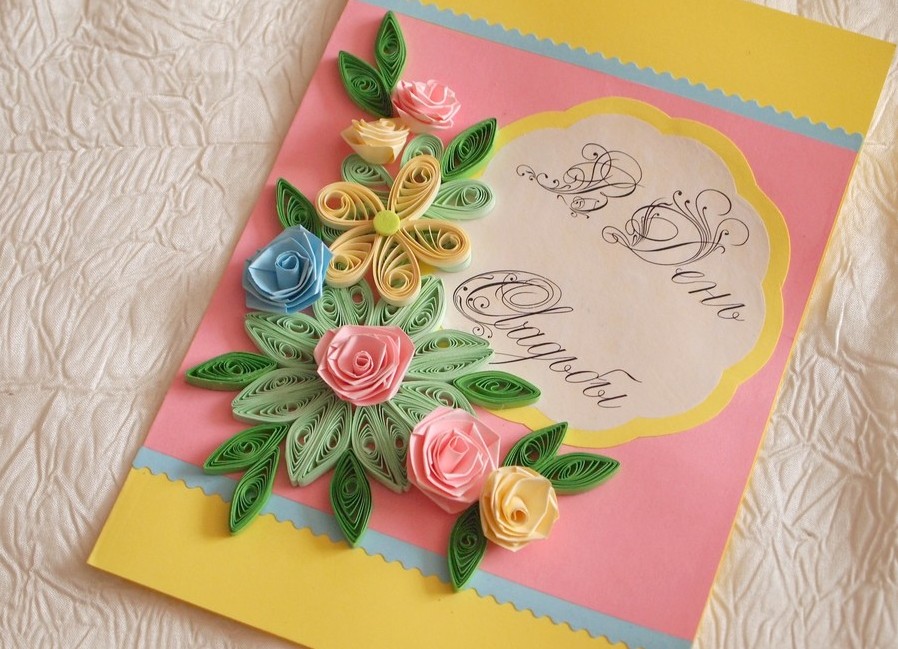
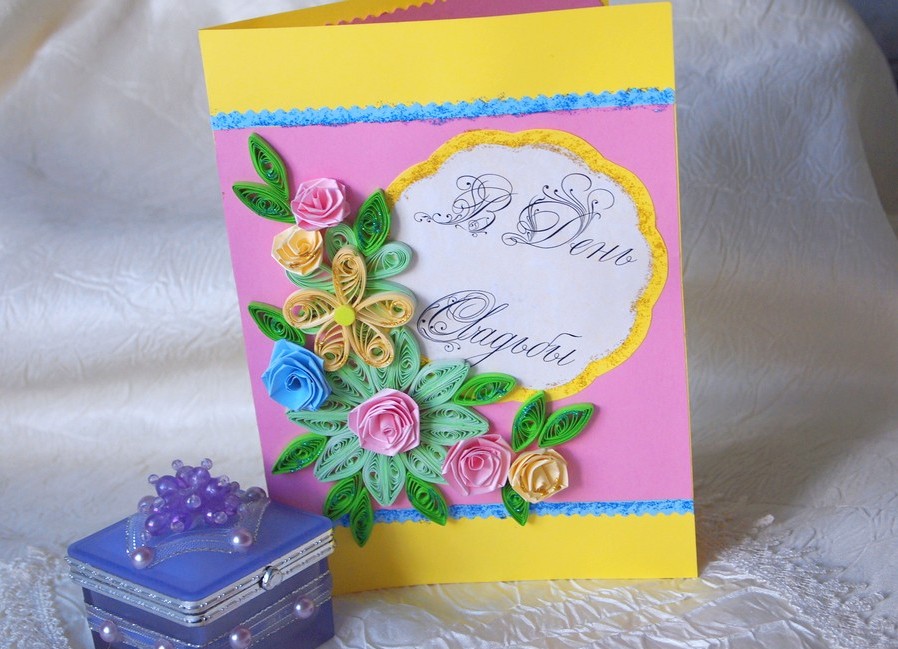
- Fold the yellow cardboard in half, and from the pink - cut out the square and paste it in the middle of the yellow one.
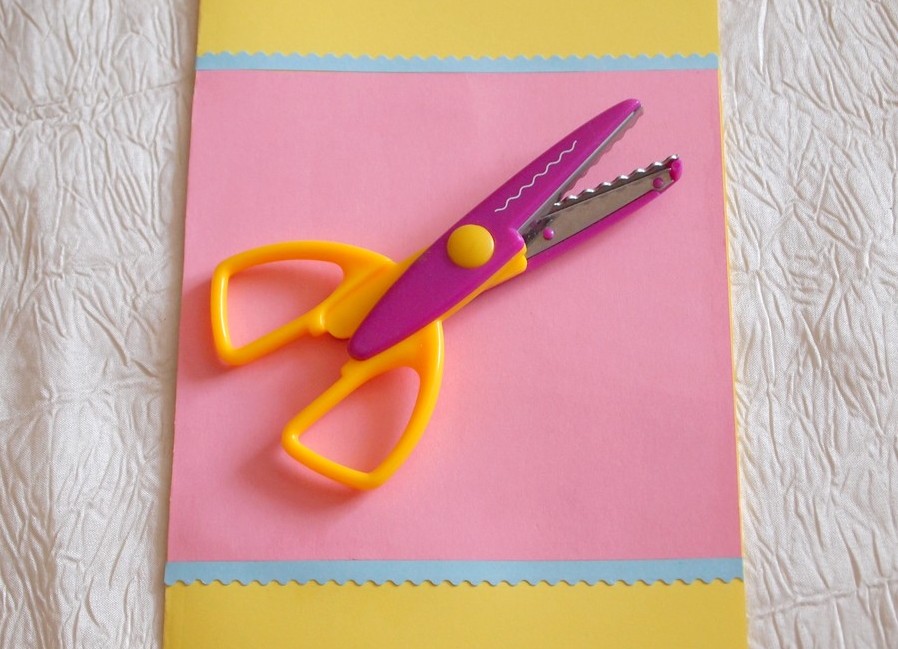
- A blue strip 10 mm wide is cut in half with figured scissors and we paste the obtained strips on the top and bottom of the square.
- From a yellow paper we cut a circle with figured scissors, and from a white paper - the printed congratulation and paste on pink cardboard.
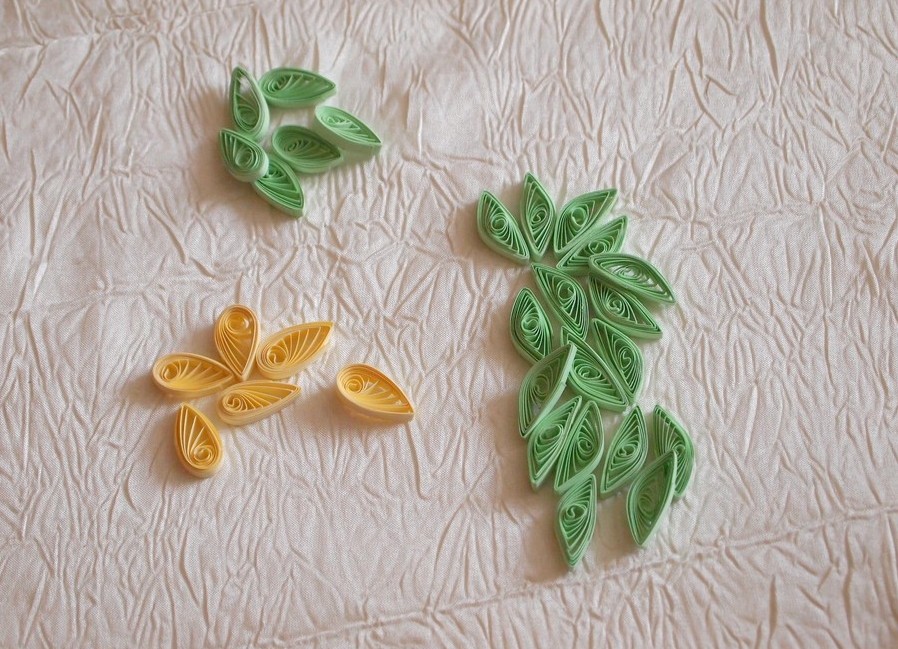
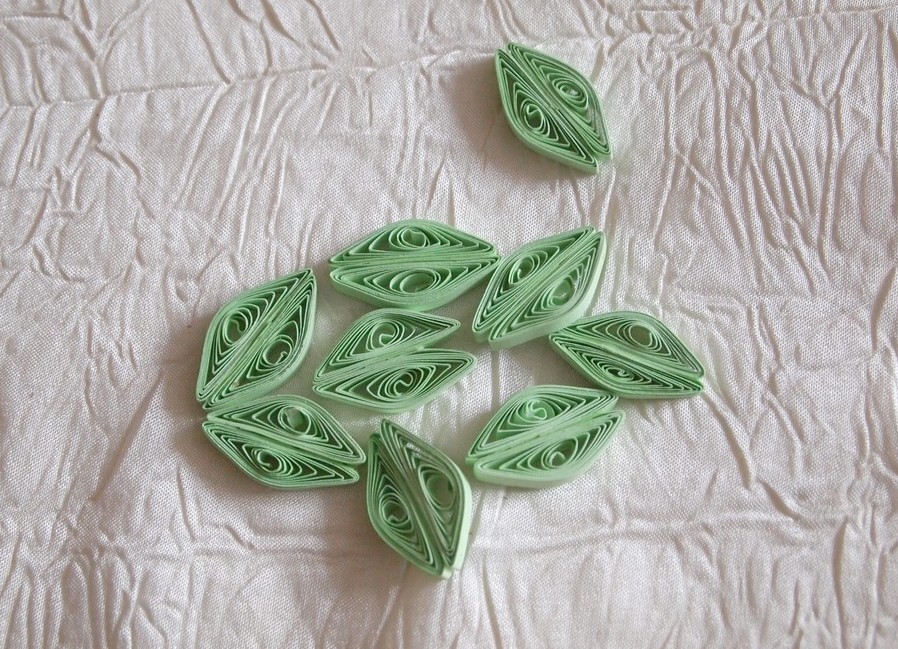
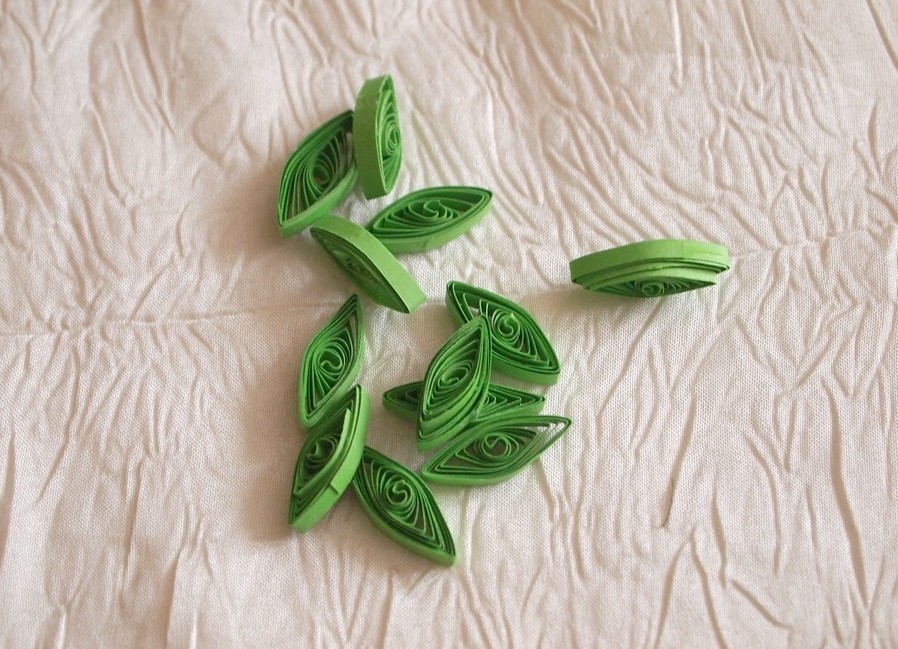
- From quilling paper we make: 6 pieces of yellow and green in the form of a drop and 12 green rolls in the form of a crescent.
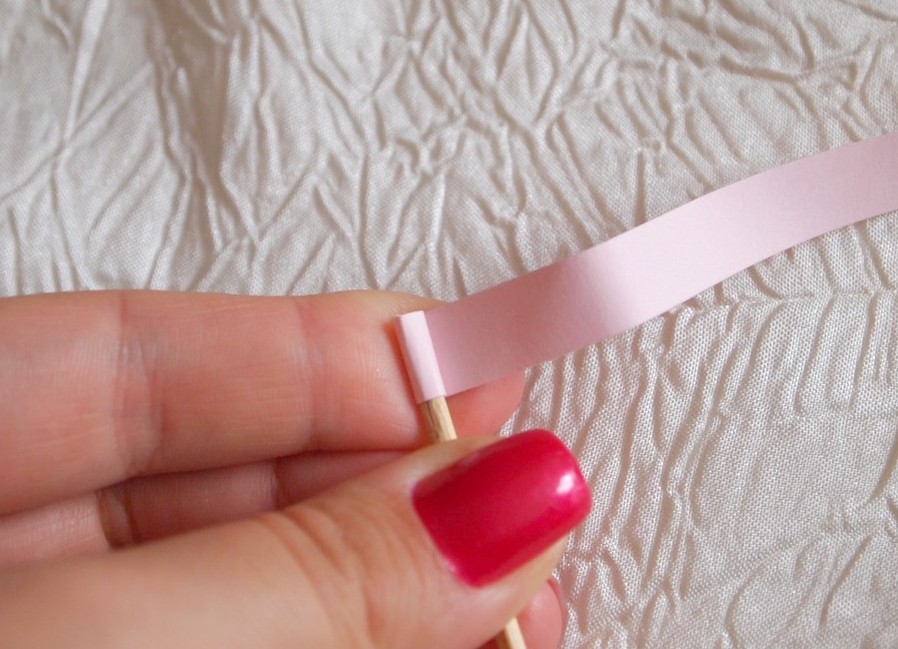
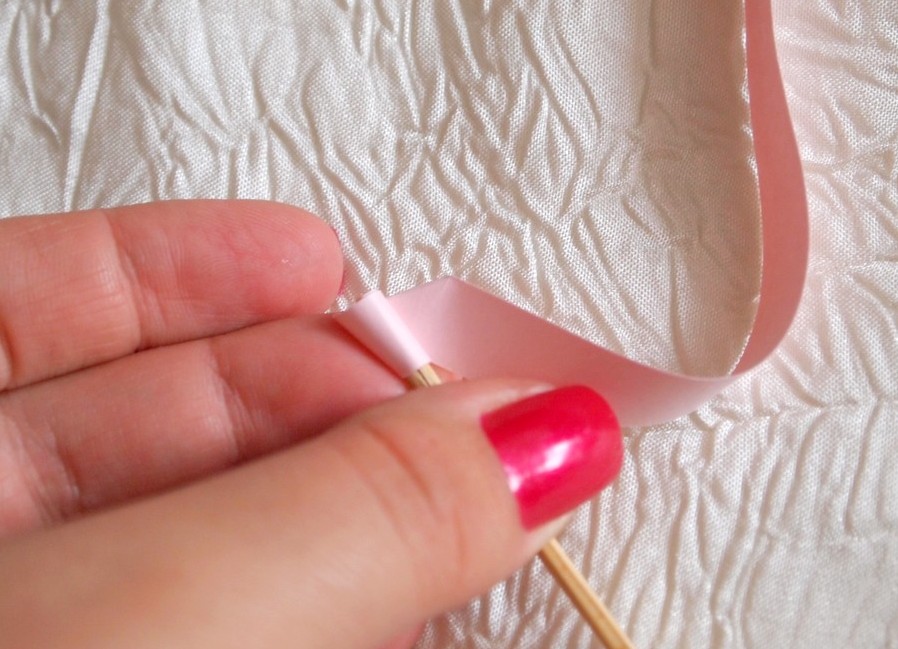
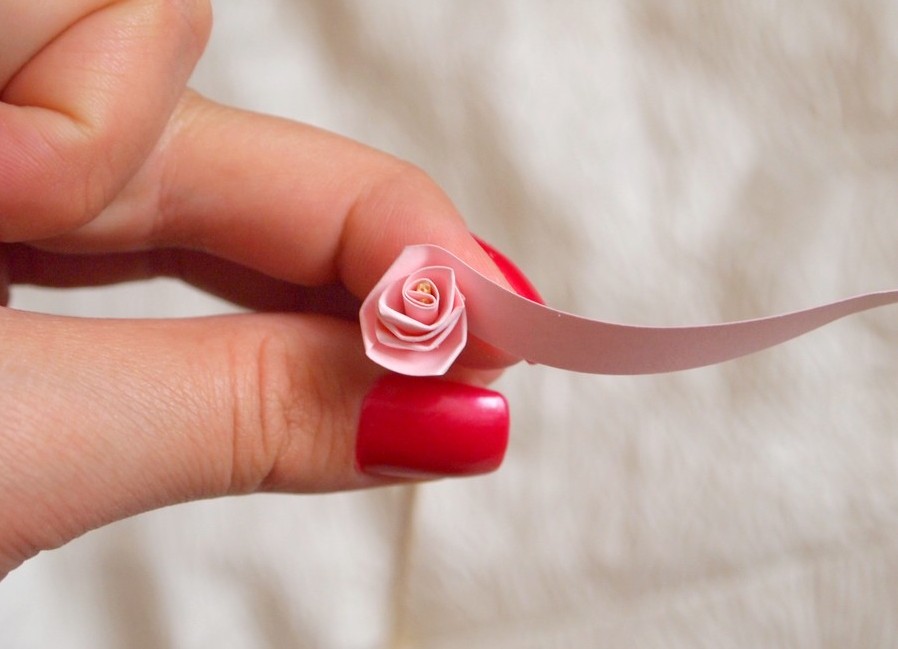
- To make a rose, we begin to wind a strip 10 mm wide as usual, and through
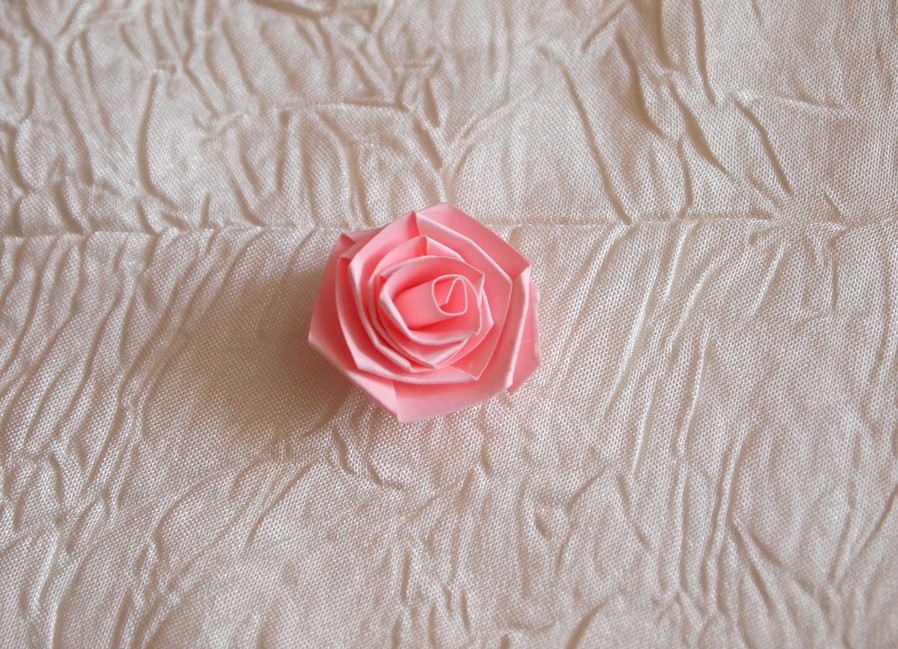
- 10-15 mm, we bend the free part of the strip by 90 degrees. Screwing and bending so on, we make a rose of the size we need. At the end of the strip, the edge must be glued. We make in this way several roses of different colors and sizes.
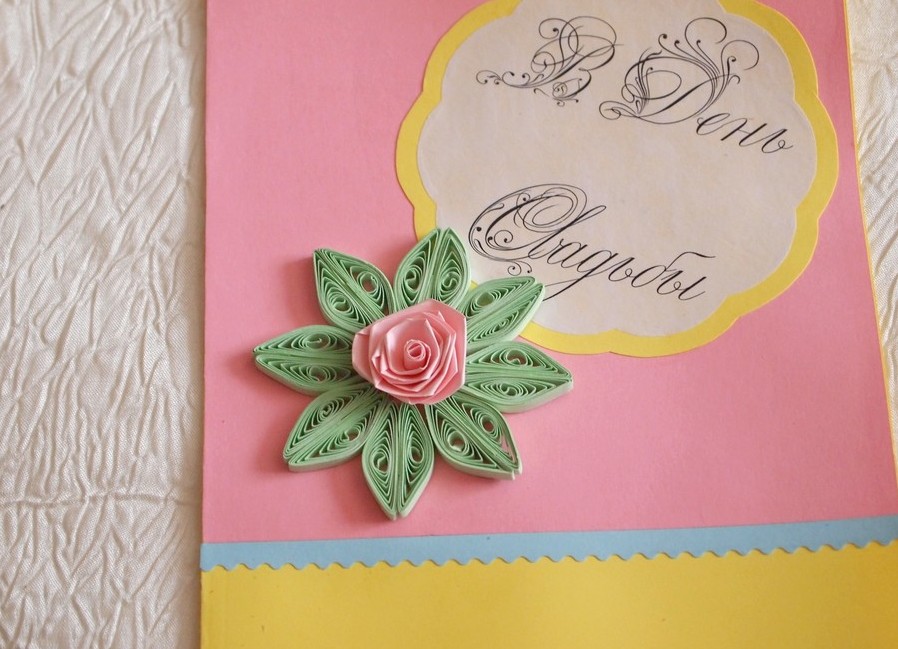
- Gluing green crescents in two, we make petals.
- We paste the obtained petals to the cardboard, and on top of the rose.
- Next, we glue green drops in the form of a flower.
- The other parts are glued as shown in the photo.
- From bright green stripes 3 mm wide, we make 12 rolls in the form of a glass and add a postcard.
- On top of all the elements, we apply glue with sparkles in tone. Our postcard is ready.
| | |
| | |
| | |
A volumetric and air postcard, made in the quilling technique with their own hands, perfectly complements the gift for any holiday.
In the quilling technique, you can create more complex shapes, for example, a bunch of grapes , roses and use them to design postcards.