One of the most interesting hand-made techniques of modern times is cold porcelain. Crafts made from it surprise with its subtle beauty and elegance. Cold porcelain is an excellent substitute for expensive polymeric clay, besides it can be made with own hand from simple materials accessible to everyone.
Crafts for beginners from cold porcelain
This material is ideal for modeling: it is very soft and plastic, it is easy to sculpt thin details of the most complex shapes. Thanks to these properties from cold porcelain very beautiful and realistic flowers are obtained: gloxinia, orchids, roses, lilies, lilacs and many others. Also often sculpt figures of people and animals - real or fictional. In addition, you can try to make with your own hands from cold porcelain ornaments: jewelry made of this material can be an excellent gift for hand-made. Original wall panels look like they also make of cold porcelain. In a word, you can do almost anything in this technique: the main thing is the presence of imagination and the desire to create.
In order to fashion any of these crafts , you will need to first prepare a mass for modeling. Let's find out how this can be done.
Master class " Cold porcelain with their own hands "
There are many ways and recipes for making cold porcelain. Here we will consider one of them - using a microwave oven.
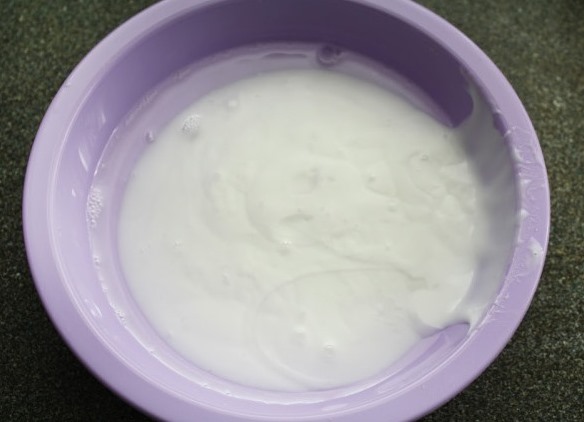
- Mix 1 cup of PVA with 1 tablespoon of lemon juice (or dry citric acid, diluted with water). Add a tablespoon of butter (baby or sunflower) and a spoonful of glycerin. To mix these ingredients, use a dish that is suitable for the microwave.
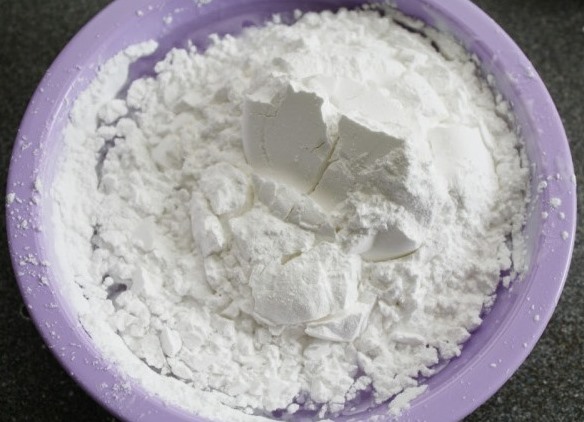
- Then add 1 cup cornstarch to the liquid ingredients. Use potato starch is not recommended - from it cold porcelain simply does not work.
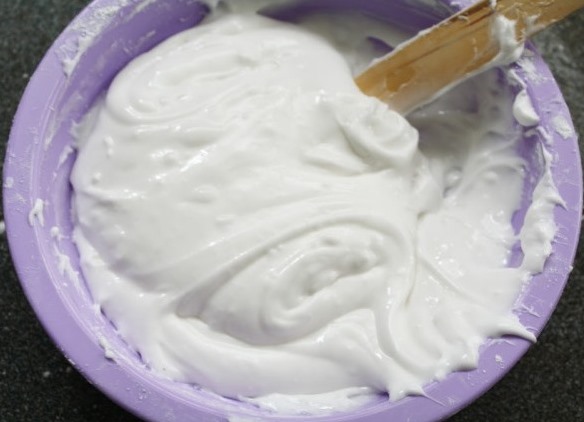
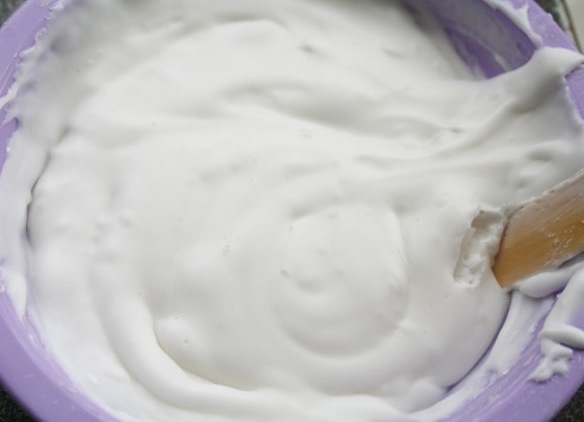
- Mix well with silicone or wooden spatula.
- Put the bowl in the microwave. The length of cooking porcelain depends on the power of your microwave oven. For example, at a power of 800 W, you should set the mass for 30 seconds, and at 1100 W this process will take no more than 15 seconds.
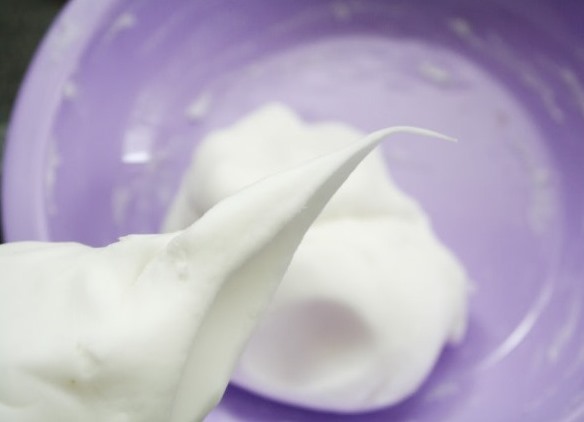
- After removing from the oven, you will see that the surface of the mass has become matte - this means that you are doing everything right. Mix the future porcelain again.
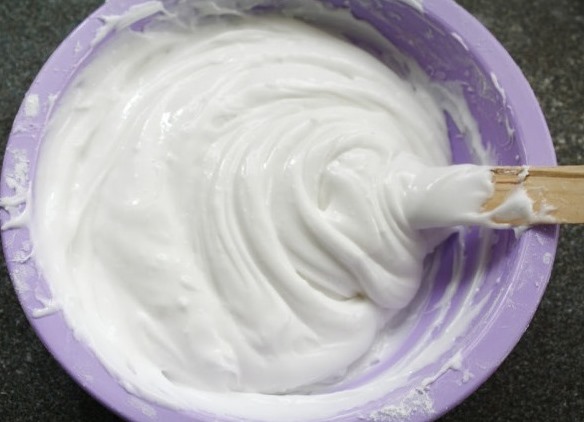
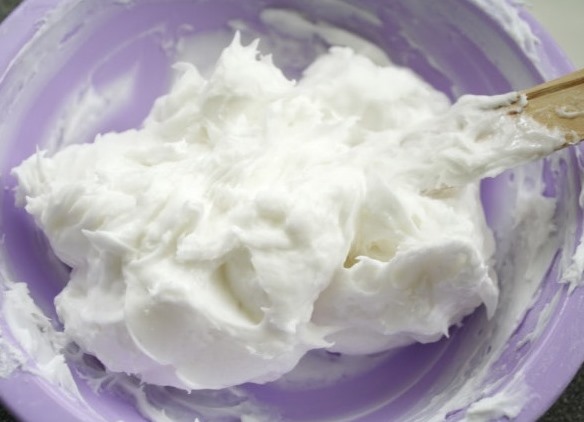
- Repeat the steps described in step 4, two more times. Stir will become even more difficult, the mass will stick to the scapula. At this stage, you can wait until porcelain cool down a little, and knead it with your hands until smooth. It is better to pre-lubricate the working table with a cream or a balm for hands.
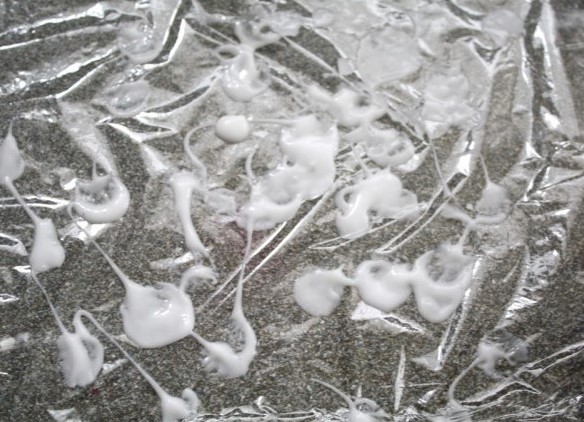
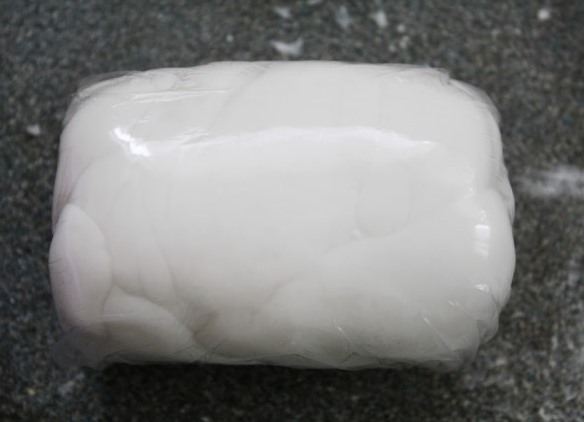
- Store mass for molding should be wrapped in polyethylene. It is convenient to use for this purpose a food film, which also needs to be lubricated with cream.
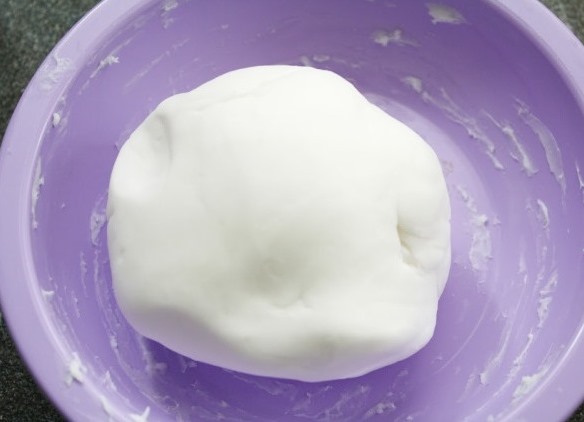
- This is how the "dough" of cold porcelain should look. If you exactly adhered to the recipe and the technology of its manufacture, the mass will be white, without yellowness, very plastic and pleasant to the touch. In the future, with the help of dyes, porcelain can be given absolutely any shade.
- Porcelain should stretch well, but do not tear. Only then the finished products will not crack and break. If, however, the "raw" porcelain when trying to stretch or thinly roll it easily tears, this means that you have digested it or broken the recipe. The output here, as a rule, is one - you will have to do cold porcelain anew.
- If you are not going to immediately start modeling, wrap the resulting mass in a film so that there is no air access. This is very important, because otherwise your porcelain will harden ahead of time. Also, experienced needlewomen recommend dividing the whole mass into several pieces, which are then used as needed.