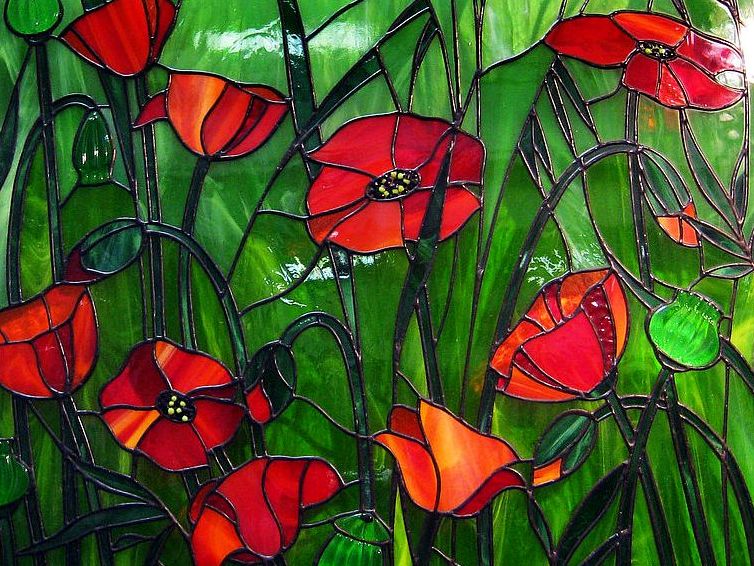
Decorating windows and doors with stained-glass windows began a long time ago, since the XI century, already in the troubled Middle Ages colored glass enraptured the parishioners of the Catholic church with its splendor. Later they appeared in the imperial and royal palaces, the chambers of the feudal lords. What would best change the dull landscape behind a large window or the interior of a large house, rather than a magnificent colored glass? By the way, there are available ways to make stained glass windows on your own hands, and this work is not something terribly complicated, which is only for professionals. Read this little instruction, and you will instantly understand how to become a master in this fascinating business.
How to make window stained glass windows with your own hands
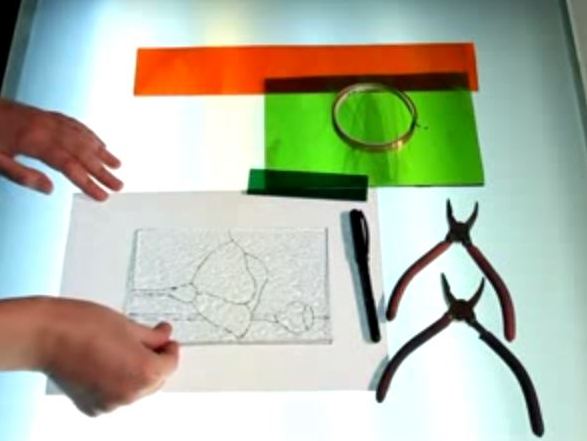
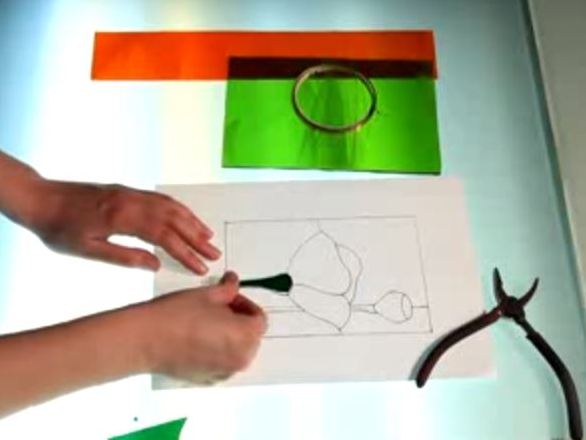
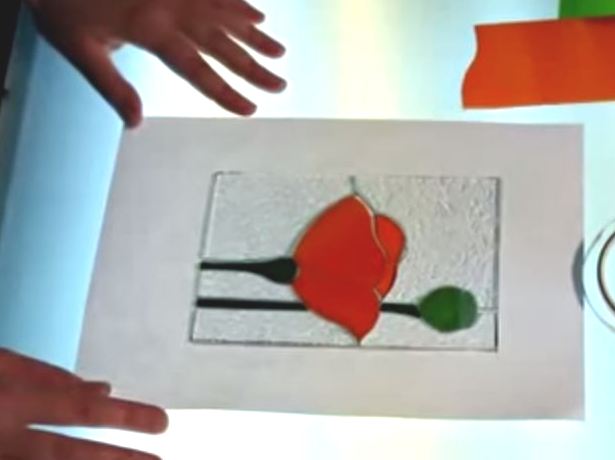
- For our business, we need a plate of corrugated white glass, as well as pieces of green and red glass. In addition, you need to buy a copper tape for stained glass, liquid for patina, solder water, glass cutter and small metal tongs. Then we draw on the paper a sketch of the picture and place it on the light table.
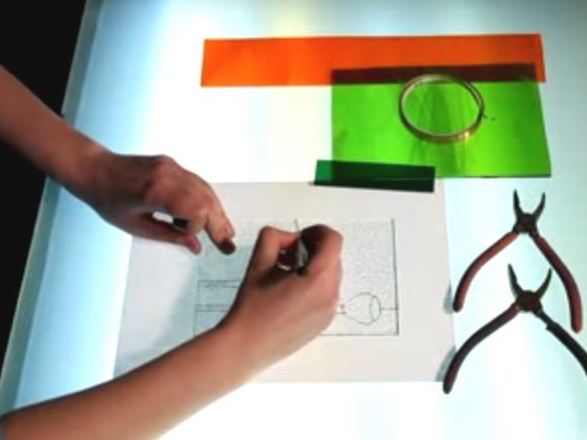
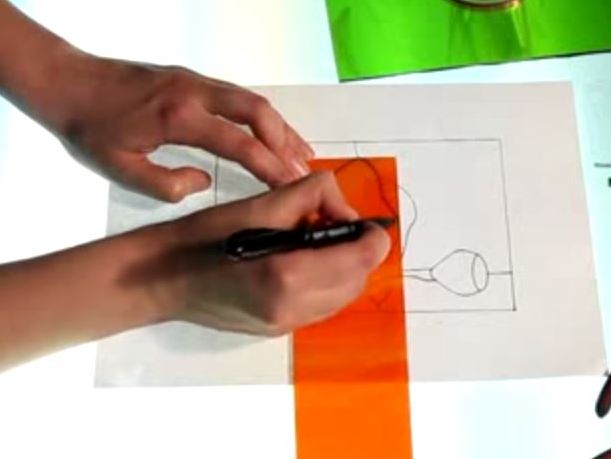
- Apply the glass to the sketch and mark it with a marker. This work is a bit like the copying of drawings by students in the old days, when there was no copier.
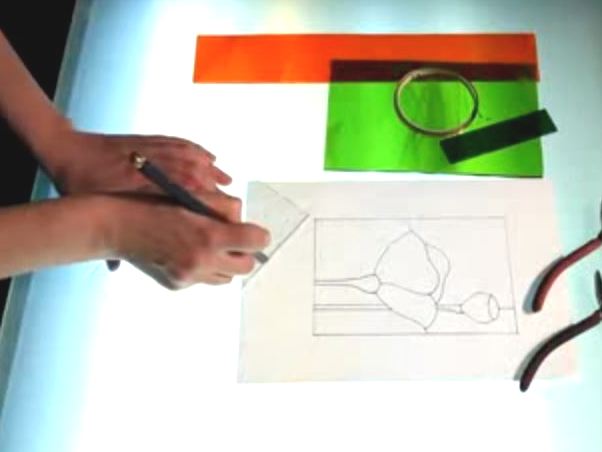
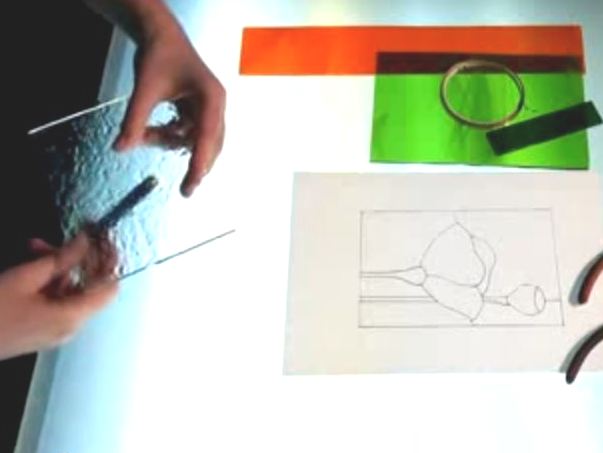
- Now, carefully cut the glass lines, scratching the contour of the picture.
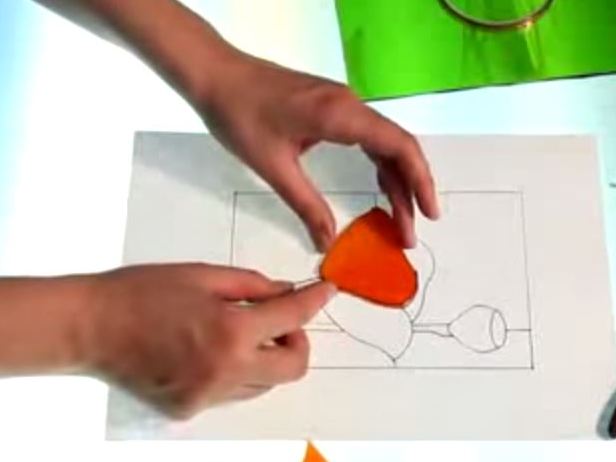
- Then, tap the glass sheet from below with the tip of the instrument to expand the cracks.
- Break off the hands, not forgetting about caution, large pieces of composition.
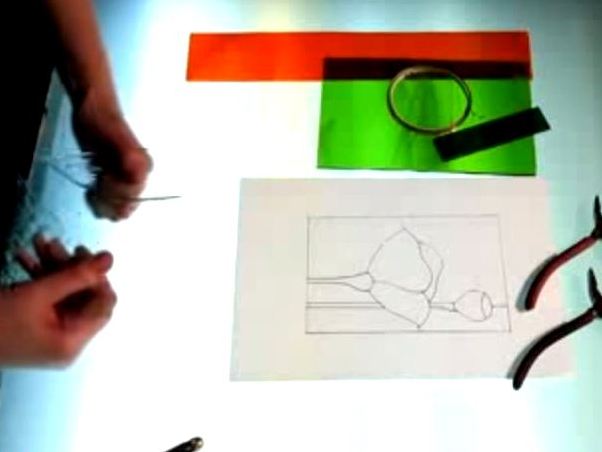
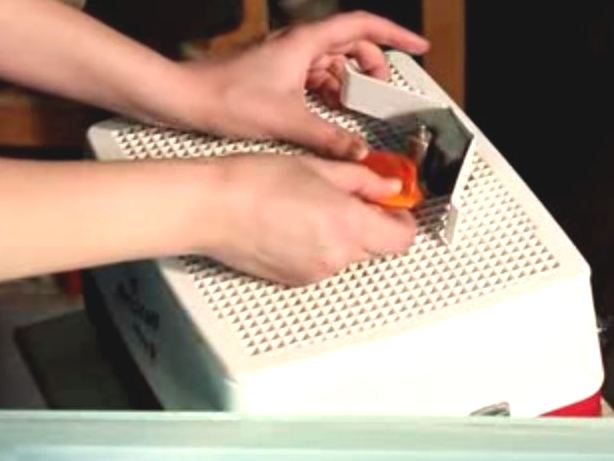
- We make the following scratches with a glass cutter and forceps break off small fragments of glass.
- The same operations are done with a green plate. If the glass cutter is used correctly, white continuous lines will appear and the crackling sounds will be heard. Twice on one scratch is better not to pass.
- You see that it is not difficult at all to make stained glass on your own glass. So we got the stem of the future glass.
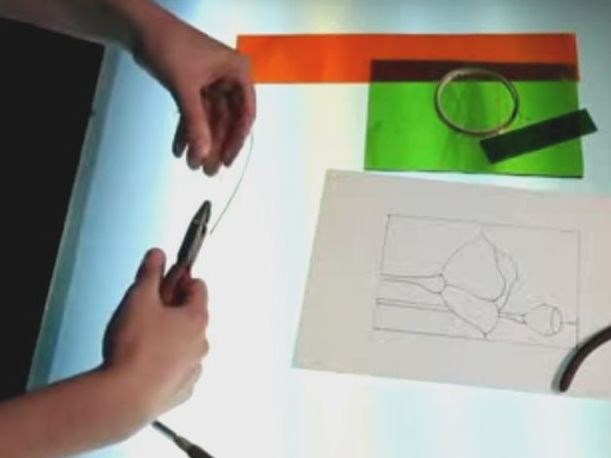
- Now we begin to make petals, outlining their outlines.
- Also we make incisions with a glass cutter, we tap the glass from the bottom and get the fragments of the plant.
- Here we have the first contours of a magnificent bud.
- Further it is desirable to grind the sharp edge of the glass with a hand tool or an electric grinder.
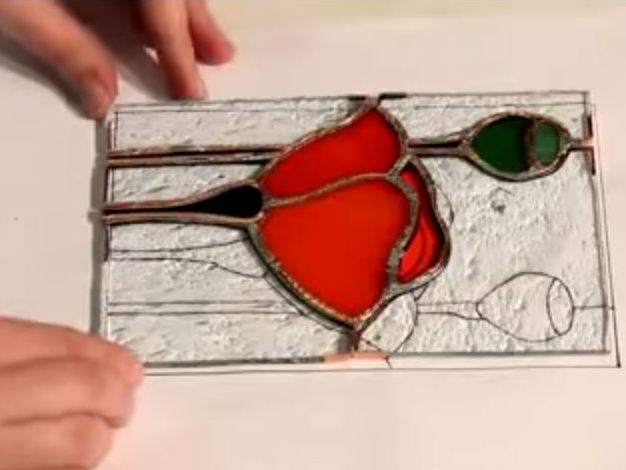
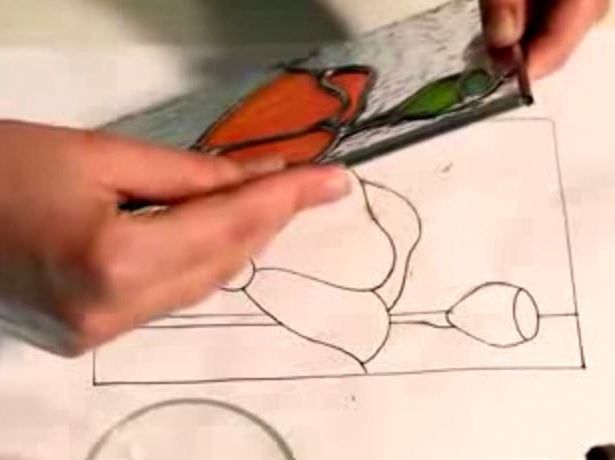
- We try to cut the billets in the paper drawing.
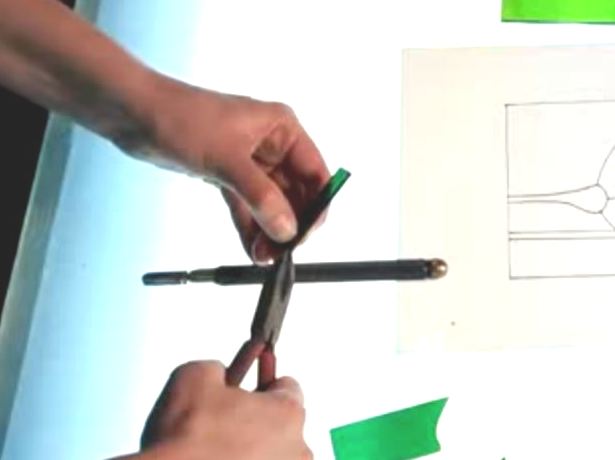
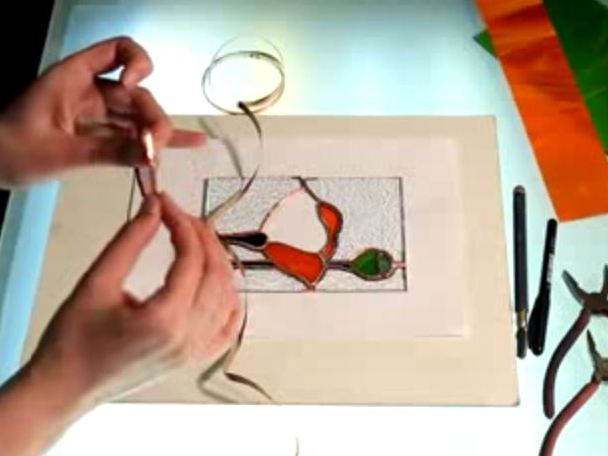
- The processed fragments along the contour are wrapped with a copper tape. We are trying so to round up the blanks, pressing the tape with your fingers to the glass, so that we could have a beautiful U-shaped profile.
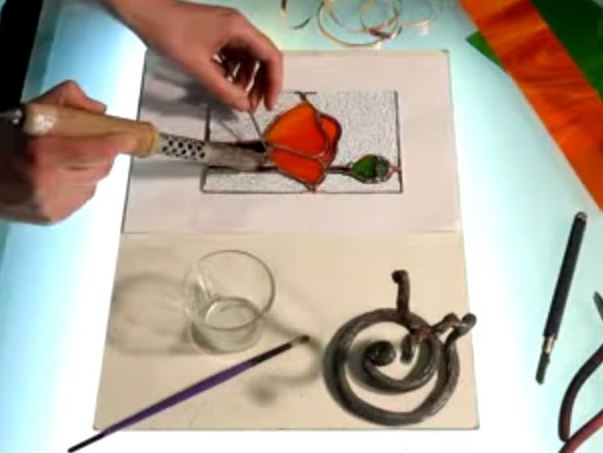
- One feature of this method - stained glass on your own glass can not be done, completely unable to work with a soldering iron. But still note that this filigree accuracy, as in the work with radio components, is unnecessary here. First, we find the usual brush for drawing and immerse it in the soldering flux liquid. Solder water is now sold in specialized stores, you can buy finished products Felder, Frutti or another brand.
- We spend wetted with a brush on a copper tape.
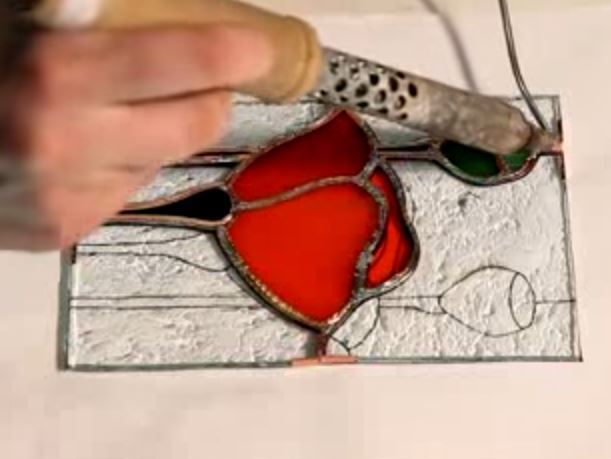
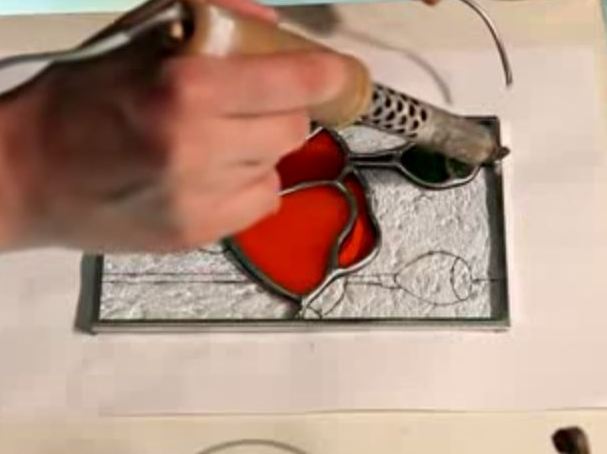
- We melt the solder with a solder and fix one glass to the other.
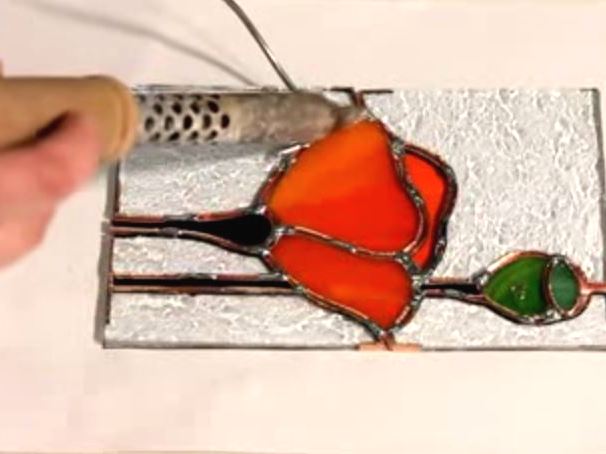
- First we put the points from the solder.
- Next, create a solid final soldering, making the seam slightly convex and as beautiful as possible.
- When the solder cools, turn the glass over.
- We conduct the soldering from the reverse side. Here the seam can be more flat.
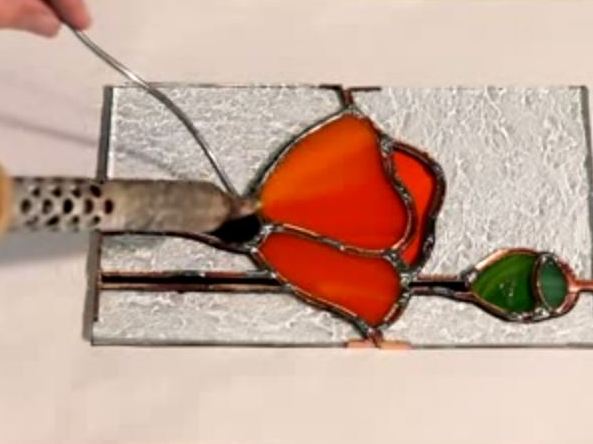
- On the perimeter, the glass plate is covered with a metal profile.
- Solder the profile.
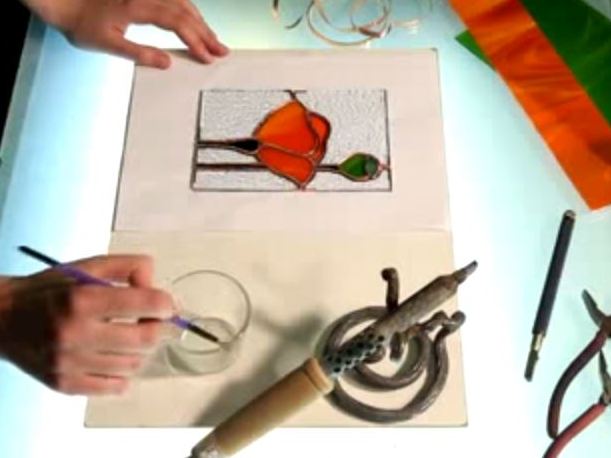
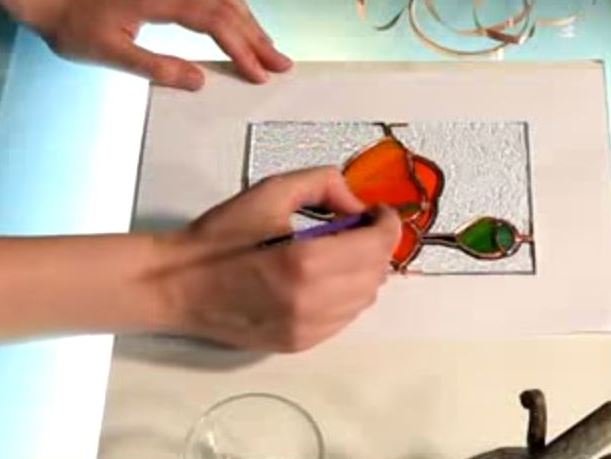
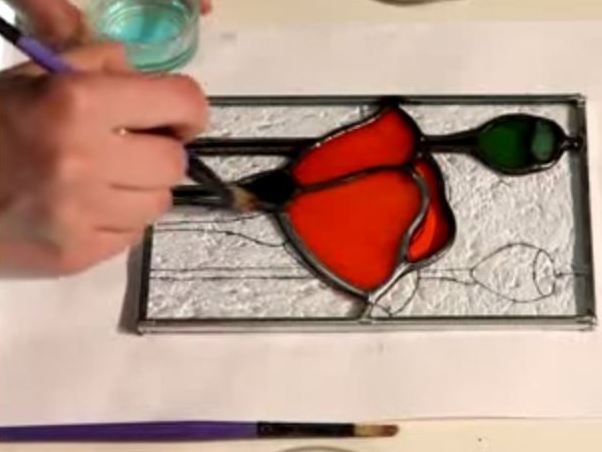
- At the final stage of the work, we patinate the metal. We apply a special liquid (firm Novacan, Provetro or another) with a brush. Patina does not allow the metal to oxidize and hide some irregularities that have arisen during soldering. It is possible to reproduce black color, "under bronze", a glossy seam. Our work of art will receive a magnificent finished look.
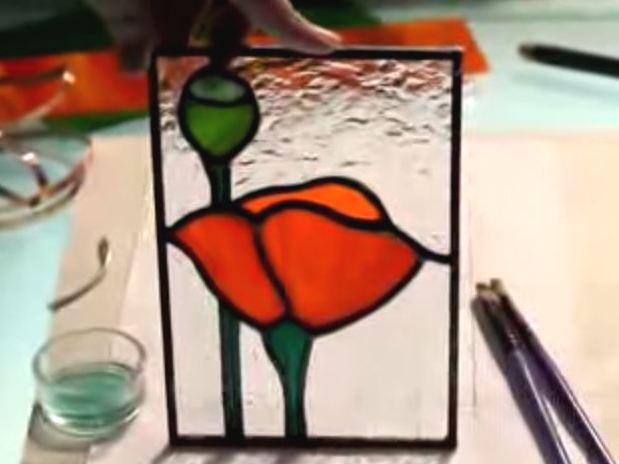
- A small stained glass window, made in Tiffany's technique with his own hands, is completely ready.