Apartment renovation is a long and complex process. Especially if you intend to do it yourself. However, in this case, you will surely be sure of the quality of all the work performed and the reliability of the assembled structures. After all, unscrupulous guest workers can not in any way guarantee that repairs will last you long.
Two-level suspended ceilings from gypsum board can also be mastered by yourself, if you know in advance about the correct course of work and stock up everything you need. Just this we intend to help you.
Preparatory work
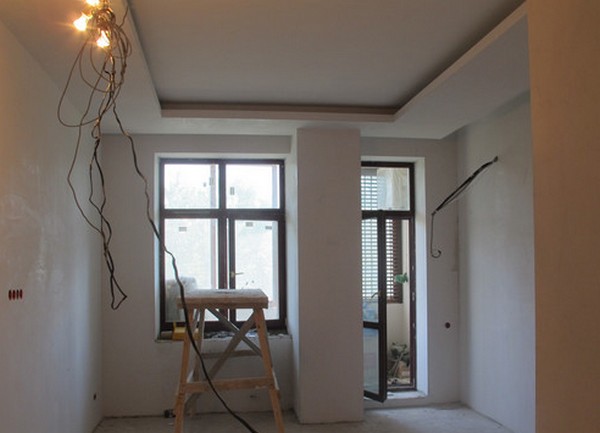
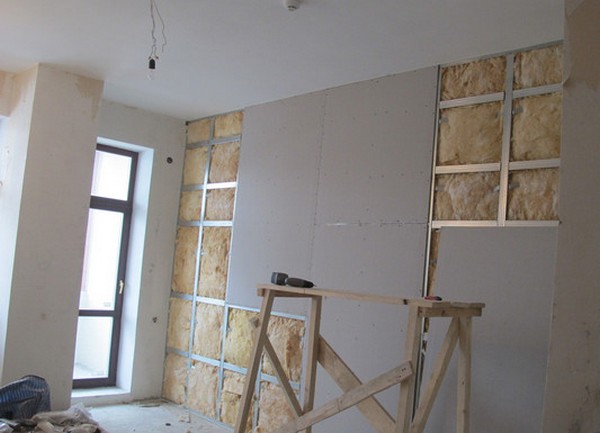
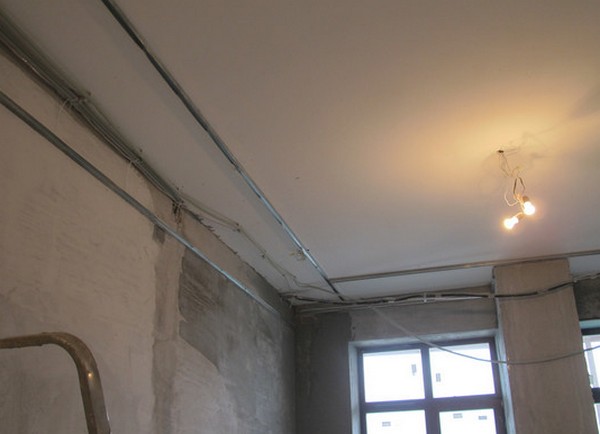
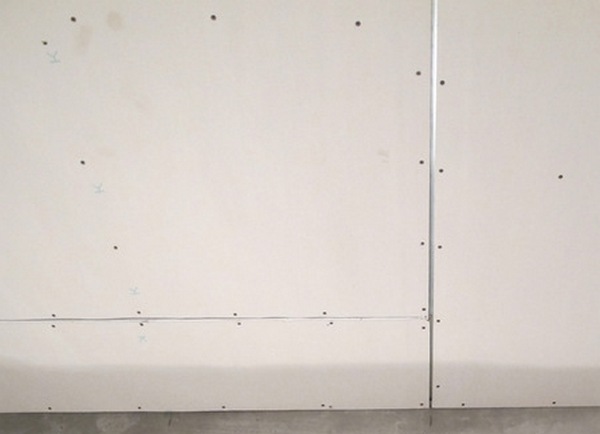
Before you begin to finish the ceiling, you need to finish with the walls. They need to be leveled, if necessary - warmed. And only when the walls are finished, you can raise your eyes to the ceiling.
| | |
Just paint them or paper them - it's pretty boring. I would like to introduce something more modern in the interior design and interestingly equip the room. Suspended ceilings from gypsum cardboard with their own hands just meet all these desires.
As a rule, in our panel houses all ceilings have many cracks in the places of joints of the ceiling slabs. And we begin the preparation of the ceiling with the embedding of all existing irregularities.
Production of a multi-level suspended ceiling from gypsum board with own hands
We begin the process of assembling the false ceiling from the installation of the metal frame. It is on it will be fastened drywall. At this stage we need to have the following:
- guide profile;
- ceiling profile;
- direct suspensions;
- galvanized self-tapping screws;
- cross-shaped brackets;
- dowels;
- tape made of foam polyethylene (for insulation of the frame from walls and ceiling).
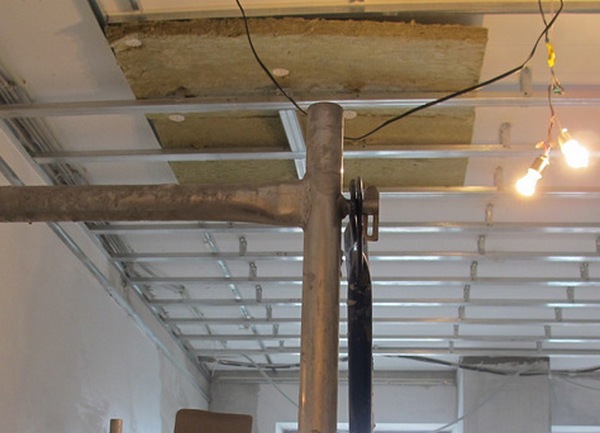
The immediate process of building a frame begins with the marking and fastening of the guide metal profile. We do it at the height that we want to give to our ceiling.
| | |
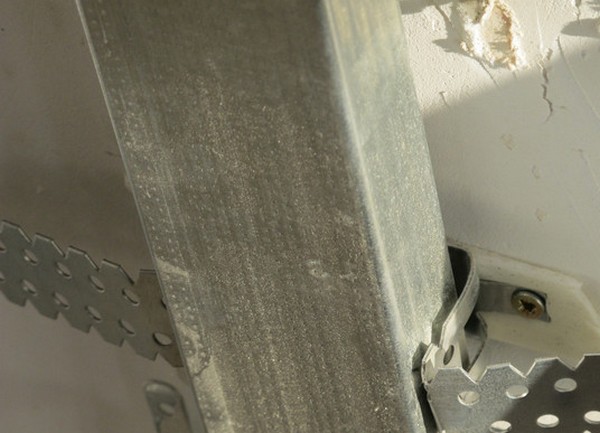
During the installation of the frame, do everything very accurately and qualitatively: self-cuters are planted in dowels, do small distances between them. In general, do not simplify anything, because then it can lead to great trouble.
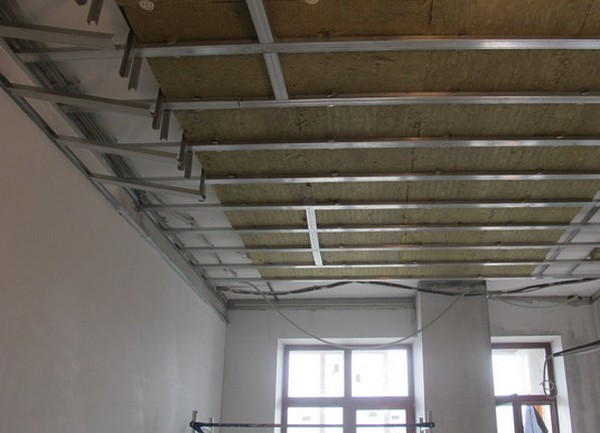
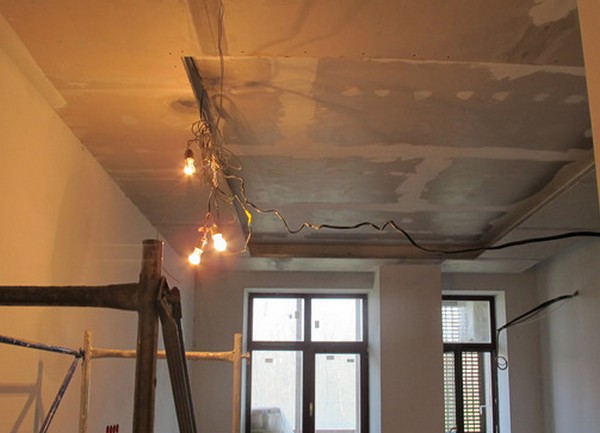
The next stage will be the insertion of ceiling profiles into the guides and their fixing to the ceiling with the help of sheds and screws. If necessary, it is possible at this stage to insulate the ceiling, for example, with mineral wool.
Strive to make distances between the ceiling profiles so that the sheets of drywall are subsequently fastened as a minimum in three places - on the sides and in the middle. Do not make unnecessary jumpers to avoid weighting the structure.
And the last stage will be fixing the GKL. For this, use galvanized self-tapping screws that will not allow rust to develop and make ugly red spots after a while on your beautiful ceiling. Be sure to leave gaps between the sheets of gypsum board (5-7 mm), so that when the temperature drops, they do not "go bubbles". Thus, we get a "breathing" ceiling, not afraid of deformations.
And at the conclusion of the work, all the seams between the sheets are puttied.
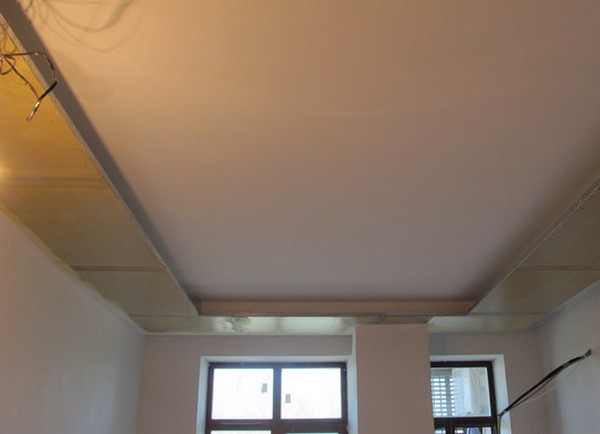
At the end with the help of plaster filler, primer and paint, we give the ceiling a finished look.
In this master class we have considered the manufacture of a false ceiling in a simple form. In principle, this is enough for beginners. Figured suspended ceilings from gypsum cardboard can also be completely mastered, but this requires some skill.
The main difference is the need to cut the wall of the guiding profile and then form waves, semicircles, kugi and other figures. Correspondingly to the conceived ceiling plan, the sheets of plasterboard are also cut out. With a strong desire, you will master this technique.