Now the cost of a good product is quite high, and the quality of factory work often wants the best. But those who know how to handle tools and have already done simple work from wood or chipboard can try to make this furniture themselves. It is not necessary to think that this is a very difficult and impossible task for a common man. You can first try to make a simple ottoman , and only then go to something more complicated - a bed or a smart sofa.
Assembling of upholstered furniture with own hands
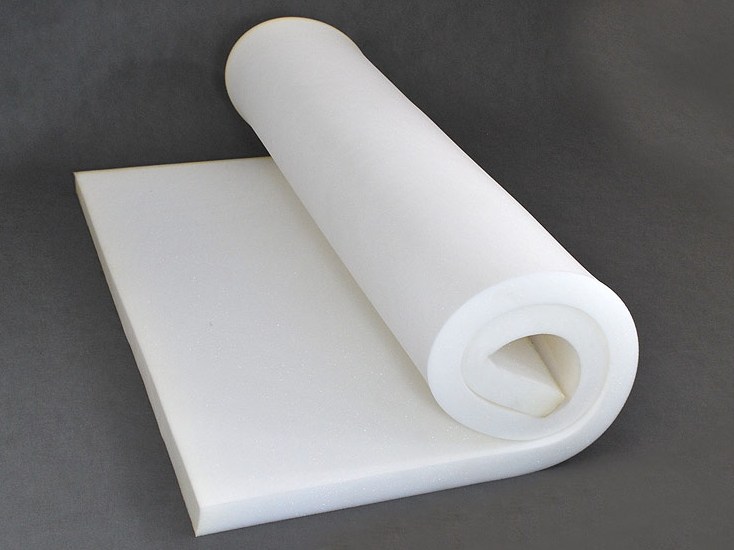
- Purchase of filler. The choice of material for manufacturing and upholstery of upholstered furniture by oneself is a very important matter. Most often in the role of filler is used foam rubber or polyurethane. Its thickness and density depends on which part of the furniture you will use this material for.
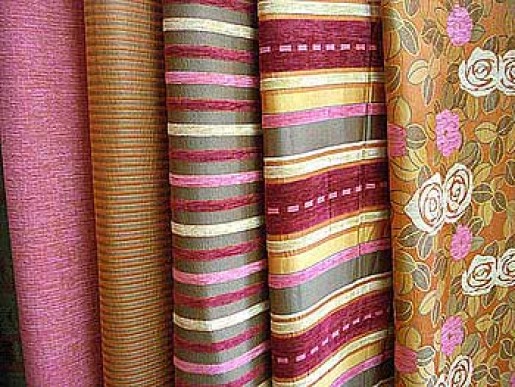
- Cloth for upholstery. You buy it yourself, and here you can choose the most durable and practical material. To make it easy to wear off and cleaned of dirt, it was resistant to household chemicals and mechanical damage.
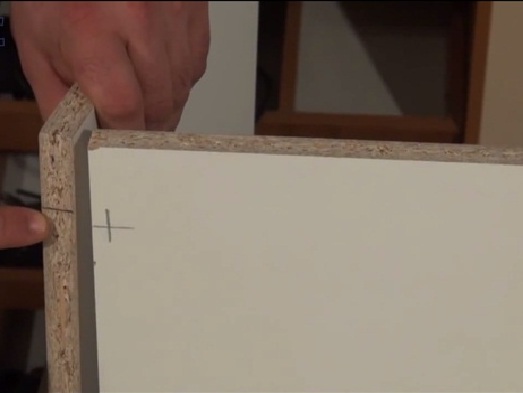
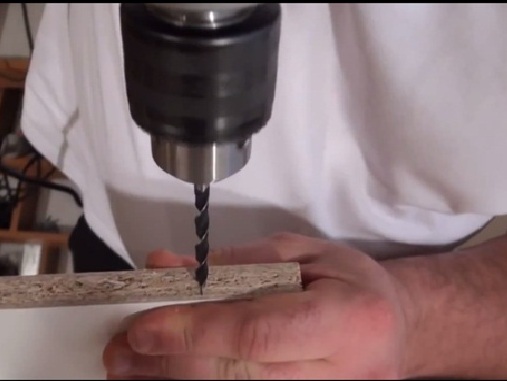
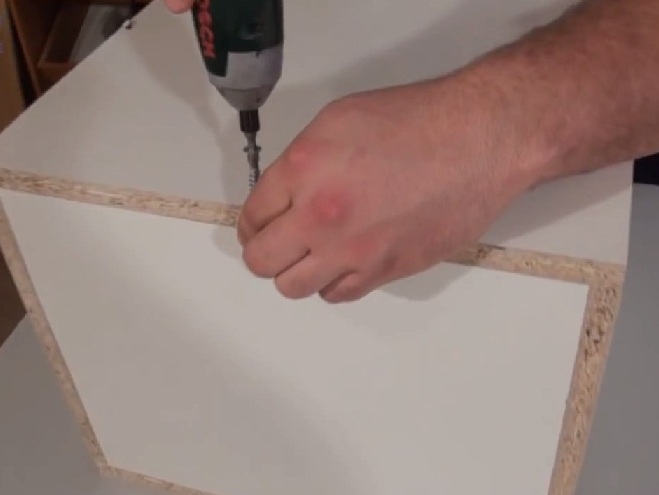
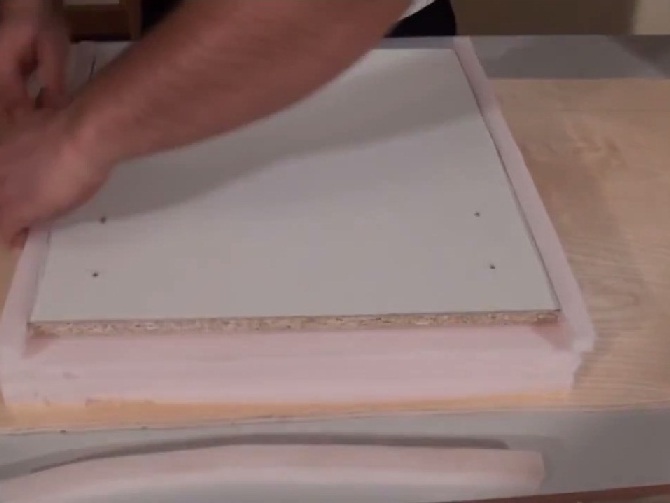
- We'll begin assembling the upholstered furniture with our own hands by attaching it to the bottom cover of the rack. We will put them from above. If you put them on the side, then at high pressure on the seat the structure can break. We measure from the edge about 8 mm and make a mark. On the reciprocal details we make a mark at the same height, but you will need to drill here to the butt.
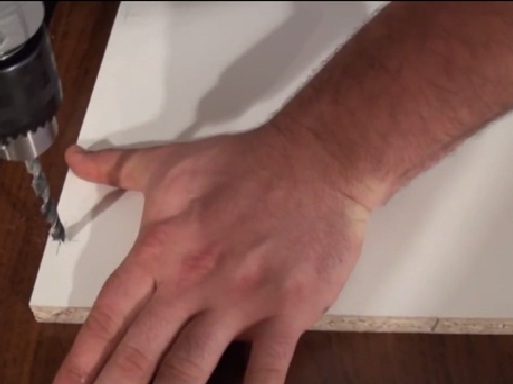
- Drill as accurately as possible and do not do it on weight, only by placing a plywood or wood under the chipboard. Otherwise, the drill at the outlet can tear out the material. The first one makes holes with a drill diameter of 8 mm on the plane.
- Then we drill a hole with a diameter of 5 mm into the butt end of the counterpart.
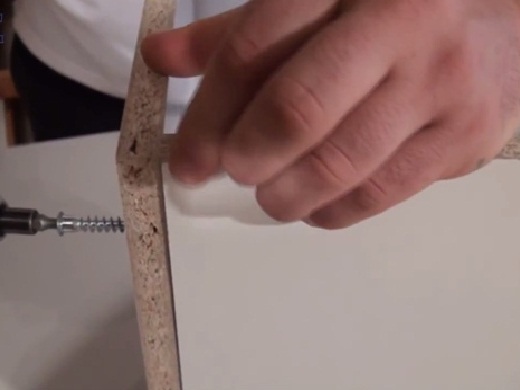
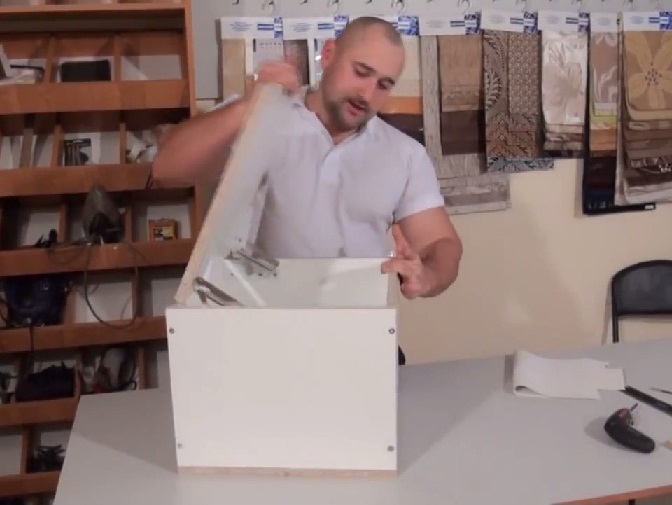
- After we have successfully made the holes, you can begin to twist our walls with a screwdriver and screws.
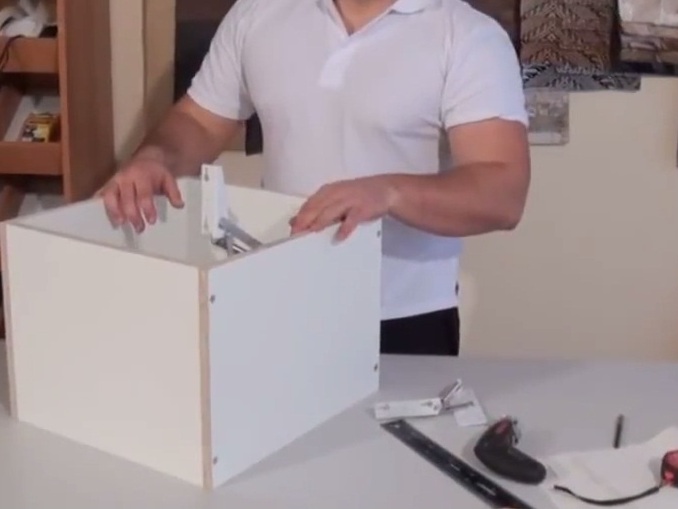
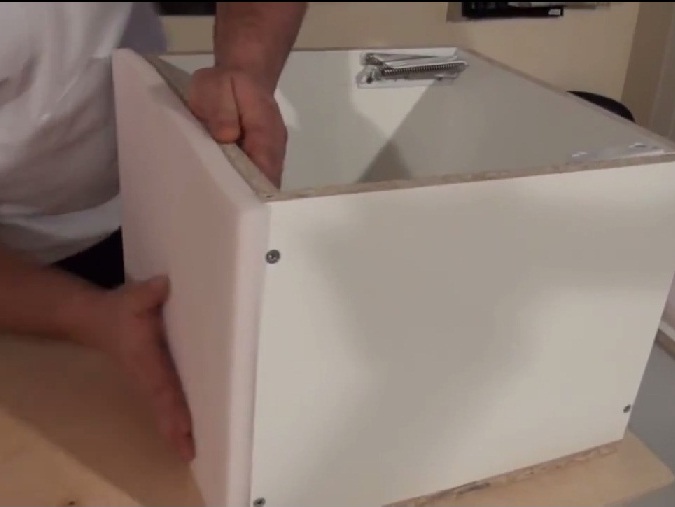
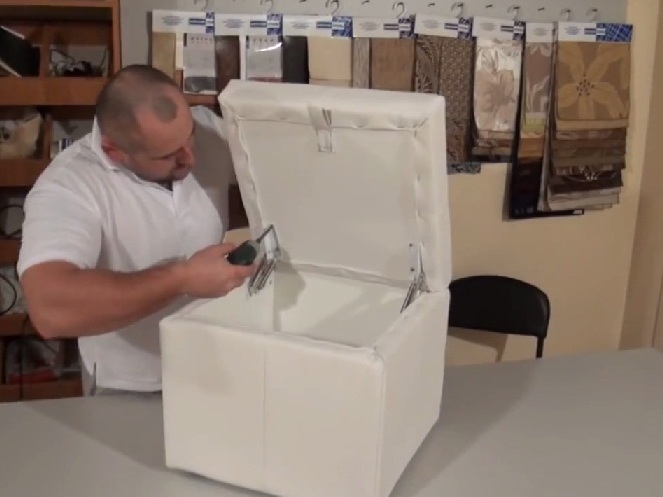
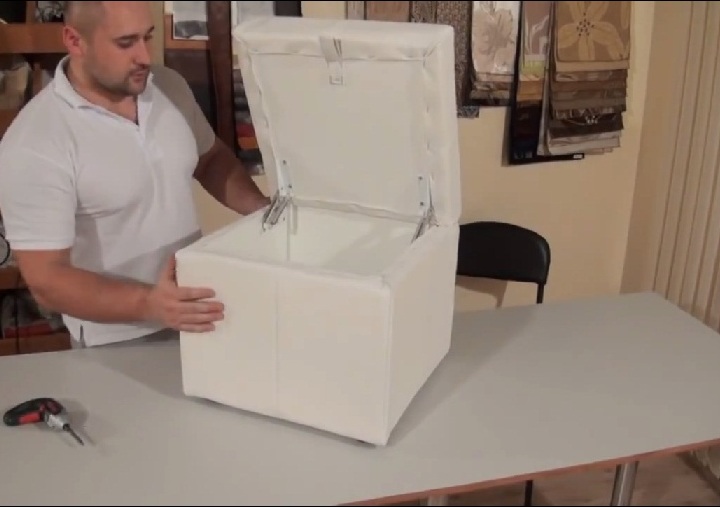
- After all the walls to each other are twisted, we get a neat box. The bottom is not yet attached. So it will be more convenient for us to work with the top cover.
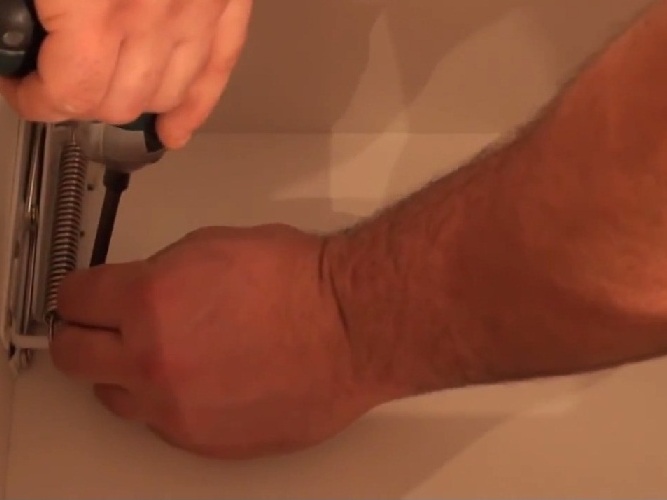
- The mechanism by which the lid will be opened is also screwed onto the screws.
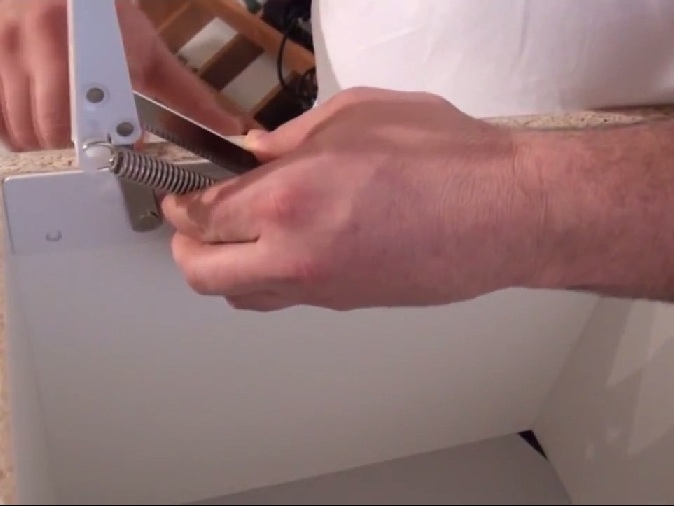
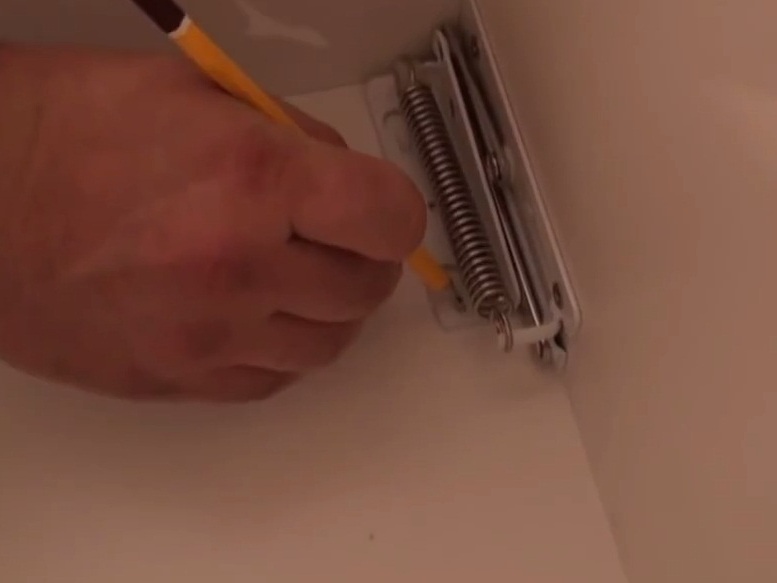
- We put the box on the top cover, align and mark with pencil on it the place of attachment mechanism.
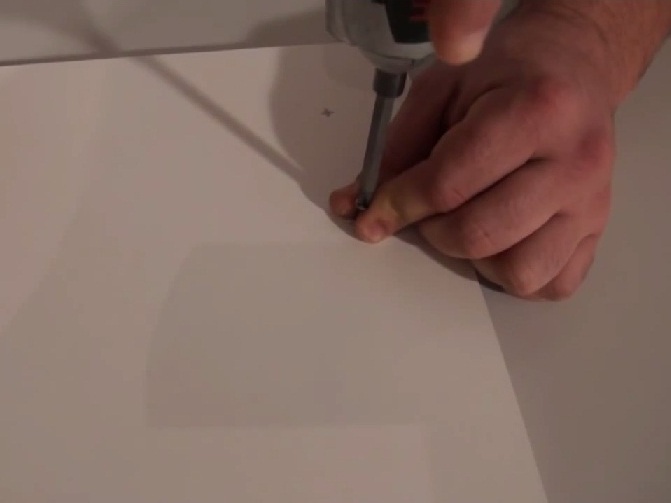
- We drill small holes in the marked places. You can use a simple screwdriver for this purpose, which is carefully twisted, and then twisted.
- We put the box back on the lid, level them and fasten the mechanism, screwing the screws into the holes just made.
- Now it was the turn to screw the bottom cover to the box.
- We have got a rigid curbstone with a lid, which is easy and convenient to open on the lifting mechanisms.
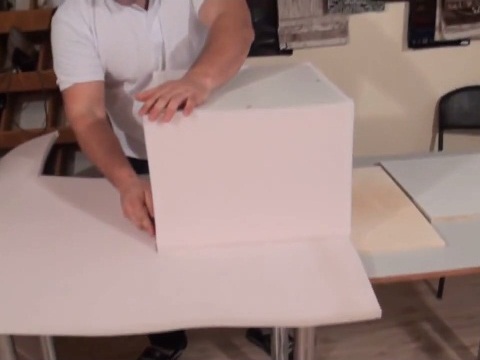
- Now remove the top cover, put the cabinet on the foam sheet and gently cut it off.
- The cut strips of foam rubber are alternately fixed with glue to the frame.
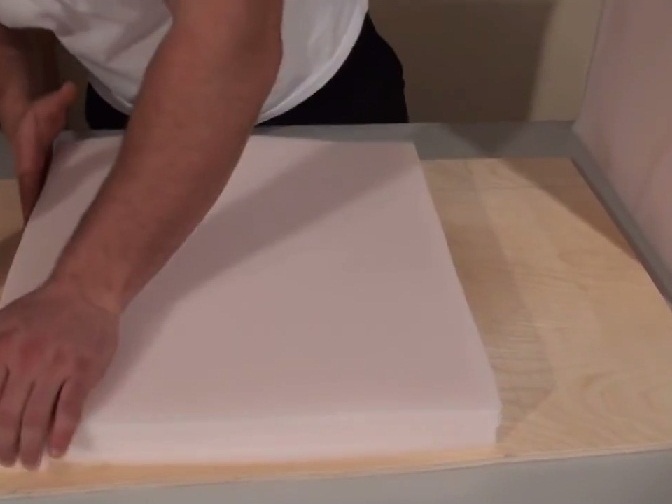
- When the side strips are finished, you can proceed to the top cover. Turn the cube and, applying it to the foam, cut out the piece of material we need.
- Then glue it to the chipboard. The seat will go three pieces, because it should be soft. Cut out all three squares and glue them together.
- We cut out four narrow bands of foam rubber to fill the gap between the lid and the large square of foam rubber.
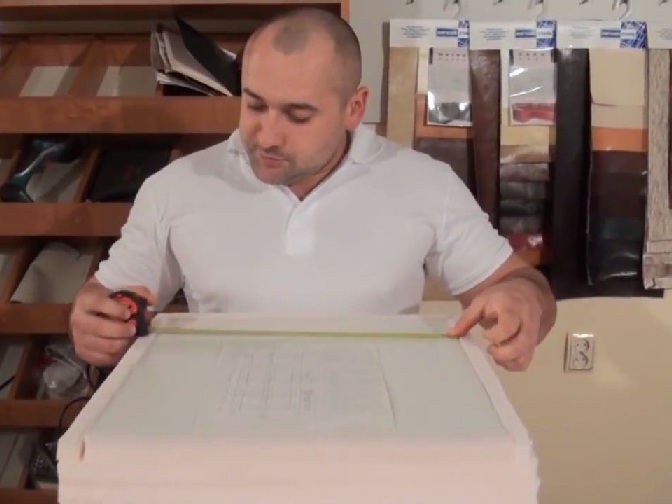
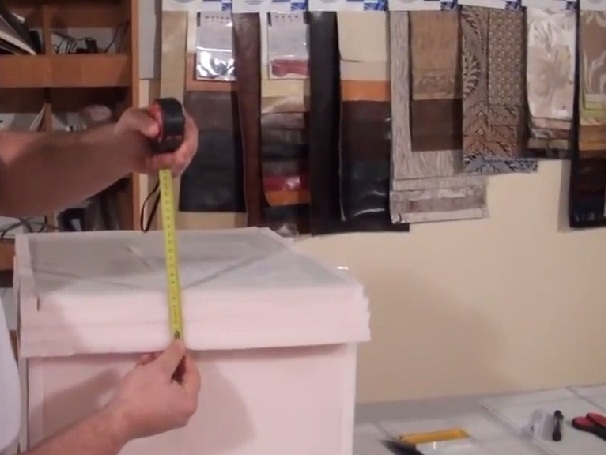
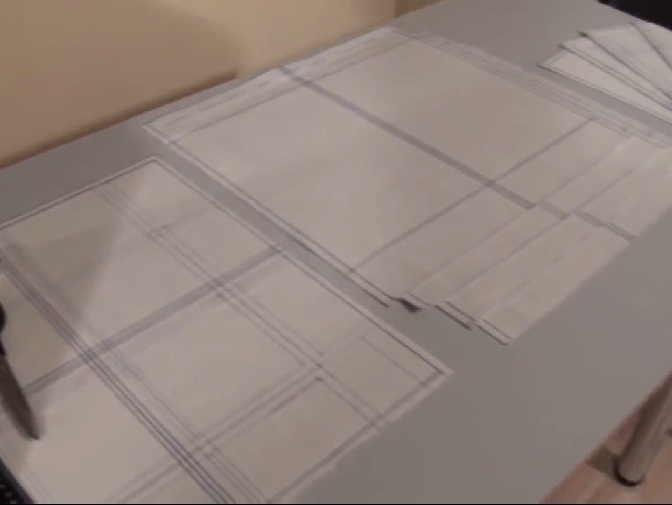
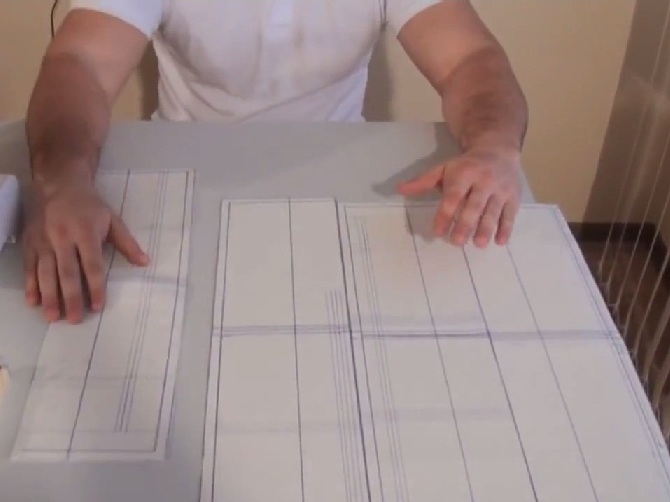
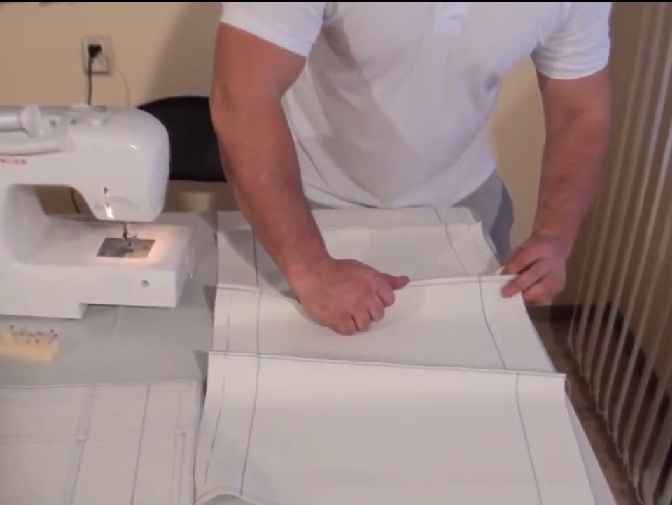
- We make a sketch of cutting the upholstery of the top cover for our puffin, measuring the ready, foamy cube, not forgetting to add 1 cm additionally to all the seams.
- Similarly, we make calculations for the side of the lid and the side of the curbstone. On the lower and upper bend, we leave 6 cm of material.
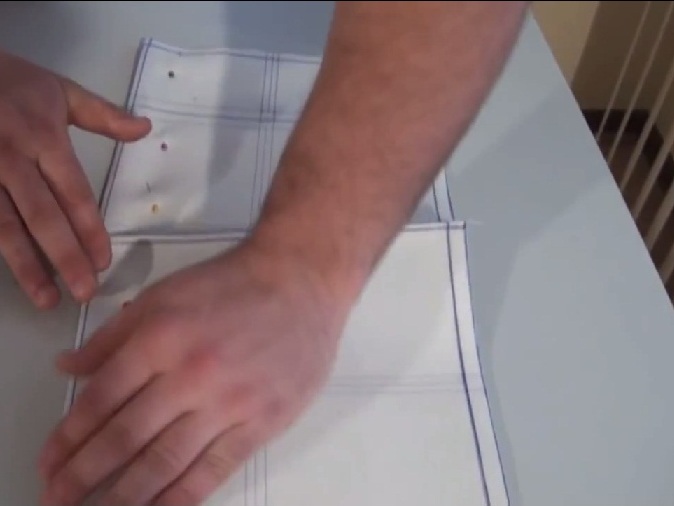
- We transfer the sketch to the fabric and carefully cut it out.
- You can start sewing, stitching in the first place decorative stitches. The design of upholstered furniture made by own hands, everyone can choose at own discretion. In this case, the seams are made, but you can decorate your product in a different way. Fold the fabric in half, align on the line, smooth and fix the fabric with pins.
- We begin to sew the material on the sewing machine.
- The same manipulations are made with side strips, performing decorative seams on them.
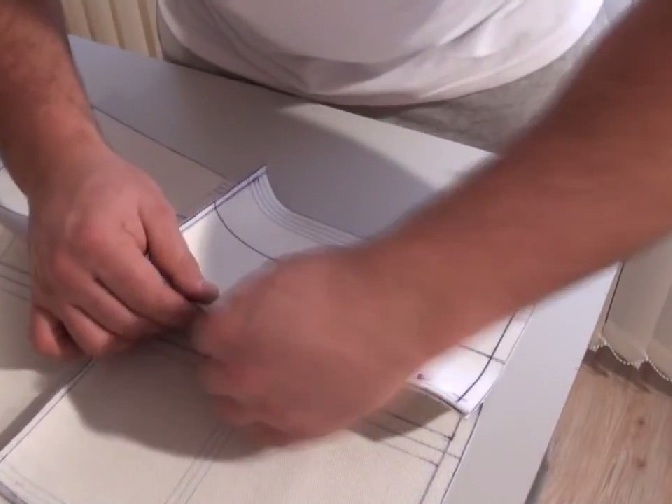
- We connect the side fabrics with the upper workpiece, fix them with pins and stitch them.
- We connect the sidewalls among themselves along the intended line, fix them with pins and sew.
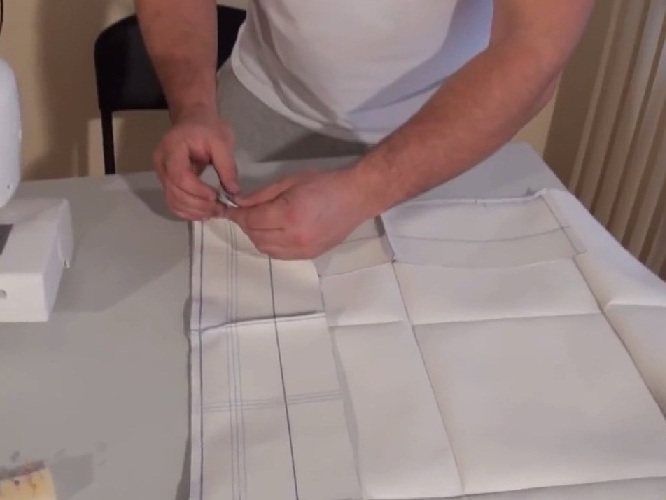
- We sew the sides of the curbstone, performing the decorative seam, and then fasten them together.
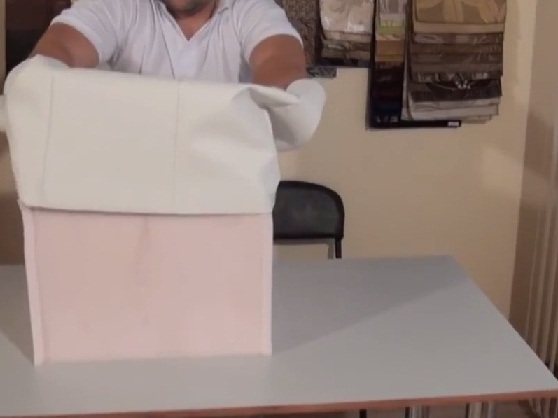
- As a result, we got almost ready neat cover. We put it on the curb so that the corners coincide.
- After that, cut the corners slightly to make a bend, and nail the material with a stapler. We flatten the corners, bend and staple the bottom of the fabric with a stapler.
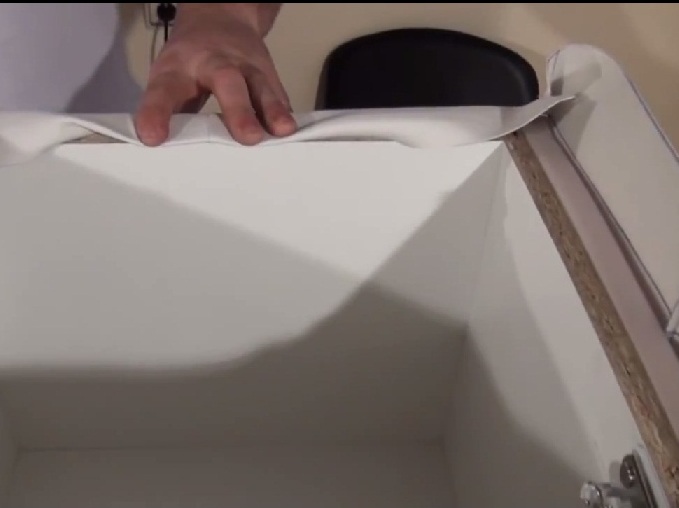
- Approximately the same manipulations are done with the upper part, fixing the material on it. Stretch the fabric, make a small hall and nail it to the woodchip staples.
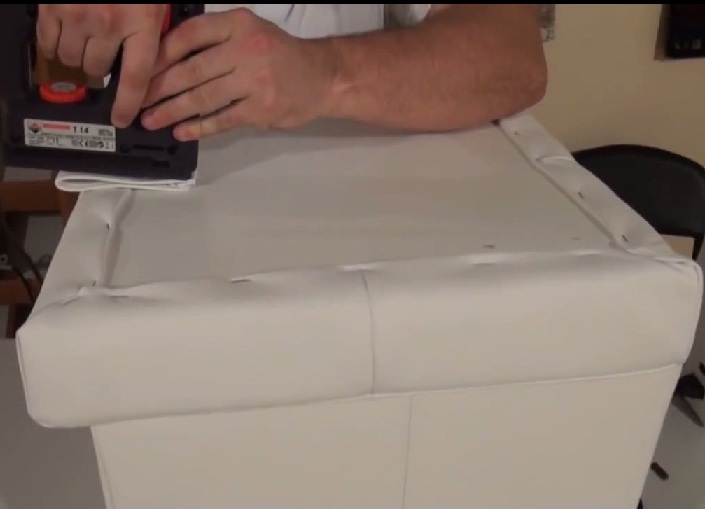
- We make a neat tab from the fabric and nail it to the top cover.
- Screw the top cover to the mechanism with screws. We attach the legs to the bottom of the stapler or screws.
- The ottoman is fully prepared and can be used for its intended purpose.
We hope that you will also be able to make upholstered furniture with your own hands, which will please the eye and serve its owners for a long time.