Doing furniture yourself is very exciting. From the usual wooden boards and bars you can make many interesting things for the house, from the bed to the stool. Having dealt with this issue, you can do anything with your own hands: folding wooden furniture , garden bench or chest of drawers. Manufacture of wooden furniture with their own hands has a number of advantages over the banal purchase in the store:
- Firstly, such furniture will harmoniously fit into your interior;
- secondly, it is an opportunity to make an exclusive thing on their own unique drawings of wooden furniture with their own hands;
- and third, you can practice in carpentry (for amateurs).
Master-class on the manufacture of console table
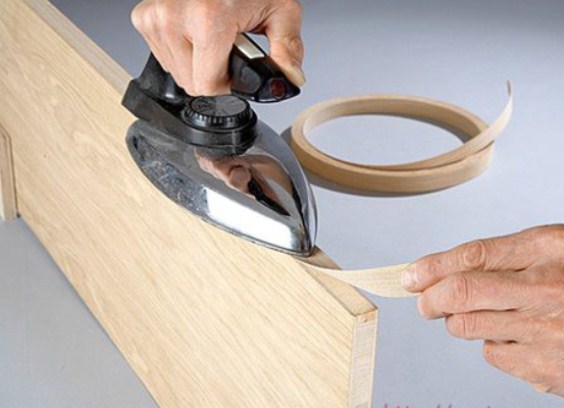
- Prepare a plywood width of 1 cm - from it we will make a table. The ends of the plywood sheet should be glued at once with a narrow strip of self-adhesive, ironing it with a heavy flat object (the old iron is ideal for this).
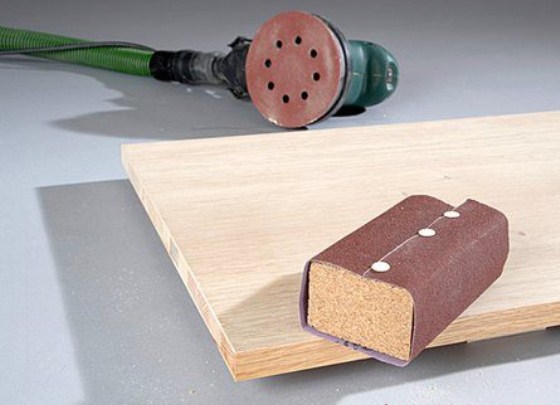
- Plywood board carefully grind, so that its surface is perfectly smooth and smooth to the touch.
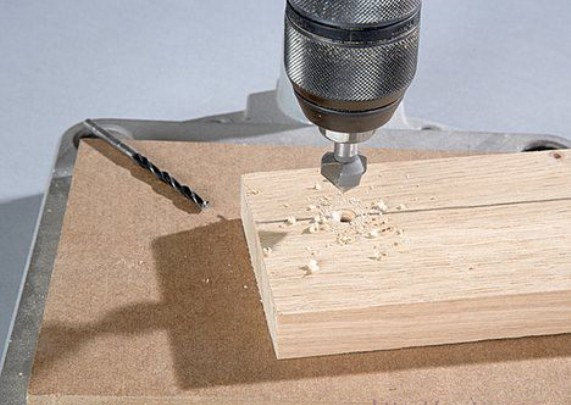
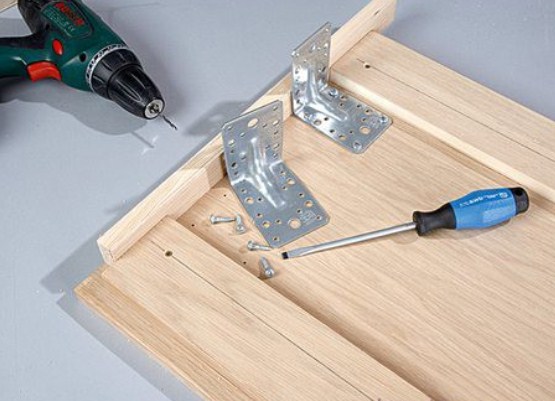
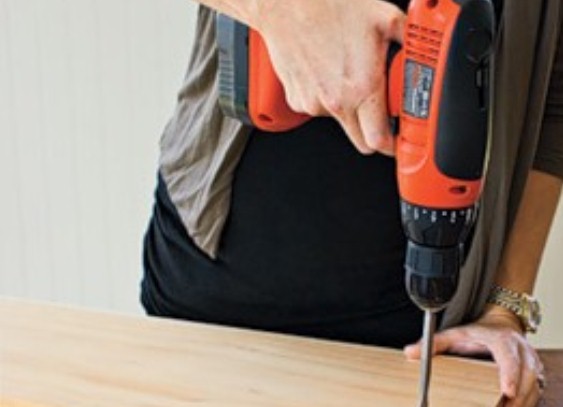
- In the joints of the boards, drill a hole for the screws with a drill.
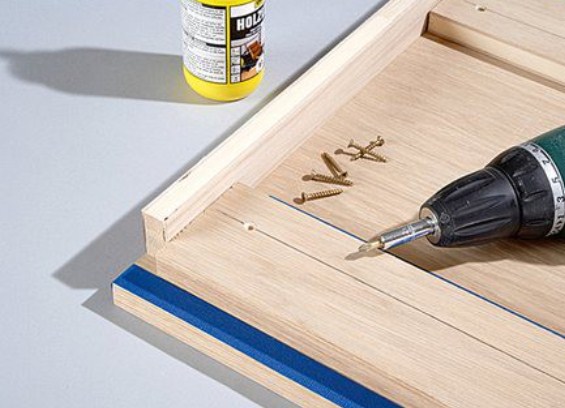
- Tighten them by hand or using a screwdriver. Your table will consist of three wide boards of plywood in the form of the letter "P", with two narrow boards fastened to each of them for greater stability. From the edge of each large board you need to retreat 2-3 cm for a better docking.
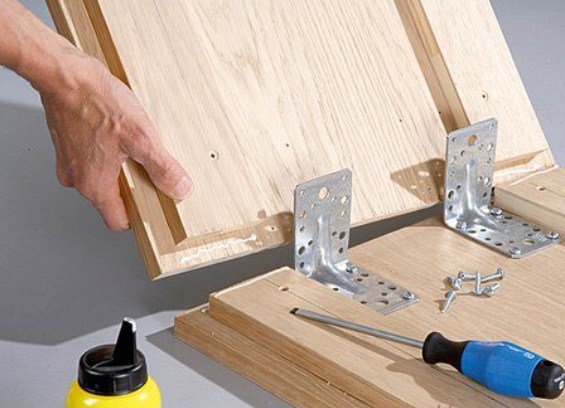
- On the sides of the countertop, you need to glue a narrow rail that will hide the joints. Use ordinary joinery adhesive or pvac. Also prepare the metal corners and screws, fix them on the underside of the tabletop.
- Pre-lubricating the joints with glue, attach the table top to the bottom table support. Pull the corners of both sides at an angle of 90 ° (this is important!).
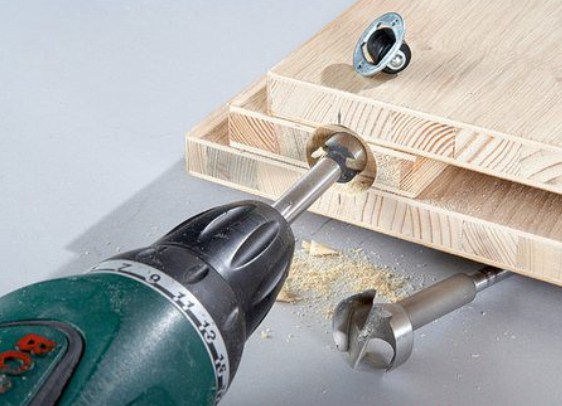
- Now let's get down on the legs of the table. For greater ease of use, we will attach the rollers to them.
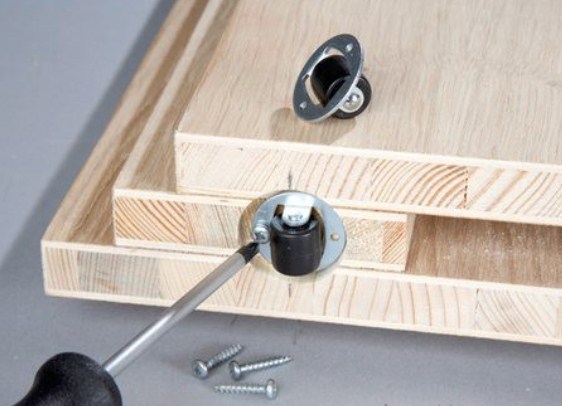
- In the form of a roller, drill a hole and fix it with bolts that usually go in the kit. Try to make them on one level.
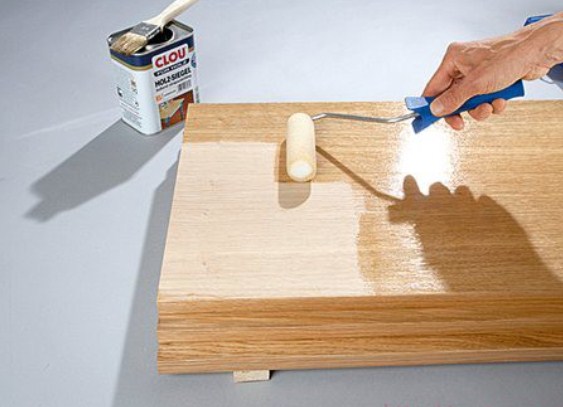
- The final stage of the work on the table is varnishing. Use a foam roller for this.
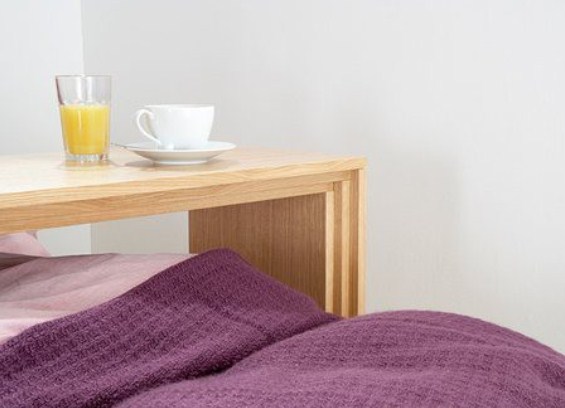
- Here's a cute console table should you get as a result.
Wooden pendant shelving with your own hands
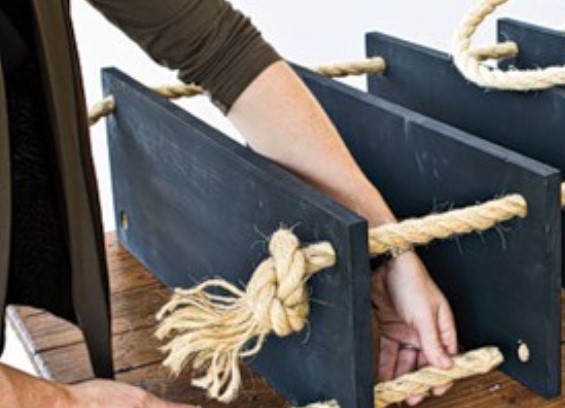
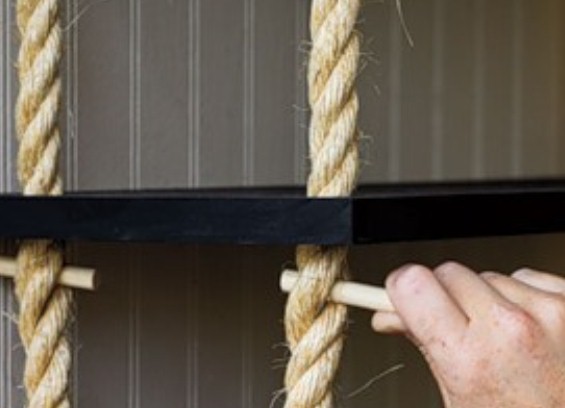
- In order to make the rack as light as possible, it is better to use good plywood. Prepare the required number of boards according to the number of shelves and drill four holes in each. After that, cover the boards with a water-repellent paint. Choose its color depending on the color scheme of your interior.
- You will need two long and strong ropes. Pass them through the holes, crossed from above with each other, and under the bottom shelf, firmly tighten the knots.
- Wooden sticks are needed so that the shelves do not move, and there is always the same distance between them. Arrange such sticks between the rope threads.
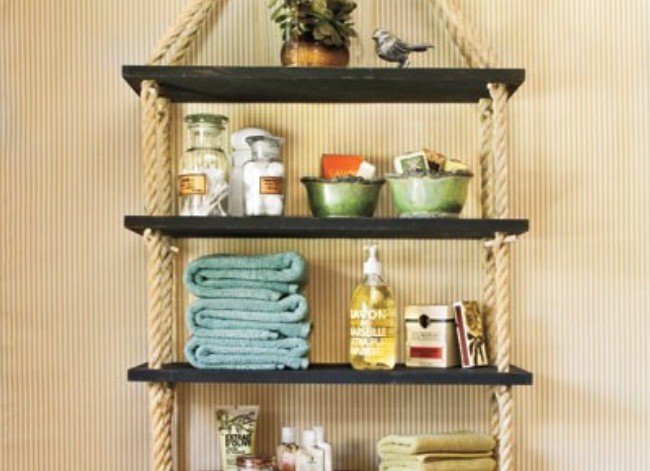
- Hang your product on the wall and enjoy! On such a shelf you can store anything - books, vases, flowerpots or any other small things, and the piece of furniture will fit into your interior and give it originality. Also, the advantage of the suspended rack is that it can be made absolutely of any size, but it does not take up much space in the room.