In this article we will talk about an excellent way to develop a child - molding from plasticine, in particular, we'll tell you how to sculpt a plane from plasticine.
Plasticine: history of the material and its types
In the late 19th century, this miracle was invented for modeling - plasticine. Initially it was made of clay. That he was elastic added wax, but that does not dry up, added a variety of fats and other substances that would not allow the clay to dry. Now, in the production of plasticine, high-molecular polyethylene (VMPE), polyvinyl chloride (PVC), rubber and other materials are also used. Give it a color, which allows us to make a variety of crafts and paintings.
Plasticine is hard, medium soft and soft.
Hard plasticine - this is usually not the best plasticine and it will be very difficult to paint something beautiful from it. For classes with children, soft clay is ideal. Especially, if the kid aspires to independence, he can stretch such plasticine himself.
Molding is a very useful activity, as it develops fine motor skills, develops accuracy and perseverance. The better developed fine motor skills, the better the child's nervous system works. And, even the beauty of handwriting depends on the degree of development of fine motor skills. The more a kid works with his fingers, the faster he develops, speaks better and thinks.
Constant employment with plasticine strengthens muscles of arms or hand. As you can see, the advantages of mass and molding from plasticine (it will be planes or koloboks, flowers or bears - it's up to you and the baby) can become your favorite entertainment for you and the child.
Molding of plasticine: aircraft
So, today we will consider how to make a plane from plasticine.
For this we need:
- soft plasticine of different colors;
- wooden or plastic plate / cardboard for working with plasticine;
- stacks;
- board / thick cardboard-stand for placing the finished product.
Preliminarily, you can warm up the clay on the battery, so it was easier to work with it.
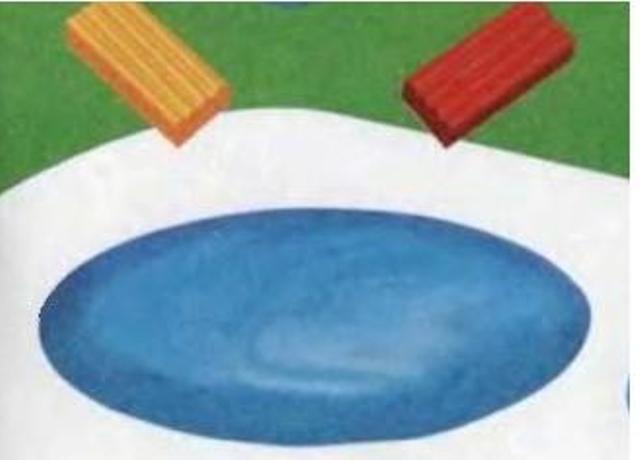
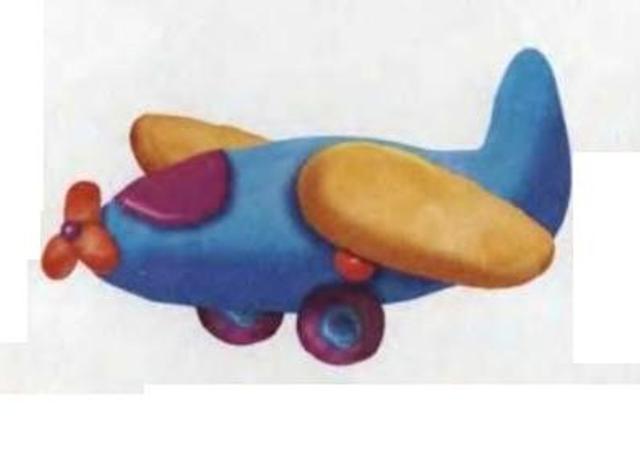
- Pinch a piece of plasticine of medium size and warm it in your hands. Roll between the palms first ball, and then the oval and trim it, rolling on the board. This will be the hull of our aircraft.
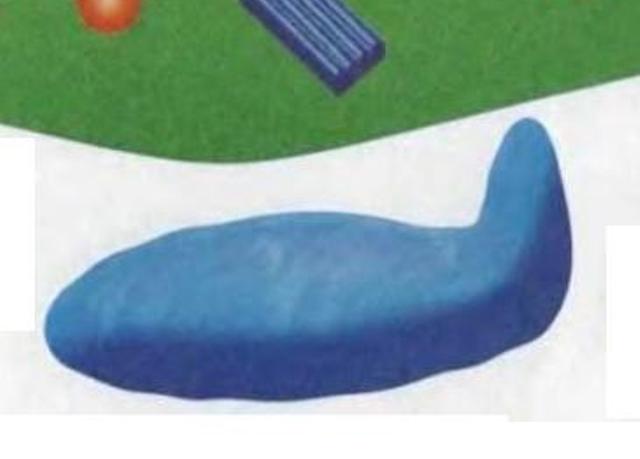
- To have a plasticine aircraft tail, you need to pull one end of the body and wrap it up.
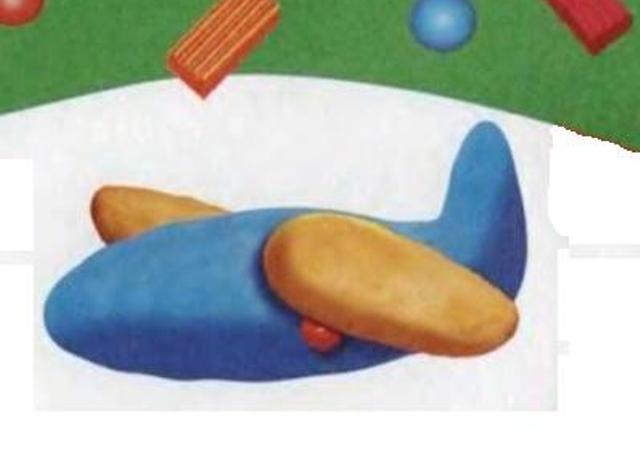
- Now let's make our aircraft wings. Take a piece of plasticine, different from the hull of the airplane color, and roll out two identical sized "sausages". The wings of the plane are thin, so the "sausages" should be flattened with a palm to the plank. Then attach the wings to the body of the plasticine aircraft on the sides. Wings can be attached to pieces of toothpicks or matches. And you can do it as shown in the picture: roll out two small balls and attach them under the wings of the airplane.
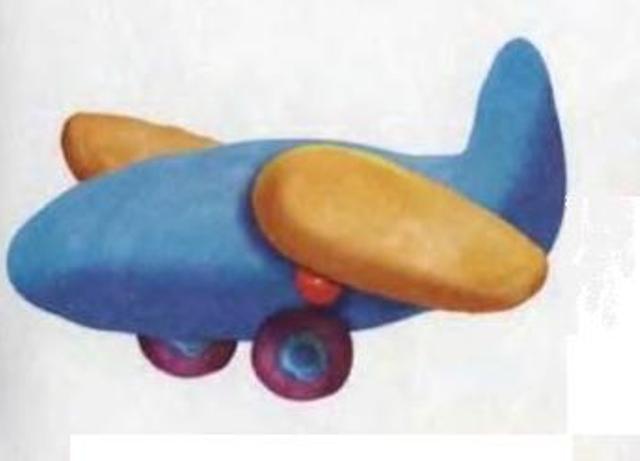
- Then, pinch two pieces of the same color and size, roll the balls, and then flatten them. Do the same with even smaller pieces. Connect the large and smaller flattened circles to each other. Connect the resulting pyramids to the body of the aircraft.
- Twist the three flattened sausages of the same size and connect them in the form of a flower. Then attach this flower in front of the body of the aircraft. This will be the propeller of our airplane from plasticine.
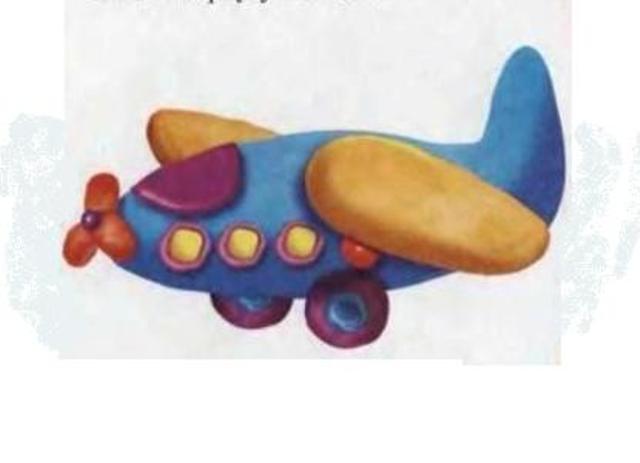
- Decorate the aircraft with portholes made on the same principle as the wheels were made. The porthole in the cockpit of the pilot needs to be made bigger. To do this, roll the ball, and then flatten it and attach it to the body of the airplane above the propeller.
- That's it. Attach the model to the cardboard or plaque and our plane is ready for departure!
| | | |
| | | |
Now you also know how to make a plane from plasticine. The modeling of the aircraft will take quite a bit of time, but you will get a lot of fun, and your child will be able to fix or learn the colors, shapes of objects, expand the view of the world that surrounds it.