If you decide to acquire pets, then you need to be ready for daily care for them, whether it's dogs, hamsters or fish . The latter require more thorough care, since they are very sensitive to temperature and water quality. Especially fishes need regular feeding, which is sometimes impossible to provide. What to do when you often stay at work or go on business trips? Who will feed your fish? With this problem, the auto-feeder for the aquarium perfectly manages. At the moment, there are about 5-6 manufacturers, producing various devices for feeding.
The principle of operation is quite simple: you fall asleep in the trough of dry food in the form of tablets, granules or cereal, program the feeder for periodic feeding, adjust the amount of feed and you can leave it for a few days or even a week. As a rule, the feeder operates from a battery or ordinary finger batteries. The technical component of a modern auto-feeder is incredibly simple, but the price is often somewhat overstated. This is due to the fact that manufacturers supply an automatic feeder with digital displays, a moisture regulator for feed and other twists. If you want to save money, then you will help out a self-made auto-feeder for the aquarium. The manufacture of the device will require a minimum of costs and time, and the result will be identical to the purchased product.
How to make an autocouple for an aquarium?
In order to make an auto-feeder you will need the following materials and tools:
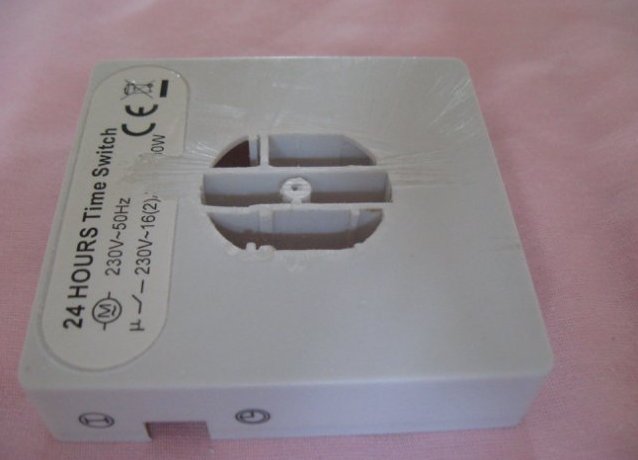
- two timers of different shapes (TM 34 and TM 32);
- short wire with plug;
- screwdriver;
- hacksaw for metal;
- glue;
- a small jar (you can use a box of medicines or mustard);
- bolt.
Timers will serve as the basis of the device, and a plastic or metal can serve as a reservoir for dry food. So, where to start and what will you get as a result?
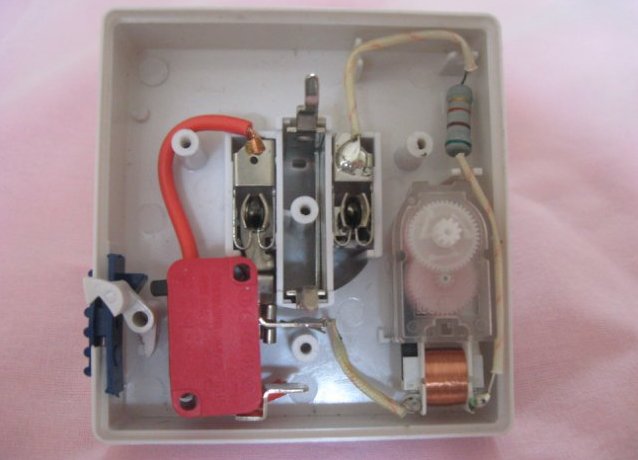
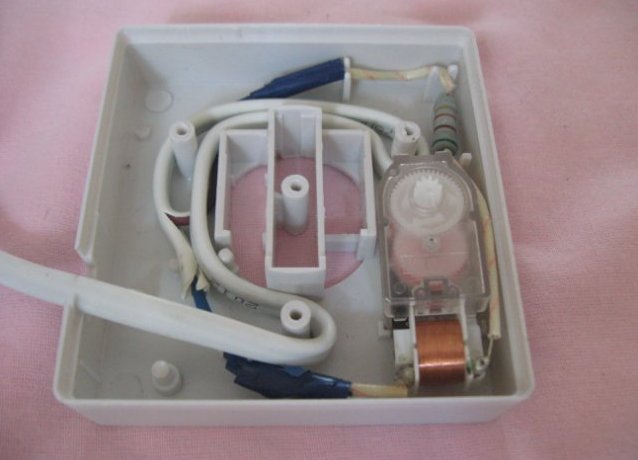
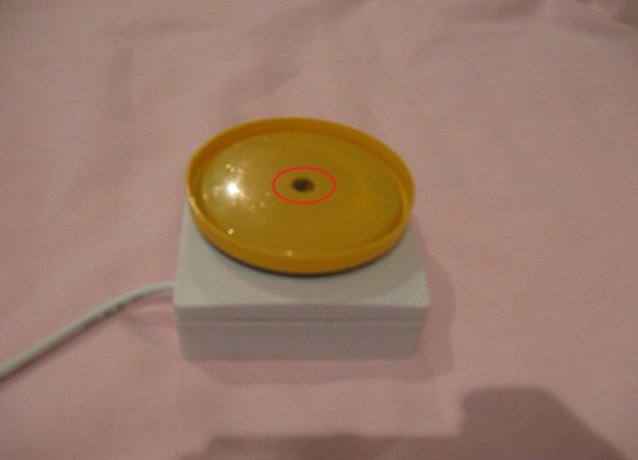
- Take a timer and carefully examine it. Find the location of the bolts.
- Use a screwdriver to unscrew the bolts. Inside you will see a simple mechanism.
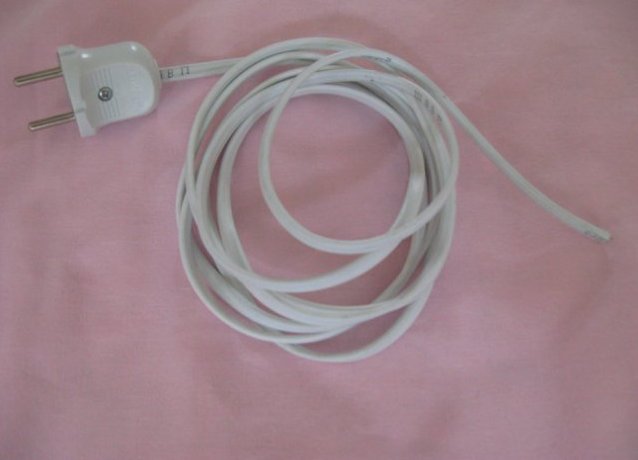
- Take a short reason with a fork.
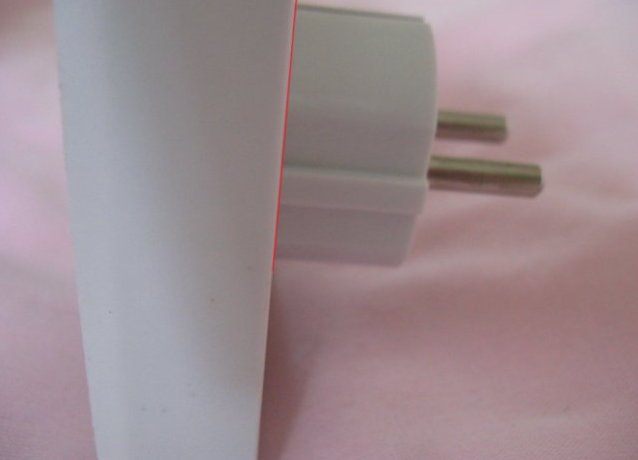
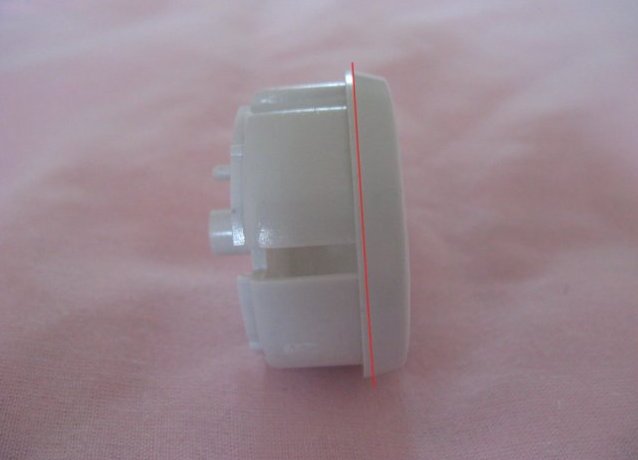
- Using a hacksaw for metal, cut off the unnecessary part of the timer. Cut strictly on the red line depicted.
- As a result, you will receive the following product.
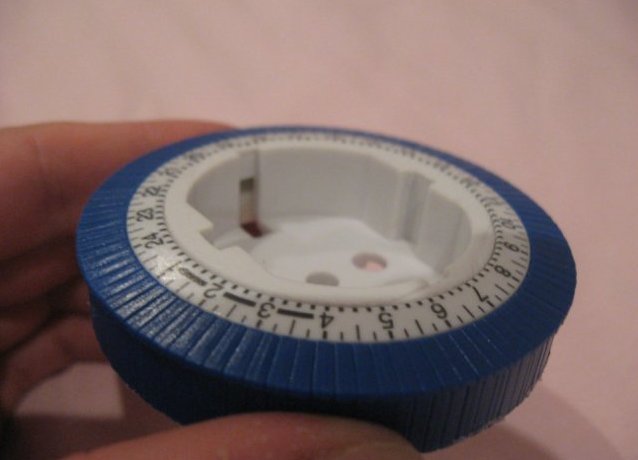
- Throw away all unnecessary. The timer should look like on the photo. Wrap the wires or make a knot so that they do not break out with roots. (Fig. 6)
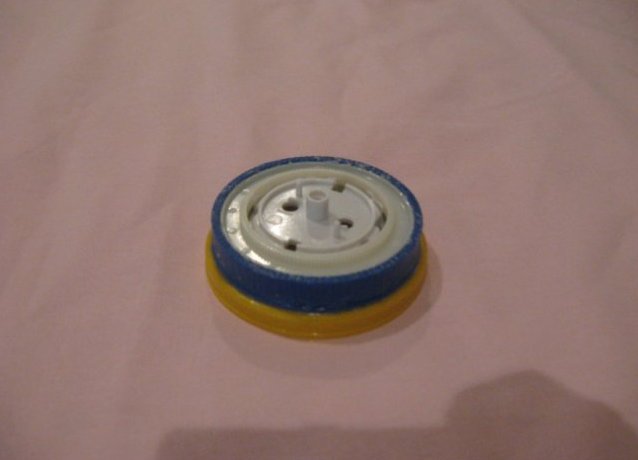
- Take another timer and cut it along the red line.
- The result is the following
- Glue the part to the lid (the lid of the mustard is perfect).
- Do in the cover hole for the bolt, which "pulls" the timer. Assemble the timer. The hole is covered with adhesive tape.
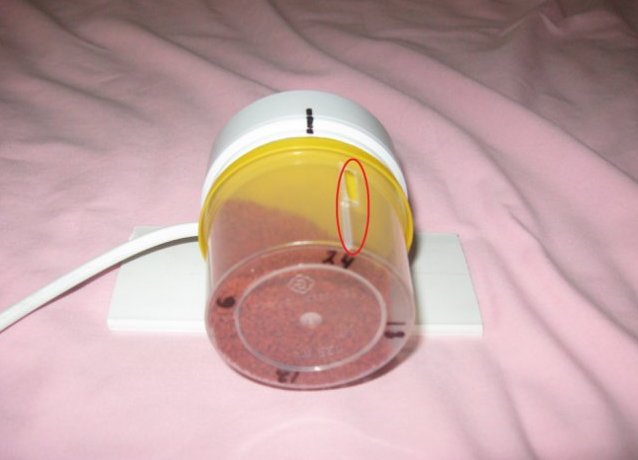
- In the case of the can, make a cut. Its size will depend on the amount of food that should be poured into the aquarium. Slit make the elongated, and not round, otherwise the food can completely fall asleep.
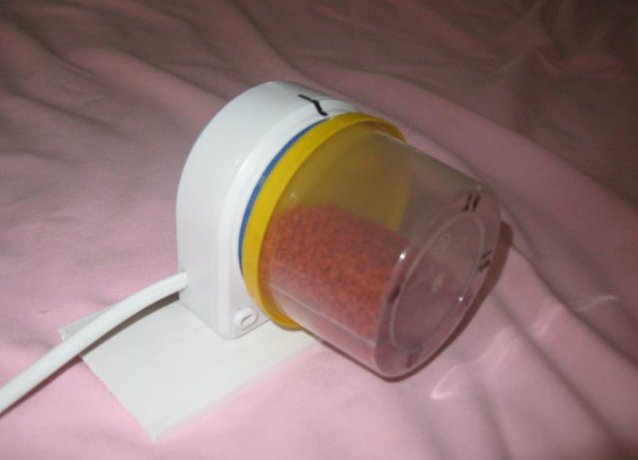
- Pour the feed. Mark the "clock". As a result, you will receive the following device.
The drum rotates quite slowly and the feed will sleep once every 6 hours. For fish this interval will be quite acceptable. After installation, be sure to test the received automatic feeder, check whether the feed is poured into the aquarium and whether the fish dose is sufficient for the chosen dose. If you are planning to leave the house for a long period, it is better to be safe and ask neighbors or friends to check the aquarium once every three to four days, in case there is a malfunction or the batteries will be sitting down.
A similar device can be used not only for fish, but also for feeding canaries, parrots and other plates in cages.