Small toys made of fabric and soaked with fragrant coffee with cinnamon, can be an excellent souvenir for your friends. Such attic coffee toys can decorate the interior, and the aroma in the air will lift the mood and create an atmosphere of coziness.
The simplest loft toys - a master class
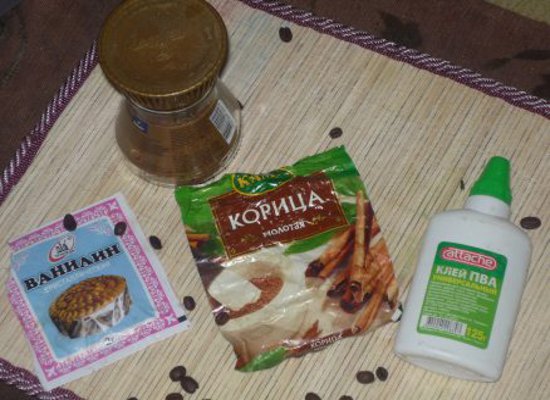
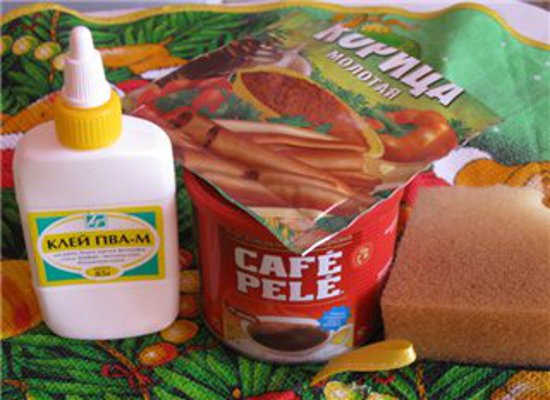
To create any toy in this technique, we need the following list of materials:
- coffee in granules (choose the cheapest and affordable);
- cinnamon powder;
- vanillin;
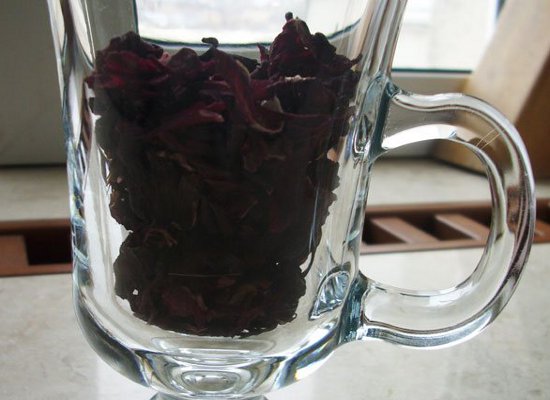
- red carcade tea;
- cocoa powder.
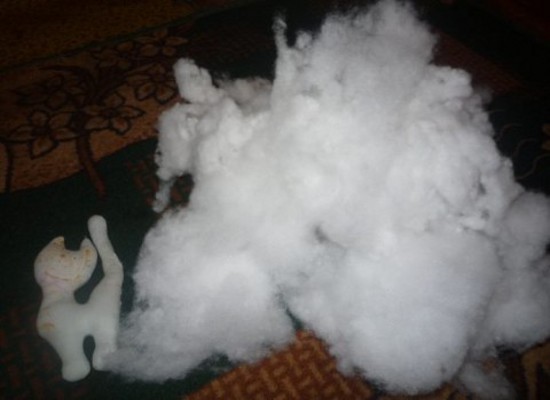
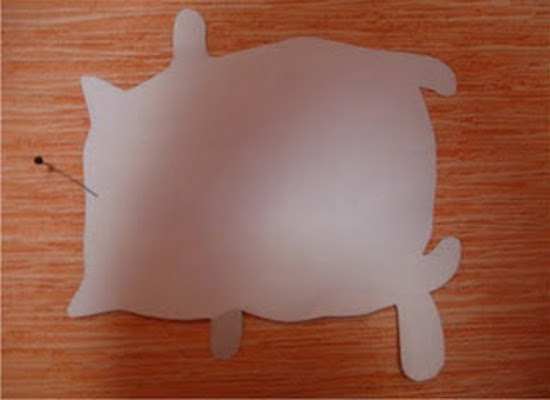
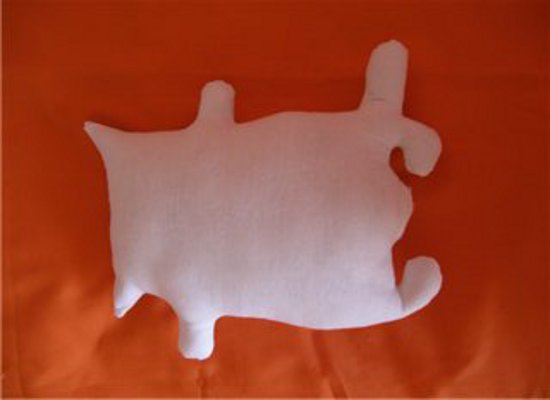
- The manufacture of an attic toy begins with the sewing of such blanks. These are simple hearts made of white cotton fabric and stuffed with sintoo or holofayber.
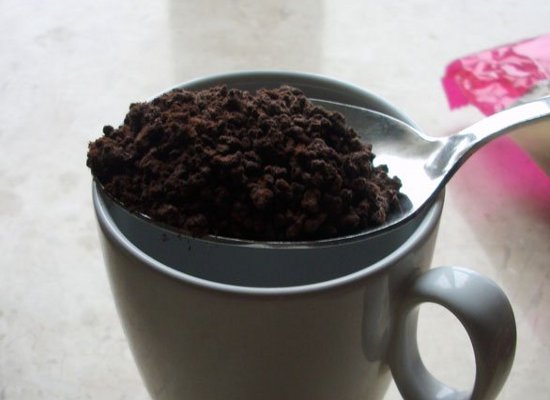
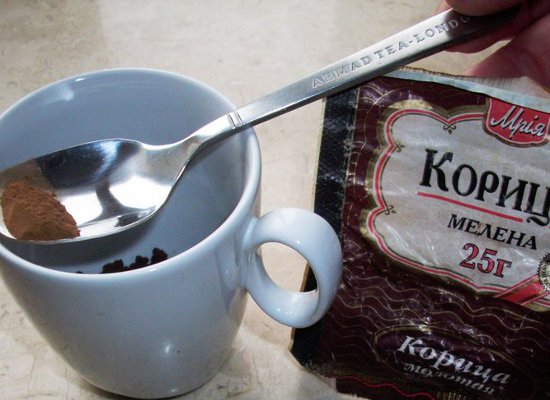
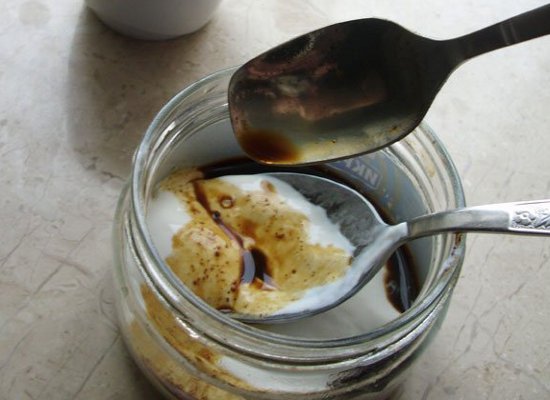
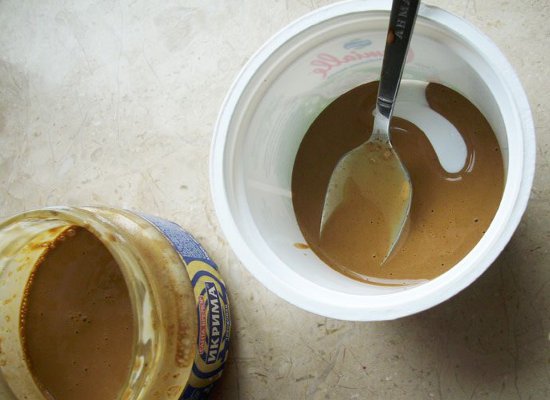
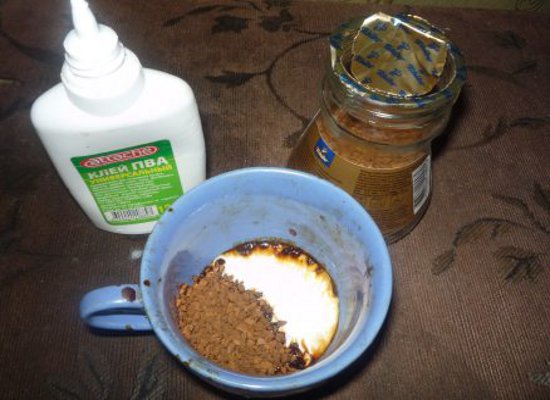
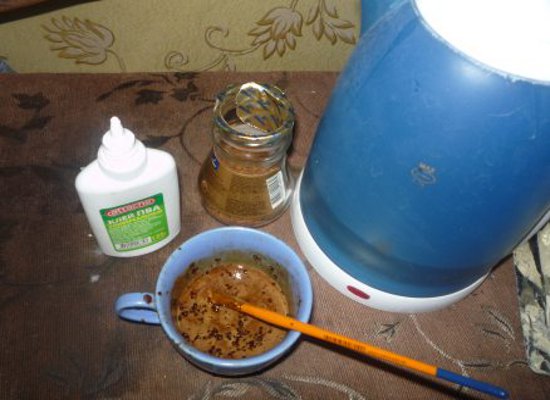
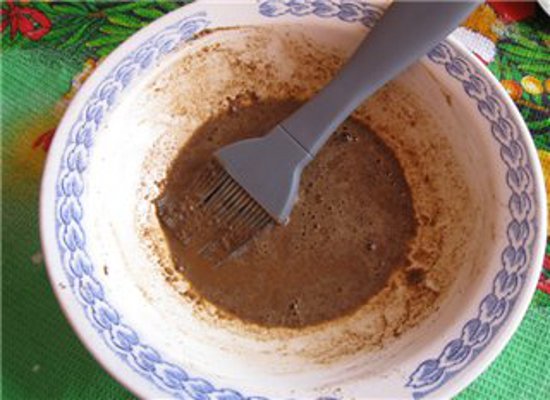
- Each master has his own recipe for a solution for an attic toy. Take one teaspoon of coffee and cinnamon (here you are already guided by your preferences).
- We add about 50 ml of boiling water. Then leave to cool slightly, stirring well. The solution should be warm.
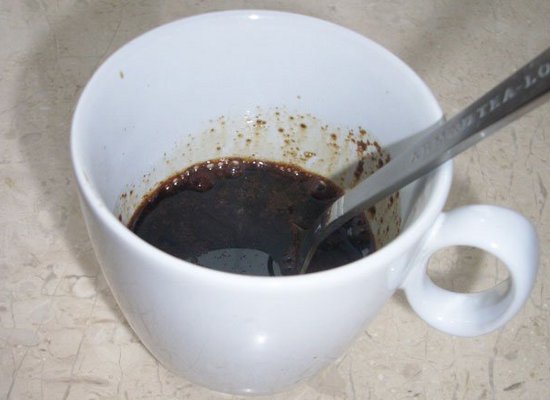
- In a separate container we put one tablespoon of PVA glue and gradually add our coffee mixture. The more glue you add, the harder the surface of the toy will get.
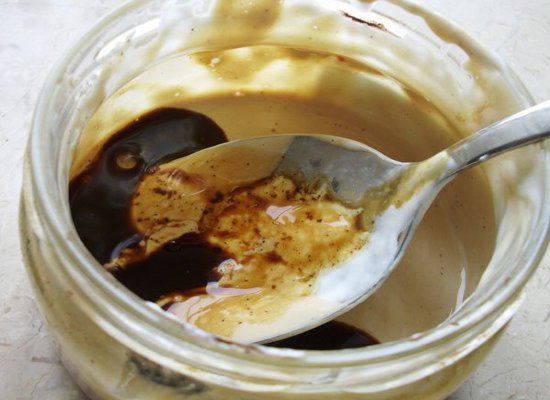
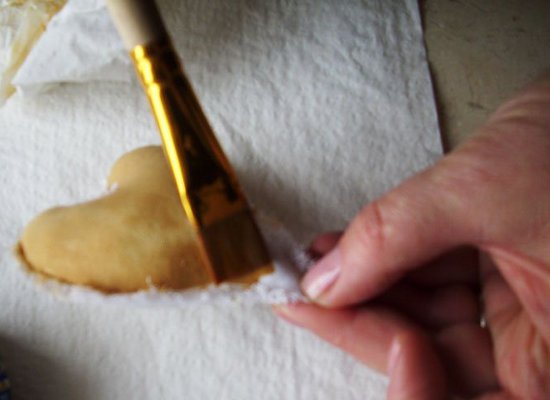
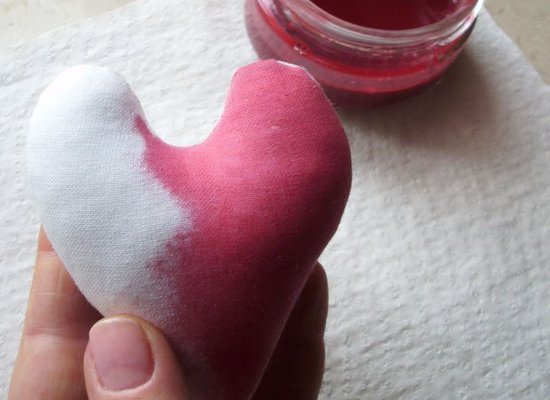
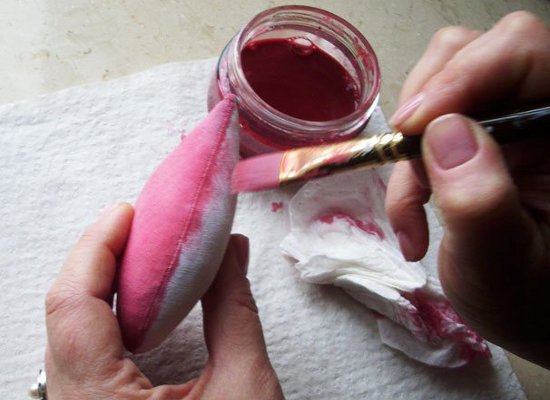
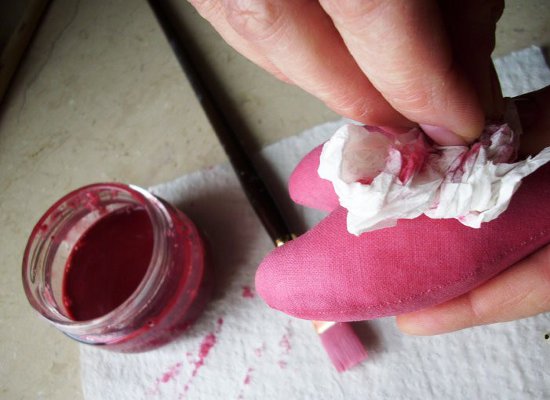
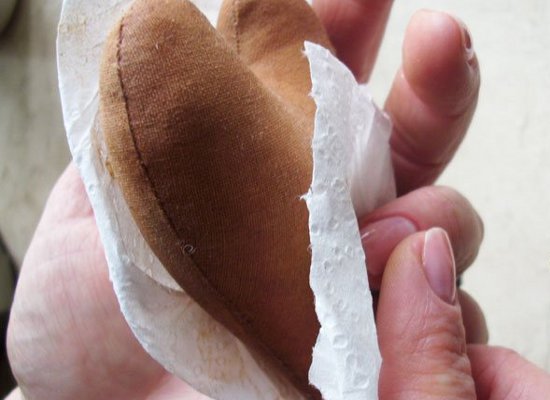
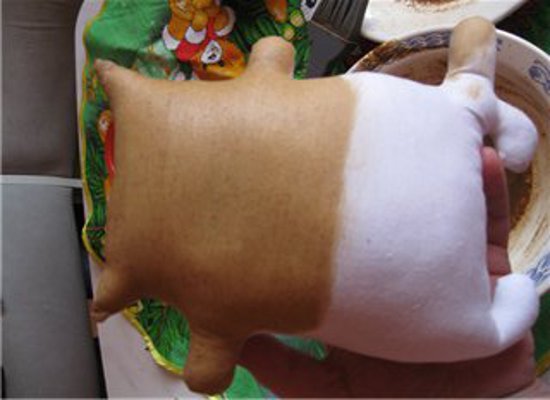
- Now about the process of staining. If you want a uniform shade, after each application wipe the surface with a tissue: then the packing will not get wet. If you want to create an effect of antiquity on the contrary, it is not necessary to wipe with a napkin.
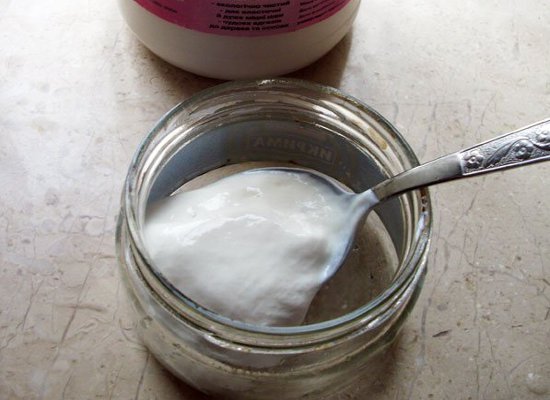
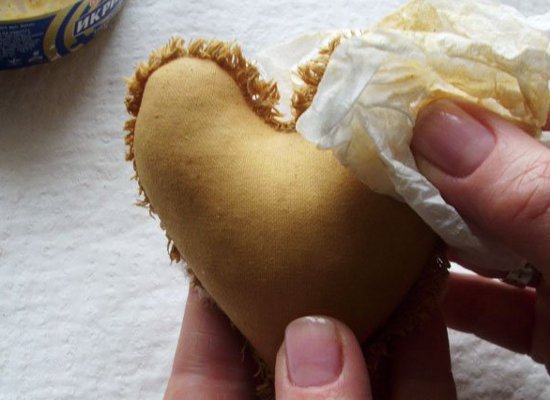
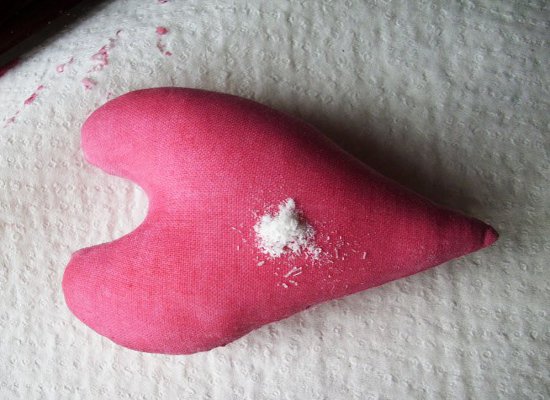
- We rub the workpiece with vanillin.
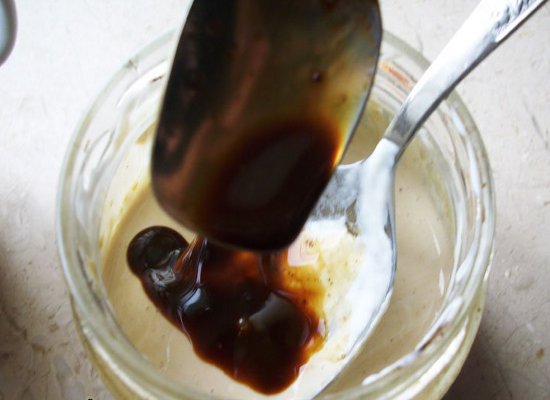
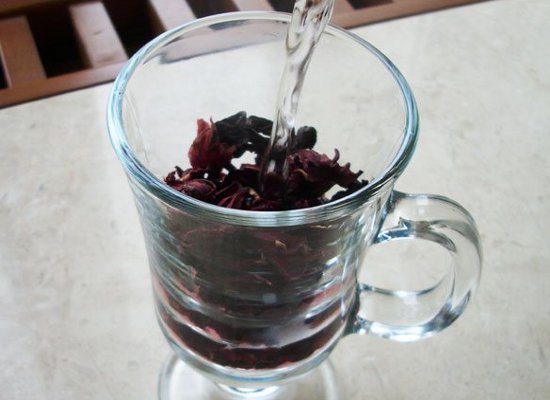
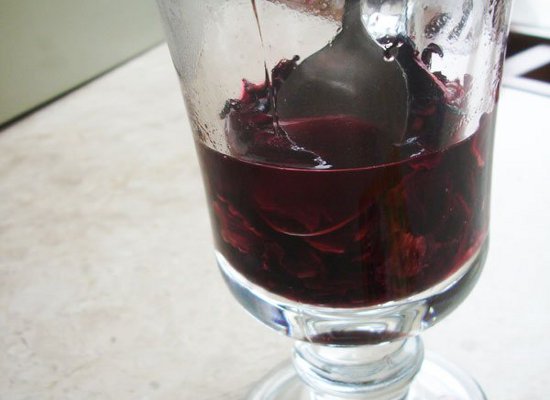
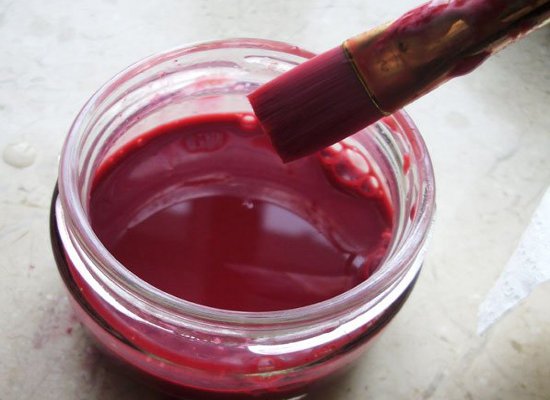
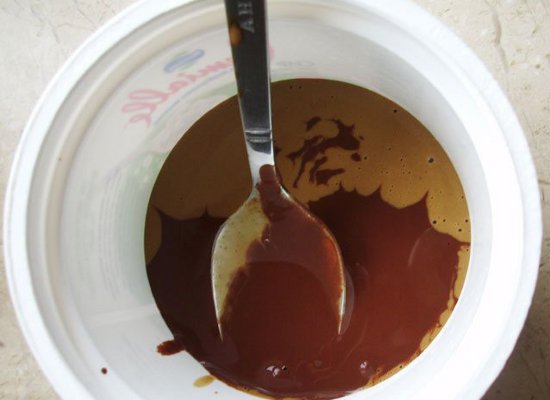
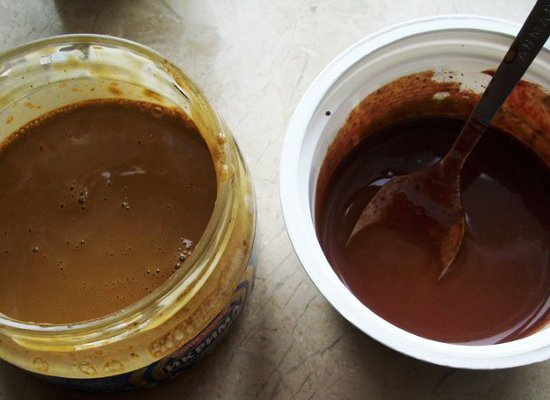
- To make the paint red, pour the tea and stir constantly, a little pressing down.
- We dissolve in the coffee tint red tea, the color according to their preferences.
- Paint the workpiece and rub it with vanillin.
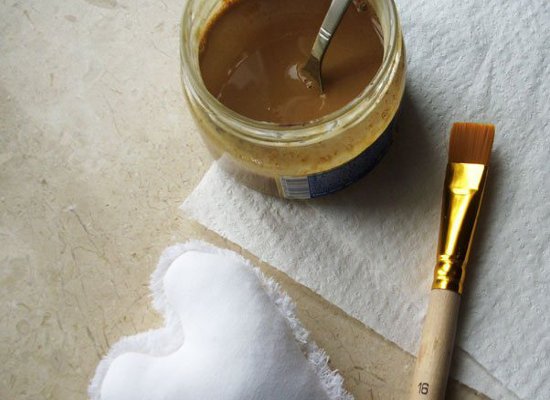
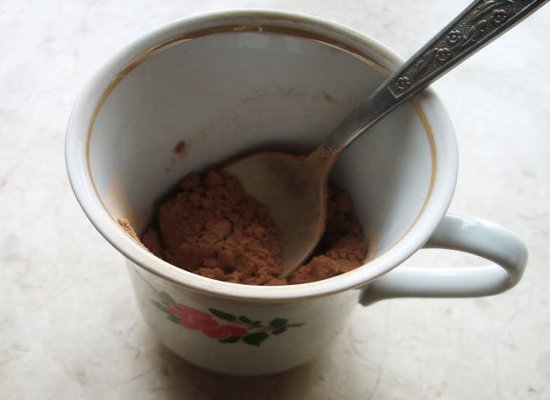
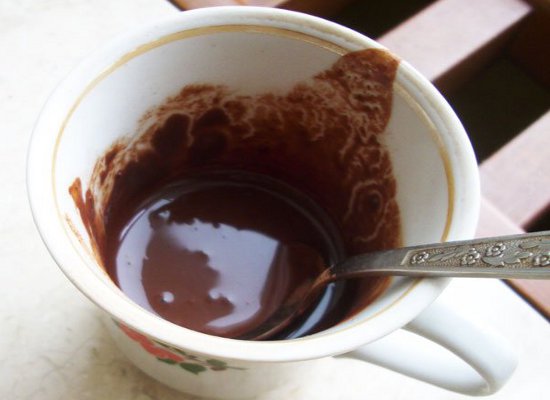
- Similarly, prepare a solution of cocoa: in 25 ml of boiling water we dissolve one and a half teaspoons. Then add the solution to the prepared coffee mix for toning (about 3 teaspoons).
- Similarly cover and rub with vanilla.
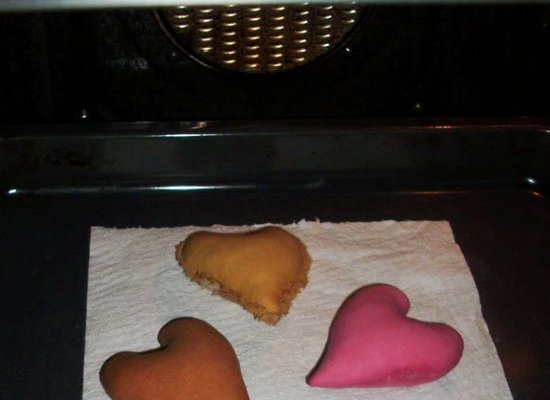
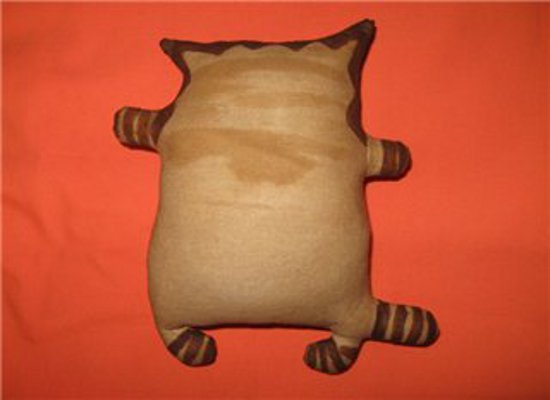
- We bake our billets, slightly opening the oven door.
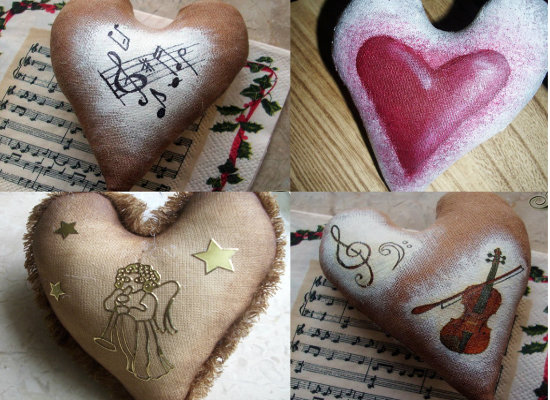
- We take out and decorate at our discretion.
- Here you can make such colorful attic toys with your own hands in this technique.
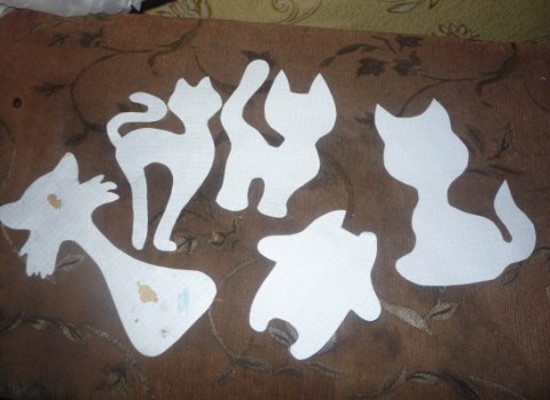
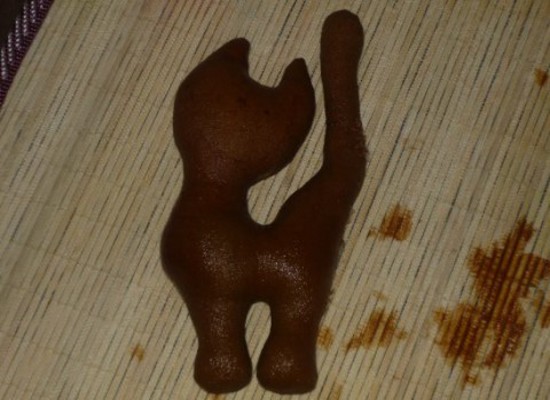
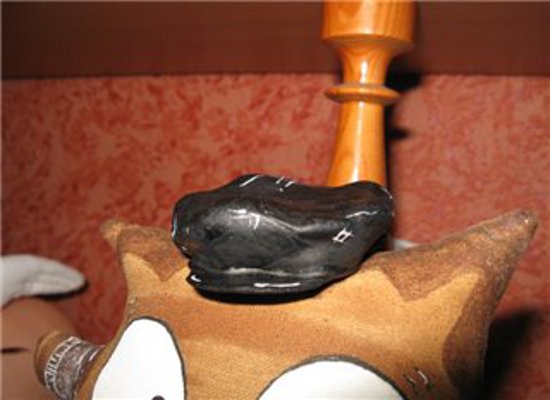
How to make a cat's loft toy?
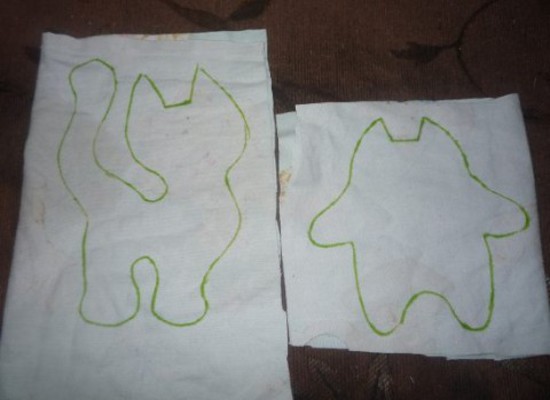
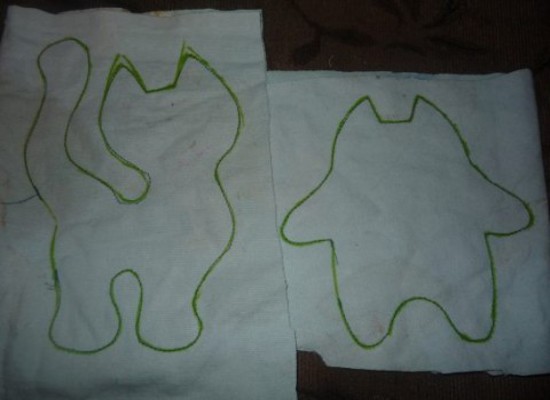
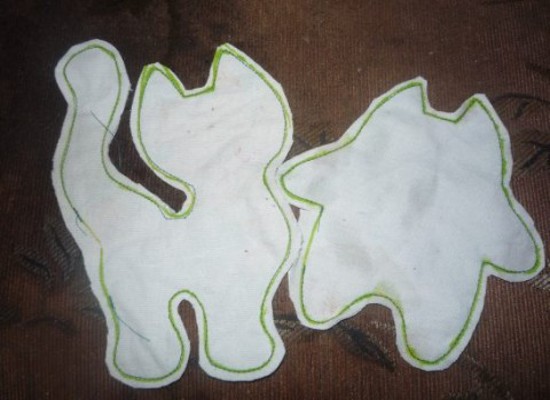
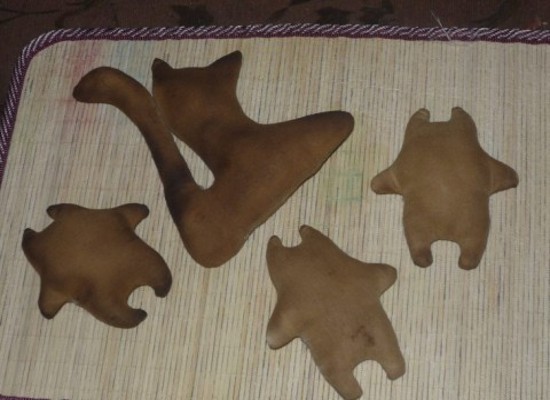
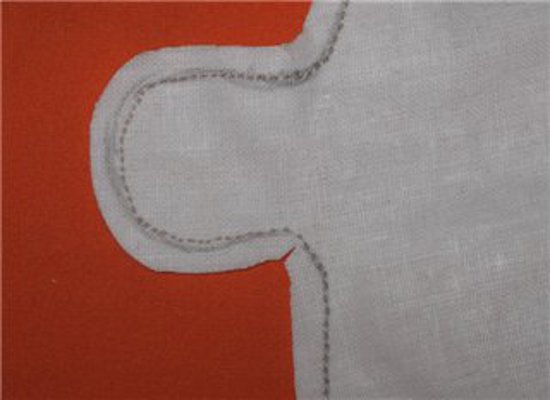
- Work begins with the pattern of attic toys. These are the simplest silhouettes of a cat. First we transfer the patterns of attic toys to the fabric. We allocate taking into account the allowances. Then carefully cut out.
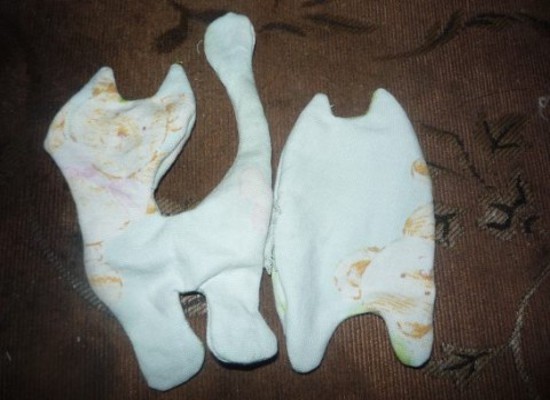
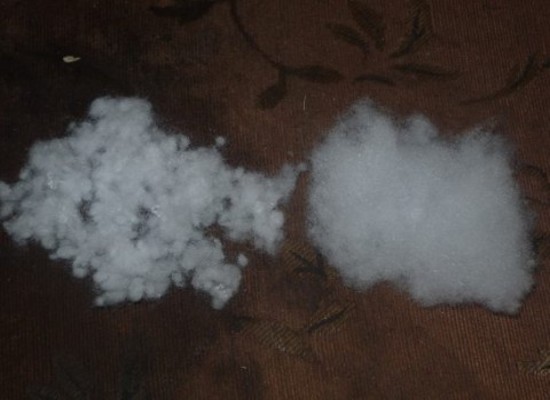
- For stuffing toys choose sintepuh in balls. We fill the maximum tight.
- In this case, the manufacture of attics toys, the author prepares the solution as follows: mixes a tablespoon of coffee with glue and add a little vanillin. After thorough stirring, add water, approximately 50 ml.
- We color the blanks.
- Leave to dry or put in the oven. Then, if desired, we apply a second coat of paint.
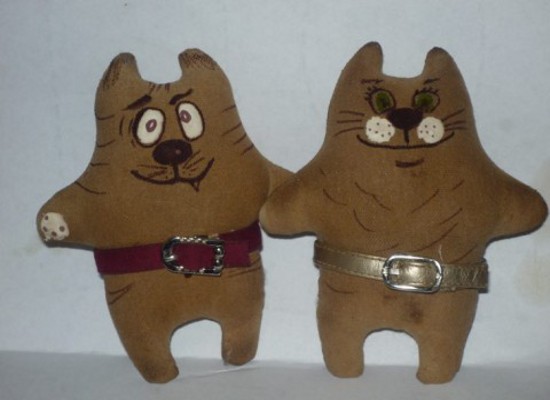
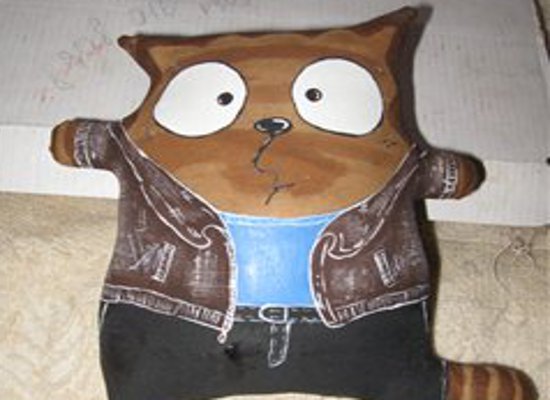
- Next, we decorate attic toys made with our own hands. Here in the course goes everything: acrylic paints, shreds or buttons, felt-tip pens and cosmetics.
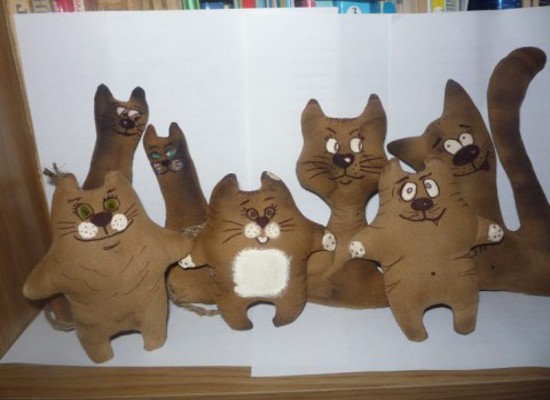
- Excellent cozy cats in a gift are ready!
Attic toys: a master class of making a cat-driver
- Cut from paper here is a pattern.
- Then we transfer it to the fabric. The best calico will suit.
- We spend it and cut it out.
- In the corners it is necessary to make small incisions, so that after the eversion, the seam is not drawn.
- We fill the workpiece with a sintepon.
- Mix half the teaspoon of cinnamon, cocoa, coffee, and one teaspoon of glue.
- Mix thoroughly and add water.
- After settling the mixture, a precipitate forms. It is used for dark streaks of a cat. The top layer will go for the main tone.
- We color the workpiece and put it in the oven to dry faster and do not form a divorce.
- Apply a thick mixture of strips.
- Draw the rest of the toys will be a tempera paint.
- From plastic (polymer clay) we make a cap and a rudder.
- It remains only to rub with vanillin and you're done!
An original version of the attic toy can be a house-house made with your own hands, as well as primitive dolls of a tilde .