A small fabric bag for a pair of sneakers or shoes is always useful. In it, you can put a replacement shoes for the child in school, mandatory in the list of school purchases , store winter boots, if the box has deteriorated. Ready can always be purchased, but not all of them are convenient. For high winter boots or summer sandals you need different bags, so it's easier to sew a few with your own hands.
How to sew a sack for shoes?
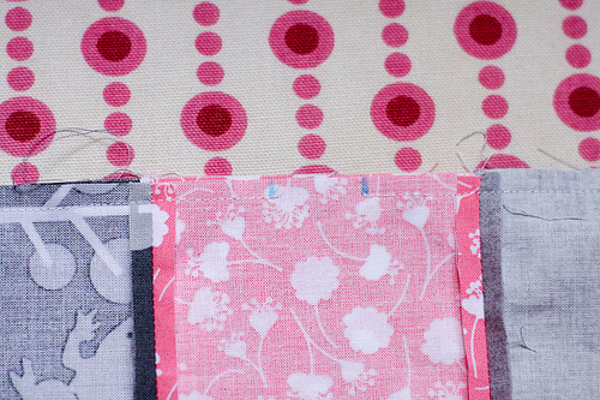
If you once held the ruler in your hands and are familiar with the sewing machine, then for you there will be no difficulties at all. Before you sew a sack for shoes, you should prepare the following materials:
- the main fabric (two types);
- fabric for interior decoration;
- A ruler and a marker for the fabric.
Now we sew a bag for shoes.
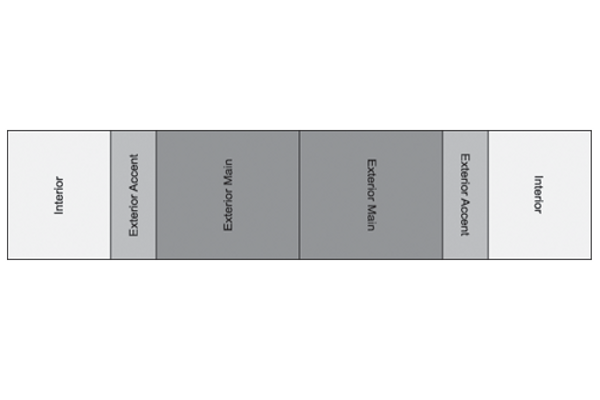
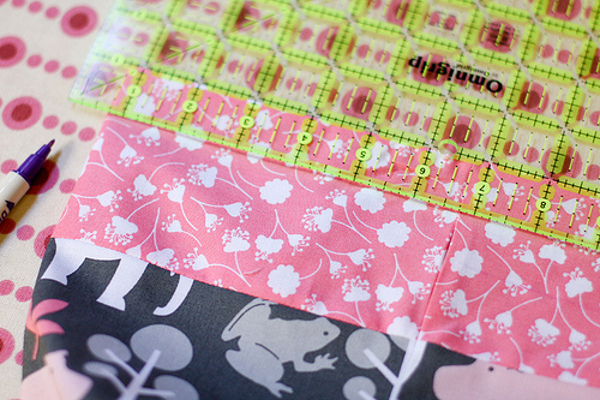
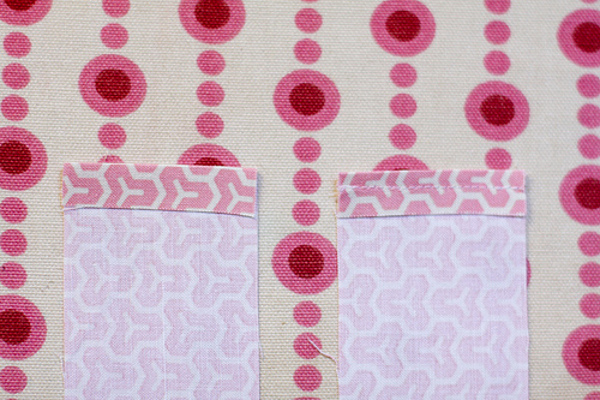
- Let's start with the pattern. The pattern of the bag for shoes consists of two halves. The size of each part depends on the type of shoes. The outer part consists of two types of basic fabric: large for the base of the bag and smaller for carrying the ribbons. But it is necessary to keep the proportions: the length of the smaller part and the length of the inner in the sum should give the length of the base fabric.
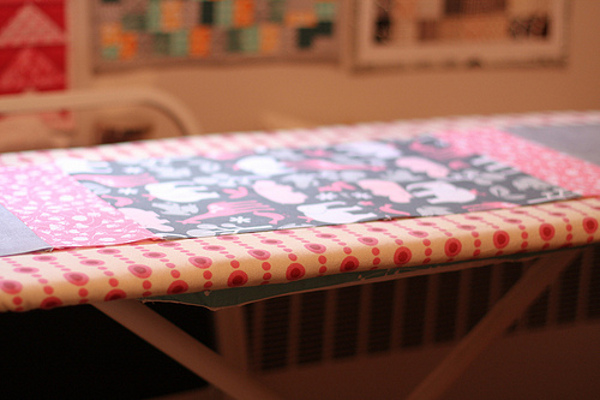
- Cut the pieces according to the pattern and arrange them in the order given.
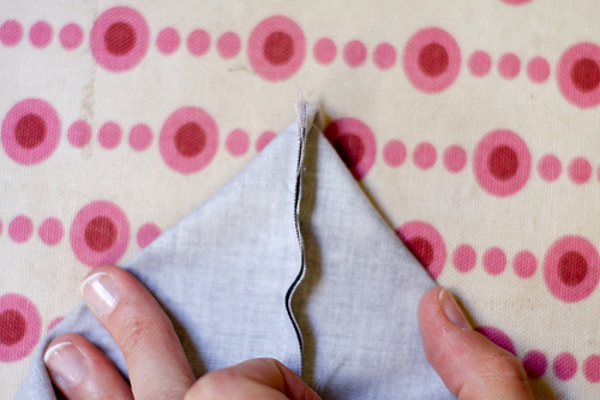
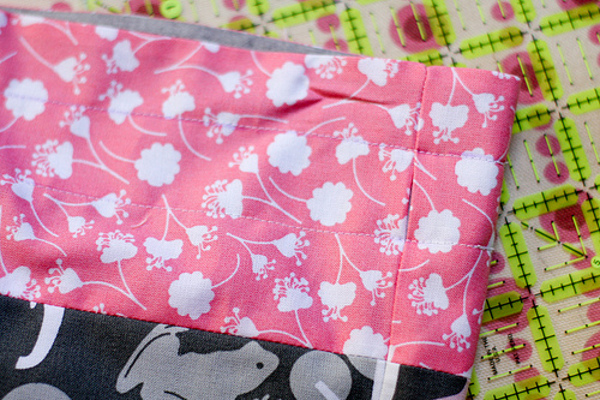
- Sew all the parts of the bag for shoes to your hands. After that you should smooth the seams.
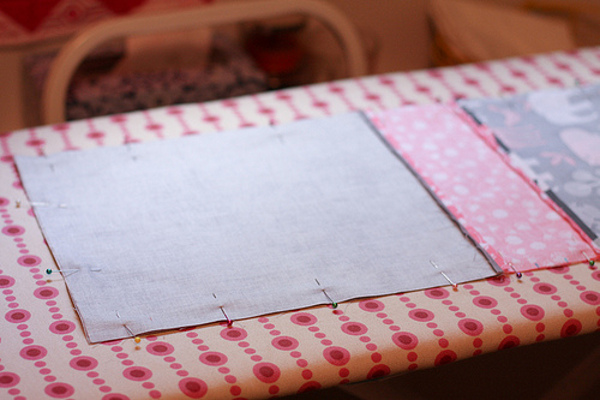
- Now put the workpiece in half face inward and puncture it with pins.
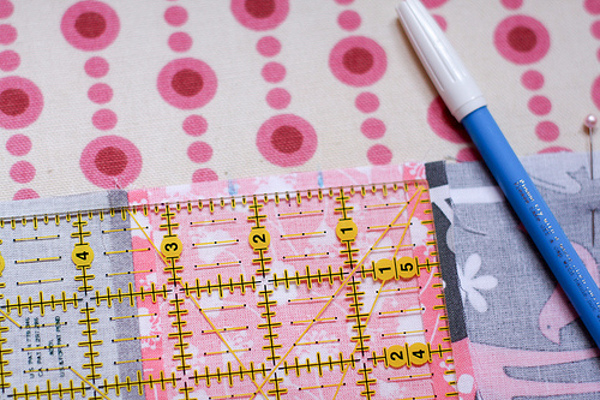
- An important point: using a ruler and a marker, three holes should be noted, which should remain after sostrachivaniya. Two of them are located symmetrically on the smaller part of the outer side (then we will pass the cord) and a small space to turn out.
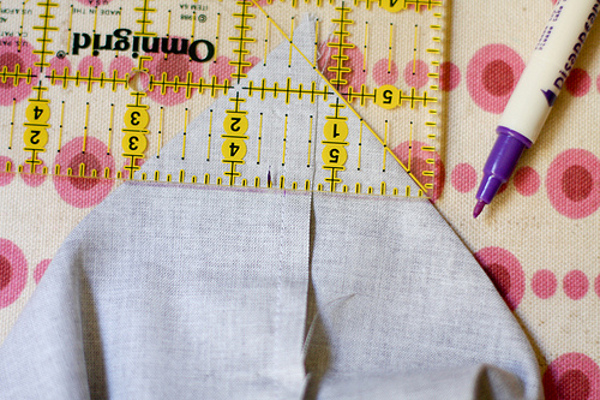
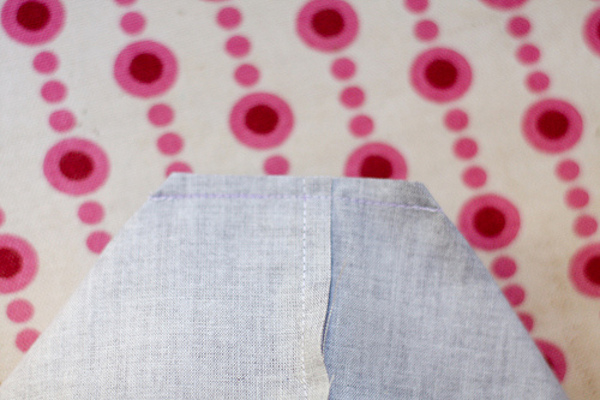
- To make a flat bottom near the bag-bag for shoes, cut off the corners, as shown in the picture.
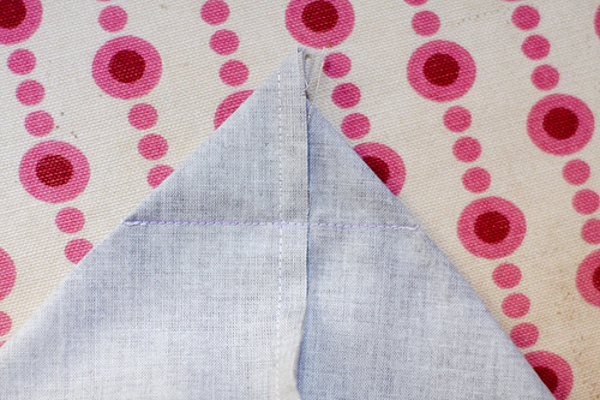
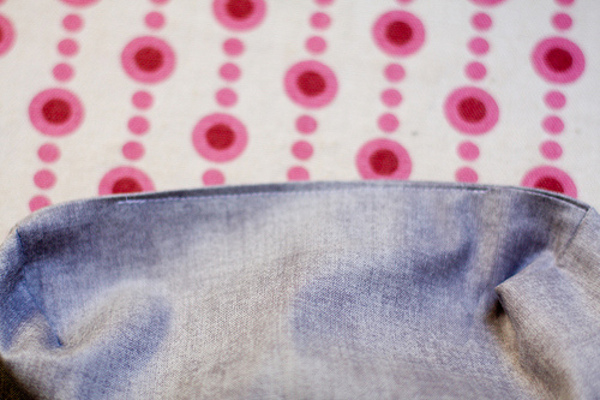
- We turn out our sack for replacement shoes.
- Next, mark the markers with two lines, where we will plot the lines: this is necessary for the kuliska.
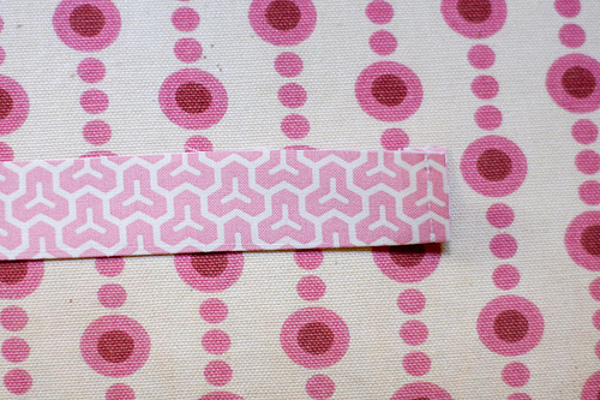
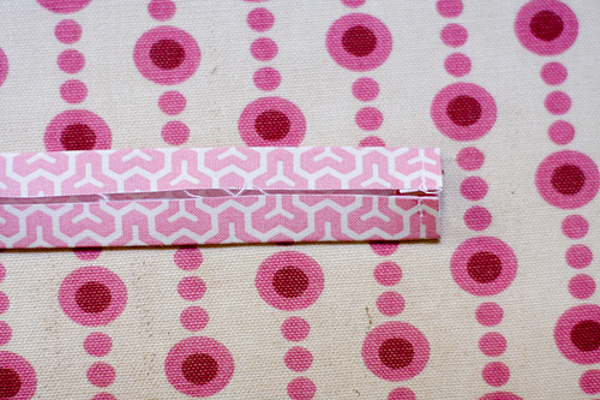
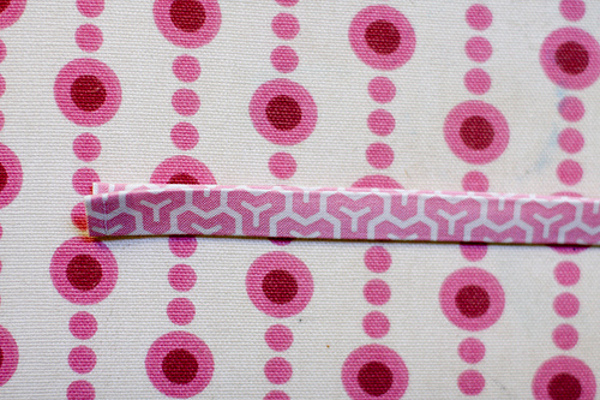
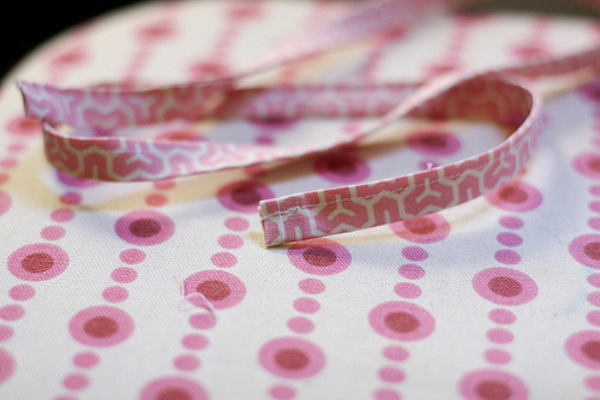
- The last stage of making a sack for shoes with his own hands will be braid. It is made on the principle of oblique bake.
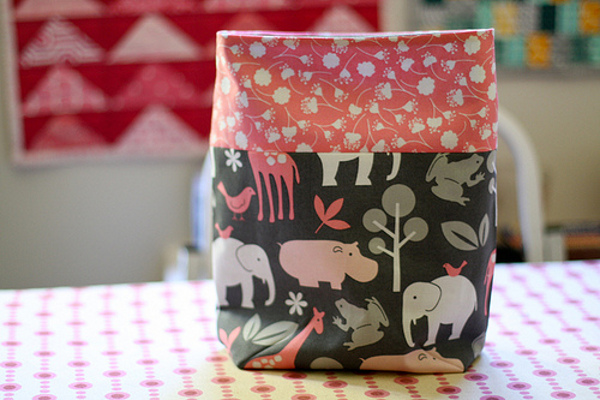
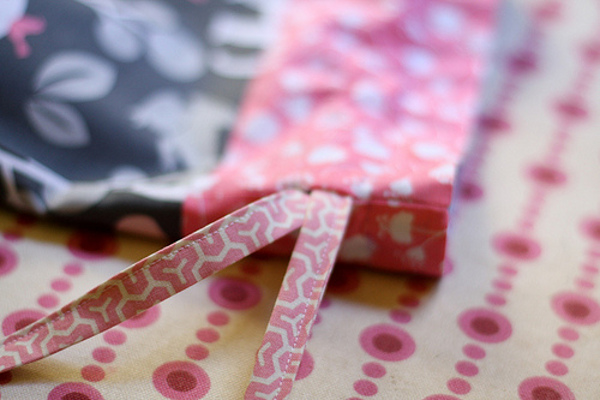
- We put the braid in the kuliska and everything is ready!
| | |
| | |
| | |
| | |
| | |
| | |
| | |
| | | |