Paper crafts are good in that all materials are almost certainly at hand, and glue with paper is quite safe. Therefore, you can safely work with children. Below we will consider a few simple and interesting options, how to make an owl out of paper.
How to Make Owl Paper - Method 1
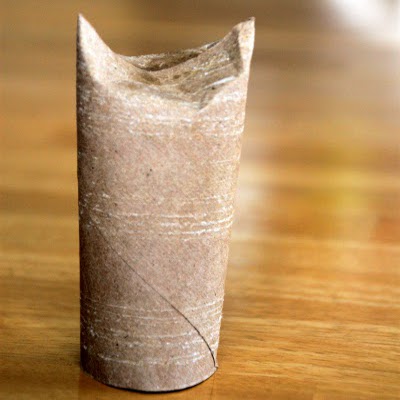
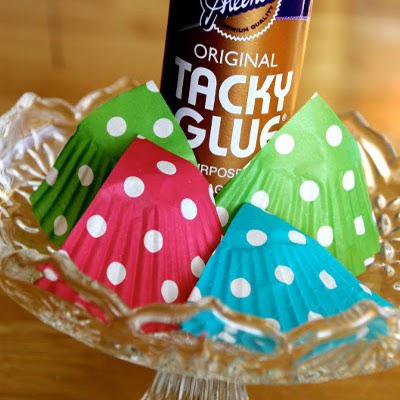
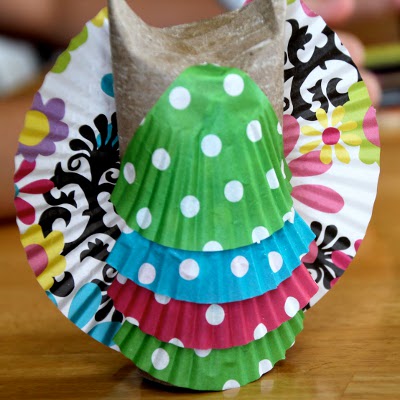
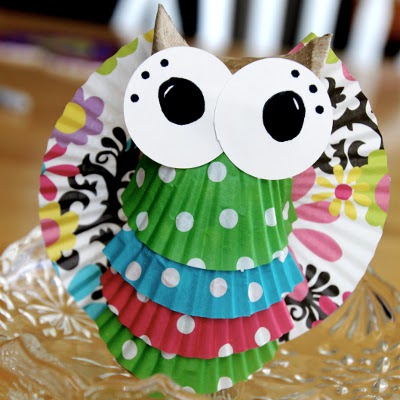
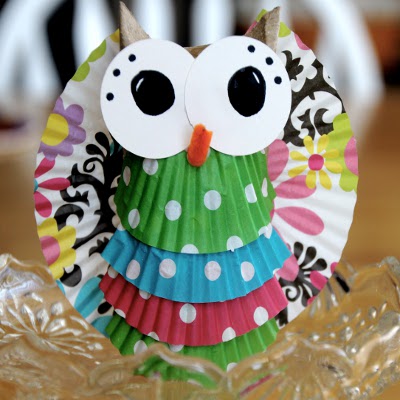
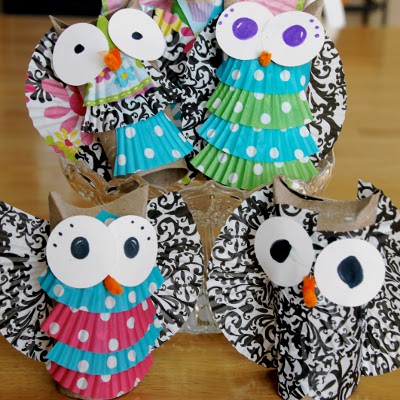
Products from handy tools are now quite a popular direction. Particularly often, bobbins are used from cardboard from toilet paper or towels. As a basis, they take one single technique, but there are lots of decor options. In our case, we will make an owl of paper and colorful baskets for baking cupcakes.
Performance:
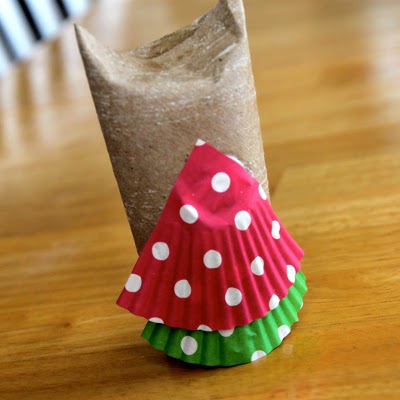
- The base is manufactured in the usual way. The roll is bent at the top in such a way as to get those same owl ears.
- And then we start work on our little girl. With the help of glue we begin to fix paper baskets for cupcakes.
- Next, we straighten a couple more baskets and make wings.
- Well, the eyes for our owl of paper are made of two circles cut from white paper. Make out of them you can see both with a black marker and colored paper.
At this master class of making an owl is over and we have a whole family of owls.
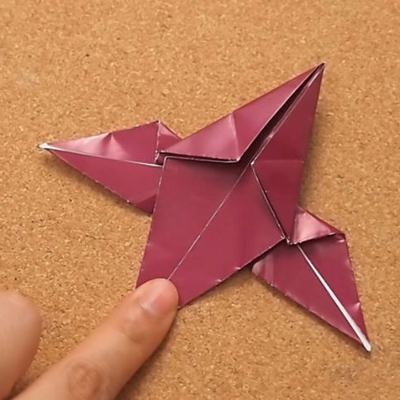
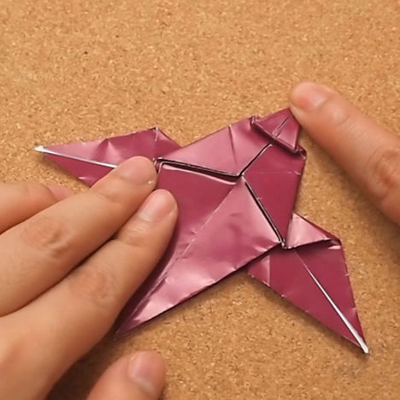
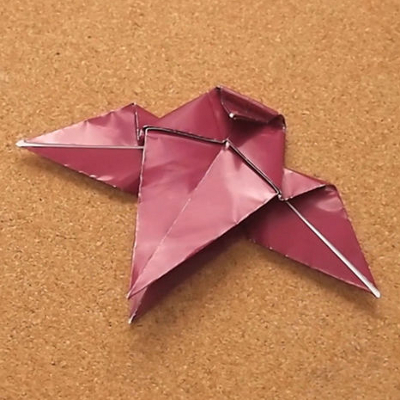
Origami paper - an owl
This hand-crafted article differs from the owls in the modular origami technique in that you do not need to stack many pre-pieces in advance. You can make an owl-origami quite quickly, for this you need only patience and a piece of paper.
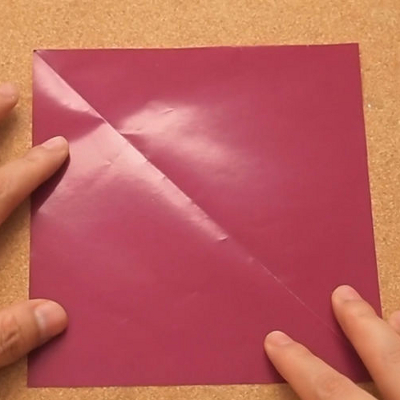
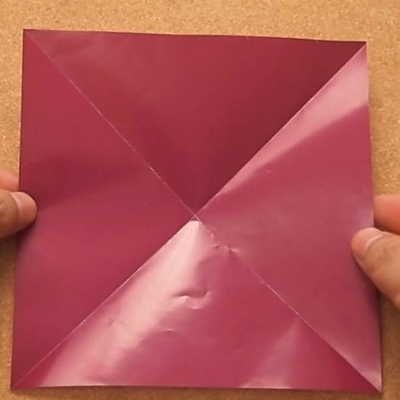
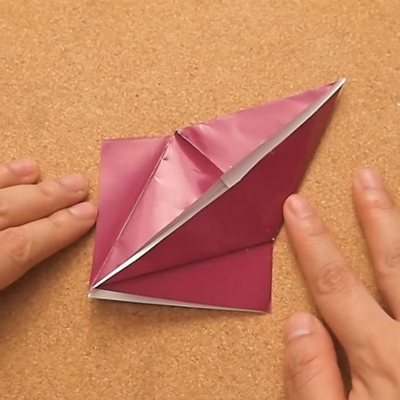
- The beginning is quite classical: we bend diagonally a square piece with a colored part inside.
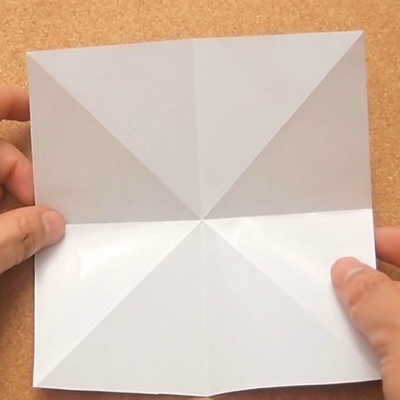
- We turn and re-fold the workpiece crosswise, but now the white part inside.
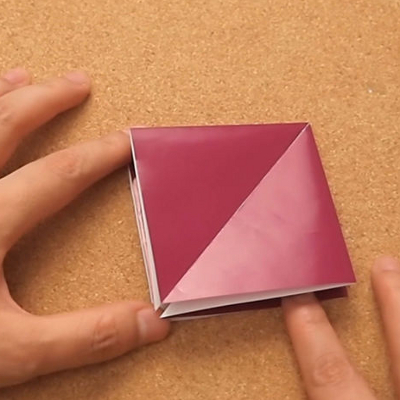
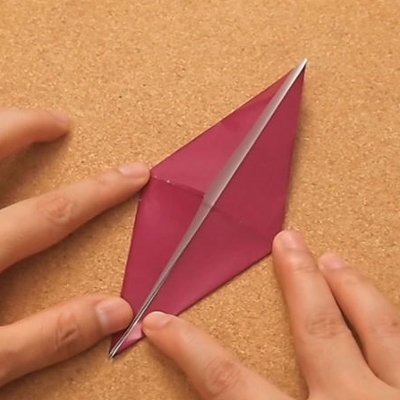
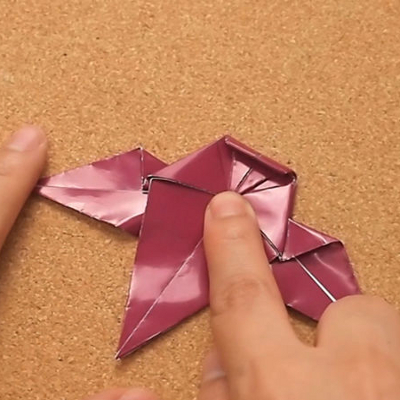
- Next, we use our folds and reduce the model to this kind of view. It is necessary to put the top three corners to the bottom.
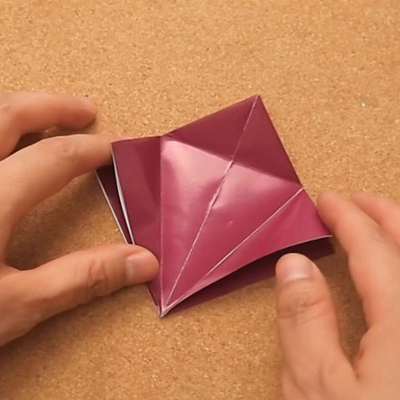
- Fold the wings of the triangles and unfold them, as shown in the photo.
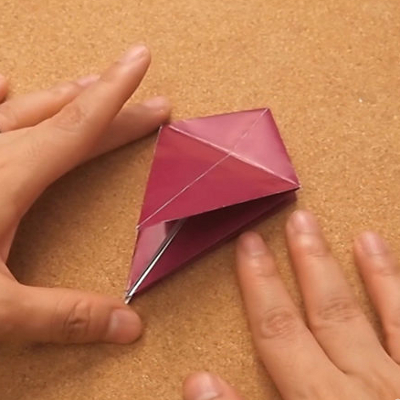
- Bend to the bottom of the upper part of the part and then re-expand it.
- And now we need to do this kind of trick: we open the top part, at the same time click on the side.
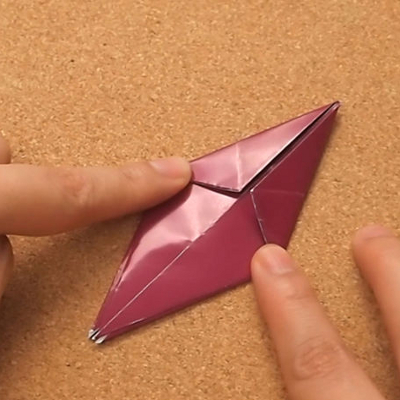
- Do the same on the reverse side.
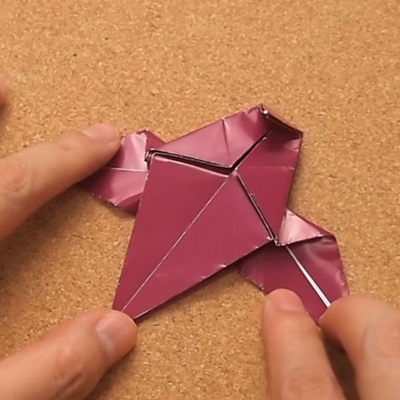
- Fold the front and rear parts with the valves received down.
- And now add the upper corners to the center line.
- The wing is formed by pulling the part out of the middle and pressing it downwards.
- The upper part is bent, as shown in the figure.
Origami paper owl is ready.
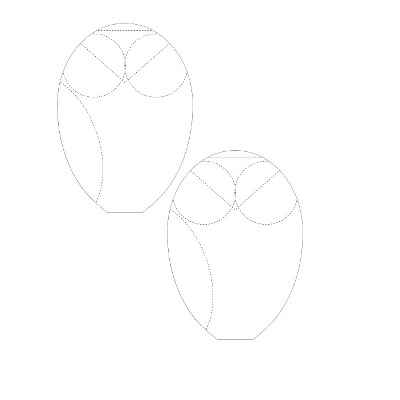
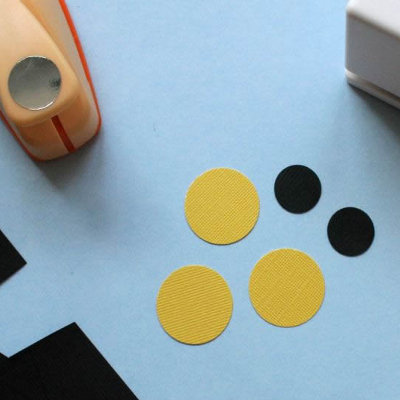
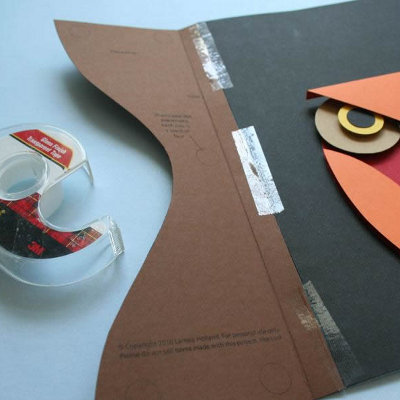
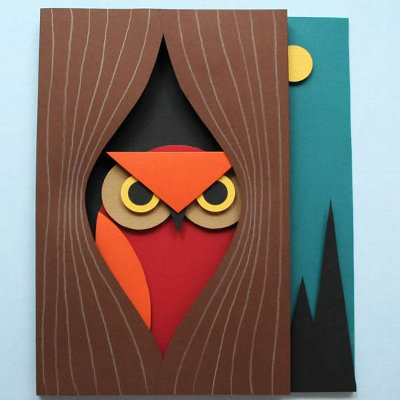
How to make an owl in 3D technology?
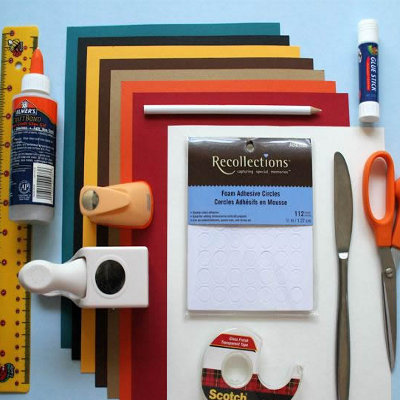
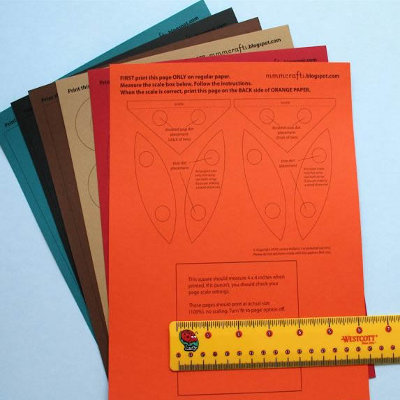
In the figure you can see all the necessary for this master of the class for making owls with their own hands materials with tools.
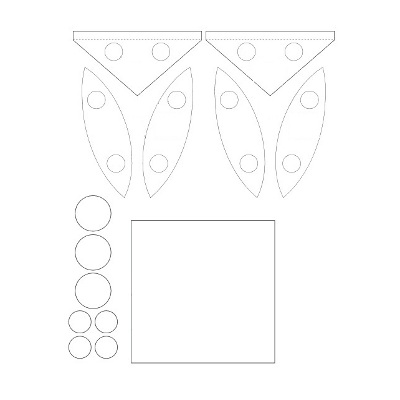
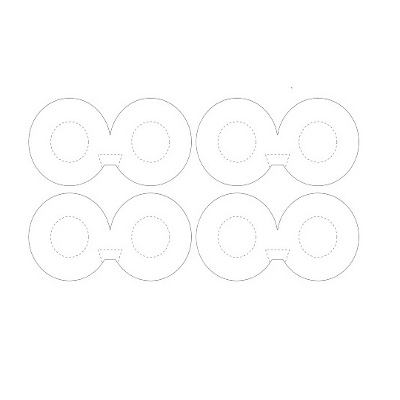
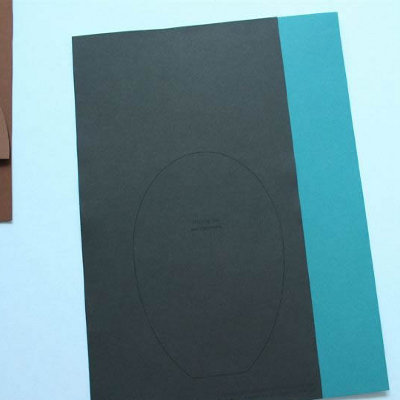
- So, print out the schemes on colored paper. There the position of all parts and the place of attachment is indicated.
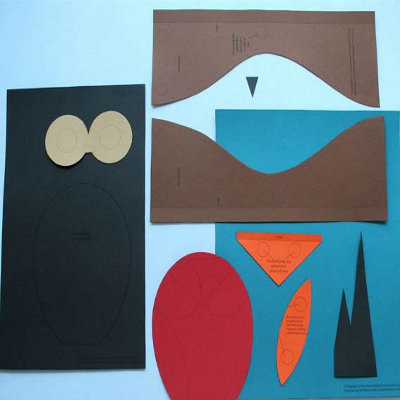
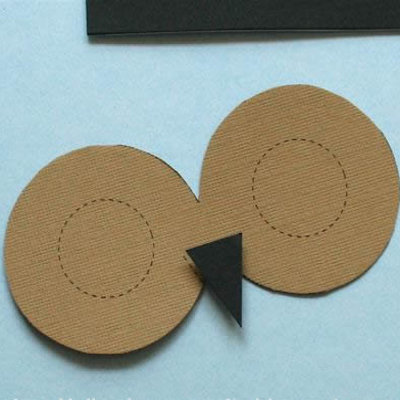
- Cut out all the details.
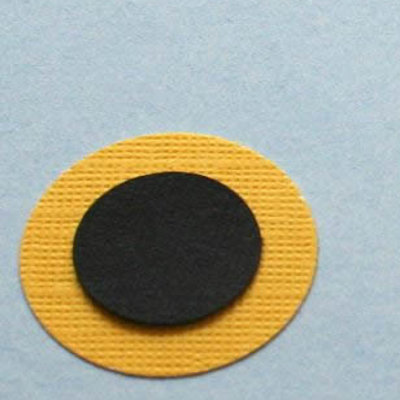
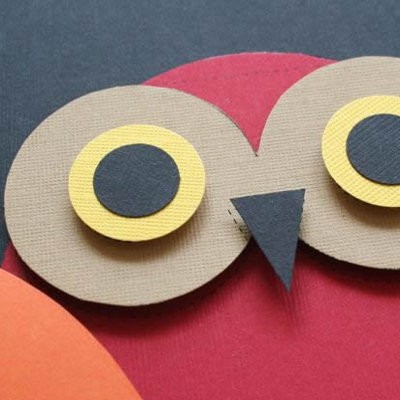
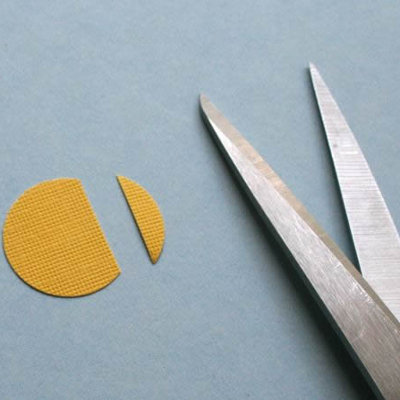
- Circles for the eyes can be cut as scissors, and use a figured punch.
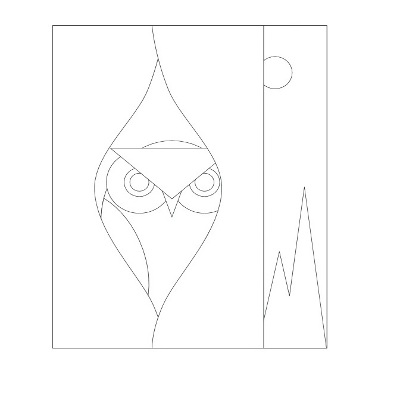
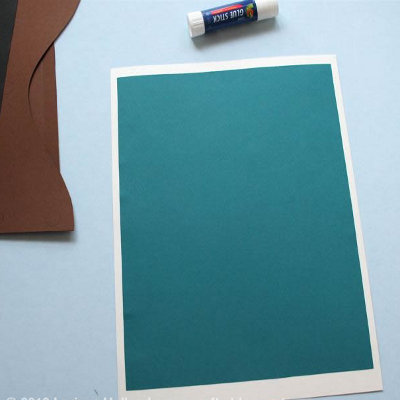
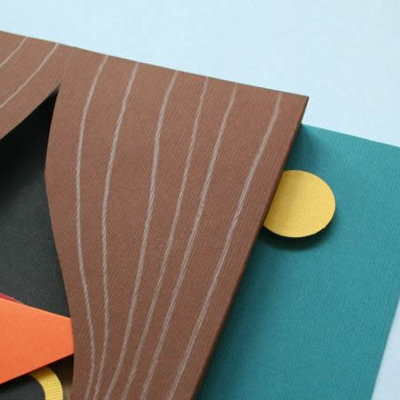
- First, attach the background.
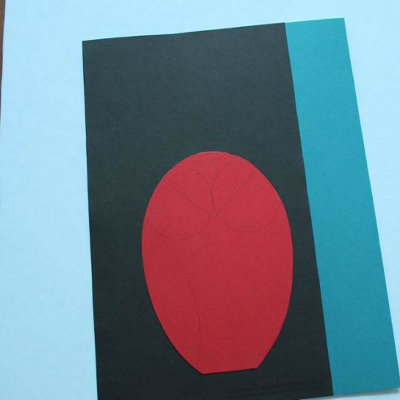
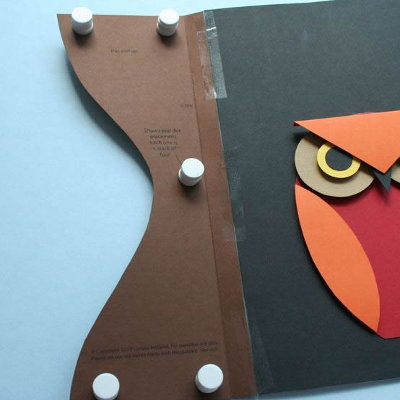
- Next, make out the place of the owl.
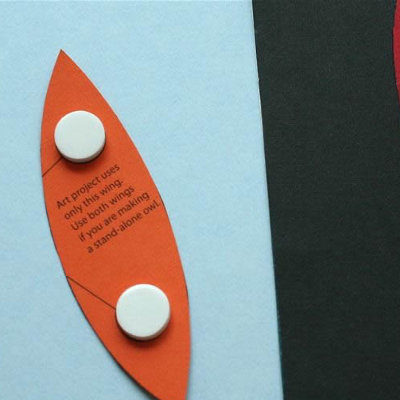
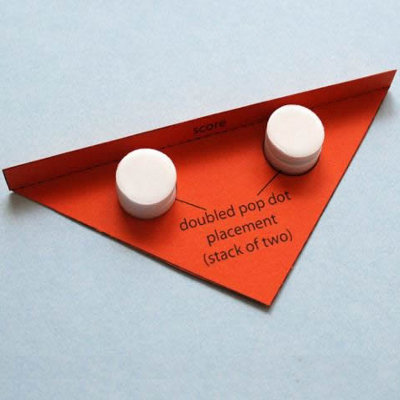
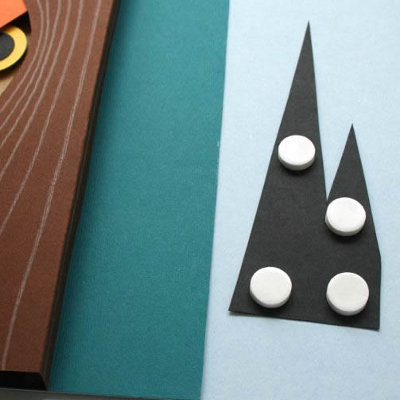
- The rest of the details will be glued to a double-sided adhesive tape to get the same volume effect.
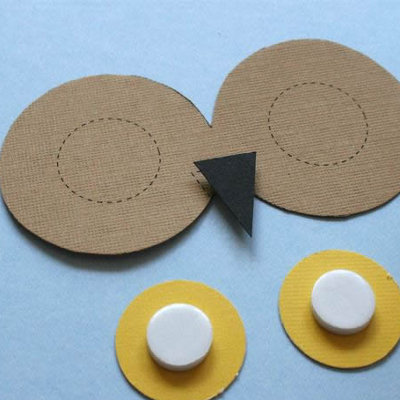
- We collect by parts our owl on scotch tape. First, we prepare the details that will be in the background (the lowest layer) - the trunk with wings and the basis for the eyes.
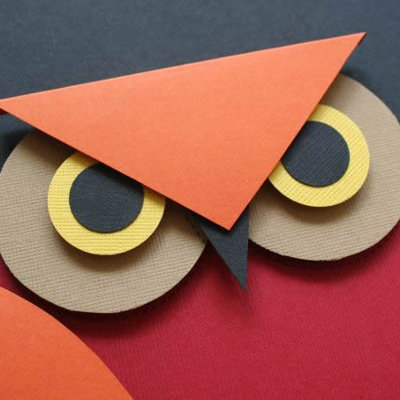
In the center of the eye we glue the pupils.
Then attach a triangular "forehead" to the double layer of volumetric double-sided adhesive tape.
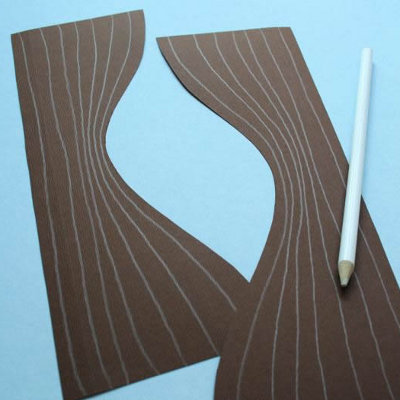
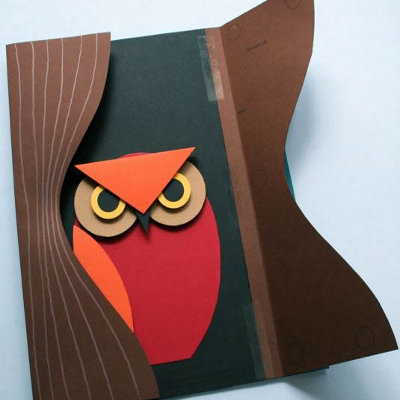
- Now we fix the parts of the tree. First, draw the bark with a pencil.
- The bark is in its place.
- Similarly we fix the second part.
- At the same time, a small background area remains unaffected.
- We stick the moon and mountains in our place.
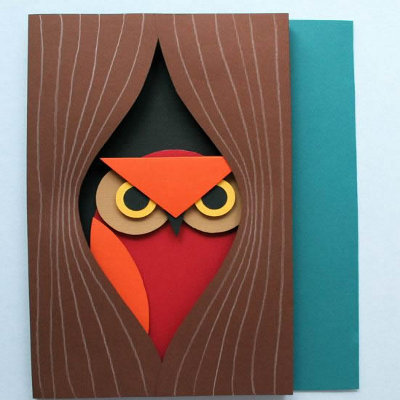
Our voluminous owl is ready!