Mirror camera requires special care and careful attitude. Any blow or a scratch can become fatal for him, that's why photographers use special bags with foam inserts, and often with metal shock-proof corners for transporting photographic equipment. Even if you have the simplest mirror camera, it's very dangerous to carry it without a special bag. Of course, there are no problems with their choice in shops, but it will be much cheaper to make a bag for a SLR camera with their own hands.
Women's bag for the camera with their own hands
Without a doubt, every woman has a bag in her closet, which she does not want to wear anymore, and there's nothing to be done about it, but she's also sorry to throw it away. We offer you a wonderful opportunity to give your bag a new, long and happy life, we will make a bag for it from a mirror camera.
For work we need:
- a bag;
- A sewing machine with a regular needle for thin fabrics;
- strong threads, preferably capron;
- needle;
- fabric, ordinary cotton or cotton, for your taste;
- chalk for fabric;
- foam-like insulation thickness of 10 mm, or tourist karemat;
- roulette or ruler;
- Velcro.
Bag for DSLR: master class
So, having prepared everything you need, let's start:
1. The first thing we do is prepare the bag. We will cut out of it all the pads, partitions, pockets - in a word everything that will be superfluous in a bag for a mirror. Leave only the main skin.
2. Now we will deal with internal partitions. We will measure the inner dimensions of the bag and cut out the heater by the dimensions, we make the workpieces for the bottom and two side walls.
3. We will borrow a cloth. We prepare the cuts of the fabric according to the dimensions of the blanks from the foamy insulation. Cut out the fabric in size, leaving the allowances for the seams, then with a sewing machine we sew the scraps and place the workpieces in them from the insulation or the carpet.
4. Now cut the strip of Velcro, its hard side and sew it along one of the walls of the bag.
5. Put our walls in the bag. For convenience, you can sew them, but it is not necessary, if everything is done exactly in size, they will not move.
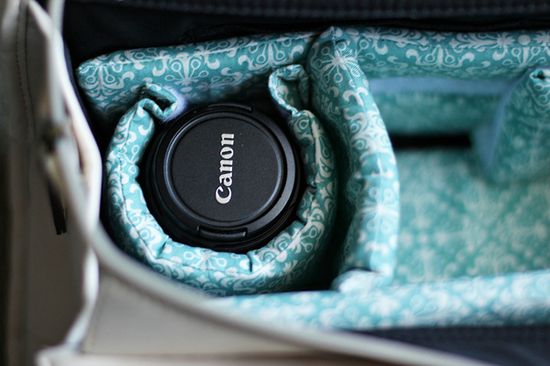
6. In exactly the same way, we make three more elements - the side wall of the bag from the camera side, the partition between the camera and the lens and the lens clip. For the correct cut of the lock, we will measure the diameter of the lens and cut out the heater in a length equal to three quarters of the resulting size. Similarly, we cut the workpieces with rags of fabric. Across each flap on both sides, sew on a strip of soft Velcro side.
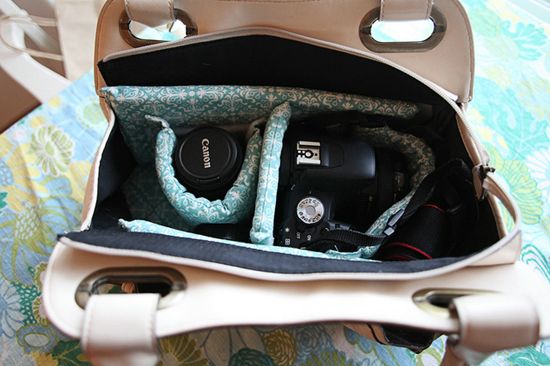
7. When all the components of the bag are ready, let's start assembling it. The first thing we do is put the side wall on the side of the camera, fix its position with Velcro.
8. Then we place the camera in the bag, thereby determining the position of the partition between the camera and the lens.
9. Now put the lens clip and the bag is assembled!
| | |