The choice of the bibs in the stores is great, but toddlers, when they start to eat with a spoon, one little bib, and then they grow quickly and the sets of bibs for moms have to be changed at the same speed. Not every family can acquire them, and sometimes moms just want to do it with her own hand, such a miracle, but much more interesting and creative than the masses can offer. In this article, we will tell you how to sew a bib with your own hands and offer suitable patterns.
Children's bib and apron
For sewing a comfortable bib for children who does not move out and protects the chest and legs, we will need:
- pattern;
- natural fabric (cotton is best suited);
- thin oilcloth (for example, for a crib);
- oblique bake;
- scissors;
- needles;
- thread.
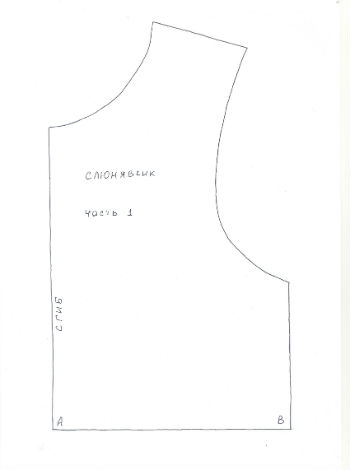
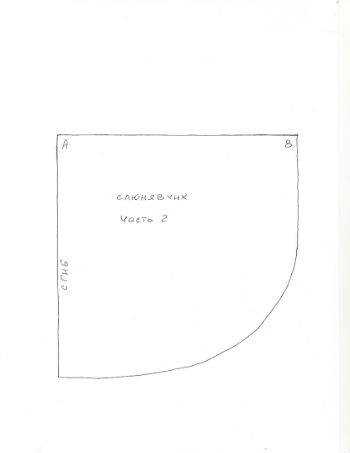
- The proposed pattern is printed on A4 size paper or we translate it on paper ourselves, after removing the measurements from the baby.
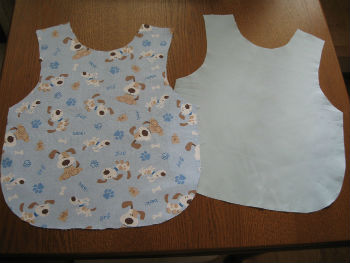
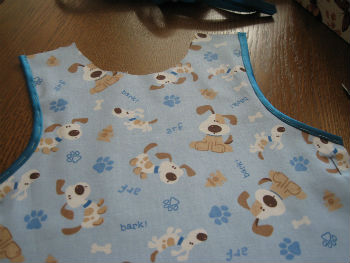
- After collecting a pattern, we cut out the piece of cloth and oilcloth we need. You do not need to leave the fabric for allowances.
- Apply the cut parts to each other with the wrong side and fix them with sewing needles.
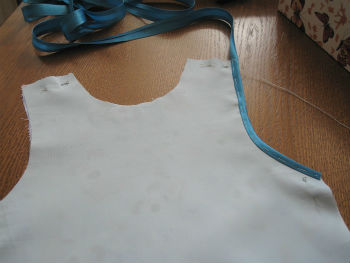
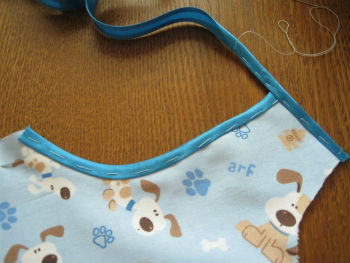
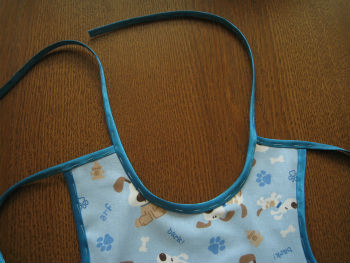
- We begin to process the edges of the product. For this, we need a bake. Starting with the cutout of the armhole, the bake folded in half, sewn to the fabric and oilcloth with a spotted seam.
- Having finished with a part of the armhole, we proceed to the processing of the shoulder, side and bottom of the bobbin-apron. To do this, folding the beika in half, sew it to the shoulder cut and, without cutting, sew the bake itself in half, forming the remainder of the armhole. After that we continue to round out our product.
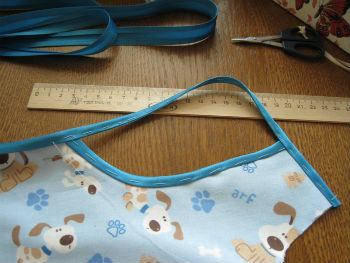
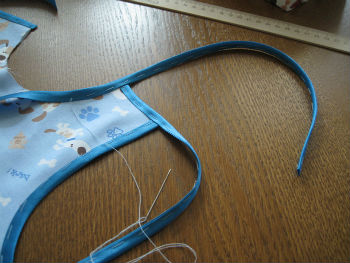
- To process the neck we take a piece of bake length of about 80 cm. Sew it to the neck, not forgetting to leave the ends of the beiki on both sides long, for the subsequent tying the very bib. The free ends of the bake at the neck are folded in half and sewed together.
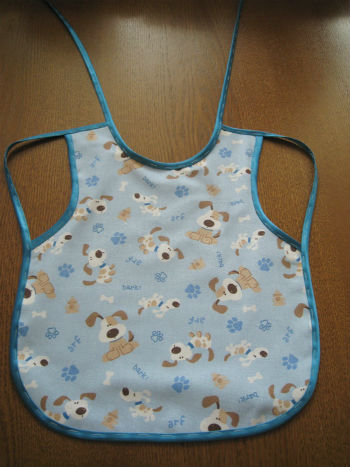
- On the sewn seams we sew the entire bib-apron by hand or by hand. Our bib is ready!
| | |
| | |
| | | |
| | |