Every kid must have a lot of toys, because without them what childhood? Often, children really have a lot of toys that they play with great pleasure, but the question is - where are they stored? Of course, any mom will agree that every child's room needs a special box for storing toys. It is very convenient and, besides, it can help to discipline the child, turning cleaning into an exciting game. Boxes for toys are the weak points of every mother. Of course, you can just purchase this accessory in the store, but it's much more interesting to make a box for toys with your own hands.
How to make a box for toys?
In order to make a box for toys with our own hands, we will need this list of materials:
- cardboard thickness of 2 mm, its number depends on the size of the box you want to make;
- PVA glue;
- a tube of glue "Moment";
- a huge number of magazines, newspapers, flyers and other unnecessary waste paper;
- scissors;
- Needle for twisting paper.
Let's get to work:
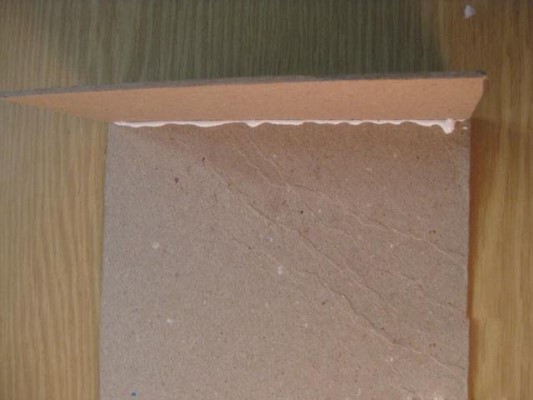
1. For a box it is better to take a sheet cardboard with a width of 2 mm, not less, because the walls must be firm and stable. For the box you need four walls and a bottom. If you also want to make a lid for the box, you will need one more bottom and four smaller walls.
2. Using the glue "Moment", glue in turn all the sides of the box to the bottom.
| | | |
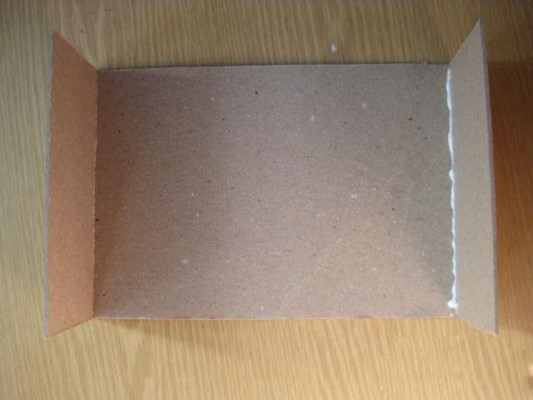
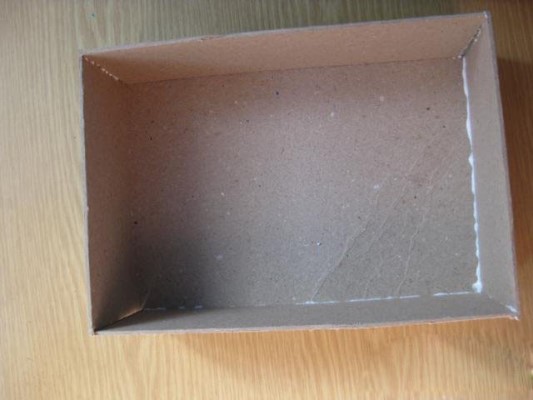
3. To fix the result and the box did not fall apart during operation, we will need PVA glue and excerpts of newspapers.
4. We glue all the seams with newspapers outside and inside. If you are making a box with a lid, the lid should also be fixed in the same way.
5. The base for the box is already ready, but its appearance is clearly not presentable. You can decorate the box in many ways - to cover with cloth, paper, wallpaper, do decoupage and, finally, the most interesting is to cover with newspaper tubes, which we will do. Let's start making newspaper tubes. To do this, take the sheets of magazines and newspapers and cut them into strips about 15 centimeters wide.
6. Lubricate one edge of the newspaper strip with PVA glue and start winding a strip of paper at an angle of 45 degrees.
7. Make a sufficient number of newspaper tubes to cover the box.
8. Now we are all ready to decorate the toy box.
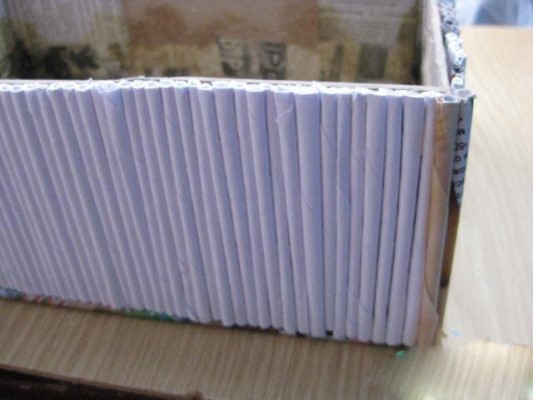
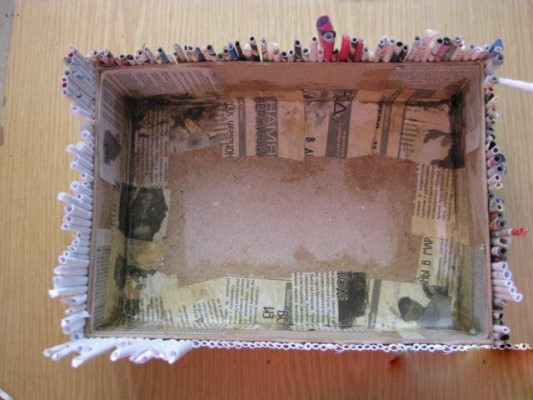
9. We begin to glue the box with the tubes outside. Bottom and top of the cover are glued in any chosen direction, but it is better that they coincide, and glue the side edges vertically.
10. Of course, the tubes we have obtained different heights. Now with the scissors level the height of the tubes with the height of the sides of the box.
| | |
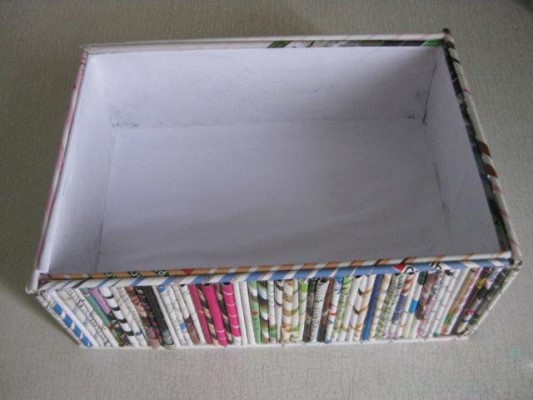
11. Outside the box is practically processed, we proceed to finish the box inside. Here we will do everything as simple as possible, glue the inner walls of the box with usual thick white paper.
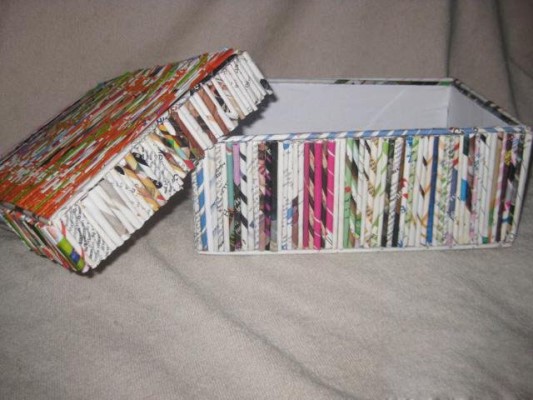
12. At the end, we process the edges of the box - take the tube and glue it horizontally with the edge of the box and cover edge.
13. Now leave the box for a while, letting it dry completely, and it can be used safely and with pleasure for its intended purpose.
| | |