You can knit not only winter hats and furry, warm sweaters with knitting needles. Men's and women's things for the spring-summer wardrobe, connected with ornate lace patterns, look very nice and elegant. It can be a pretty pullover, light jacket or even a T-shirt. Knit this pattern and children's things for the summer, using thin threads such as "iris". Let's look at the knitted "Grid" pattern: it's done quite simply and quickly.
It should be noted that there are many varieties of this pattern - in this master class we will study two of them.
How to tie a grid?
With a detailed description of the pattern "Grid" with knitting needles to master this knitting is very simple:
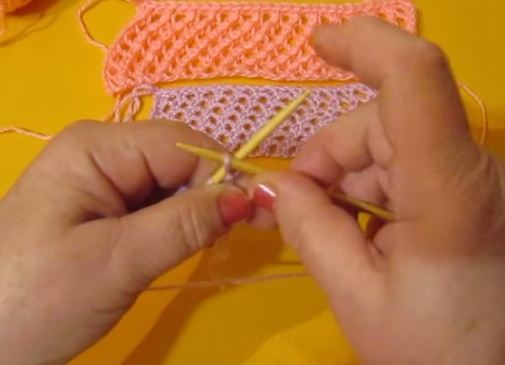
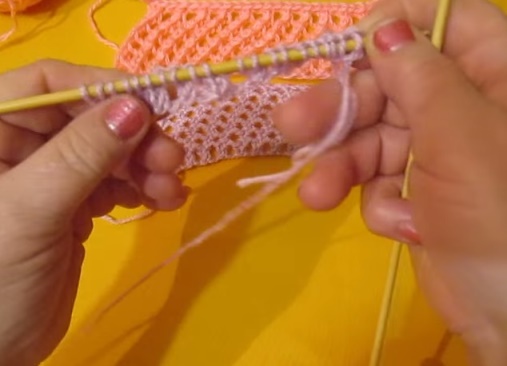
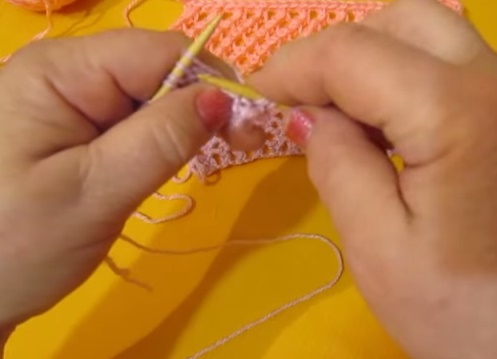
- We type on the spokes even number of loops. The very first of them, edge, we shoot.
- We make the cape and knit the next two loops as one, while grasping them by the front wall. In this way we knit to the end of the row, clearly alternating the nakids and unfastening one face loop of the two. The last loop we sew, as always, purl.
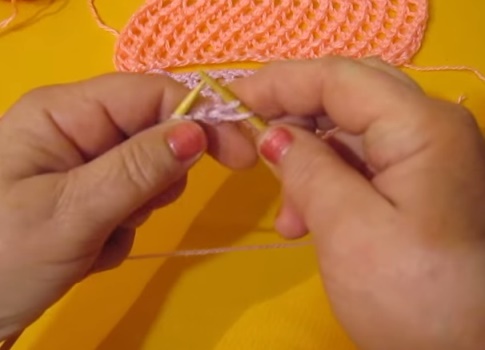
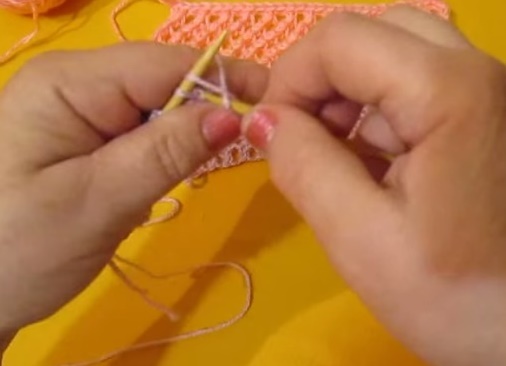
- In the next row, all the loops are knitted with the wrong, including the nakid.
- The third row repeats the pattern of the first, and then comes the fourth - it matches the same as the second. In the end, we get a nice net pattern from the front loops, because the base of the pattern is the first row with the capes.
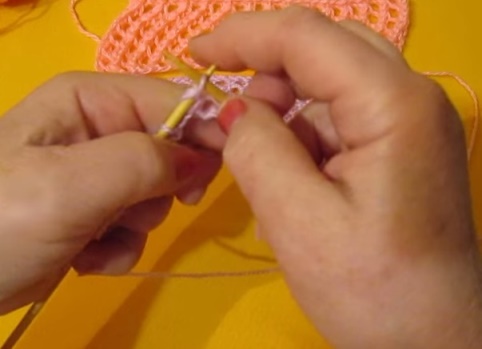
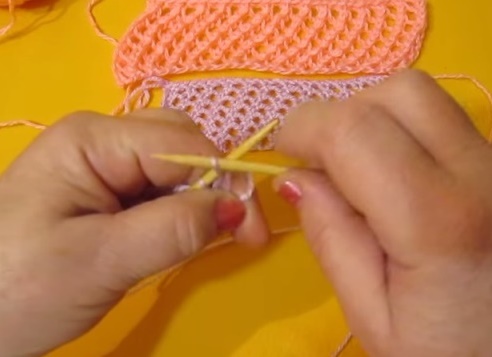
- And now we'll figure out how to tie the "Grid" pattern from the back of the loops. In the first row, also remove the edge loop on the right knitting needle.
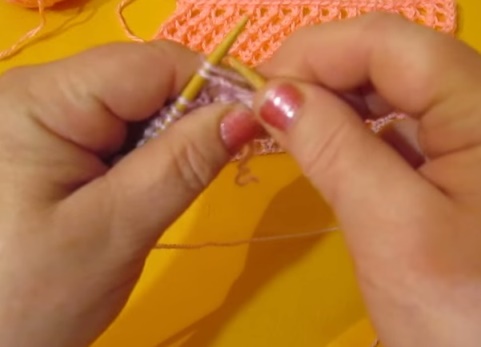
- Then we thread the thread on the spoke and tie the two loops of the previous row together, only not the front one, as in the previous pattern, but the purl.
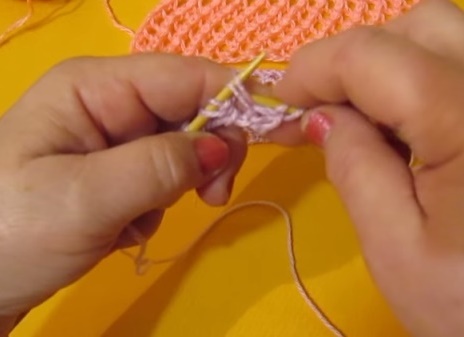
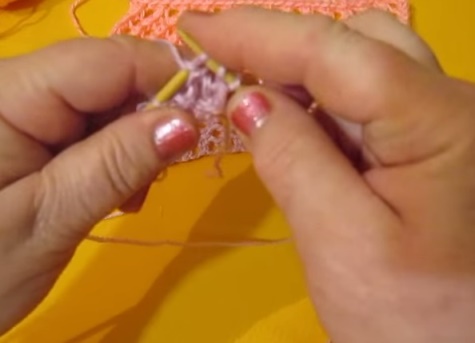
- The second row of reticulums from the back loops, as you have already guessed, knits completely with facial loops.
- As a result, you will get two samples of a beautiful and smooth cloth in the mesh - hence the name of this pattern.
| | |
| | |
| | |
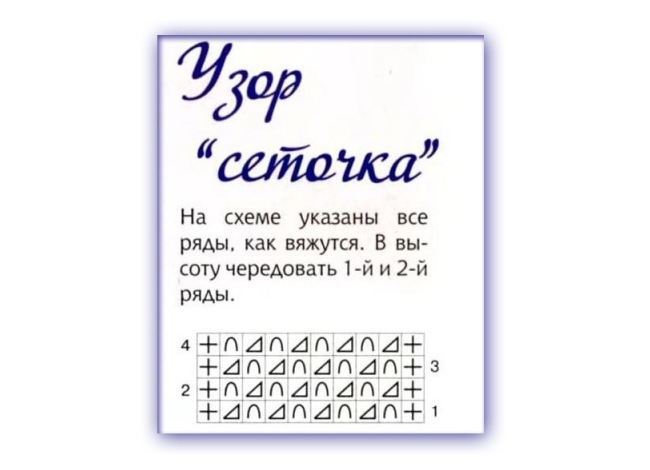
And here is the scheme by which we knitted the Grid pattern.