Weaving of bright gum has gradually become a hobby not only for girls at the age of six, but also quite adult women. Bracelets, handbags, toys and trinkets - something that only craftsmen can not come up with. The bracelet in the form of flowers is relatively simple weaving from rubber bands, but at the same time spectacular.
How to weave bracelets in the form of a flower made of rubber bands?
To make such, two pencils is not enough, it is necessary to use the machine tool. Usually they are sold either in a set, or separately at points of sale. We propose to consider step by step how to make a bracelet with a beautiful flower of rubber bands:
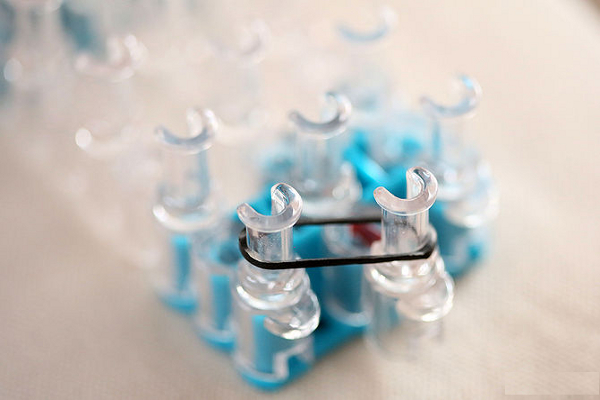
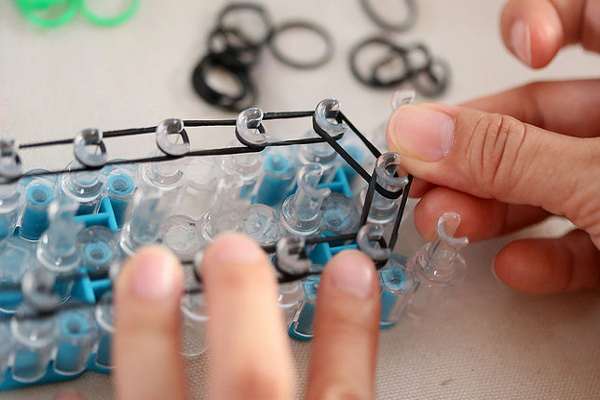
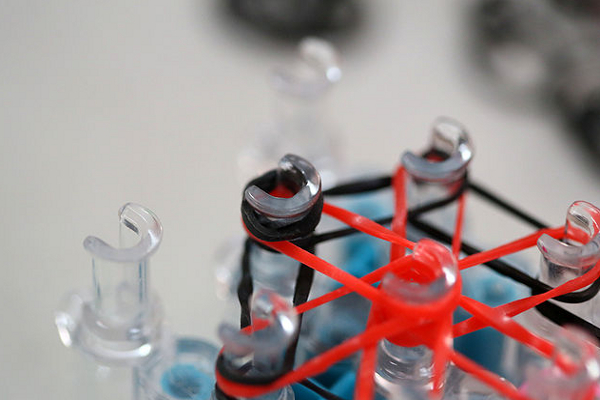
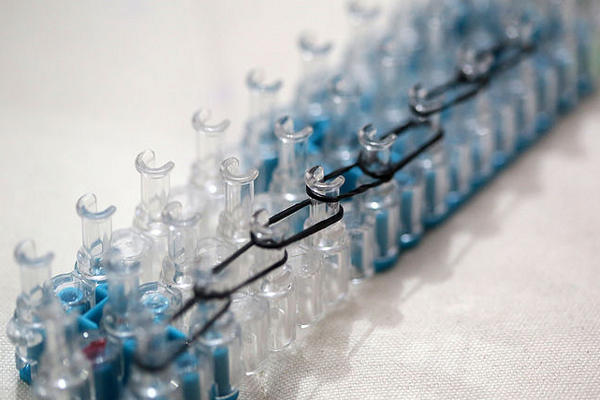
- First we make a base of rubber bands, then get a flower for the bracelet. We put the first link diagonally on the extreme pins.
- Next, there will be a chain: each new link is put around the perimeter, as shown in the figure.
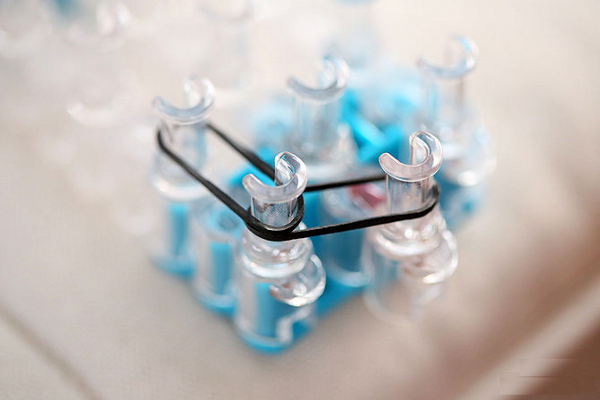
- Step by step we make the basis for a bracelet that looks like a flower, completely skirting the whole machine around the perimeter from one edge to the other.
- The basis is. We literally took our machine into the ring.
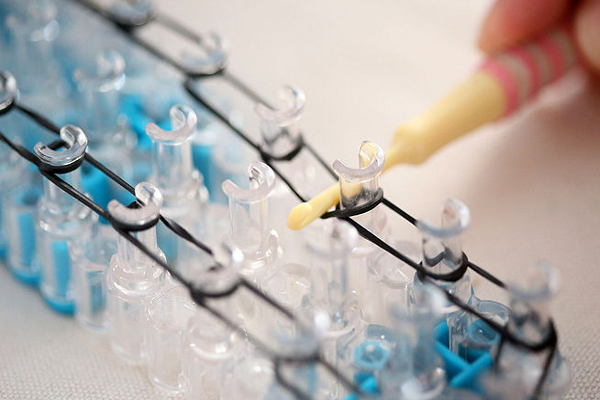
- This is the first layer of the bracelet. Hook it down a bit to dislodge it to the base of the pins.
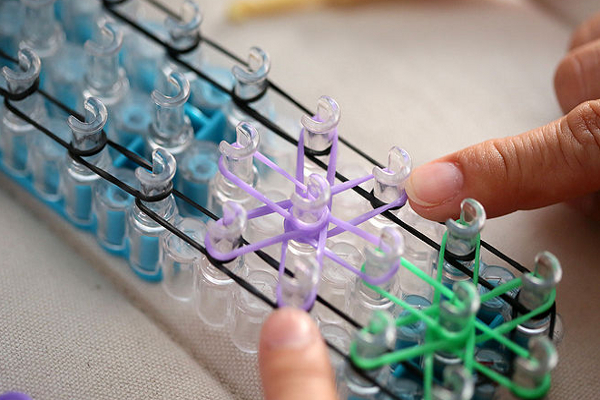
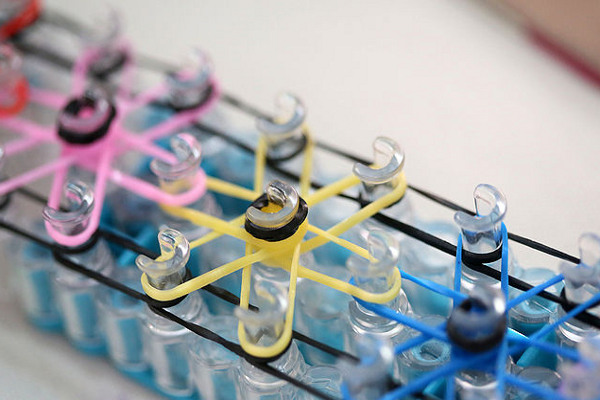
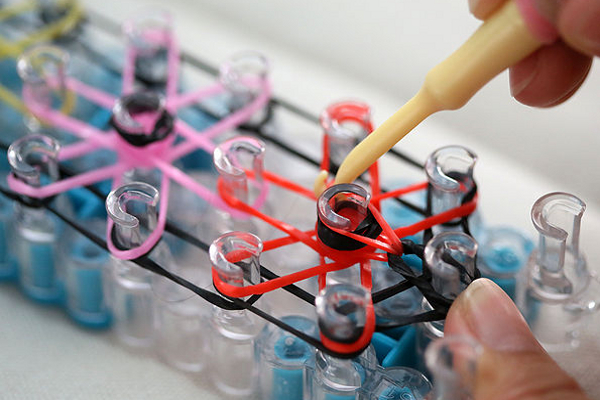
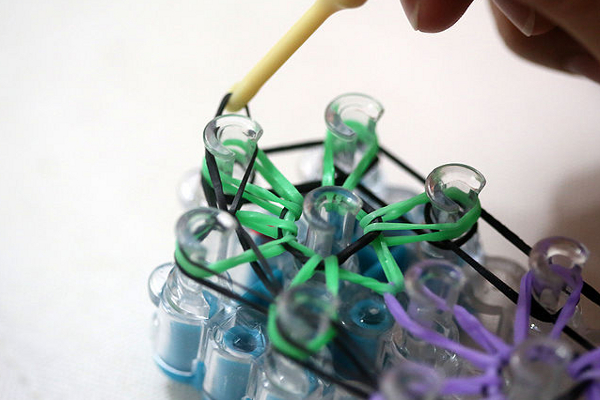
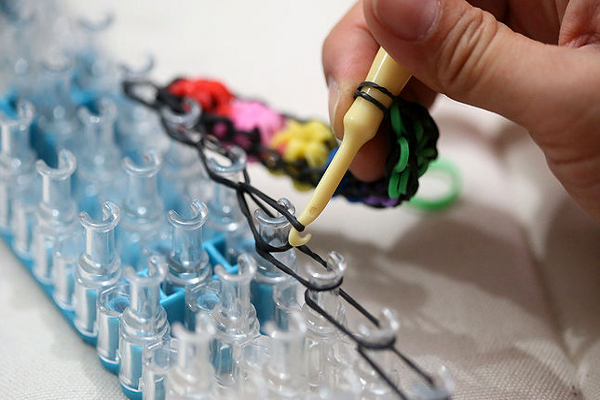
- Next, consider how to weave the flower from the rubber bands, we take the workpiece for the bracelets of a different color. We put it on the middle middle pin and the next one in the row. And then clockwise, similarly, we put on the remaining links of the chosen color so that the center remains on the second central pin. The flower is already visible.
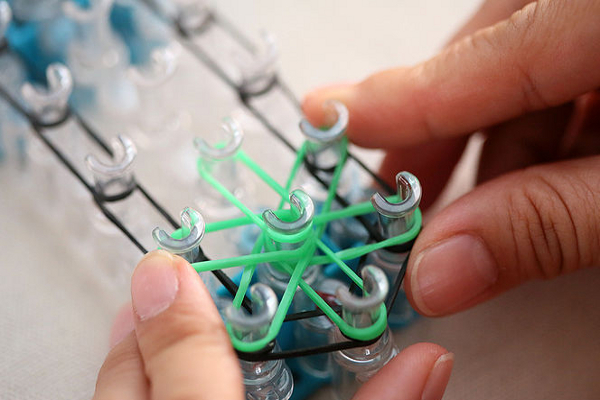
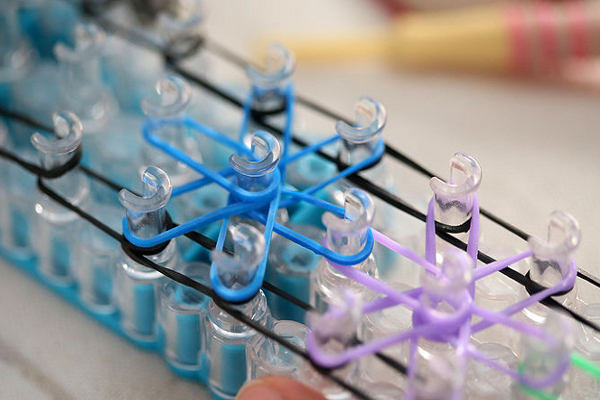
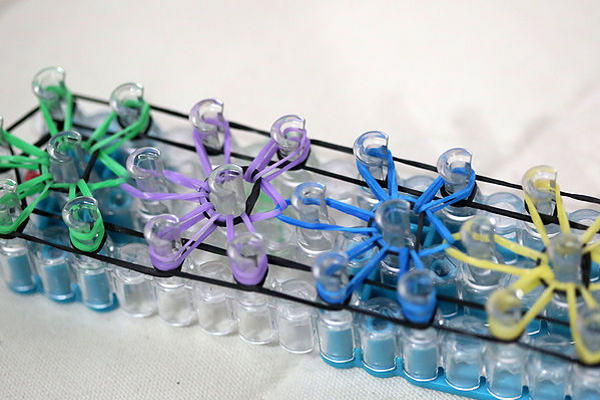
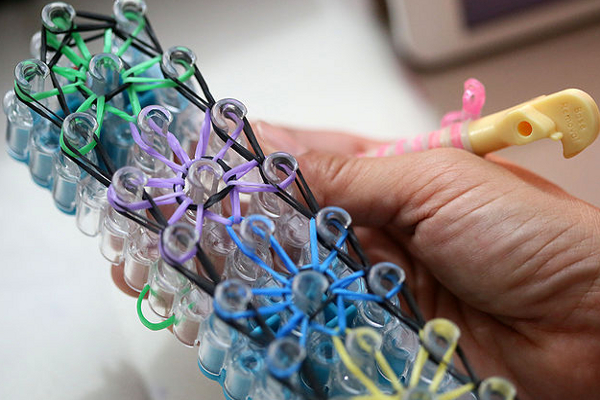
- In the same way, we form several more flowers. Then slightly move them to the base of the pin.
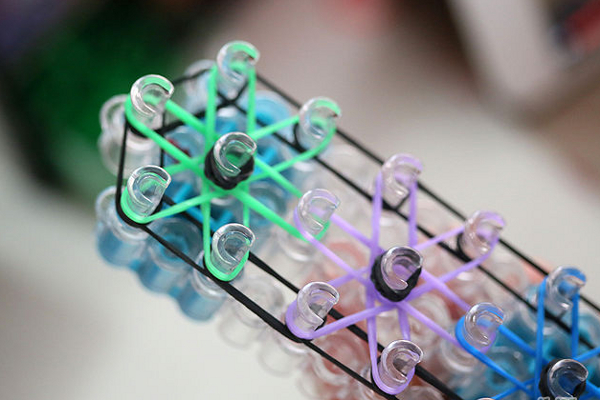
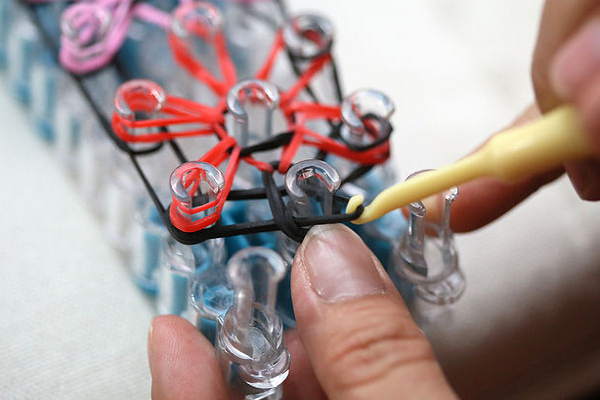
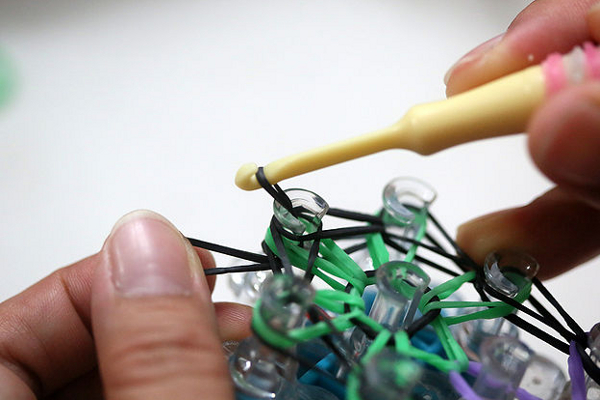
- We begin the third stage of weaving bracelets in the form of a flower, make loops of rubber bands and put the first on the extreme central pin.
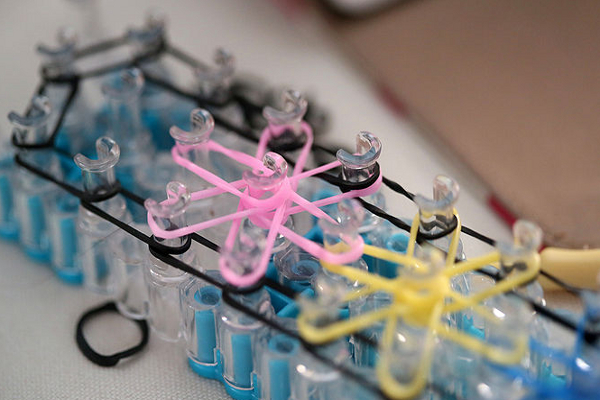
- The same loops, folded in half, will be in the centers of flowers.
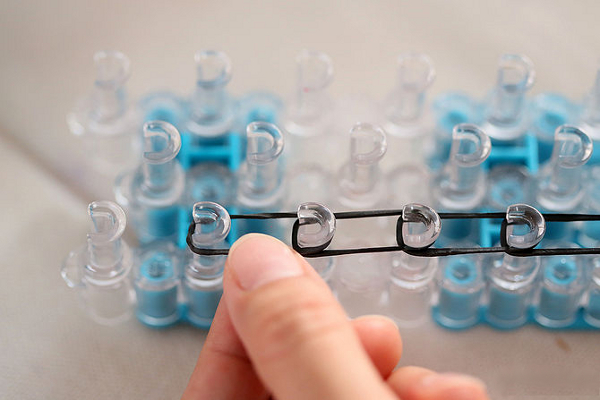
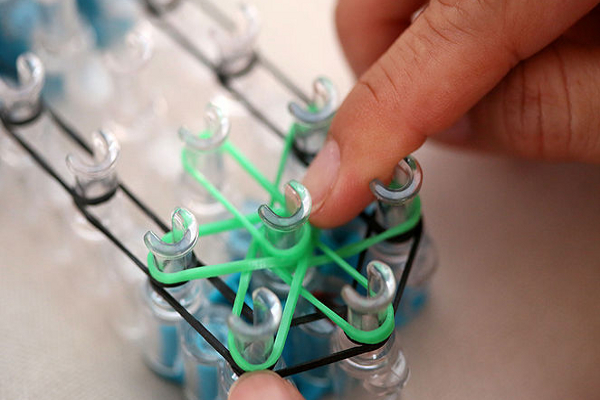
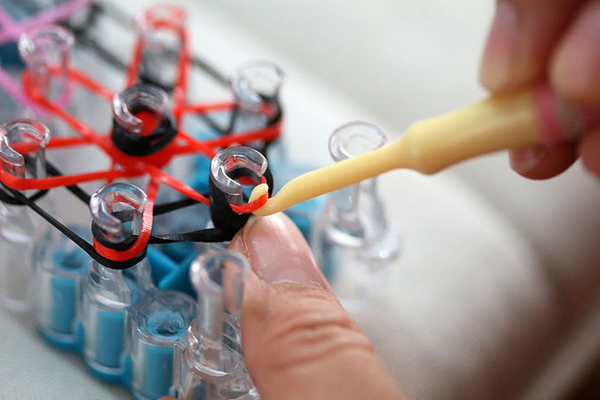
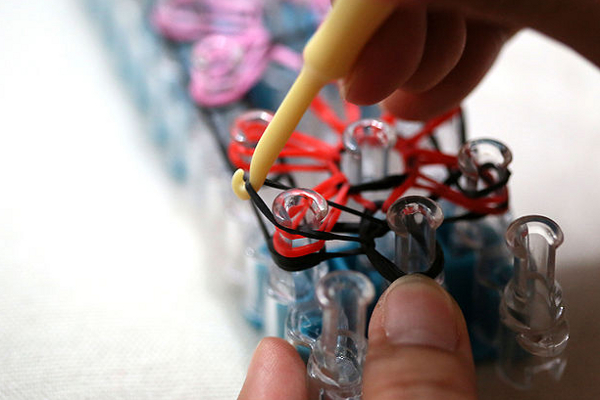
- We take the hook. Remove the color rubber band from the first end pin in the center. Tighten the end of the elastic band to the middle of the flower.
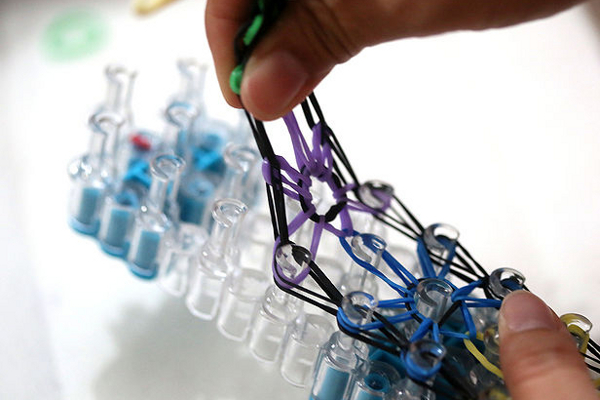
- Then we move already counter-clockwise and in the same way from the center of the flower we form petals.
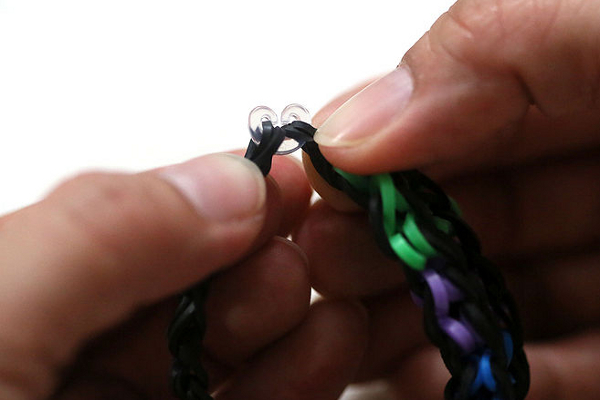
- It's time to fix the rim of the bracelet. Hook through the top double gum pull out the end of the first, which we took for the base. Drag it to the adjacent peg.
- So we move along the perimeter of the machine.
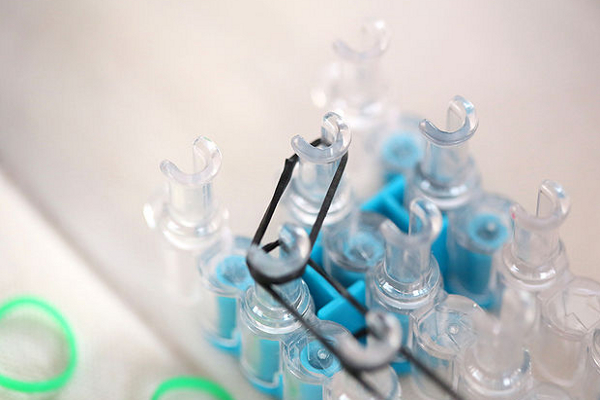
- The bracelet in the shape of flowers is almost ready, we take one more of the main rubber bands and we remove the first part on the hook.
- We put on a number of links of the main color, as shown in the photo.
- And now we connect the two parts of the bracelet: the last worn link is also threaded on a peg and the chain is already familiar to the technician with a crochet.
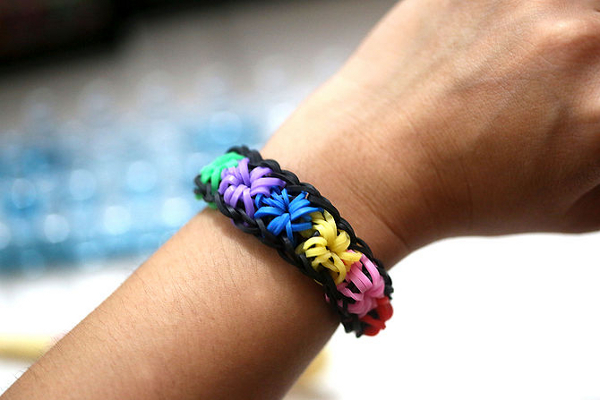
- In the end we put on a bracelet with a c-shaped buckle, our creation from elastic bands with a flower is ready!
| | | |
| | |
| | | |
| | |
| | |
| | |
| | |
| | |
| | |
| | |